
How to Check Zero Point on Bike Gauge: Easy Guide
Have you ever seen a flat bike tire? It is no fun! Do you know why it went flat? Sometimes, it is because the tire pressure was too low. A bike gauge helps you check the pressure. But, how to check zero point on bike gauge?
A bike gauge needs to start at zero. This makes sure you get the right reading. Let’s learn how to do that! It is easier than you think. You will be a tire pressure pro in no time!
Have you ever wondered if your bike gauge is telling the truth? It is important to know! Your safety depends on having the right tire pressure. Let’s get started and learn all about it!
Key Takeaways
- Knowing how to check zero point on bike gauge ensures accurate tire pressure readings.
- Always inspect your bike gauge before each use to ensure safety and accuracy.
- A properly calibrated bike gauge helps prevent flats and improves bike performance.
- Regularly check the zero point on your bike gauge for reliable measurements.
- Keeping your tires properly inflated makes riding safer and more fun.
Why Check Zero Point on a Bike Gauge?


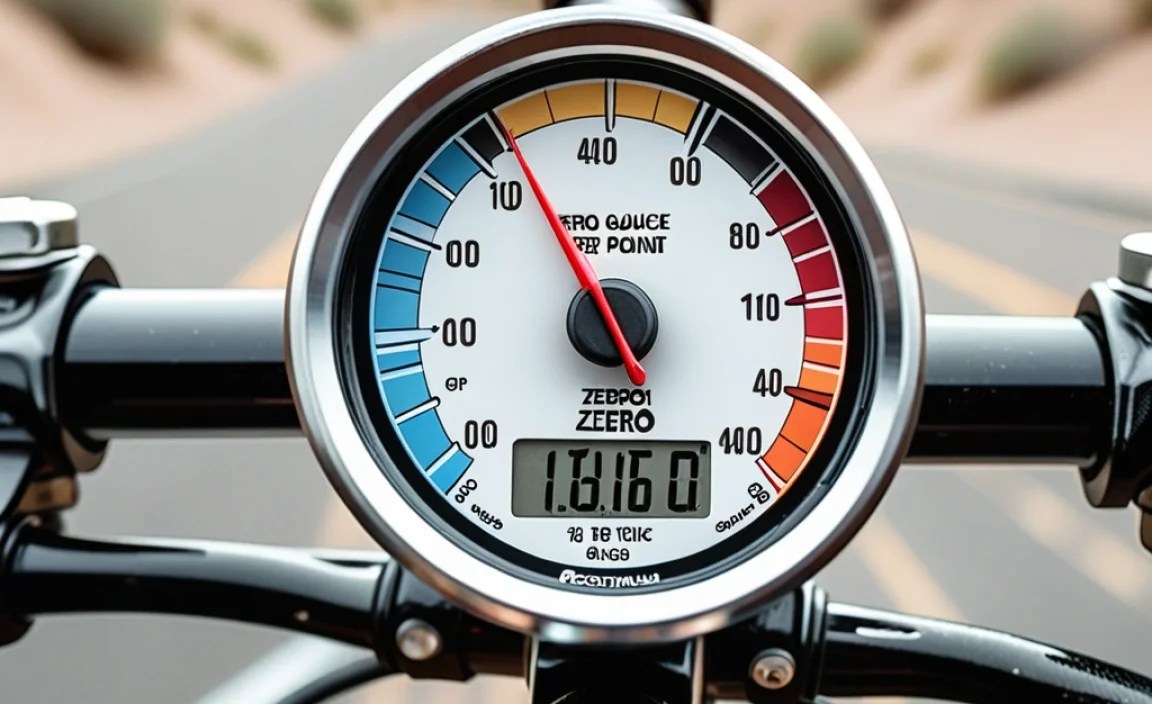
Have you ever wondered if your bike gauge is accurate? It is super important! The zero point is where the needle should be when no air is being measured. If the needle isn’t on zero, your readings will be wrong. Imagine thinking your tire has enough air when it really doesn’t! This can lead to a flat tire or make it harder to ride your bike. Checking the zero point is like giving your bike gauge a quick check-up. It helps make sure you’re getting the right information. This way, you can keep your tires properly inflated. This keeps you safe and makes biking more fun. So, always take a peek at that zero point before you start pumping!
- Accuracy ensures correct tire pressure.
- Safety is improved with properly inflated tires.
- Performance is better with the right pressure.
- Prevent flat tires by maintaining proper inflation.
- Save energy by making each ride easier.
Checking the zero point is not hard. You can do it before every ride. It only takes a few seconds. Just look at the gauge before you put it on your tire valve. If the needle is not on zero, you know something is wrong. Some gauges have a way to adjust the zero point. Others might need to be replaced if they are not accurate. It’s like checking the batteries in your toys. You want to make sure everything is working right. Your bike is important, and your tires are too. Make sure your bike gauge is telling you the truth. That way, you can have lots of safe and happy bike rides.
Why Does the Zero Point Shift?
Have you ever noticed things change over time? Well, bike gauges are the same! The zero point can shift for a few reasons. Sometimes, it’s because the gauge gets bumped around. Other times, it’s because of changes in the weather. Hot and cold temperatures can affect the parts inside the gauge. Think of it like a balloon. When it gets hot, the air inside expands. When it gets cold, the air shrinks. The same thing can happen inside your bike gauge. Also, using the gauge a lot can wear it out. The little parts inside can get tired and not work as well. That’s why it’s a good idea to check the zero point often. This way, you’ll know if something has changed and if your gauge is still giving you the right information.
What Happens with an Incorrect Zero Point?
Imagine you’re baking a cake, but your measuring cup is off. The cake might not turn out right! The same thing happens with your bike tires. If your bike gauge’s zero point is wrong, you won’t know the real tire pressure. If you think your tire has enough air, but it doesn’t, you could get a flat tire. Riding on a flat tire is hard and can even be dangerous. On the other hand, if you think your tire needs more air than it really does, you might overinflate it. This can make the tire pop! So, an incorrect zero point can cause all sorts of problems. It’s like playing a game with the wrong rules. You won’t get the right results. That’s why checking the zero point is so important for safe and fun bike rides.
How Often Should You Check?
How often do you brush your teeth? Probably every day! Checking your bike gauge’s zero point should also be a regular habit. A good idea is to check it before every ride. It only takes a few seconds. Think of it as part of your pre-ride checklist. Just like making sure your helmet fits and your brakes work. Checking the zero point will help you catch any problems early. If you notice the zero point is off, you can fix it or get a new gauge. This way, you’ll always know your tire pressure is correct. It’s like checking the oil in your car. It helps keep everything running smoothly. So, make checking the zero point a part of your biking routine!
Fun Fact or Stat: Did you know that properly inflated tires can make you ride up to 10% faster? That’s like getting a free speed boost!
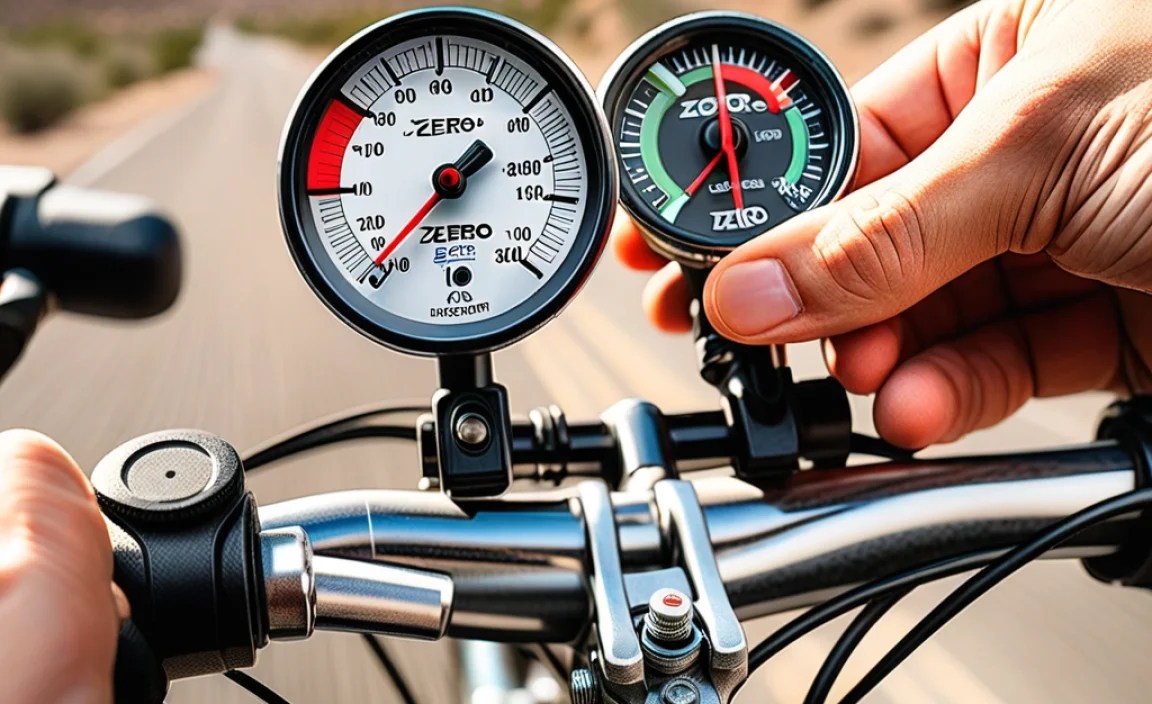
Tools You Need to Check the Zero Point
Checking the zero point on your bike gauge is easy. You do not need many tools! The most important tool is your bike gauge itself. Make sure you have it handy. You will also need a clean, flat surface. This is where you will lay the gauge to check it. Sometimes, you might need a small screwdriver. This is only if your gauge has a way to adjust the zero point. Check your gauge’s instructions to see if it has this feature. If you don’t have a screwdriver, don’t worry! Most gauges can be checked without one. That’s really all you need! With these simple tools, you’ll be ready to make sure your bike gauge is accurate. Then, you can keep your tires properly inflated and enjoy safe bike rides.
- Bike gauge: The main tool for checking pressure.
- Flat surface: A stable area to lay the gauge.
- Screwdriver: For adjusting some gauges.
- Clean cloth: To wipe the gauge if needed.
- Good lighting: To see the gauge clearly.
Having the right tools makes the job easier. It is like having the right ingredients for a recipe. If you have everything you need, you can follow the steps easily. Before you start, make sure your bike gauge is clean. Use a soft cloth to wipe off any dirt or dust. This will help you see the zero point clearly. Also, make sure you have good lighting. If it’s too dark, it will be hard to see the needle. Find a bright spot or use a flashlight. Remember, checking the zero point is a simple task. But, doing it right helps keep you safe. So, gather your tools and get ready to check your bike gauge. With a little practice, you’ll be a pro in no time!
What Type of Screwdriver is Needed?
If your bike gauge has an adjustment screw, you will need the right screwdriver. Most of the time, it will be a small Phillips head screwdriver. This is the kind with a plus sign (+) on the end. The size of the screwdriver will depend on the size of the screw. It’s usually a very small screw, so you’ll need a small screwdriver. If you’re not sure what size you need, try a few different ones. The right screwdriver will fit snugly in the screw without slipping. Be careful not to force it. If the screwdriver doesn’t fit, you could damage the screw. If you don’t have the right screwdriver, don’t worry. You can usually find one at a hardware store. Just ask for a small Phillips head screwdriver. They will help you find the right one. With the right screwdriver, you can easily adjust the zero point on your bike gauge.
Can You Use Other Tools?
Sometimes, you might not have the exact tool you need. You might wonder if you can use something else. For checking the zero point, it’s best to use the right tools. But, there are a few things you can do in a pinch. If you don’t have a screwdriver, you might be able to use a small knife. Be very careful! A knife can slip and cut you. Only use a knife if you are very careful and have an adult helping you. If you don’t have a flat surface, you can use a book. Just make sure the book is clean and stable. The most important thing is to be safe. Don’t use any tool that could hurt you or damage your bike gauge. If you’re not sure, it’s always best to wait until you have the right tools. It’s better to be safe than sorry!
Where to Buy the Right Tools?
Getting the right tools is easier than you think. You can find them at many different stores. Hardware stores are a great place to start. They have all sorts of tools, including screwdrivers. You can also check at bike shops. They often sell tools for bike maintenance. Another option is to look online. There are many websites that sell tools. You can search for “small Phillips head screwdriver” or “bike gauge tools.” When you’re buying tools, make sure to get good quality ones. They will last longer and work better. It’s like buying a toy. You want one that is well-made and won’t break easily. So, check out your local stores or shop online to find the right tools for checking your bike gauge.
Fun Fact or Stat: A good set of bike tools can save you money on bike repairs in the long run. It’s like having a doctor in your garage!
Step-by-Step: Checking the Zero Point
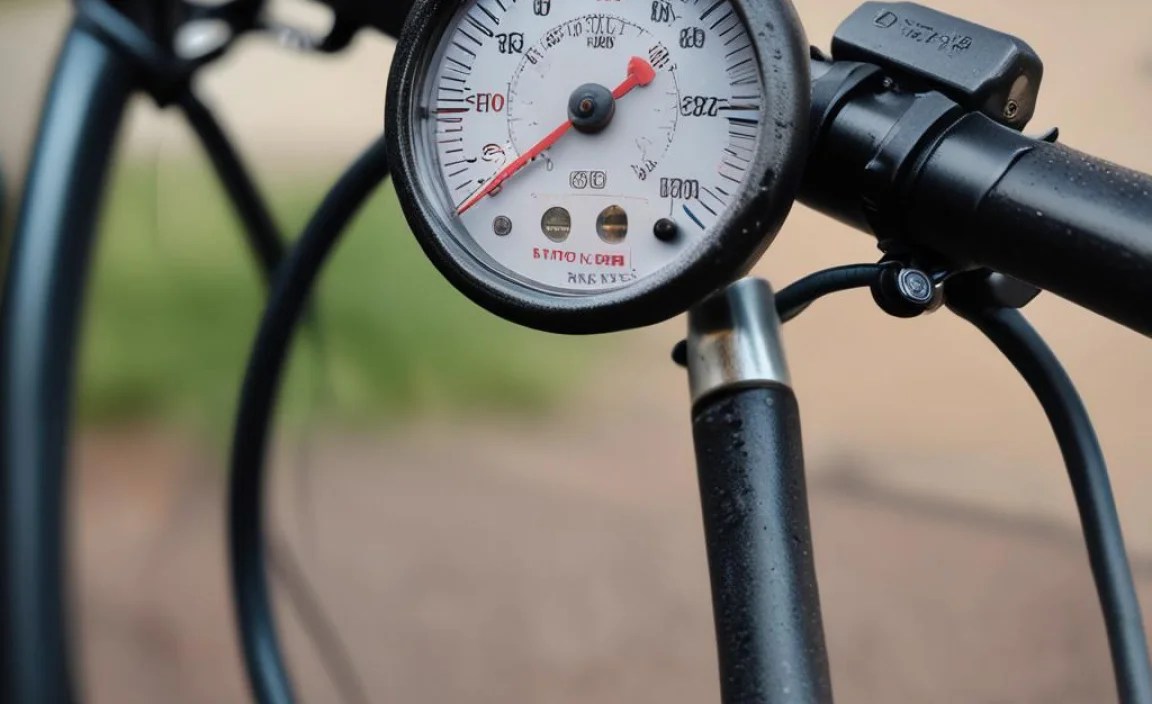
Let’s learn how to check zero point on bike gauge. First, find a flat surface. A table or the floor works well. Make sure it’s clean. Next, grab your bike gauge. Look at the needle. Where is it pointing? It should be pointing at zero. If it is, great! Your gauge is probably accurate. If the needle is not on zero, don’t worry. Some gauges have a way to adjust it. Look for a small screw on the gauge. If you see one, use a small screwdriver to turn it. Turn the screw until the needle points to zero. If your gauge doesn’t have a screw, it might not be adjustable. In that case, you might need a new gauge. That’s it! You’ve checked the zero point. Now you can inflate your tires with confidence.
- Find a clean, flat surface to work on.
- Locate the needle on your bike gauge.
- See if the needle points to zero.
- Adjust the screw if needed to set zero.
- Consider a new gauge if it cannot be adjusted.
Checking the zero point is a quick and easy task. But, it’s an important one. It helps you make sure your tires are properly inflated. This keeps you safe and makes biking more fun. Remember to check the zero point before every ride. It’s like checking your shoelaces before you run. You want to make sure everything is ready to go. If you’re not sure how to adjust the zero point, ask an adult for help. They can show you how to use the screwdriver and turn the screw. With a little practice, you’ll be able to do it yourself. So, grab your bike gauge and get ready to check that zero point. Your tires will thank you!
What If the Needle Is Way Off?
Sometimes, you might find that the needle is very far from zero. What should you do then? First, try adjusting the screw if your gauge has one. Turn the screw slowly and see if the needle moves. If the needle doesn’t move, or if it only moves a little, there might be a bigger problem. The gauge could be broken. It’s like having a toy that won’t turn on. You might need to get a new one. If the needle is way off, it’s not safe to use the gauge. You won’t be able to get an accurate reading. This means you won’t know how much air is in your tires. It’s better to get a new gauge than to risk riding with underinflated or overinflated tires. So, if the needle is way off, it’s time for a replacement.
How to Adjust the Zero Point?
Adjusting the zero point is usually pretty simple. First, find the adjustment screw on your bike gauge. It’s usually a small screw located near the face of the gauge. Next, grab a small screwdriver. Make sure it’s the right size for the screw. Insert the screwdriver into the screw and turn it slowly. Watch the needle as you turn the screw. You want to turn the screw until the needle points to zero. It might take a few tries to get it just right. Be patient and keep adjusting the screw until the needle is on zero. Once the needle is on zero, you’re done! Your bike gauge is now properly adjusted. It’s ready to use for checking your tire pressure. Remember to check the zero point regularly to make sure it stays accurate.
What If There Is No Adjustment Screw?
Some bike gauges don’t have an adjustment screw. What do you do then? If your gauge doesn’t have a screw, you can’t adjust the zero point. This means that if the needle is not on zero, you can’t fix it. In this case, the best thing to do is get a new gauge. It’s important to have an accurate gauge so you can properly inflate your tires. Using a gauge with an incorrect zero point can be dangerous. You might think your tires have enough air when they don’t. Or, you might put too much air in them. Either way, it’s not safe. So, if your gauge doesn’t have an adjustment screw and the needle is off, it’s time for a new one. Think of it like getting new shoes when your old ones are too small. It’s important to have the right equipment for the job.
Fun Fact or Stat: Bike gauges can lose accuracy over time. It’s like how your eyesight can change and you might need glasses!
Common Problems and Solutions
Even with the best care, you might have problems with your bike gauge. One common problem is a needle that sticks. This means the needle doesn’t move smoothly. It might jump or get stuck in one place. If this happens, try tapping the gauge gently. Sometimes, this will loosen the needle. Another problem is a cracked or broken lens. The lens is the clear plastic part that covers the gauge face. If it’s cracked, it can be hard to read the gauge. If it’s broken, the gauge might not work at all. In this case, you’ll need to replace the gauge. Also, sometimes the gauge can get dirty. Dirt and dust can make it hard to see the needle. Use a soft cloth to clean the gauge. These simple solutions can help keep your bike gauge working properly.
- Sticking needle: Tap gauge gently to loosen it.
- Cracked lens: Replace the entire bike gauge.
- Dirty gauge: Clean with a soft, dry cloth.
- Inaccurate reading: Check and adjust zero point.
- Gauge not working: Consider a new gauge.
Sometimes, you might think your bike gauge is broken. But, it might just need a little attention. Before you give up on your gauge, try a few things. First, check the battery if it has one. Some digital gauges use batteries. If the battery is low, the gauge might not work right. Also, make sure you’re using the gauge correctly. Read the instructions carefully. Sometimes, people make mistakes when they’re using the gauge. If you’ve tried everything and your gauge still doesn’t work, then it’s probably time for a new one. But, don’t give up too soon! A little troubleshooting can often solve the problem. It’s like trying to fix a toy before you throw it away. You might be surprised at what you can fix!
What If the Gauge Reads Too High?
If your bike gauge always reads too high, there could be a few reasons. One reason is that the zero point is off. If the needle starts above zero, all your readings will be too high. Try adjusting the zero point as we talked about earlier. Another reason could be that the gauge is damaged. If the parts inside are bent or broken, the gauge might not be accurate. In this case, you’ll need to replace the gauge. Also, make sure you’re not holding the gauge at a weird angle. This can affect the reading. Hold the gauge straight and level. If you’ve checked all these things and the gauge still reads too high, it’s probably not working right. It’s best to get a new one to make sure you’re getting accurate readings.
What If the Gauge Reads Too Low?
What if your bike gauge always shows a low number? There are a few things that could be wrong. The most common reason is that the zero point is off. If the needle starts below zero, all your readings will be too low. Try adjusting the zero point. Another problem could be a leak. If there’s a small hole in the gauge, air can escape. This will make the reading lower than it should be. Check the gauge carefully for any cracks or holes. If you find one, you’ll need to replace the gauge. Also, make sure you’re pressing the gauge firmly against the tire valve. If you don’t press hard enough, air can leak out. This will also give you a low reading. So, check the zero point, look for leaks, and press firmly to get an accurate reading.
When Is It Time to Replace the Gauge?
How do you know when it’s time to get a new bike gauge? There are a few signs to look for. If the needle is always stuck, it’s time for a new gauge. If the lens is cracked or broken, it’s time for a new gauge. If you can’t adjust the zero point, and the needle is off, it’s time for a new gauge. Also, if you’ve had the gauge for a long time, it might just be worn out. Like any tool, gauges can lose accuracy over time. A new gauge is not very expensive. It’s worth it to have an accurate one. So, if you’re having problems with your gauge, don’t wait. Get a new one and keep your tires properly inflated.
Fun Fact or Stat: Some professional cyclists check their tire pressure multiple times during a race to optimize performance!
Different Types of Bike Gauges

There are different kinds of bike gauges. It’s good to know about them. Some gauges are digital. They show the pressure on a screen. Digital gauges are easy to read. Other gauges are analog. They have a needle that points to the pressure. Analog gauges don’t need batteries. Some gauges are built into bike pumps. These are convenient because you can pump and check the pressure at the same time. Other gauges are separate. You can carry them with you on rides. Each type of gauge has its own advantages. It’s important to choose one that works for you. No matter what kind of gauge you have, remember to check the zero point!
- Digital gauges: Easy to read and precise.
- Analog gauges: Do not require batteries.
- Pump gauges: Integrated into bike pumps.
- Standalone gauges: Portable for on-the-go checks.
- Floor pump gauges: Used with floor bike pumps.
When you’re choosing a bike gauge, think about how you’ll use it. If you want something easy to read, a digital gauge might be a good choice. If you don’t want to worry about batteries, an analog gauge might be better. If you want something convenient, a pump with a built-in gauge could be a good option. Also, consider the size and weight of the gauge. If you plan to carry it with you on rides, you’ll want something small and light. No matter what kind of gauge you choose, make sure it’s accurate. Check the zero point and compare it to other gauges if you can. A good gauge will help you keep your tires properly inflated and enjoy safe bike rides. It’s like having a reliable map on a long journey. It helps you stay on the right path!
Here is a table that compares different types of bike gauges:
| Type of Gauge | Pros | Cons | Best Use |
|---|---|---|---|
| Digital Gauge | Easy to read, precise readings | Requires batteries, can be more expensive | Home use, riders who want accurate readings |
| Analog Gauge | No batteries needed, less expensive | Can be harder to read, less precise | General use, riders on a budget |
| Pump Gauge | Convenient, integrated into pump | Can be less accurate than standalone gauges | Home use, quick pressure checks |
| High-Pressure Gauge | Accurate at high pressures, durable | More expensive, harder to read at low pressures | Road bike tires, high performance riding |
Are Digital Gauges Always More Accurate?
You might think that digital gauges are always more accurate. But, that’s not always true. Digital gauges can be very precise. They show the pressure in small increments. But, they can also be affected by batteries and temperature. If the battery is low, the reading might not be accurate. Also, extreme temperatures can affect the electronics inside the gauge. Analog gauges are simpler. They don’t have as many parts that can go wrong. As long as the zero point is correct, they can be very reliable. So, both digital and analog gauges can be accurate. It depends on the quality of the gauge and how well you take care of it. Remember to check the zero point on both types of gauges!
Which Type Is Best for Kids?
When you’re choosing a bike gauge for kids, there are a few things to think about. First, you want something that’s easy to read. Digital gauges are often a good choice because they have large numbers. But, some kids might find analog gauges easier to understand. They can see the needle moving and get a better sense of how much air is in the tire. You also want something that’s durable. Kids can be rough on things, so choose a gauge that can handle some bumps and drops. Also, consider the size and weight of the gauge. You want something that’s easy for kids to hold and use. A simple analog gauge might be the best option for younger kids. Older kids might prefer a digital gauge with more features. No matter what kind of gauge you choose, make sure it’s accurate and easy to use.
How Much Do Different Gauges Cost?
The cost of bike gauges can vary a lot. Simple analog gauges are usually the least expensive. You can find them for just a few dollars. Digital gauges are usually more expensive. They can cost anywhere from $15 to $50 or more. Pump gauges can also vary in price. It depends on the quality of the pump and the gauge. Some high-end pumps with built-in gauges can cost over $100. When you’re choosing a gauge, think about your budget. You don’t have to spend a lot of money to get a good gauge. There are many affordable options that are accurate and reliable. Just remember to check the zero point and take care of your gauge. This will help it last longer and give you accurate readings.
Fun Fact or Stat: Some high-end bike gauges use Bluetooth to send tire pressure data to your smartphone!
Maintaining Your Bike Gauge
Taking care of your bike gauge is important. It will help it last longer and stay accurate. One important thing is to keep it clean. Wipe it with a soft cloth to remove dirt and dust. Also, store it in a safe place. Don’t leave it in the sun or in a hot car. Extreme temperatures can damage the gauge. Avoid dropping it or banging it against hard surfaces. This can also damage the gauge. Check the battery if it has one. Replace the battery when it gets low. Finally, check the zero point regularly. This will help you catch any problems early. By following these simple tips, you can keep your bike gauge in good condition for years to come.
- Clean the gauge regularly with a soft cloth.
- Store in a cool, dry place away from sun.
- Avoid dropping or banging the gauge.
- Replace batteries in digital gauges as needed.
- Check zero point before each use.
Think of your bike gauge as a valuable tool. Just like you take care of your toys, you should take care of your gauge. When you’re not using it, put it away in a safe place. A toolbox or a drawer is a good option. Don’t leave it lying around where it could get stepped on or damaged. Also, be careful when you’re using it. Don’t force it onto the tire valve. This could bend the needle or damage the gauge. Treat your bike gauge with respect, and it will serve you well for many years. It’s like having a good friend who always tells you the truth. You want to keep that friend around for a long time!
How to Clean Your Bike Gauge?
Cleaning your bike gauge is easy. All you need is a soft cloth. Make sure the cloth is clean and dry. Gently wipe the gauge with the cloth. Pay attention to the lens. This is the clear plastic part that covers the gauge face. Remove any dirt or dust from the lens. Also, wipe the body of the gauge. Remove any dirt or grime. Don’t use any water or cleaning solutions. These can damage the gauge. Just a soft, dry cloth is all you need. Clean your gauge regularly to keep it in good condition. A clean gauge is easier to read and will last longer. It’s like keeping your glasses clean so you can see clearly.
Where to Store Your Bike Gauge?
Where you store your bike gauge is important. You want to keep it in a safe place. A toolbox is a good option. This will protect it from dust and damage. A drawer is another good choice. Just make sure it’s not a drawer where things get tossed around. You want to avoid dropping or banging the gauge. Also, avoid storing it in direct sunlight. The sun can damage the gauge over time. A cool, dry place is best. Don’t leave it in your car on a hot day. The heat can damage the gauge. By storing your bike gauge in a safe place, you can help it last longer and stay accurate. It’s like keeping your toys in a toy box. It helps keep them safe and organized.
What to Do in Extreme Weather?
Extreme weather can be tough on your bike gauge. Hot temperatures can cause the parts inside to expand. Cold temperatures can cause them to contract. This can affect the accuracy of the gauge. If you’re using your gauge in extreme weather, be extra careful. Don’t leave it in the sun or in a freezing car. Try to keep it at a moderate temperature. Also, check the zero point more often. Extreme weather can cause the zero point to shift. If you’re not using your gauge, store it indoors. This will protect it from the elements. By taking these precautions, you can help your bike gauge survive extreme weather. It’s like wearing a coat in the winter. It helps protect you from the cold.
Fun Fact or Stat: Some bike shops offer calibration services to ensure your gauge is always accurate!
Summary
Checking the zero point on your bike gauge is super important. It helps you make sure your tires are inflated just right. When the zero point is correct, your gauge tells you the truth about your tire pressure. Knowing how to check zero point on bike gauge is easy. Just look at the needle before you use it. If it’s not on zero, adjust it if you can. If you can’t adjust it, you might need a new gauge. There are different kinds of gauges. Digital gauges are easy to read. Analog gauges don’t need batteries. Choose the one that works best for you. Remember to take care of your gauge. Keep it clean and store it in a safe place. This will help it last longer and stay accurate. With a little practice, you’ll be a tire pressure pro!
Conclusion
Keeping your tires properly inflated is important for safety and fun. Checking the zero point on your bike gauge is a simple way to make sure you’re getting accurate readings. By following the steps in this article, you can keep your gauge in good condition and your tires properly inflated. So, grab your gauge and get ready to ride! Knowing how to check zero point on bike gauge will help you enjoy many safe and happy bike adventures.
Frequently Asked Questions
Question No 1: Why is it important to check the zero point on a bike gauge?
Answer: Checking the zero point on a bike gauge is important because it ensures that your tire pressure readings are accurate. If the zero point is off, your gauge will give you incorrect information about your tire pressure. This can lead to underinflated or overinflated tires, which can be dangerous. Underinflated tires can cause flats and make it harder to ride. Overinflated tires can pop and cause accidents. By checking the zero point, you can make sure your tires are properly inflated for a safe and comfortable ride. It’s a simple step that can make a big difference.
Question No 2: How often should I check the zero point on my bike gauge?
Answer: You should check the zero point on your bike gauge before every ride. It only takes a few seconds, and it can help you catch any problems early. Think of it as part of your pre-ride checklist. Just like you check your helmet and brakes, you should also check the zero point on your gauge. If you notice that the zero point is off, you can adjust it or get a new gauge. This way, you’ll always know that your tire pressure is correct. It’s a simple habit that can help you stay safe and enjoy your bike rides.
Question No 3: What if my bike gauge doesn’t have an adjustment screw?
Answer: If your bike gauge doesn’t have an adjustment screw, you can’t adjust the zero point. This means that if the needle is not on zero, you can’t fix it. In this case, the best thing to do is get a new gauge. It’s important to have an accurate gauge so you can properly inflate your tires. Using a gauge with an incorrect zero point can be dangerous. You might think your tires have enough air when they don’t. Or, you might put too much air in them. Either way, it’s not safe. So, if your gauge doesn’t have an adjustment screw and the needle is off, it’s time for a new one.
Question No 4: Can extreme weather affect my bike gauge?
Answer: Yes, extreme weather can affect your bike gauge. Hot temperatures can cause the parts inside to expand. Cold temperatures can cause them to contract. This can affect the accuracy of the gauge. If you’re using your gauge in extreme weather, be extra careful. Don’t leave it in the sun or in a freezing car. Try to keep it at a moderate temperature. Also, check the zero point more often. Extreme weather can cause the zero point to shift.


