
Pump Gauge Adjustable Angle: The Smart Choice
Quick Summary: Adjusting your pump gauge angle makes reading tire pressure easier. First, identify the gauge type (inline or fixed). For inline gauges, simply rotate to the desired position. For fixed gauges, you may need to loosen a screw or clamp, adjust, and then re-tighten. This quick fix improves visibility and accuracy when inflating your tires!
Ever struggled to read your bike pump gauge while pumping up your tires? It’s a common frustration! Bending, squinting, or even having to hold the pump in a weird position just to see the pressure isn’t fun. The good news is, many pump gauges have adjustable angles. This small adjustment can make a big difference in how easily and accurately you inflate your tires. This guide walks you through the simple steps to adjust your pump gauge, so you can get back to enjoying your ride.
Here’s what we’ll cover:
- Identifying your gauge type.
- Step-by-step instructions for adjusting both inline and fixed gauges.
- Tips for maintaining your pump and gauge for long-term accuracy.
Understanding Your Pump Gauge
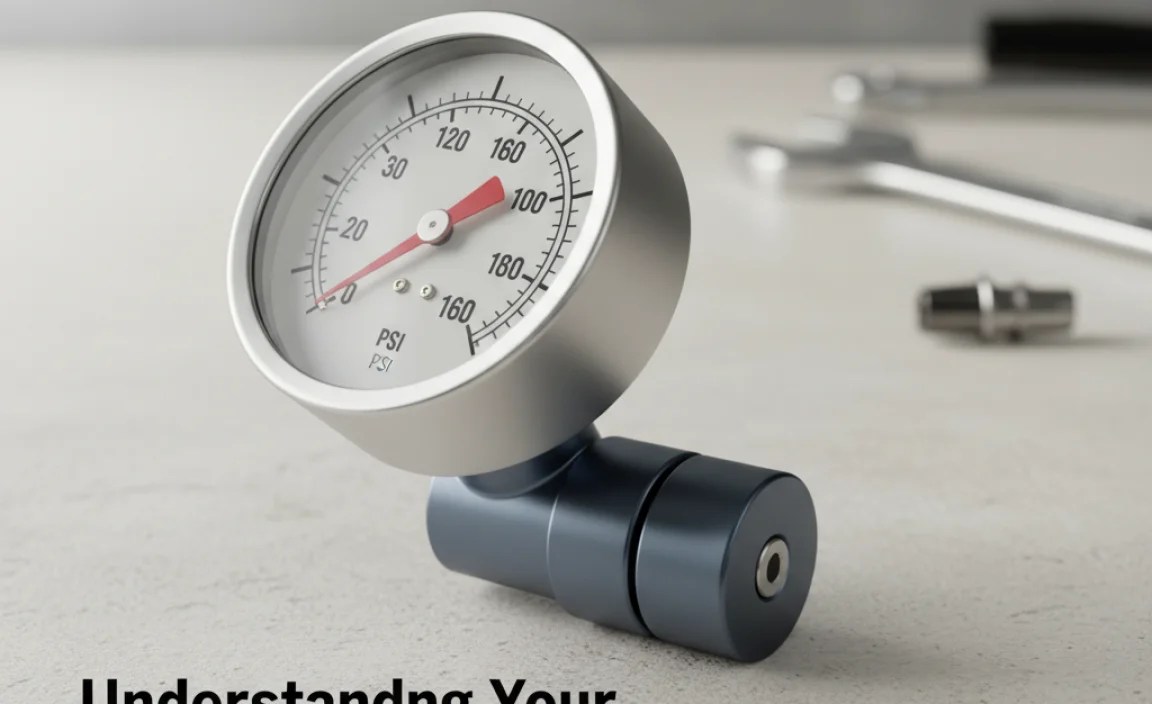
Before diving into the adjustment process, it’s important to know what type of pump gauge you have. The two main types are inline gauges and fixed gauges. Knowing the difference will help you adjust your gauge correctly and avoid damaging your pump.
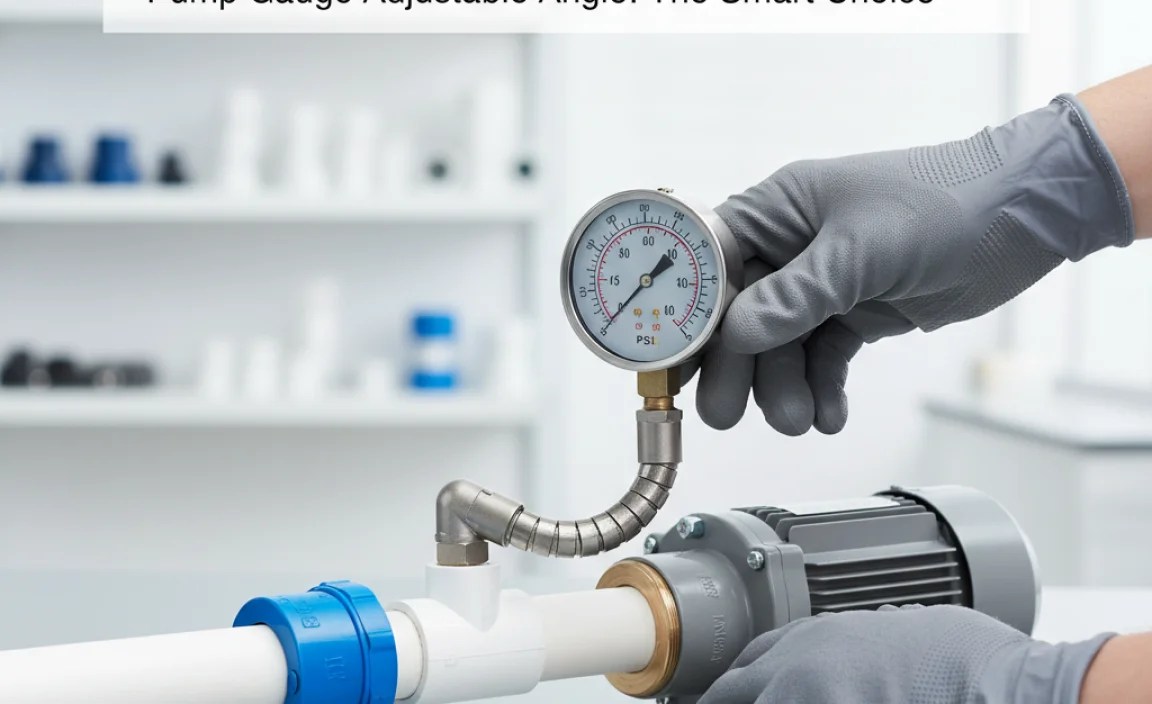
Inline Gauges
Inline gauges are positioned along the hose or body of the pump. They usually have a cylindrical shape and can be rotated independently of the pump handle or base. These are generally the easiest to adjust.
Fixed Gauges
Fixed gauges are integrated into the pump’s body or base. They can be round or square and are often set at a specific angle. Adjusting these gauges might require loosening a screw or clamp.
Adjusting an Inline Pump Gauge: Step-by-Step
Inline gauges are designed for easy adjustment. Here’s how to do it:
- Locate the Gauge: Find the cylindrical gauge on your pump hose or body.
- Grip the Gauge: Hold the gauge firmly with one hand.
- Rotate to Desired Angle: Gently rotate the gauge to the angle that provides the best visibility for you. It should swivel smoothly without much force.
- Test the Visibility: Check the gauge from your normal pumping position to ensure you can read it easily.
That’s it! Inline gauges are usually that simple to adjust. If your gauge is stuck, try a little penetrating oil, but be careful not to get any on the hose or valve.
Adjusting a Fixed Pump Gauge: Step-by-Step

Adjusting a fixed gauge can be a bit more involved, but it’s still a manageable task. Here’s a comprehensive guide:
Tools You’ll Need
- Screwdriver (usually Phillips or flathead, depending on your pump)
- Allen wrench set (metric)
- Penetrating oil (like WD-40)
- Clean cloth
Step-by-Step Instructions
- Examine the Gauge Mount: Look closely at how the gauge is attached to the pump. You’re looking for screws, bolts, or clamps.
- Loosen the Securing Mechanism: Use the appropriate screwdriver or Allen wrench to slightly loosen the screw or bolt. Don’t remove it completely. You only need to loosen it enough to allow movement.
- Apply Penetrating Oil (If Needed): If the gauge seems stuck, apply a small amount of penetrating oil to the joint where the gauge connects to the pump. Let it sit for a few minutes to help loosen any corrosion or debris.
- Adjust the Angle: Gently rotate the gauge to your preferred viewing angle. Be careful not to force it. If it doesn’t move easily, double-check that you’ve loosened the screw or bolt enough.
- Tighten the Securing Mechanism: Once the gauge is in the correct position, tighten the screw or bolt. Make sure it’s snug but not overly tight, as you could damage the gauge or the pump body.
- Test the Adjustment: Check the gauge from your normal pumping position to ensure it’s easy to read. Inflate a tire slightly to confirm the gauge is functioning correctly after the adjustment.
- Clean Up: Wipe away any excess oil with a clean cloth.
Troubleshooting Tips
- Gauge Won’t Budge: If the gauge is still stuck after loosening the screw, apply more penetrating oil and let it sit longer. You can also try gently tapping the gauge with the handle of a screwdriver to help loosen it.
- Screw is Stripped: If the screw is stripped and won’t loosen, you may need to use a screw extractor or drill it out. If you’re not comfortable with this, consider taking your pump to a local bike shop for assistance.
- Gauge is Loose After Adjustment: If the gauge is loose even after tightening the screw, you may need to add a small washer or shim to provide a tighter fit.
Maintaining Your Pump Gauge
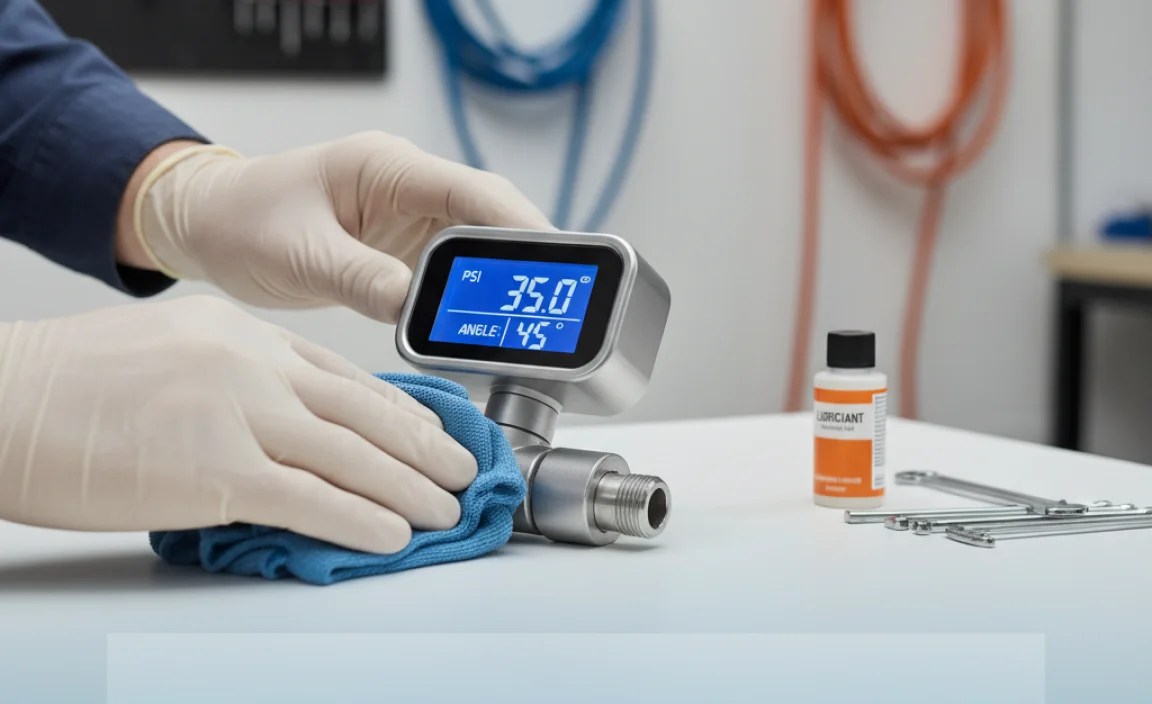
A well-maintained pump gauge ensures accurate readings and prolongs the life of your pump. Here are some essential maintenance tips:
- Regular Cleaning: Wipe down the gauge with a clean, dry cloth after each use to remove dirt and grime.
- Check for Damage: Inspect the gauge regularly for cracks, leaks, or other damage. If you notice any issues, replace the gauge or the entire pump.
- Store Properly: Store your pump in a dry, protected area to prevent corrosion and damage.
- Calibrate Periodically: Over time, gauges can lose accuracy. If you suspect your gauge is off, compare it to a known accurate gauge or take it to a bike shop for calibration.
Choosing the Right Pump with an Adjustable Gauge

If you’re in the market for a new bike pump, consider models with adjustable gauges. Here’s what to look for:
- Gauge Type: Decide whether you prefer an inline or fixed gauge. Inline gauges are generally easier to adjust, while fixed gauges may offer a more integrated look.
- Gauge Size and Clarity: Choose a gauge with large, easy-to-read numbers. Backlit gauges are especially helpful in low-light conditions.
- Build Quality: Look for a pump with a sturdy construction and durable materials. A high-quality pump will last longer and provide more accurate readings.
- Customer Reviews: Read reviews from other cyclists to get an idea of the pump’s performance and reliability.
Here’s a comparison table of different pump types and their gauge adjustability:
| Pump Type | Gauge Type | Adjustability | Pros | Cons |
|---|---|---|---|---|
| Floor Pump | Inline or Fixed | Inline: Highly adjustable; Fixed: Varies | Stable, powerful, accurate | Larger, less portable |
| Mini Pump | Inline | Highly adjustable | Portable, lightweight | Less powerful, can be less accurate |
| CO2 Inflator | None | N/A | Fast inflation, very portable | No gauge, single-use cartridges |
| Digital Pump | Fixed | Limited | Precise readings, easy to read | Requires batteries, can be more expensive |
Benefits of an Adjustable Gauge
Having an adjustable pump gauge offers several advantages:
- Improved Visibility: Adjusting the angle allows you to read the gauge easily from your natural pumping position, reducing strain and improving accuracy.
- Enhanced Accuracy: When you can see the gauge clearly, you’re less likely to under- or over-inflate your tires, which can improve performance and safety.
- Greater Comfort: No more bending, squinting, or awkward positions. An adjustable gauge makes the inflation process more comfortable and efficient.
- Personalized Setup: You can customize the gauge angle to suit your individual needs and preferences.
Common Issues with Pump Gauges
Even with proper maintenance, pump gauges can sometimes experience problems. Here are some common issues and how to address them:
- Inaccurate Readings: If your gauge is consistently off, it may need to be calibrated or replaced.
- Sticking Needle: A sticking needle can be caused by dirt or debris inside the gauge. Try tapping the gauge gently to see if it frees up. If not, you may need to disassemble and clean the gauge (if possible).
- Leaking Air: Leaks around the gauge can cause inaccurate readings and reduce pumping efficiency. Tighten any loose connections or replace worn-out seals.
- Broken Gauge Face: A cracked or broken gauge face can make it difficult to read the pressure. Replace the gauge as soon as possible.
Advanced Tips for Pump Maintenance
Beyond basic cleaning and inspection, here are some advanced tips for keeping your bike pump in top condition:
- Lubricate Moving Parts: Periodically lubricate the pump’s piston and other moving parts with a light oil or grease. This will keep the pump operating smoothly and prevent wear.
- Replace Worn Seals: Worn or damaged seals can cause air leaks and reduce pumping efficiency. Replace them as needed to maintain optimal performance.
- Check the Hose: Inspect the hose for cracks, kinks, or other damage. Replace it if necessary to prevent leaks and ensure proper airflow.
- Clean the Valve Head: The valve head can accumulate dirt and debris over time, which can interfere with its ability to seal properly. Clean it regularly with a brush and solvent.
Safety Considerations
When working with bike pumps and gauges, always prioritize safety:
- Wear Safety Glasses: Protect your eyes from flying debris when working with tools or pressurized air.
- Be Careful with Tools: Use the correct tools for the job and avoid applying excessive force, which could damage the pump or cause injury.
- Release Pressure Before Disassembly: Always release the air pressure from the pump before disassembling any parts.
- Follow Manufacturer’s Instructions: Refer to the pump’s instruction manual for specific safety guidelines and recommendations.
External Resources
- For more information on tire pressure and its impact on cycling performance, check out this resource from Bicycle Rolling Resistance.
- Learn about different types of bike pumps and their features on REI’s Expert Advice page.
FAQ: Adjusting Your Pump Gauge
Why is my pump gauge hard to read?
The angle might be wrong! Adjusting the gauge makes it easier to see without straining. Also, make sure the gauge face is clean.
What tools do I need to adjust a fixed pump gauge?
Usually, a screwdriver or Allen wrench will do the trick. You might also want some penetrating oil if it’s stuck.
How do I know if my pump gauge is accurate?
Compare your pump’s reading to another gauge you trust. If it’s consistently off, it might be time for a new pump or gauge.
Can I adjust a digital pump gauge?
Some digital pumps have adjustable displays, but most are fixed. Check your pump’s manual for instructions.
What if I strip the screw while adjusting the gauge?
Be careful! Use the right size screwdriver and apply gentle pressure. If it strips, a screw extractor might help, or take it to a bike shop.
How often should I maintain my bike pump?
Give it a quick wipe-down after each use and a more thorough check a few times a year. This keeps it working smoothly.
Is it worth buying a pump with an adjustable gauge?
Definitely! It makes inflating tires much easier and more accurate, especially if you ride often.
Conclusion
Adjusting your pump gauge angle is a simple yet effective way to improve your cycling experience. Whether you have an inline or fixed gauge, following these steps will help you achieve better visibility, accuracy, and comfort when inflating your tires. Regular maintenance and choosing the right pump can further enhance your cycling journey. So, take a few minutes to adjust your gauge, and enjoy the ride!


