
How to Use Mini Pump with Built-In Gauge: Easy Guide
Quick Summary: Using a mini pump with a built-in gauge is easy! First, securely attach the pump head to your bike tire’s valve. Then, pump steadily, watching the gauge to reach your desired tire pressure. Detach the pump carefully, and you’re ready to ride with properly inflated tires!
Ever been stuck on the road with a flat tire, fumbling with a mini pump and guessing if you’ve added enough air? It’s a common cycling frustration! Mini pumps with built-in gauges take the guesswork out of inflating your tires. They’re compact, portable, and give you an accurate pressure reading every time. No more squeezing your tires and hoping for the best!
In this guide, I’ll walk you through the simple steps of using a mini pump with a built-in gauge. You’ll learn how to attach it correctly, pump efficiently, and read the gauge accurately. By the end, you’ll be able to confidently inflate your tires to the perfect pressure, ensuring a smooth and safe ride. Let’s get started!
Understanding Your Mini Pump with Built-in Gauge

Before we jump into the how-to, let’s cover the basics. Knowing the parts of your mini pump and understanding how the gauge works will make the process much smoother.
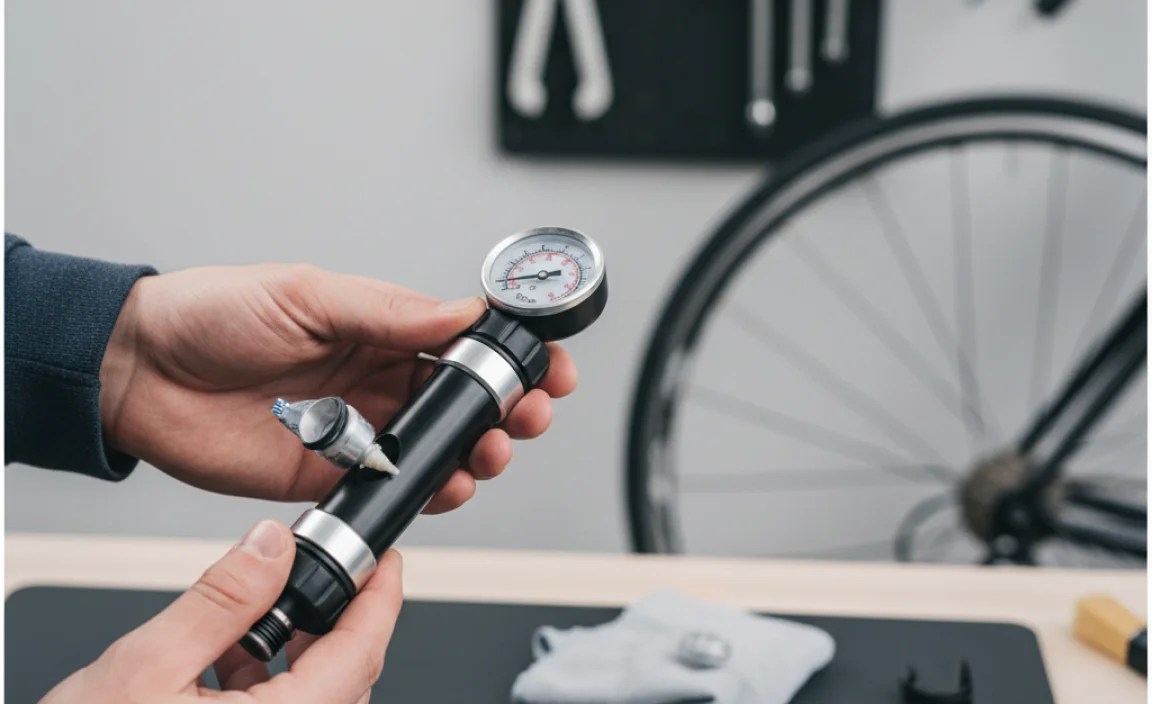
Key Components
Here’s a breakdown of the essential parts you’ll be using:
- Pump Body: The main cylinder of the pump.
- Handle: The part you grip and move to pump air.
- Pump Head: The part that attaches to your tire valve. Most have dual heads for Presta and Schrader valves.
- Valve Connector: The specific part of the pump head that fits onto the valve (Presta or Schrader).
- Locking Lever: A lever that secures the pump head to the valve.
- Gauge: The display that shows the current tire pressure. Can be analog or digital.
Types of Gauges: Analog vs. Digital
Mini pumps come with either analog or digital gauges. Here’s a quick comparison:
| Feature | Analog Gauge | Digital Gauge |
|---|---|---|
| Readability | Can be harder to read precisely, especially in low light. | Typically easier to read, with a clear digital display. |
| Accuracy | Generally accurate, but can be affected by wear and tear. | Often more precise and consistent. |
| Battery | No battery required. | Requires a battery to operate. |
| Durability | Generally more durable as there are fewer electronic components. | Can be more susceptible to damage from drops or moisture. |
| Cost | Usually less expensive. | Usually more expensive. |
Understanding Pressure Units: PSI vs. BAR
Tire pressure is usually measured in PSI (pounds per square inch) or BAR (a metric unit of pressure). Most gauges display both units. It’s important to know which unit your tires use. Check the sidewall of your tire; it will indicate the recommended pressure range in both PSI and BAR.
Here’s a simple conversion:
- 1 BAR ≈ 14.5 PSI
Knowing this conversion can be helpful if your gauge only shows one unit and your tire recommends the other.
Step-by-Step Guide: Using Your Mini Pump
Now, let’s get to the practical part. Follow these steps to inflate your tires using a mini pump with a built-in gauge.
Step 1: Prepare Your Bike and Pump
Before you start pumping, make sure everything is ready:
- Position Your Bike: Place your bike in a stable position. You can lean it against a wall or use a bike stand.
- Locate the Valve: Find the valve on your tire. Identify whether it is a Presta or Schrader valve.
- Prepare the Pump: Check your pump to ensure the pump head is set to the correct valve type (Presta or Schrader). Many pumps have a reversible head or adapter.
- Unlock the Valve (Presta): If you have a Presta valve, unscrew the small nut at the top to open it.
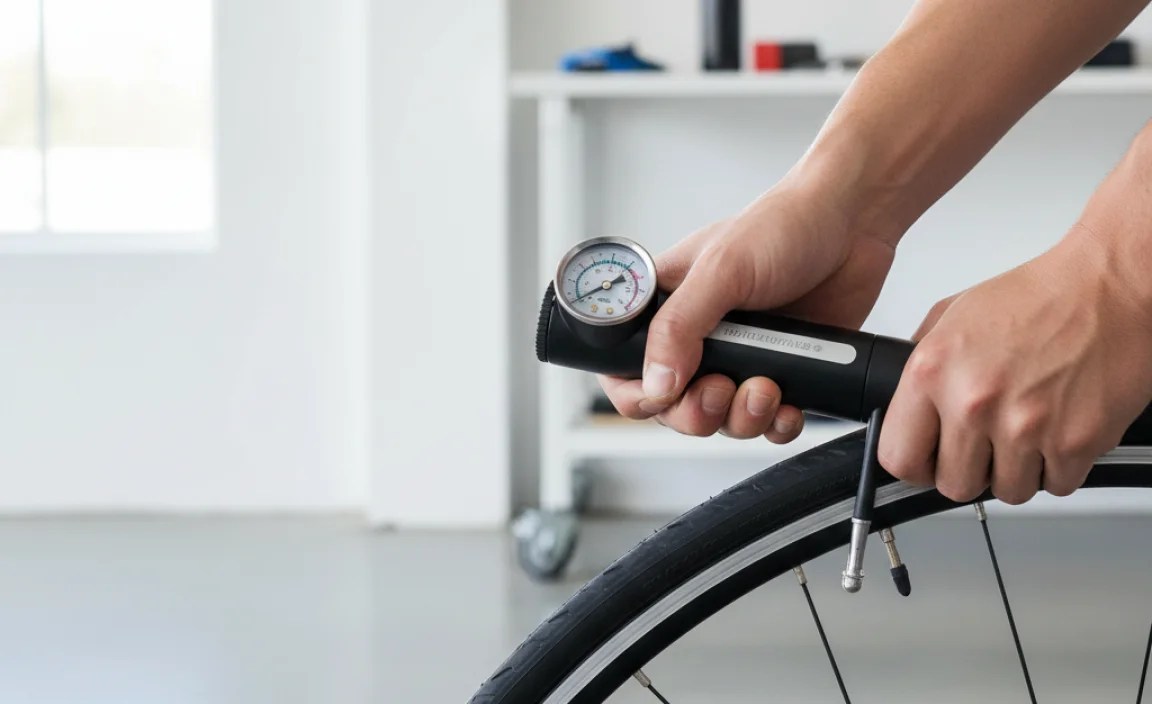
Step 2: Attach the Pump Head to the Valve
This is a crucial step to ensure a good seal and accurate pressure reading:
- Position the Pump Head: Place the correct valve connector on the pump head over the tire valve.
- Secure the Connection: Press the pump head firmly onto the valve. Make sure it’s snug and straight.
- Engage the Locking Lever: Flip the locking lever (if your pump has one) to secure the pump head to the valve. This creates an airtight seal.
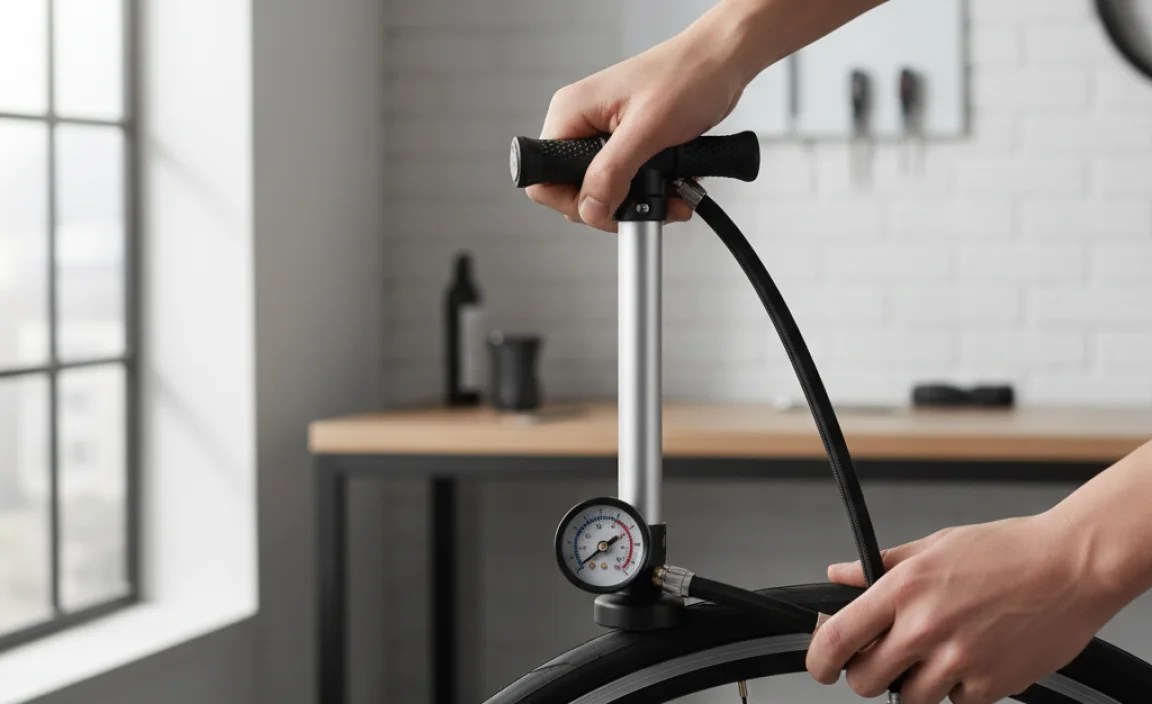
Step 3: Begin Pumping
Now it’s time to add air to your tire:
- Grip the Pump: Hold the pump handle firmly with both hands.
- Pump Steadily: Use a smooth, consistent motion to pump air into the tire. Avoid jerky movements.
- Watch the Gauge: Keep an eye on the gauge as you pump. You’ll see the pressure increasing.
Step 4: Inflate to the Correct Pressure
This is where the built-in gauge becomes invaluable:
- Check Recommended Pressure: Look at the sidewall of your tire for the recommended pressure range (e.g., 80-100 PSI).
- Inflate Gradually: Pump until the gauge reads within the recommended range. It’s better to slightly under-inflate than over-inflate.
- Fine-Tune: If you accidentally over-inflate, you can gently release a small amount of air by pressing the valve core (Presta) or depressing the pin in the Schrader valve with a suitable tool.
Step 5: Detach the Pump
Removing the pump carefully will prevent air loss:
- Disengage the Locking Lever: If your pump has a locking lever, flip it to release the pump head.
- Remove the Pump Head: Gently pull the pump head straight off the valve.
- Close the Valve (Presta): If you have a Presta valve, screw the small nut back down to close it.
Step 6: Check Your Work
A final check ensures you’re ready to ride:
- Inspect the Tire: Look for any signs of damage or uneven inflation.
- Squeeze the Tire: Feel the tire to make sure it’s firm and properly inflated.
- Take a Short Ride: If possible, take a quick spin to ensure the tire feels right.
Tips for Efficient Pumping
Want to pump like a pro? Here are some tips to make the process easier and more efficient:
- Use Your Body Weight: Lean into the pump to use your body weight for leverage. This reduces strain on your arms.
- Maintain a Good Posture: Keep your back straight and avoid bending over too much.
- pump in short Bursts: If the pump gets too hot, pump in short bursts to allow it to cool down.
- Lubricate the Pump: Occasionally lubricate the pump’s moving parts with a silicone-based lubricant to keep it working smoothly.
- Practice Makes Perfect: The more you use your pump, the better you’ll become at it.
Troubleshooting Common Issues
Even with a great pump, you might encounter some issues. Here’s how to troubleshoot them:
| Issue | Possible Cause | Solution |
|---|---|---|
| Pump won’t attach to valve | Incorrect valve connector selected; valve is damaged or clogged. | Ensure correct side of pump head is selected; clean or replace valve. |
| Air is leaking while pumping | Poor seal between pump head and valve; damaged valve. | Ensure pump head is securely attached; check valve for damage. |
| Gauge isn’t showing pressure | Gauge is broken; pump head not fully engaged. | Try reattaching the pump head; if problem persists, replace the pump. |
| Difficult to pump | Pump is dry or clogged; tire pressure is already high. | Lubricate the pump; check tire pressure and avoid over-inflating. |
Maintaining Your Mini Pump
Proper maintenance will extend the life of your mini pump and keep it working reliably:
- Clean Regularly: Wipe down the pump with a damp cloth to remove dirt and debris.
- Lubricate Moving Parts: Use a silicone-based lubricant to keep the pump’s moving parts working smoothly.
- Store Properly: Store the pump in a dry place to prevent rust and corrosion.
- Check for Wear and Tear: Inspect the pump regularly for signs of damage, such as cracks or leaks.
- Replace Parts as Needed: Replace worn or damaged parts, such as the pump head or O-rings.
Choosing the Right Mini Pump
With so many mini pumps on the market, it can be tough to choose the right one. Here are some factors to consider:
- Gauge Type: Do you prefer an analog or digital gauge?
- Maximum Pressure: Make sure the pump can reach the maximum pressure recommended for your tires.
- Valve Compatibility: Ensure the pump is compatible with both Presta and Schrader valves.
- Size and Weight: Consider the size and weight of the pump, especially if you’ll be carrying it on long rides.
- Durability: Look for a pump made from high-quality materials that can withstand the rigors of cycling.
- Customer Reviews: Read reviews from other cyclists to get an idea of the pump’s performance and reliability.
Mini Pump Recommendations
Here are a few highly-rated mini pumps with built-in gauges to consider:
- Lezyne Road Drive: Known for its high efficiency and durable construction.
- Topeak RaceRocket HP: Compact and lightweight, with a built-in pressure gauge.
- Crankbrothers Sterling LG: Versatile pump with a dual-stage inflation system.
- PRO Performance Mini Pump: A compact and reliable option with an integrated gauge.
FAQ About Mini Pumps with Gauges
Here are some frequently asked questions about using mini pumps with built-in gauges:
- Q: How accurate are the gauges on mini pumps?
- A: Generally, they’re reasonably accurate for on-the-go adjustments. Digital gauges tend to be more precise than analog, but both are good for getting within the recommended pressure range. For critical applications, use a separate, high-quality pressure gauge to double-check.
- Q: Can I use a mini pump to inflate tubeless tires?
- A: It’s possible, but it can be challenging. Tubeless tires often require a large volume of air to seat the bead. A mini pump might not deliver enough air quickly enough. A dedicated tubeless inflator or CO2 inflator is usually a better choice.
- Q: What’s the difference between Presta and Schrader valves?
- A: Presta valves are narrow and typically found on road bikes. They have a small nut that needs to be unscrewed to inflate the tire. Schrader valves are wider and similar to those found on car tires. They have a spring-loaded pin in the center.
- Q: How often should I check my tire pressure?
- A: Ideally, check your tire pressure before every ride. At a minimum, check it once a week. Proper tire pressure improves rolling efficiency, handling, and reduces the risk of flats.
- Q: What should I do if my pump gets too hot while pumping?
- A: If your pump gets hot, stop pumping and let it cool down for a few minutes. Pumping in short bursts can also help prevent overheating. Overheating can damage the pump’s internal components.
- Q: My mini pump has both Presta and Schrader settings. How do I switch between them?
- A: Most mini pumps have a reversible head or an adapter that allows you to switch between Presta and Schrader valves. Check your pump’s instructions for the specific method. Typically, you’ll need to unscrew or pull apart the pump head and reassemble it in the correct configuration.
- Q: Can I use a mini pump for my mountain bike tires?
- A: Yes, you can! Just make sure the pump is capable of reaching the lower pressure ranges typically used in mountain bike tires (e.g., 25-35 PSI). Some mini pumps are specifically designed for high-volume, low-pressure tires.
Conclusion
Using a mini pump with a built-in gauge doesn’t have to be a struggle. With the right knowledge and a little practice, you can confidently inflate your tires to the perfect pressure every time. This ensures a safer, more comfortable, and more efficient ride. Remember to maintain your pump, choose the right model for your needs, and don’t be afraid to experiment to find what works best for you.
So, the next time you’re out on the road and notice your tires are feeling a bit soft, don’t panic! Just grab your mini pump, follow these steps, and get back to enjoying your ride. Happy cycling!


