
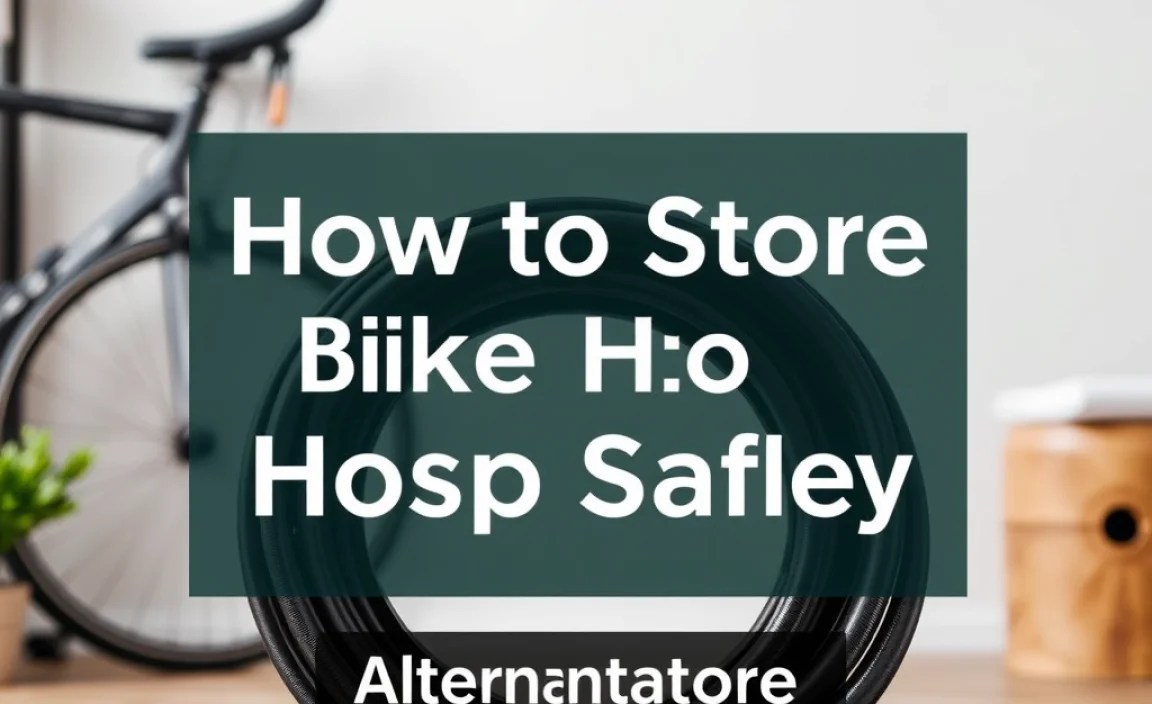
How to Store Bike Pump Hose Safely: Easy Tips
Quick Summary:
To store your bike pump hose safely, coil it loosely to prevent kinks and cracks. Use the pump’s built-in clips or a Velcro strap to secure the coil. Store the pump indoors, away from direct sunlight and extreme temperatures, to prolong the hose’s life. Regular inspection for wear and tear will also help maintain its condition.
Bike pumps are essential for keeping your tires properly inflated, ensuring smooth and safe rides. However, the hose on your pump can be a point of frustration if not stored correctly. A tangled, cracked, or kinked hose can make pumping difficult or even render your pump useless.
The good news is that with a few simple steps, you can keep your bike pump hose in top condition. This article will guide you through the best practices for storing your bike pump hose safely, so you can avoid common problems and keep your pump working efficiently for years to come. We’ll cover coiling techniques, storage locations, and preventative maintenance tips to keep your hose in great shape. Let’s get started!
Why Proper Hose Storage Matters

Proper storage of your bike pump hose is crucial for several reasons. Neglecting this aspect of bike maintenance can lead to a variety of problems that affect the pump’s performance and longevity. Here’s a detailed look at why taking the time to store your hose correctly is so important:
Preventing Cracks and Kinks
The material used in bike pump hoses, typically rubber or plastic, can become brittle and prone to cracking over time, especially when exposed to harsh conditions. Improper storage, such as tightly folding or bending the hose, accelerates this process. Kinks, which are sharp bends in the hose, can restrict airflow and eventually cause the hose to crack at the bending point.
- Cracks: Exposure to sunlight, heat, and ozone can degrade the hose material, leading to cracks. These cracks can cause air leaks, making it difficult to inflate your tires properly.
- Kinks: Tight bends or folds in the hose can cause it to kink. Kinks restrict airflow, making it harder to pump air into your tires. Over time, the kinking point can weaken and crack.
Maintaining Airflow Efficiency
A damaged hose compromises the pump’s ability to deliver air efficiently. Cracks and kinks create obstructions that reduce the amount of air reaching the tire, requiring more effort to achieve the desired pressure. This not only makes inflating tires more difficult but can also lead to inaccurate pressure readings.
- Reduced Air Pressure: Cracks and leaks in the hose allow air to escape, reducing the overall pressure delivered to the tire.
- Increased Effort: With a compromised hose, you’ll need to pump more to achieve the correct tire pressure, wasting energy and time.
Extending the Lifespan of Your Pump
By taking care of the hose, you’re also extending the life of the entire pump. A well-maintained hose ensures that the pump operates smoothly and efficiently, reducing wear and tear on other components. Regular maintenance, including proper hose storage, is a cost-effective way to protect your investment.
- Reduced Wear and Tear: Proper hose storage minimizes stress on the hose and other pump components.
- Cost Savings: By extending the life of your pump, you avoid the need for frequent replacements, saving money in the long run.
Ensuring Readiness
There’s nothing more frustrating than needing to inflate a tire quickly only to find that your pump hose is damaged and unusable. Proper storage ensures that your pump is always ready for use, whether you’re at home or on the road.
- Quick Access: A well-stored hose is easy to access and deploy when you need it.
- Reliability: Knowing that your pump is in good working condition provides peace of mind, especially during emergencies.
Step-by-Step Guide to Storing Your Bike Pump Hose

Storing your bike pump hose correctly doesn’t have to be complicated. Follow these simple steps to keep your hose in excellent condition:
Step 1: Coiling the Hose Properly
The way you coil the hose is the most critical factor in preventing damage. A loose, even coil is ideal. Avoid tight bends or sharp angles.
- Create a Loose Loop: Start by making a large, loose loop with the hose. The diameter of the loop should be about 6-8 inches.
- Continue Coiling: Continue making similar-sized loops, following the natural curve of the hose. Avoid forcing the hose into a shape it doesn’t want to take.
- Avoid Tightening: As you coil, make sure the loops remain loose. Tight coils can create stress points that lead to cracks and kinks.
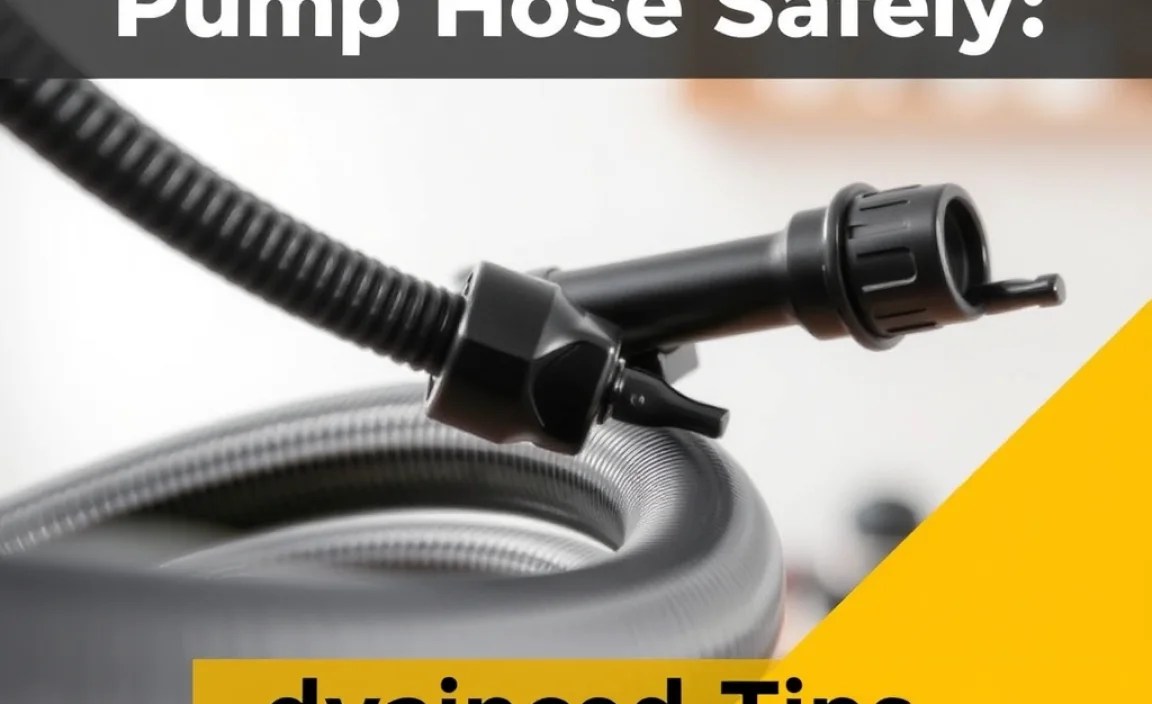
Step 2: Securing the Coil
Once the hose is coiled, you’ll need to secure it to prevent it from unraveling. There are several methods you can use:
- Built-in Clips: Many bike pumps come with built-in clips or hooks specifically designed to hold the hose. Use these if available.
- Velcro Straps: Velcro straps are an excellent alternative if your pump doesn’t have built-in clips. They’re gentle on the hose and easy to use.
- Rubber Bands: While rubber bands can work in a pinch, they can also degrade the hose over time. Avoid using them for long-term storage.
Here’s a quick comparison of securing methods:
| Method | Pros | Cons |
|---|---|---|
| Built-in Clips | Convenient, designed for the pump | Not available on all pumps |
| Velcro Straps | Gentle, adjustable, reusable | May need to purchase separately |
| Rubber Bands | Inexpensive, readily available | Can degrade the hose, not durable |
Step 3: Choosing the Right Storage Location
Where you store your bike pump is just as important as how you coil the hose. The ideal location is indoors, away from direct sunlight and extreme temperatures.
- Indoors: Storing your pump indoors protects it from the elements, such as rain, snow, and direct sunlight, which can damage the hose.
- Away from Sunlight: Direct sunlight can cause the hose material to degrade and become brittle.
- Moderate Temperatures: Extreme temperatures, both hot and cold, can affect the hose’s flexibility and durability. Avoid storing your pump in places like a hot garage or freezing shed.
Step 4: Regular Inspection and Maintenance
Regularly inspecting your bike pump hose is essential for identifying and addressing potential problems before they become serious. Make it a habit to check the hose every few weeks or before each ride.
- Check for Cracks: Look closely for any signs of cracking, especially near the ends of the hose and at bending points.
- Inspect for Kinks: Check for any kinks or flattened areas in the hose. If you find any, try to gently reshape the hose.
- Clean the Hose: Use a damp cloth to wipe down the hose and remove any dirt or grime. Avoid using harsh chemicals or solvents, which can damage the material.
Alternative Storage Solutions
While the above steps are generally applicable, there are some alternative storage solutions that may be more suitable depending on your specific circumstances and the type of bike pump you have.
Wall-Mounted Storage
If you have limited floor space, consider wall-mounted storage options. These can help keep your pump and hose organized and out of the way.
- Pump-Specific Mounts: Some bike pump manufacturers offer wall mounts specifically designed for their pumps. These mounts often include features for storing the hose.
- Generic Hooks: You can also use generic hooks or brackets to hang your pump on the wall. Make sure the hook is large enough to accommodate the pump and hose without compressing it.
Hanging Storage
Hanging the pump can be a good solution, particularly in a garage or shed. Ensure the hose is properly coiled and secured before hanging.
- Pegboards: A pegboard with hooks can be a versatile storage solution for your bike pump and other tools.
- Hanging Straps: Use sturdy straps with hooks to hang the pump from a ceiling or wall.
Using Storage Bags
Some cyclists prefer to store their bike pump in a bag or case. This can provide extra protection, especially when transporting the pump.
- Pump-Specific Bags: Some manufacturers offer bags specifically designed for their pumps. These bags often have compartments for storing the hose and other accessories.
- Generic Tool Bags: A small tool bag or pouch can also work well. Make sure the bag is large enough to accommodate the pump and hose without compressing it.
Advanced Tips for Hose Longevity
To further extend the life of your bike pump hose, consider these advanced tips:
Use a Hose Conditioner
Applying a rubber or vinyl conditioner can help keep the hose flexible and prevent it from drying out. Look for products specifically designed for rubber or plastic components.
- Application: Apply a small amount of conditioner to a clean cloth and wipe down the hose. Avoid getting conditioner on the pump’s internal components.
- Frequency: Apply conditioner every few months, or as needed, to keep the hose in good condition.
Avoid Over-Extension
Be mindful not to over-extend the hose when inflating your tires. Over-extension can stretch the hose and weaken its material.
- Positioning: Position the pump close to the tire valve to minimize the amount of hose you need to extend.
- Gentle Use: Avoid pulling or yanking on the hose while inflating your tires.
Replace the Hose When Necessary
Even with the best care, a bike pump hose will eventually wear out. If you notice significant cracks, kinks, or leaks, it’s time to replace the hose.
- Availability: Replacement hoses are often available from the pump manufacturer or from aftermarket suppliers.
- Installation: Follow the manufacturer’s instructions for replacing the hose. If you’re not comfortable doing it yourself, take the pump to a bike shop.
Here’s a table summarizing these advanced tips:
| Tip | Description | Frequency |
|---|---|---|
| Use Hose Conditioner | Apply rubber or vinyl conditioner to keep the hose flexible. | Every few months |
| Avoid Over-Extension | Minimize stretching the hose during inflation. | Every use |
| Replace When Necessary | Replace the hose if significant damage is present. | As needed |
Troubleshooting Common Hose Problems
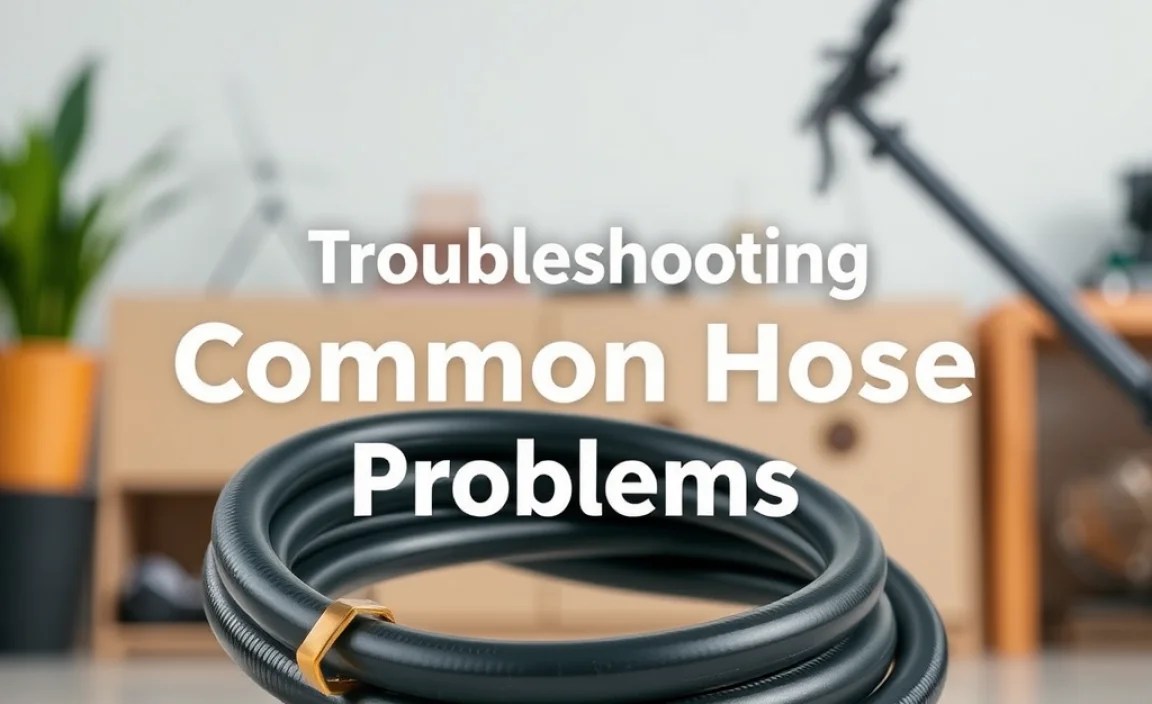
Even with proper storage, you might encounter some common issues with your bike pump hose. Here’s how to troubleshoot them:
Hose Cracks
- Problem: Small cracks appear on the surface of the hose.
- Solution: If the cracks are minor, you can try using a rubber sealant to patch them. For more significant cracks, replacing the hose is the best option.
Kinks and Flattened Areas
- Problem: The hose has developed kinks or flattened areas that restrict airflow.
- Solution: Gently try to reshape the hose by bending it in the opposite direction of the kink. If the kink is severe, you may need to replace the hose.
Leaks at the Connections
- Problem: Air leaks from the point where the hose connects to the pump or the tire valve.
- Solution: Check the connections for tightness. You may need to tighten the fittings or replace any worn-out O-rings or seals.
Hose Detachment
- Problem: The hose detaches from the pump or valve during use.
- Solution: Ensure the hose is securely attached to the pump and valve. If the connection is loose, you may need to replace the hose or the fittings.
FAQ: Common Questions About Bike Pump Hose Storage
1. Can I leave my bike pump outside?
It’s best not to leave your bike pump outside. Exposure to sun, rain, and temperature changes can damage the hose and other components, reducing the pump’s lifespan.
2. How often should I inspect my bike pump hose?
Inspect your hose every few weeks or before each ride. Look for cracks, kinks, and any signs of wear and tear. Regular inspections help you catch problems early.
3. What’s the best way to coil a bike pump hose?
Create loose, even loops about 6-8 inches in diameter. Avoid tight bends or sharp angles, as these can cause kinks and cracks. Secure the coil with built-in clips or a Velcro strap.
4. Can I use zip ties to secure the hose?
While zip ties can be used, they can also be too tight and damage the hose over time. Velcro straps are a gentler and more adjustable alternative.
5. Is it okay to store my bike pump in a cold garage?
Avoid storing your bike pump in extremely cold or hot environments. Moderate temperatures are best for maintaining the hose’s flexibility and durability. A consistently cold garage can make the hose brittle.
6. How do I clean my bike pump hose?
Use a damp cloth to wipe down the hose and remove any dirt or grime. Avoid using harsh chemicals or solvents, which can damage the material. A mild soap and water solution can be used for tougher stains.
7. When should I replace my bike pump hose?
Replace the hose if you notice significant cracks, kinks, leaks, or if the hose becomes brittle and inflexible. Replacing the hose will ensure your pump operates efficiently.
Conclusion
Properly storing your bike pump hose is a simple yet crucial aspect of bike maintenance. By coiling the hose loosely, securing it with appropriate straps or clips, and storing the pump in a suitable environment, you can prevent cracks, kinks, and other damage. Regular inspections and timely replacements will further extend the life of your pump and ensure it’s always ready when you need it. With these tips, you’ll keep your tires properly inflated and enjoy smooth, safe rides for years to come.


