
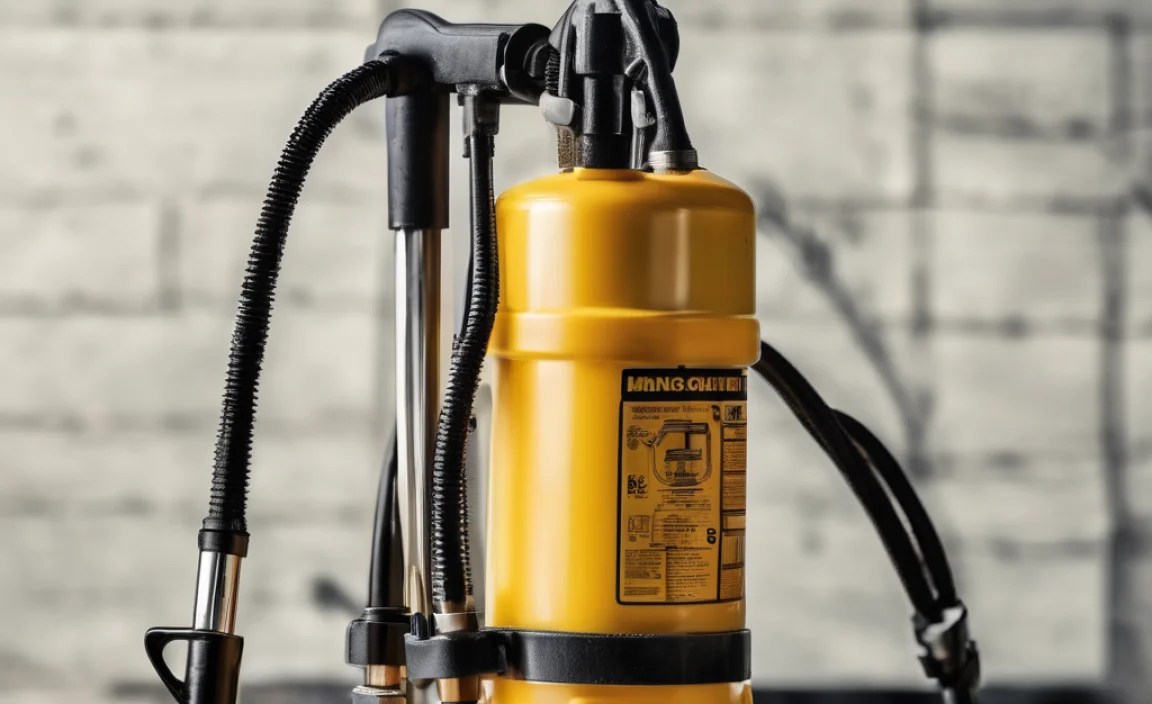
How to Fix Low Pressure in Hand Pump: Easy Guide
Quick Summary: Low pressure in your hand pump? Don’t sweat it! Often, it’s a simple fix. Check the pump head connection to the valve, make sure the valve core isn’t loose, and inspect the pump’s internal seals. A little tightening or cleaning can often restore full pumping power. This guide will walk you through each step!
Is your trusty hand pump suddenly struggling to inflate your tires? Pumping and pumping, but barely feeling any pressure? It’s a common frustration for cyclists, but the good news is that most of the time, low pressure from a hand pump is easily fixed at home. You don’t need to be a bike mechanic to troubleshoot and get your pump working like new again.
This guide will take you through the most common causes of low pressure in hand pumps, and provide simple, step-by-step solutions. We’ll cover everything from checking your valve connection to inspecting the pump’s internal components. Let’s get started and get you back on the road with properly inflated tires!
Understanding Why Your Hand Pump Has Low Pressure

Before diving into the fixes, it’s helpful to understand the most common reasons why your hand pump might be losing pressure. This will help you diagnose the problem quickly and efficiently.
- Poor Valve Connection: The pump head may not be properly sealed on the tire valve (Presta or Schrader).
- Leaky Valve Core: The valve core itself might be loose or damaged, allowing air to escape.
- Damaged Pump Seals: The internal seals within the pump cylinder can wear out or become damaged, reducing the pump’s ability to build pressure.
- Clogged Pump Head: Dirt or debris can accumulate in the pump head, preventing a proper seal.
- Worn Piston Ring: The piston ring inside the pump cylinder helps create a tight seal. If it’s worn, air can leak past it.
Tools You’ll Need
Fortunately, fixing most hand pump issues doesn’t require a huge toolbox. Here’s a list of the essential tools you’ll likely need:
- Valve Core Tool: For tightening or removing Presta and Schrader valve cores.
- Small Adjustable Wrench: For tightening the pump head or other small components.
- Clean Rags: For cleaning dirty parts.
- Silicone Grease or Lubricant: For lubricating pump seals and O-rings.
- Small Screwdriver Set: For disassembling the pump head or accessing internal components.
- Needle-Nose Pliers: Helpful for gripping small parts.
Step-by-Step Guide to Fixing Low Pressure

Now, let’s get into the step-by-step process of diagnosing and fixing your low-pressure hand pump.
Step 1: Check the Pump Head Connection
The most common cause of low pressure is a poor seal between the pump head and the tire valve. This is often the easiest issue to resolve.
- Inspect the Connection: Make sure the pump head is fully seated on the valve. Ensure the lever (if present) is fully engaged to lock the pump head in place.
- Re-seat the Pump Head: Remove the pump head and reattach it, making sure it’s aligned correctly with the valve. Apply firm, even pressure.
- Test for Leaks: Listen closely for hissing sounds around the valve stem. If you hear a leak, try re-seating the pump head again.
- Adjust the Pump Head Tension: Some pump heads have an adjustable tension mechanism. Experiment with slight adjustments to find the sweet spot for a tight seal.
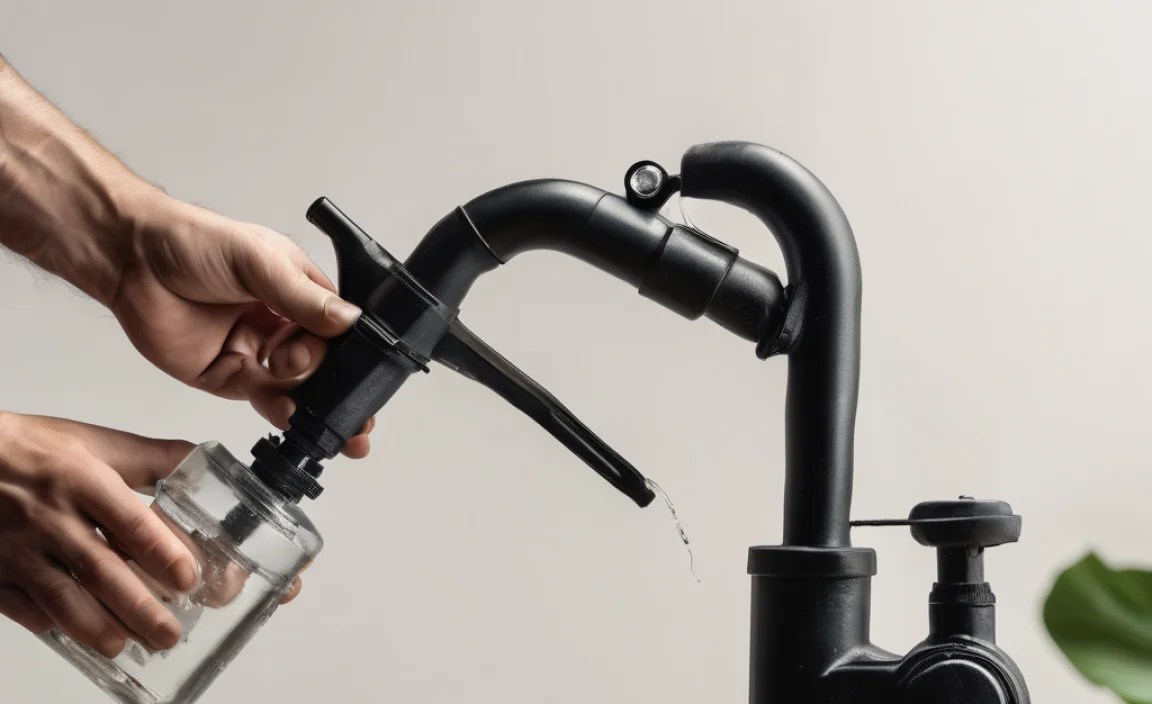
Step 2: Inspect and Tighten the Valve Core
A loose valve core can leak air, making it difficult to inflate your tires. This is especially common with Presta valves.
- Remove the Valve Cap: Unscrew the valve cap from the valve stem.
- Use a Valve Core Tool: Insert the valve core tool into the valve stem and gently tighten the core. Don’t overtighten, as this can damage the valve.
- Test for Leaks: Inflate the tire slightly and listen for leaks around the valve stem. If the leak persists, proceed to the next step.
- Remove and Clean the Valve Core (If Necessary): If tightening doesn’t solve the problem, remove the valve core completely. Clean it with a clean rag to remove any dirt or debris.
- Reinstall and Tighten: Reinstall the valve core and tighten it securely with the valve core tool.
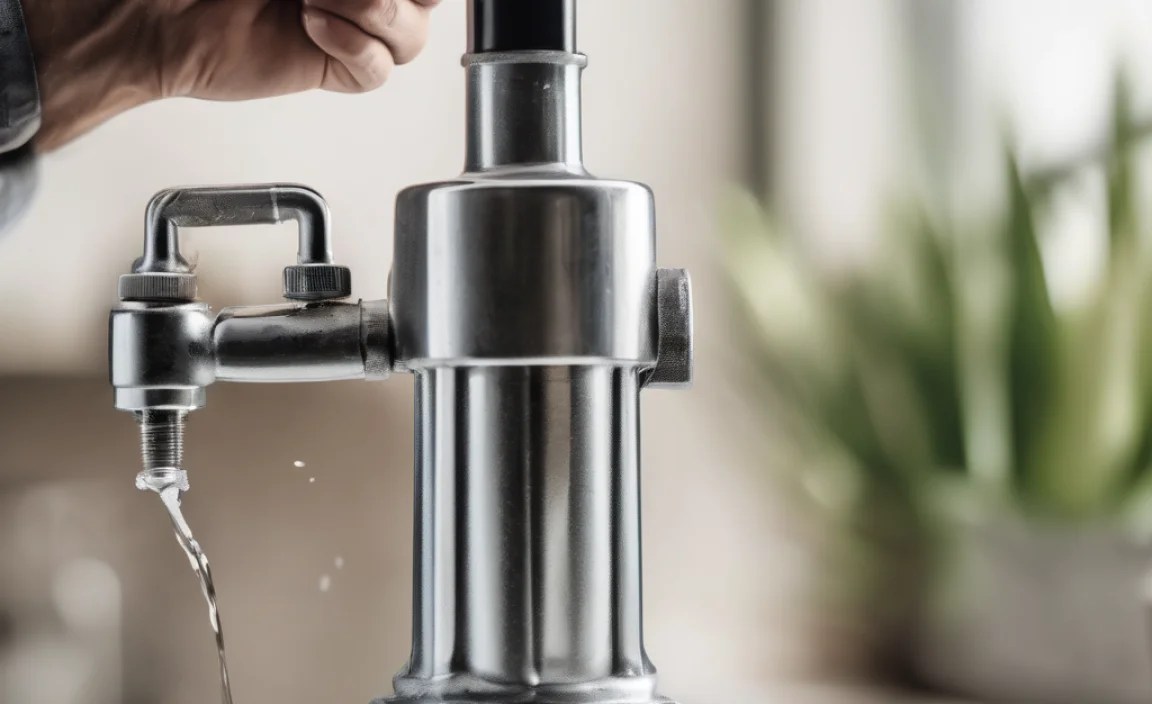
Step 3: Examine the Pump’s Internal Seals
If the valve connection and valve core are fine, the problem may lie with the pump’s internal seals. These seals can dry out, crack, or become damaged over time.
- Disassemble the Pump: Carefully disassemble the pump according to the manufacturer’s instructions. This usually involves removing screws or clips.
- Locate the Seals: Identify the O-rings and seals within the pump cylinder and pump head.
- Inspect for Damage: Look for cracks, tears, or wear on the seals.
- Clean the Seals: Clean the seals with a clean rag to remove any dirt or debris.
- Lubricate the Seals: Apply a small amount of silicone grease or lubricant to the seals. This will help them create a better seal and prevent them from drying out.
- Reassemble the Pump: Carefully reassemble the pump, making sure all parts are properly aligned.
Step 4: Check for a Clogged Pump Head
Dirt and debris can accumulate in the pump head, preventing a proper seal with the tire valve.
- Disassemble the Pump Head: Carefully disassemble the pump head, noting the position of each component.
- Clean the Components: Clean all parts of the pump head with a clean rag. Use a small brush or toothpick to remove any stubborn dirt or debris.
- Inspect for Damage: Check the rubber seal inside the pump head for cracks or wear. Replace the seal if necessary.
- Reassemble the Pump Head: Carefully reassemble the pump head, making sure all parts are properly aligned.
Step 5: Inspect the Piston Ring
The piston ring creates a seal between the piston and the cylinder wall. If it’s worn, air will leak past it, reducing pressure.
- Locate the Piston: The piston is usually located inside the main cylinder of the pump.
- Remove the Piston: Carefully remove the piston from the cylinder. This may require unscrewing or unclipping it.
- Inspect the Piston Ring: Examine the piston ring for wear, cracks, or damage.
- Replace the Piston Ring (If Necessary): If the piston ring is damaged, replace it with a new one. You can usually find replacement rings online or at a bike shop.
- Lubricate the Piston Ring: Apply a small amount of silicone grease or lubricant to the piston ring.
- Reinstall the Piston: Carefully reinstall the piston into the cylinder.
Troubleshooting Table
Here’s a quick reference table to help you diagnose and fix common hand pump problems:
| Problem | Possible Cause | Solution |
|---|---|---|
| Low pressure, pump head slips off valve | Poor pump head connection | Re-seat pump head, adjust tension, check for damage. |
| Air leaking from valve stem | Loose valve core | Tighten valve core with valve core tool. |
| Pump feels easy to push, but little air goes in | Damaged internal seals | Inspect, clean, and lubricate pump seals. Replace if necessary. |
| Pump head is clogged | Dirt and debris | Disassemble and clean the pump head. |
| Pump hisses during inflation | Worn piston ring | Inspect and replace the piston ring. |
| Pump handle moves freely with no resistance | Broken internal components | Disassemble the pump to check for broken parts, replace if necessary |
Maintaining Your Hand Pump
Regular maintenance can prevent many of the problems that lead to low pressure. Here are a few tips:
- Clean Regularly: Wipe down your pump after each use to remove dirt and debris.
- Lubricate Regularly: Lubricate the pump seals and O-rings every few months with silicone grease or lubricant.
- Store Properly: Store your pump in a clean, dry place to prevent corrosion and damage.
- Inspect Regularly: Periodically inspect your pump for signs of wear or damage. Replace worn parts as needed.
Choosing the Right Hand Pump
If your current hand pump is beyond repair, or if you’re simply looking for an upgrade, here are some factors to consider when choosing a new one:
- Type of Valve: Make sure the pump is compatible with the type of valves on your tires (Presta or Schrader). Some pumps have dual heads that work with both types.
- Pressure Rating: Choose a pump with a pressure rating that’s appropriate for your tires. Road bike tires typically require higher pressure than mountain bike tires.
- Size and Portability: Consider the size and weight of the pump if you plan to carry it with you on rides.
- Ergonomics: Look for a pump with a comfortable handle and a stable base.
- Features: Some pumps have features like built-in pressure gauges, footrests, and flexible hoses.
Here is a comparison of some of the popular hand pump brands in the market right now:
| Brand | Model | Valve Compatibility | Max Pressure | Key Features | Price Range |
|---|---|---|---|---|---|
| Lezyne | Alloy Drive | Presta/Schrader | 160 psi | CNC-machined aluminum, compact design | $40-$60 |
| Topeak | Road Morph G | Presta/Schrader | 160 psi | Fold-out footpad, inline gauge | $35-$55 |
| Park Tool | PMP-5 | Presta/Schrader | 130 psi | Durable construction, comfortable handle | $30-$50 |
| Blackburn | Core Pro | Presta/Schrader | 160 psi | Ergonomic design, stable base | $45-$65 |
| Silca | Imperio Ultimate | Presta | 160 psi | High-quality materials, Italian-made | $120-$150 |
When to Seek Professional Help
While many hand pump problems can be fixed at home, there are times when it’s best to seek professional help.
- Broken Parts: If you find broken or severely damaged parts, it may be more cost-effective to replace the pump rather than trying to repair it.
- Complex Repairs: If you’re not comfortable disassembling the pump or troubleshooting complex issues, take it to a bike shop.
- Persistent Problems: If you’ve tried all the troubleshooting steps and the pump still isn’t working properly, a professional mechanic may be able to diagnose the problem and offer a solution.
FAQ: Fixing Low Pressure in Hand Pumps
Why is my hand pump so hard to push?
A hard-to-push hand pump often indicates a blockage or a lack of lubrication. Check for debris in the pump head and lubricate the internal seals with silicone grease.
Can I use any type of grease on my pump seals?
No, it’s best to use silicone grease or a lubricant specifically designed for rubber seals. Petroleum-based greases can damage the rubber.
How often should I lubricate my hand pump?
Lubricate your hand pump every few months, or more often if you use it frequently or live in a dusty environment.
My pump works for Schrader valves but not Presta. What’s wrong?
Ensure the pump head is properly configured for Presta valves. Some pumps have a reversible internal part. Also, check that the Presta valve core is not stuck closed.
How do I know if my valve core is leaking?
Apply a small amount of soapy water to the valve core. If bubbles form, it’s leaking and needs to be tightened or replaced.
Where can I buy replacement parts for my hand pump?
Replacement parts can often be found online at cycling retailers or at your local bike shop. Be sure to know the make and model of your pump.
Is it worth repairing a cheap hand pump?
For very inexpensive pumps, the cost of replacement parts and your time may outweigh the cost of simply buying a new pump.
Conclusion
Don’t let a low-pressure hand pump ruin your ride! By following these simple steps, you can diagnose and fix most common pump problems at home. Regular maintenance and proper care will keep your pump working efficiently for years to come. So, grab your tools, get to work, and get back on the road with confidence!
Happy cycling!


