
5 Signs Your Bike Pump Chuck Needs Replacement: Quick Fix!
Quick Summary: Is your bike pump struggling to inflate tires? A worn-out chuck (the part that connects to the valve) is often the culprit. Watch for leaks, difficulty attaching, bent parts, loose connections, or damage. Replacing it is easy and cheaper than a new pump, restoring your pump’s performance and saving you frustration.
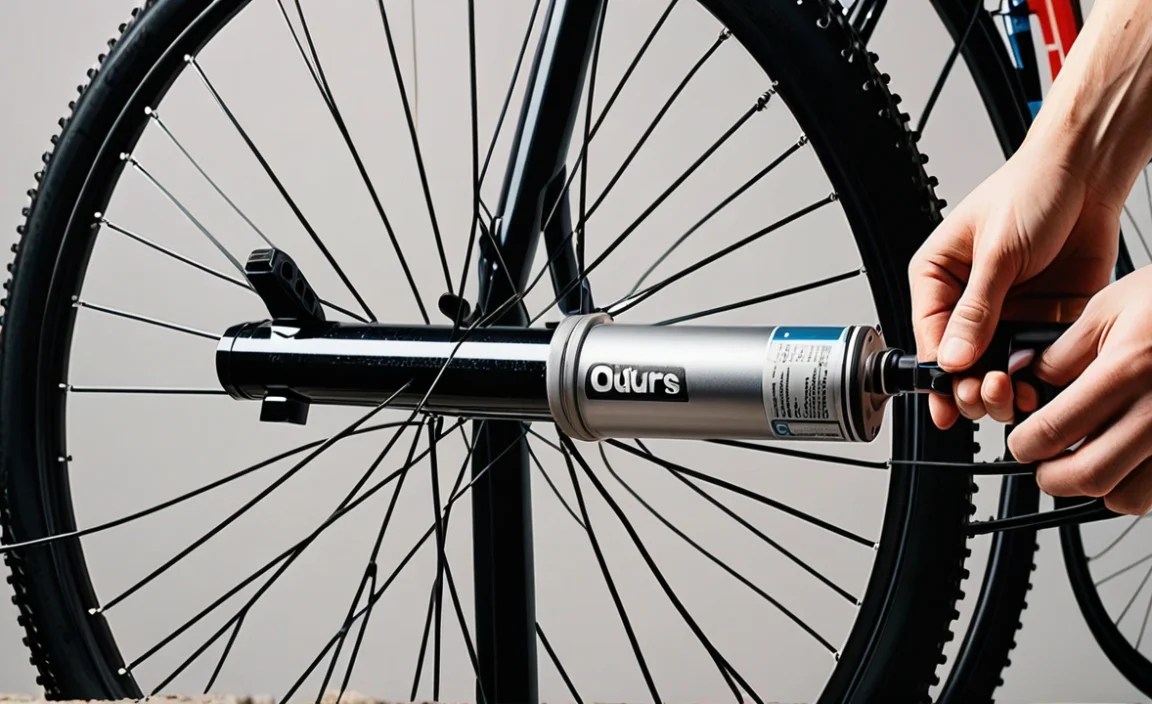
Having trouble inflating your bike tires? It’s a common problem, and often the issue isn’t your pump itself, but the chuck – that small but crucial part that connects to your tire valve. A faulty chuck can make inflating tires a real struggle, leading to frustration and wasted effort. But don’t worry, replacing it is a simple fix, and often much cheaper than buying a whole new pump!
This guide will walk you through the telltale signs that your bike pump chuck needs replacing. We’ll cover everything from identifying leaks to spotting physical damage. Plus, we’ll give you some tips on choosing the right replacement and getting your pump back in top shape. Let’s get started!
5 Signs Your Bike Pump Chuck Needs Replacement

Your bike pump chuck is a hardworking part. Over time, it can wear out or get damaged. Here are five key signs that it’s time for a replacement:
- Leaks Around the Valve
- Difficulty Attaching to the Valve
- Visible Damage or Bent Parts
- Loose Connection to the Pump Hose
- General Wear and Tear
1. Leaks Around the Valve
One of the most obvious signs of a failing bike pump chuck is air leaking around the valve stem while you’re trying to inflate your tire. Instead of all the air going into the tire, you’ll hear a hissing sound and feel air escaping. This usually indicates that the chuck’s internal seals are worn out or damaged.
How to test for leaks:
- Attach the chuck to the tire valve.
- Begin pumping.
- Listen closely for hissing sounds near the valve stem.
- Feel around the connection point for escaping air.
If you detect air escaping, even after making sure the chuck is properly seated, it’s a strong indication that the chuck needs replacing. Don’t confuse this with leaks coming from where the hose connects to the pump body; that’s a different issue. You can sometimes temporarily improve the seal by pressing harder, but this is not a long-term solution.
2. Difficulty Attaching to the Valve
A healthy bike pump chuck should easily attach to your tire valve with a secure “click” or a smooth screwing motion (depending on the type of chuck). If you find yourself struggling to attach the chuck, or if it feels loose and wobbly even when attached, it’s a sign of trouble.
Common attachment problems:
- Requires excessive force: If you need to force the chuck onto the valve, it could damage the valve or the chuck itself.
- Doesn’t “click” or seal properly: The chuck might not be gripping the valve correctly, leading to leaks.
- Keeps popping off: The chuck might not be able to maintain a secure hold on the valve.
These issues can stem from worn-out internal parts, deformed threads (on screw-on chucks), or a stretched-out locking mechanism (on lever-operated chucks). Attempting to force a damaged chuck can further damage your tire valve, making the problem worse.
3. Visible Damage or Bent Parts
A quick visual inspection can often reveal problems with your bike pump chuck. Look closely for any signs of physical damage, such as:
- Cracks in the plastic or metal body: These can weaken the chuck and cause leaks.
- Bent or broken levers or locking mechanisms: These can prevent the chuck from properly engaging with the valve.
- Deformed threads (on screw-on chucks): These can make it difficult to attach the chuck securely.
- Rust or corrosion: This can weaken the chuck and affect its performance.
If you spot any of these issues, it’s best to replace the chuck immediately. Continuing to use a damaged chuck can be dangerous and may also damage your tire valves.
4. Loose Connection to the Pump Hose
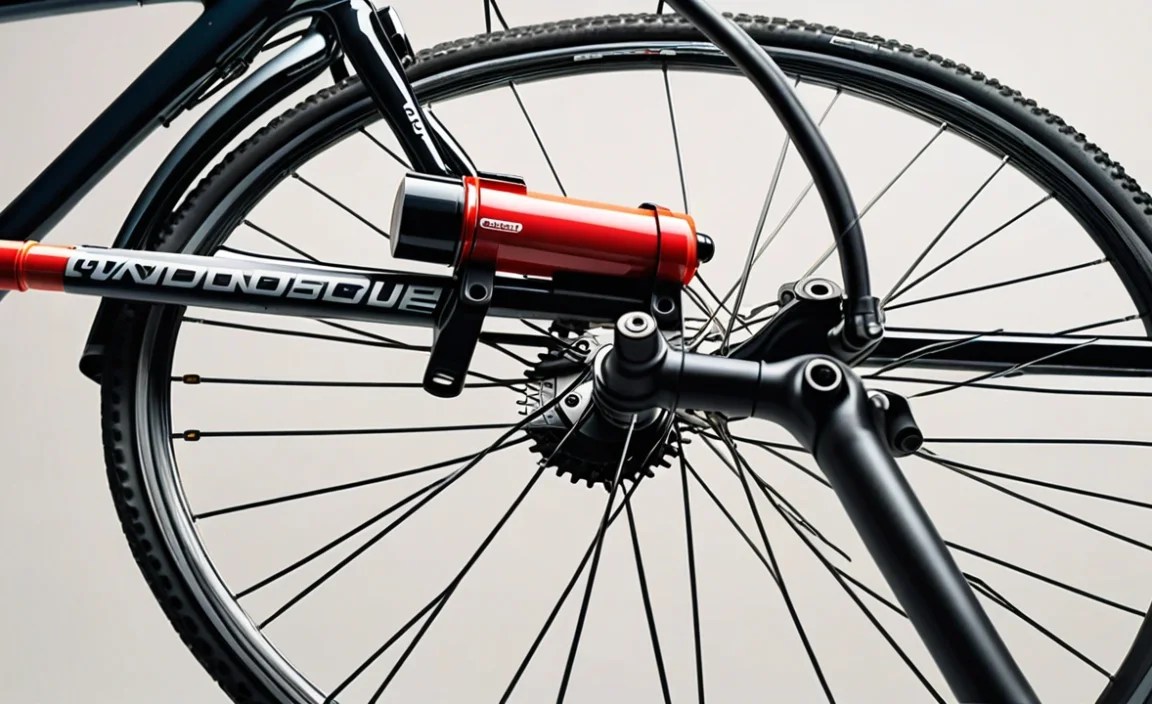
The connection between the chuck and the pump hose is another potential point of failure. If the chuck feels loose or wobbly where it connects to the hose, it can cause air leaks and reduce the pump’s efficiency. This connection is often secured by a threaded fitting or a clamp. Over time, these fittings can loosen or become damaged.
How to check the hose connection:
- Gently wiggle the chuck where it connects to the hose.
- Look for any visible gaps or cracks.
- Listen for hissing sounds when the pump is in use.
If you find that the connection is loose, you might be able to tighten it with a wrench or replace the clamp. However, if the chuck itself is damaged, it’s best to replace the entire unit.
5. General Wear and Tear
Even without obvious damage, a bike pump chuck can simply wear out over time. The internal seals and mechanisms can degrade, leading to reduced performance and increased effort when inflating tires.
Signs of general wear and tear:
- Takes more strokes to inflate tires: You might find that you need to pump significantly more to reach the desired pressure.
- Pump feels less efficient: The pump might feel like it’s working harder, but less air is actually going into the tire.
- Inconsistent performance: The pump might work fine one day but struggle the next.
If you’ve been using your bike pump for several years and notice these signs, it’s probably time to replace the chuck, even if it doesn’t show any obvious damage. Regular use will eventually wear down the internal components, leading to decreased efficiency. Think of it like replacing the brake pads on your car – it’s a maintenance item that ensures optimal performance and safety.
Choosing the Right Replacement Chuck
Once you’ve determined that your bike pump chuck needs replacing, the next step is to choose the right replacement. Here are some factors to consider:
- Valve Compatibility: Make sure the chuck is compatible with the type of valves you use (Presta, Schrader, or both). Some chucks are dual-headed and can handle both types.
- Pump Compatibility: Ensure the chuck is compatible with your specific bike pump model. Some pumps use proprietary chuck designs.
- Material: Chucks are typically made of plastic, metal, or a combination of both. Metal chucks are generally more durable but can be more expensive.
- Ease of Use: Consider the ease of attaching and detaching the chuck from the valve. Lever-operated chucks are often easier to use than screw-on chucks.
- Reviews and Ratings: Read reviews from other cyclists to get an idea of the chuck’s performance and durability.
Here’s a table summarizing the pros and cons of different chuck materials:
| Material | Pros | Cons |
|---|---|---|
| Plastic | Lightweight, inexpensive, doesn’t scratch valve stems | Less durable, prone to cracking |
| Metal | Very durable, long-lasting | Heavier, more expensive, can scratch valve stems if not careful |
| Composite (Plastic & Metal) | Good balance of durability and weight | Can be more expensive than plastic, potential for dissimilar metal corrosion |
Consider purchasing a chuck from the same manufacturer as your pump to ensure compatibility. Many manufacturers sell replacement parts directly on their websites or through authorized dealers.
How to Replace Your Bike Pump Chuck
Replacing a bike pump chuck is a straightforward process that usually only requires a few simple tools. Here’s a step-by-step guide:
- Gather Your Tools: You’ll typically need a wrench (the size will depend on your pump), a screwdriver (if your pump has a clamp), and possibly pliers.
- Remove the Old Chuck:
- If the chuck is threaded onto the hose, use a wrench to loosen and unscrew it. Be careful not to damage the hose.
- If the chuck is held in place by a clamp, use a screwdriver to loosen the clamp and then slide the chuck off the hose.
- Prepare the Hose: Inspect the end of the hose for any damage or fraying. If necessary, trim the end of the hose with a sharp knife or scissors to create a clean surface.
- Attach the New Chuck:
- If the new chuck is threaded, screw it onto the hose until it’s snug. Don’t overtighten it.
- If the new chuck is held in place by a clamp, slide the chuck onto the hose and then tighten the clamp securely.
- Test the Connection: Gently pull on the chuck to make sure it’s securely attached to the hose.
- Test the Pump: Inflate a tire to make sure the new chuck is working properly and there are no leaks.
If you’re having trouble removing the old chuck, try applying some penetrating oil to the connection point and letting it sit for a few minutes. This can help loosen any corrosion or buildup. You can find how-to videos on YouTube from channels like Park Tool for visual guidance if needed.
Maintaining Your Bike Pump Chuck
To prolong the life of your bike pump chuck, here are a few simple maintenance tips:
- Keep it Clean: Regularly wipe the chuck with a clean cloth to remove dirt and grime.
- Store it Properly: Store your bike pump in a dry place to prevent rust and corrosion.
- Avoid Over-Tightening: When attaching the chuck to the valve, don’t overtighten it. This can damage the valve or the chuck.
- Inspect Regularly: Periodically inspect the chuck for any signs of damage or wear.
- Lubricate the seals: A tiny drop of silicone lubricant on the seals can keep them supple and extend their life.
By following these tips, you can help ensure that your bike pump chuck lasts for many years and continues to provide reliable performance.
Troubleshooting Common Chuck Problems
Even with proper maintenance, you might encounter some issues with your bike pump chuck. Here are some common problems and how to troubleshoot them:
| Problem | Possible Cause | Solution |
|---|---|---|
| Chuck won’t attach to the valve | Valve stem is bent or damaged; Chuck is the wrong type | Straighten the valve stem (if possible); Use compatible chuck |
| Air leaks around the valve stem | Worn-out seals; Loose connection | Replace the chuck; Tighten the connection |
| Chuck keeps popping off the valve | Valve stem is too short; Chuck locking mechanism is weak | Use a valve extender; Replace the chuck |
| Pump feels hard to use | Clogged valve stem; Damaged pump internals | Clean the valve stem; Service the pump |
If you’re unable to resolve the problem yourself, consider taking your bike pump to a local bike shop for professional service. A qualified mechanic can diagnose the issue and recommend the best course of action.
FAQ About Bike Pump Chucks
Here are some frequently asked questions about bike pump chucks:
Q1: How often should I replace my bike pump chuck?
A: It depends on how often you use your pump and the quality of the chuck. As a general rule, you should consider replacing it every 1-3 years, or sooner if you notice any of the signs mentioned above.
Q2: Can I use any chuck with any bike pump?
A: Not necessarily. Some pumps use proprietary chuck designs, so it’s important to choose a chuck that’s compatible with your specific pump model. Check the manufacturer’s website or consult your local bike shop for advice.
Q3: What’s the difference between a Presta and Schrader valve?
A: Presta valves are narrow and have a locking nut at the tip, while Schrader valves are wider and similar to those found on car tires. Make sure your chuck is compatible with the type of valves you use.
Q4: Can I repair a damaged bike pump chuck?
A: In some cases, you might be able to repair a minor issue, such as a loose connection. However, if the chuck is cracked or has worn-out seals, it’s generally best to replace it entirely.
Q5: Where can I buy a replacement bike pump chuck?
A: You can buy replacement chucks at most bike shops, online retailers, and some sporting goods stores. Consider purchasing a chuck from a reputable brand to ensure quality and durability.
Q6: Are metal chucks better than plastic chucks?
A: Metal chucks are generally more durable and long-lasting, but they can also be more expensive and heavier than plastic chucks. The best choice depends on your individual needs and preferences.
Q7: My pump hose is leaking, not the chuck. Can that be fixed?
A: Absolutely! A leaking pump hose can often be fixed. First, check the connections at both ends of the hose and tighten them if they’re loose. If the hose itself has a crack or hole, you might be able to repair it with a patch kit designed for hoses. However, if the damage is severe, it’s usually best to replace the entire hose. Many bike pump manufacturers sell replacement hoses, or you can find universal hoses that fit most pumps.
Conclusion
Recognizing the signs that your bike pump chuck needs replacement is crucial for maintaining your bike and ensuring hassle-free rides. By paying attention to leaks, attachment issues, visible damage, and general wear and tear, you can identify a failing chuck early on and replace it before it causes further problems. Choosing the right replacement chuck and following proper maintenance tips will help extend the life of your pump and keep your tires properly inflated. Don’t let a faulty chuck ruin your ride – take action and enjoy the open road!


