
How to Attach Chuck to Tire Inflator Gun: Easy Guide
Quick Summary: Attaching a chuck to your tire inflator gun is simple! First, identify the thread type on both the inflator gun and the chuck. Typically, they are NPT (National Pipe Thread). Wrap Teflon tape clockwise around the threads of the inflator gun. Then, screw the chuck onto the inflator gun, tightening it securely with a wrench. Make sure it’s snug, but don’t overtighten. Test for air leaks using soapy water. If bubbles appear, tighten the connection further.
Ever struggled to get a good seal when inflating your bike tires? Or maybe you’ve noticed air leaking where the chuck meets your inflator gun. It’s a common frustration for cyclists. A secure connection between your tire chuck and inflator gun is essential for accurate and efficient tire inflation. Without it, you’re wasting energy and risking under-inflated tires. Luckily, attaching a chuck correctly is a straightforward process. This guide will walk you through each step, ensuring a leak-free connection. We’ll cover everything from identifying thread types to troubleshooting common issues. By the end, you’ll be inflating your tires like a pro!
Understanding Tire Inflator Guns and Chucks

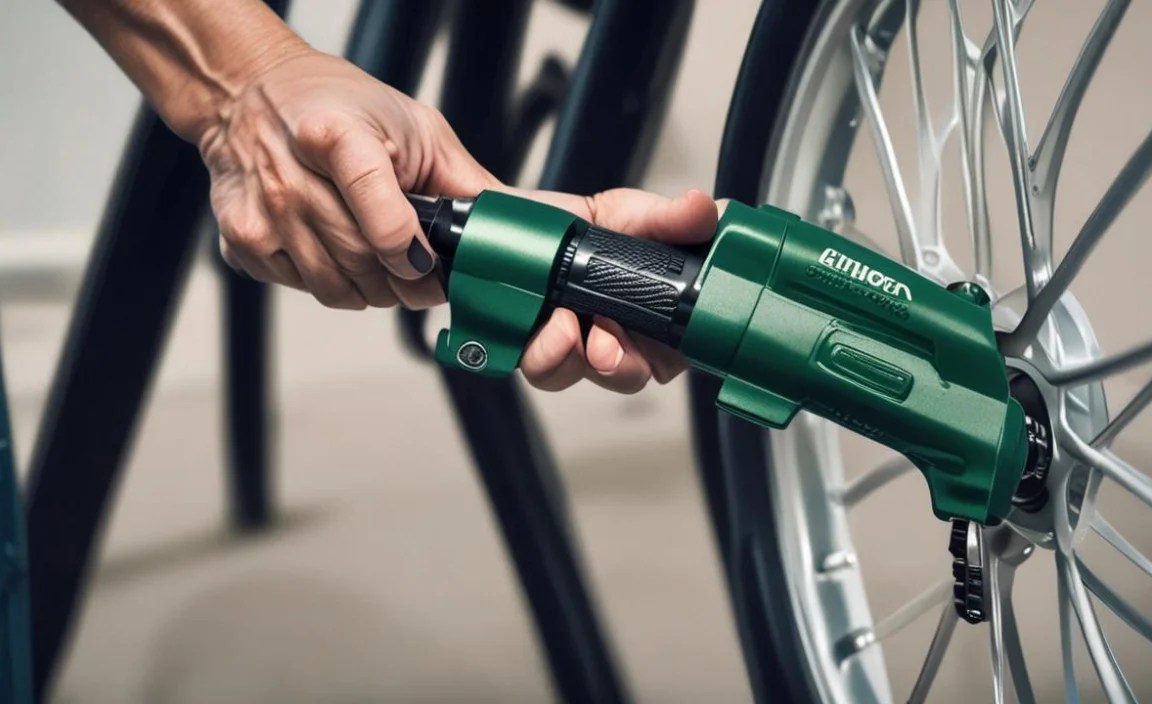
Before diving into the “how-to,” let’s clarify what we’re working with. Tire inflator guns, also known as air blow guns, connect to an air compressor and control the flow of air. Chucks are the nozzles that attach to the tire valve, allowing air to enter the tire. There are different types of chucks, but they all serve the same basic purpose: creating a secure, leak-proof connection to the valve stem.
Types of Tire Inflator Guns
Tire inflator guns come in various designs, each with its own advantages. Here are a few common types:
- Pistol Grip Inflator Guns: These are easy to handle and offer good control over airflow. They are often preferred for their ergonomic design.
- Inline Inflator Guns: These guns have a straight, inline design, making them suitable for reaching tight spaces.
- Digital Inflator Guns: Digital inflator guns provide precise pressure readings and often include features like automatic shut-off.
Types of Tire Chucks
Tire chucks also come in different varieties, designed to fit various valve types and inflation needs.
- Clip-on Chucks: These chucks clip onto the valve stem, providing a hands-free inflation experience.
- Thread-on Chucks: Thread-on chucks screw onto the valve stem, offering a more secure connection.
- Dual Head Chucks: Dual head chucks are designed to work with both standard and dual-foot truck tires.
Tools and Materials Needed
Gathering the right tools and materials will make the attachment process smoother and more efficient. Here’s what you’ll need:
- Tire Inflator Gun: The main tool for controlling airflow.
- Tire Chuck: The nozzle that connects to the tire valve.
- Teflon Tape (Thread Seal Tape): Used to create a leak-proof seal between the threads.
- Wrench (Adjustable or appropriately sized): For tightening the connection.
- Soapy Water (in a spray bottle): To test for air leaks.
- Rag or Cloth: For cleaning and wiping.
Step-by-Step Guide: Attaching a Chuck to a Tire Inflator Gun

Follow these steps to securely attach your tire chuck to the inflator gun:
Step 1: Identify the Thread Type
The first step is to determine the thread type on both the inflator gun and the chuck. Most tire inflator guns and chucks use NPT (National Pipe Thread). NPT threads are tapered, which helps create a tight seal when connected. Common sizes are 1/4″ NPT and 1/8″ NPT. Check the product descriptions or manufacturer’s specifications to confirm the thread type and size. If you’re unsure, compare the threads visually or use a thread gauge.
Step 2: Prepare the Threads
Clean the threads of both the inflator gun and the chuck with a rag to remove any dirt, debris, or old sealant. This ensures a clean surface for the Teflon tape to adhere to. Inspect the threads for any damage, such as stripped or cross-threaded areas. Damaged threads can prevent a secure seal. If the threads are damaged, consider replacing the inflator gun or chuck.
Step 3: Apply Teflon Tape
Teflon tape, also known as thread seal tape, is crucial for creating a leak-proof seal. Wrap the Teflon tape clockwise around the threads of the inflator gun. Overlap the tape slightly with each wrap, and apply 2-3 layers. Make sure the tape is applied smoothly and evenly. Avoid using too much tape, as this can prevent the threads from engaging properly. The goal is to create a snug, leak-proof seal without excessive bulk.
Step 4: Connect the Chuck to the Inflator Gun
Carefully align the threads of the chuck with the threads of the inflator gun. Begin threading the chuck onto the inflator gun by hand. Turn the chuck clockwise until it is snug. Avoid cross-threading the connection, as this can damage the threads. If you encounter resistance, stop and realign the threads. Once the chuck is hand-tightened, use a wrench to tighten it further.
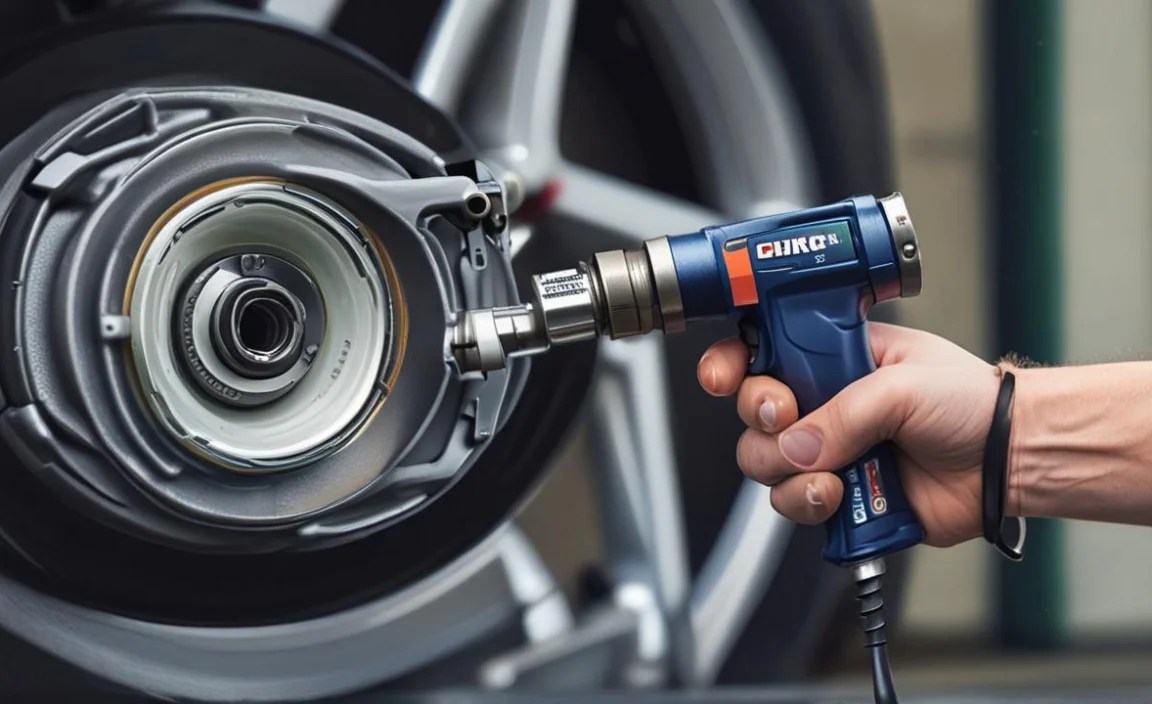
Step 5: Tighten with a Wrench
Use a wrench to tighten the chuck onto the inflator gun. Apply steady pressure and tighten until the connection is secure. Be careful not to overtighten, as this can damage the threads or the inflator gun. A snug fit is sufficient to create a leak-proof seal. If you’re using an adjustable wrench, make sure it is properly sized to avoid slipping and damaging the connection. A general rule of thumb is to tighten about 1-2 turns past hand-tight.
Step 6: Test for Air Leaks
After tightening the connection, test for air leaks. Connect the inflator gun to an air compressor and apply soapy water to the connection point. Look for bubbles, which indicate an air leak. If you see bubbles, tighten the connection further and retest. If the leak persists, try adding another layer of Teflon tape and repeating the process. Sometimes, a small adjustment is all it takes to eliminate the leak.
Troubleshooting Common Issues
Even with careful installation, you might encounter some common issues. Here’s how to troubleshoot them:
Air Leaks
Air leaks are the most common problem when attaching a chuck to an inflator gun. If you detect air leaks after tightening the connection, try these solutions:
- Tighten the Connection: Make sure the chuck is securely tightened onto the inflator gun.
- Add More Teflon Tape: Remove the chuck, apply an additional layer of Teflon tape, and reattach.
- Check for Damaged Threads: Inspect the threads for any damage that might be preventing a tight seal.
- Replace Components: If the threads are severely damaged, replace the inflator gun or chuck.
Cross-Threading
Cross-threading occurs when the threads are misaligned during installation, causing damage to the threads. If you suspect cross-threading, take these steps:
- Stop Immediately: Do not force the connection if you feel resistance.
- Inspect the Threads: Examine the threads for any signs of damage.
- Clean the Threads: Use a thread chaser or a wire brush to clean the threads.
- Realign and Reattach: Carefully realign the threads and try again, ensuring a smooth connection.
Incorrect Thread Size
Using the wrong thread size can prevent a secure connection and cause leaks. If you’re unsure about the thread size, consult the product specifications or use a thread gauge.
- Verify Thread Size: Check the specifications of both the inflator gun and the chuck.
- Use a Thread Gauge: A thread gauge can help you accurately measure the thread size.
- Purchase Correct Components: If the thread sizes are incompatible, purchase the correct inflator gun or chuck.
Maintaining Your Tire Inflator Gun and Chuck

Proper maintenance can extend the life of your tire inflator gun and chuck, ensuring reliable performance. Here are some tips:
- Clean Regularly: Clean the inflator gun and chuck regularly to remove dirt, debris, and moisture.
- Lubricate Moving Parts: Lubricate any moving parts with a light oil to prevent corrosion and ensure smooth operation.
- Store Properly: Store the inflator gun and chuck in a dry, clean place to prevent damage.
- Inspect Regularly: Inspect the inflator gun and chuck regularly for any signs of wear or damage.
- Replace Worn Parts: Replace any worn or damaged parts promptly to maintain optimal performance.
Choosing the Right Chuck for Your Needs
Selecting the right chuck depends on your specific needs and the types of tires you’ll be inflating. Consider these factors when choosing a chuck:
- Valve Type: Ensure the chuck is compatible with the valve type on your tires (e.g., Schrader, Presta, Dunlop).
- Angle: Choose a chuck with an appropriate angle for easy access to the valve stem.
- Material: Opt for a chuck made from durable materials like brass or stainless steel.
- Grip: Select a chuck with a comfortable grip for easy handling.
- Sealing Mechanism: Consider the sealing mechanism, such as clip-on or thread-on, based on your preference.
Table: Comparing Different Types of Tire Chucks
| Type of Chuck | Pros | Cons | Best Use |
|---|---|---|---|
| Clip-on Chuck | Hands-free inflation, easy to use | Can leak if not properly aligned, less secure | General tire inflation, quick top-offs |
| Thread-on Chuck | More secure connection, less prone to leaks | Requires more time to attach and detach | High-pressure inflation, precision filling |
| Dual Head Chuck | Works with both standard and dual-foot truck tires | Bulky, may not fit in tight spaces | Truck and RV tires, heavy-duty applications |
Table: Common Thread Sizes for Inflator Guns and Chucks
| Thread Size | Common Use | Description |
|---|---|---|
| 1/4″ NPT | Most common for inflator guns and chucks | Standard size for general-purpose applications |
| 1/8″ NPT | Smaller inflator guns and specialized chucks | Used where space is limited |
| 3/8″ NPT | High-flow inflator guns and heavy-duty applications | Provides increased air flow for larger tires |
Tips for Achieving a Leak-Proof Seal
A leak-proof seal is essential for accurate and efficient tire inflation. Here are some additional tips to help you achieve a secure connection:
- Use High-Quality Teflon Tape: Invest in high-quality Teflon tape for a reliable seal.
- Apply Teflon Tape Correctly: Wrap the tape clockwise and overlap each layer slightly.
- Tighten Properly: Tighten the connection securely, but avoid overtightening.
- Check Alignment: Ensure the threads are properly aligned before tightening.
- Test Regularly: Test for leaks regularly and address any issues promptly.
FAQ: Attaching Chuck to Tire Inflator Gun
What does NPT mean?
NPT stands for National Pipe Thread. It’s a U.S. standard for tapered threads used on pipes and fittings. The taper helps create a tight seal when the threads are joined.
How much Teflon tape should I use?
Wrap the threads with 2-3 layers of Teflon tape. Overlap the tape slightly with each wrap to ensure full coverage. Avoid using too much tape, as this can prevent the threads from engaging properly.
What if I overtighten the connection?
Overtightening can damage the threads and cause leaks. If you overtighten the connection, loosen it and inspect the threads for damage. If the threads are damaged, you may need to replace the inflator gun or chuck.
How do I know if my threads are cross-threaded?
If you feel resistance when tightening the connection, the threads may be cross-threaded. Stop immediately and inspect the threads for damage. Cross-threading can ruin the threads and prevent a secure seal.
Can I use thread sealant instead of Teflon tape?
Yes, you can use thread sealant instead of Teflon tape. Apply a small amount of sealant to the threads and tighten the connection. Make sure the sealant is compatible with the materials of the inflator gun and chuck.
What do I do if the leak persists after tightening?
If the leak persists after tightening, try adding another layer of Teflon tape or thread sealant. Also, inspect the threads for damage and make sure the connection is properly aligned. If the leak continues, you may need to replace the inflator gun or chuck.
How often should I inspect my inflator gun and chuck?
Inspect your inflator gun and chuck regularly, especially before each use. Check for any signs of wear, damage, or leaks. Proper maintenance can extend the life of your tools and ensure reliable performance.
Conclusion
Attaching a chuck to your tire inflator gun doesn’t have to be a daunting task. By following these simple steps and understanding the potential issues, you can achieve a secure, leak-proof connection every time. Remember to identify the thread type, prepare the threads with Teflon tape, tighten the connection properly, and test for air leaks. Regular maintenance and careful handling will keep your inflator gun and chuck in top condition. With a little practice, you’ll be inflating tires with confidence and precision. Happy cycling!


