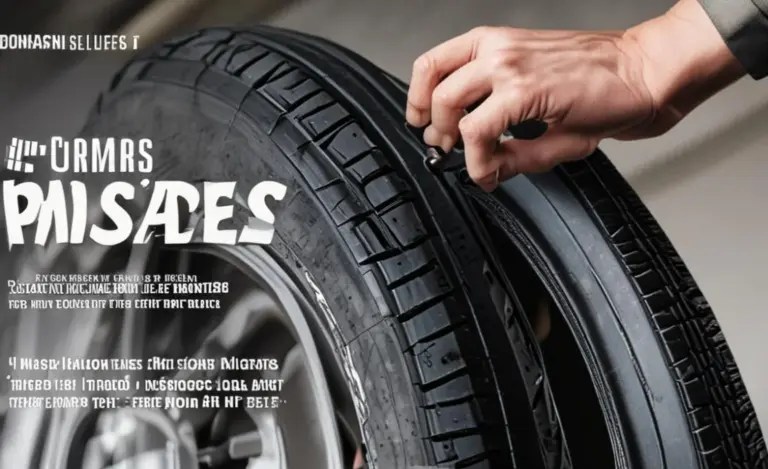
How to Fix a Flat Tire on a Road Bike: Easy Guide
Quick Summary: Fixing a flat tire on your road bike is easier than you think! You’ll need a few simple tools: tire levers, a spare tube, and a pump. Remove the wheel, take off the tire, replace the tube, and carefully put everything back together. With a little practice, you’ll be back on the road in no time.
A flat tire can ruin a perfectly good bike ride. It’s a common problem, but don’t let it stress you out. Changing a flat on your road bike is a skill every cyclist should have. This guide will walk you through each step in plain English. We’ll cover the tools you need and show you how to get your bike rolling again quickly. Let’s get started!
Tools You’ll Need
Before you start, gather these essential tools:
- Tire levers: These help you remove the tire from the rim.
- Spare tube: Make sure it’s the right size for your tires.
- Bike pump or CO2 inflator: To inflate the new tube.
- Multi-tool (optional): Some have tire levers and other useful tools.
- Patch kit (optional): For fixing the punctured tube later.
Having these items in a small saddlebag ensures you’re always prepared for a flat.
Step-by-Step Guide to Fixing a Flat Tire

1. Safety First
Pull over to a safe location away from traffic. Flip your bike upside down so it rests on the handlebars and saddle. This makes it easier to work on.
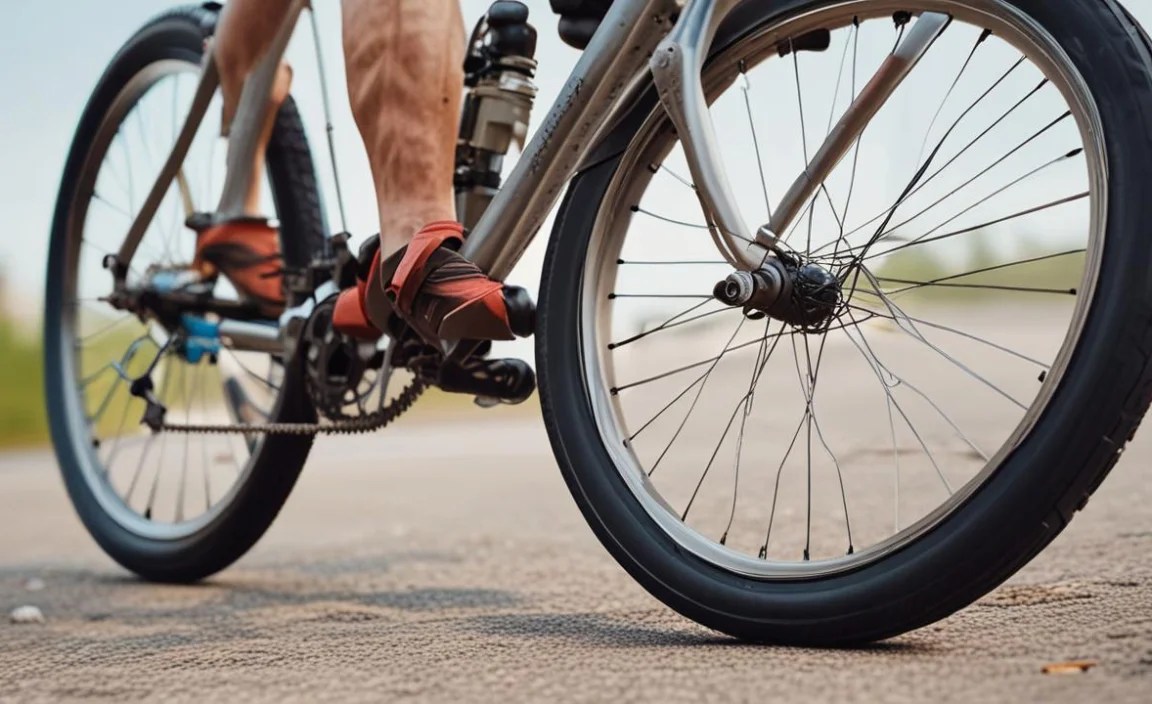
2. Remove the Wheel
Most road bikes have quick-release skewers. Here’s how to use them:
- Open the brake calipers: Squeeze the brake arms together and detach the cable from the caliper. This provides extra clearance for the tire.
- Release the quick-release lever: Open the lever on the wheel axle.
- Loosen the quick-release nut: Turn the nut on the opposite side of the lever a few turns to create enough space for the wheel to drop out.
- Remove the wheel: Gently pull the wheel out of the frame or fork.
If your bike has thru-axles, unscrew the axle completely before removing the wheel.
3. Remove the Tire
Now, let’s get that tire off the rim:
- Deflate the tire completely: Press the valve core with a tire lever or similar tool to release any remaining air.
- Insert the first tire lever: Wedge one tire lever under the tire bead (the edge of the tire that sits on the rim). Hook the lever onto a spoke.
- Insert the second tire lever: Place the second lever a few inches away from the first. Use it to pry the tire bead over the rim.
- Slide one lever around the rim: Once a section of the tire is off, slide one lever along the rim to completely remove one side of the tire.
- Remove the tire completely: Now you can pull the entire tire off the rim.
4. Remove the Tube
With the tire off, removing the tube is simple:
- Remove the valve stem: Pull the valve stem out of the rim.
- Pull out the tube: Gently pull the rest of the tube out from under the tire.
5. Inspect the Tire
Finding the cause of the flat is crucial to prevent another one:
- Check the inside of the tire: Carefully run your fingers along the inside of the tire to feel for any sharp objects like glass, thorns, or metal shards.
- Remove any foreign objects: If you find anything, remove it with a small tool or your fingers.
- Inspect the tire for cuts or damage: Look for any cuts, tears, or weak spots in the tire.
Ignoring this step can lead to another flat as soon as you install the new tube.
6. Install the New Tube
Time to put in the fresh tube:
- Inflate the tube slightly: Add just enough air to give the tube some shape. This prevents it from getting pinched between the tire and rim.
- Insert the valve stem: Place the valve stem into the valve hole in the rim.
- Tuck the tube into the tire: Carefully tuck the tube inside the tire, making sure it’s evenly distributed.
7. Seat the Tire
Getting the tire back on the rim can be tricky, but here’s how to do it:
- Start at the valve: Begin seating the tire bead onto the rim, starting at the valve stem.
- Work your way around the tire: Use your thumbs to push the tire bead over the rim. Work your way around both sides of the tire.
- Use tire levers if needed: If the tire is too tight, use tire levers to carefully pry the last section of the tire bead over the rim. Be careful not to pinch the tube!
- Inspect the tire: Make sure the tire bead is evenly seated all around the rim. Look for a consistent gap between the tire and the rim.
8. Inflate the Tire
Now, inflate the tire to the correct pressure:
- Check the tire sidewall: Look for the recommended pressure range printed on the side of the tire.
- Inflate to the correct pressure: Use your bike pump or CO2 inflator to inflate the tire to the recommended pressure.
- Check for leaks: Listen for any hissing sounds that might indicate a leak.
Proper inflation is key to a smooth and safe ride.
9. Reinstall the Wheel
Almost there! Put the wheel back on the bike:
- Align the wheel: Place the wheel back into the frame or fork dropouts.
- Tighten the quick-release: Close the quick-release lever, making sure it’s tight enough to hold the wheel securely.
- Tighten the thru-axle (if applicable): If your bike has thru-axles, tighten them to the manufacturer’s specified torque.
- Check wheel alignment: Ensure the wheel is centered between the frame or fork blades.
- Reattach the brakes: Reconnect the brake cable to the calipers.
10. Final Check
Before you ride off, do a final check:
- Spin the wheel: Make sure it spins freely and doesn’t rub against the brakes or frame.
- Test the brakes: Ensure the brakes are working properly.
- Double-check tire pressure: Confirm the tire is inflated to the correct pressure.
Preventing Future Flats
Here are some tips to minimize flats:
- Maintain proper tire pressure: Underinflated tires are more prone to pinch flats.
- Inspect your tires regularly: Look for cuts, embedded objects, or wear.
- Use tire sealant: Sealant can automatically seal small punctures.
- Choose durable tires: Some tires are designed with puncture-resistant layers.
- Avoid road hazards: Steer clear of glass, potholes, and other debris.
Troubleshooting Common Issues
| Problem | Possible Cause | Solution |
|---|---|---|
| Tire is too tight to remove | Tire bead is stuck to the rim | Use tire levers carefully to break the seal |
| Pinching the tube during installation | Tube is not fully inside the tire | Ensure the tube is evenly distributed inside the tire before seating the tire bead |
| Tire won’t seat properly on the rim | Tire bead is not fully over the rim | Use soapy water to lubricate the tire bead, then try again |
| Valve stem is crooked | Tire is not properly seated | Deflate the tire slightly and readjust the tire around the valve stem |
Types of Bike Pumps and Their Uses

Choosing the right pump can make inflating your tires much easier. Here’s a quick guide:
| Type of Pump | Pros | Cons | Best For |
|---|---|---|---|
| Floor Pump | Efficient, accurate pressure gauge, easy to use | Bulky, not portable | Home use, getting precise pressure |
| Mini Pump | Portable, lightweight | Requires more effort, less accurate pressure gauge | On-the-road repairs, emergencies |
| CO2 Inflator | Fast inflation, very compact | Single-use cartridges, can be wasteful | Quick fixes during races or group rides |
Understanding Tire Pressure
Maintaining the correct tire pressure is crucial for performance, comfort, and preventing flats. Here’s what you need to know:
- PSI vs. BAR: PSI (pounds per square inch) and BAR are common units for measuring tire pressure. Most pumps display both.
- Recommended Pressure: Check the sidewall of your tire for the manufacturer’s recommended pressure range.
- Factors Affecting Pressure: Your weight, riding style, and road conditions can influence the ideal tire pressure.
- Too Low Pressure: Increases the risk of pinch flats, reduces rolling efficiency, and makes the bike feel sluggish.
- Too High Pressure: Can result in a harsh ride, reduced grip, and increased risk of skidding.
Experiment within the recommended range to find the pressure that feels best for you.
Essential Bike Maintenance Tips
Regular maintenance keeps your bike running smoothly and prevents problems:
- Clean Your Bike: Wipe down your bike after each ride to remove dirt and grime.
- Lubricate the Chain: Keep your chain clean and lubricated for smooth shifting and reduced wear. Use a bike-specific lubricant like those from Finish Line.
- Check Your Brakes: Inspect brake pads for wear and adjust brake cables as needed.
- Inspect Tires: Look for cuts, bulges, or embedded objects.
- Tighten Bolts: Periodically check and tighten all bolts on your bike.
Common Cycling Terms
Here are some cycling terms you might encounter:
- Bead: The edge of the tire that sits on the rim.
- Casing: The body of the tire, made of fabric cords.
- Pinch Flat: A flat caused by the tube being pinched between the tire and the rim.
- Valve Stem: The part of the tube that you use to inflate the tire.
- Quick-Release Skewer: A lever-operated mechanism for securing wheels to the frame.
- Thru-Axle: A bolt that passes through the hub and frame for increased stiffness.
FAQ
What if I don’t have tire levers?
While tire levers are recommended, you can try using smooth, rounded plastic tools like spoons or butter knives as a last resort. Be extremely careful not to damage the rim or pinch the tube.
How do I know what size tube to buy?
Check the sidewall of your tire for the size. It will be something like “700x25c.” Buy a tube that matches those dimensions. Many tubes cover a range of sizes, like 700×23-25c.
What is a pinch flat?
A pinch flat (also called a snakebite) happens when the tube gets pinched between the tire and the rim, usually due to low tire pressure hitting a bump or pothole. It creates two small holes in the tube, resembling a snakebite.
How tight should the quick-release be?
The quick-release should be tight enough that it leaves an imprint on your palm when you close it. It should require a firm push to close, but not so tight that you can’t close it at all.
Can I use a car pump to inflate my bike tires?
While it’s possible to use a car pump with an adapter, it’s not recommended. Car pumps often deliver too much air too quickly, making it easy to overinflate your tires. Bike pumps are designed for the lower volumes and higher pressures of bicycle tires.
What’s the best way to find the hole in the old tube?
Inflate the old tube and listen for a hissing sound. If you can’t hear it, submerge the tube in water and look for bubbles. Once you find the hole, remember to inspect your tire in that area for the cause of the puncture.
How often should I check my tire pressure?
Ideally, you should check your tire pressure before every ride. At a minimum, check it once a week. Proper tire pressure improves your ride quality and reduces the risk of flats.
Conclusion
Fixing a flat tire on your road bike is a manageable task with the right tools and a little patience. By following these steps, you’ll be able to quickly get back on the road and enjoy your ride. Remember to always prioritize safety, inspect your tires regularly, and keep your bike properly maintained. With practice, you’ll become a pro at fixing flats and helping fellow cyclists in need. Happy riding!