
Easy: How to Identify Worn-Out Chuck Seals Fast
Quick Summary: Spotting worn-out chuck seals is easy! Look for air leaks around the chuck while pumping, difficulty achieving pressure, or visible damage like cracks or dryness. A simple soapy water test can also reveal hidden leaks. Replacing these seals promptly keeps your pump working efficiently and saves you effort on every ride.
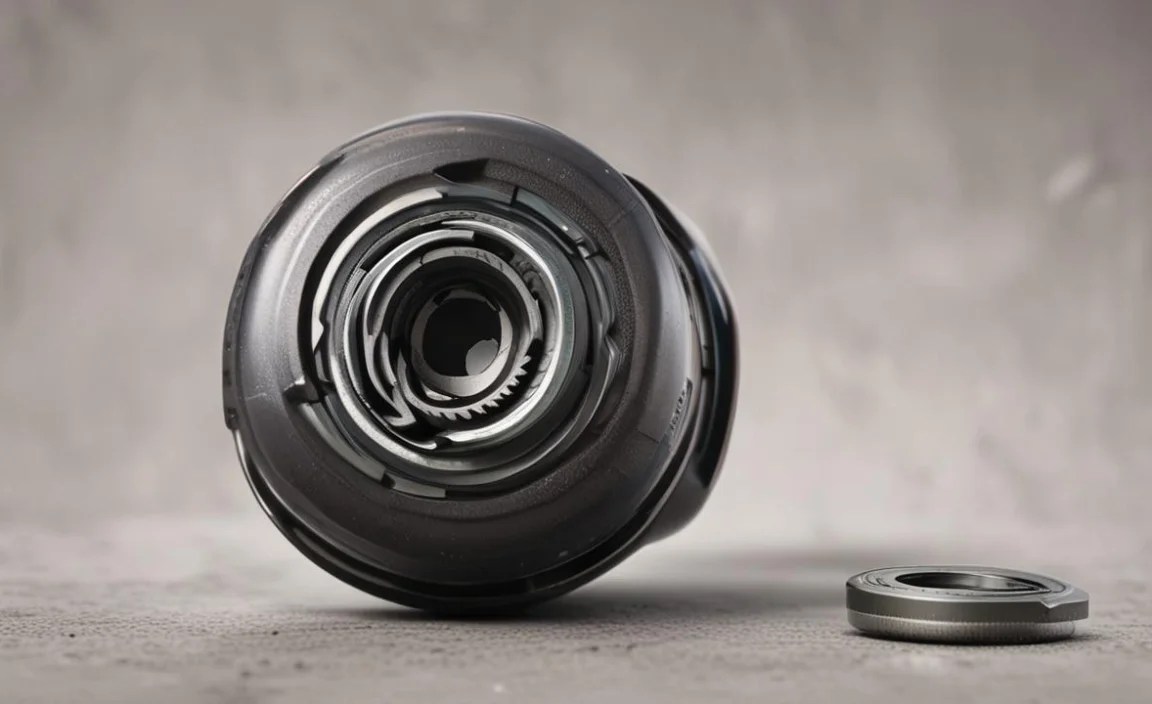
Hey there, fellow cyclists! Raymond Ammons from BicyclePumper.com here. Ever been ready for a ride, only to find your trusty bike pump isn’t so trusty anymore? A common culprit is worn-out chuck seals. These little rubber or plastic rings are vital for creating an airtight connection between your pump and tire valve. When they fail, you’ll waste energy and struggle to inflate your tires properly. Don’t worry, I’ll walk you through the easy ways to identify those pesky worn-out chuck seals, so you can get back on the road (or trail) in no time!
Why Chuck Seals Matter
Chuck seals might seem small, but they play a big role. They’re the unsung heroes that ensure all your pumping effort goes directly into your tire, not escaping as wasted air. Over time, these seals can degrade due to friction, temperature changes, and exposure to dirt and grime. Knowing how to spot a worn chuck seal is a key skill for any cyclist who wants to maintain their own equipment.
Tools You Might Need

Before we dive into the identification process, here’s a quick list of tools you might find helpful:
- Your Bike Pump: Obviously!
- Soapy Water: A mix of water and a bit of dish soap in a spray bottle.
- Rag or Cloth: For cleaning.
- Replacement Chuck Seals: If you suspect they’re worn, have replacements handy.
Step-by-Step: How to Identify Worn-Out Chuck Seals

Let’s get to the heart of the matter. Here’s how you can tell if your chuck seals are past their prime:
1. The Obvious: Visual Inspection
Start with a good look. Sometimes, the problem is right in front of you.
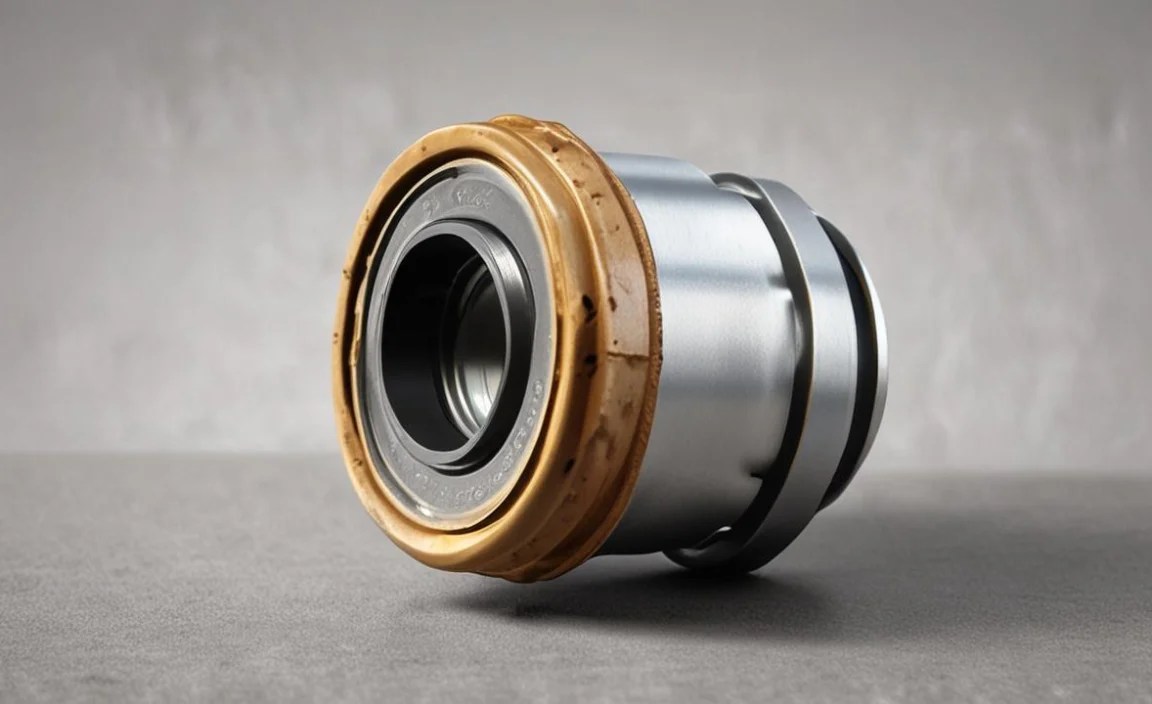
- Cracks or Tears: Check the seal for any visible cracks, tears, or breaks.
- Dryness: A healthy seal should be slightly pliable. If it looks dry, brittle, or hardened, it’s likely deteriorating.
- Deformation: Is the seal misshapen or flattened? This can prevent a good seal.
2. The Sound Test: Listen for Air Leaks
This is where your ears come into play. Attach the pump to your tire valve and listen closely.
- Hissing Sounds: If you hear air hissing around the chuck while pumping, that’s a telltale sign of a bad seal.
- Feel for Air: Even if you don’t hear it, feel around the chuck with your hand. Can you feel air escaping?
3. The Performance Test: Difficulty Reaching Pressure
Are you struggling to get your tires to the right PSI?
- Excessive Pumping: If you have to pump way more than usual to inflate your tires, a worn seal could be the culprit.
- Pressure Loss: Does the pressure seem to drop immediately after you stop pumping? That indicates a leak.
4. The Soapy Water Test: Finding Hidden Leaks
This is a classic trick for finding leaks. The soapy water creates bubbles where air escapes.
- Mix Soapy Water: Combine water and a small amount of dish soap in a spray bottle.
- Apply to Chuck: Attach the pump to your tire valve and spray the soapy water around the chuck.
- Observe: Watch for bubbles forming. Even small bubbles indicate an air leak.
5. The Wiggle Test: Check for Movement
Sometimes, the seal isn’t visibly damaged, but it’s simply not fitting snugly anymore.
- Wiggle the Chuck: With the pump attached to the valve, gently wiggle the chuck. Excessive movement can indicate a loose or worn seal.
- Check the Connection: Make sure the chuck is properly seated on the valve. Sometimes, it’s just a matter of not being fully engaged.
Understanding Different Types of Chuck Seals

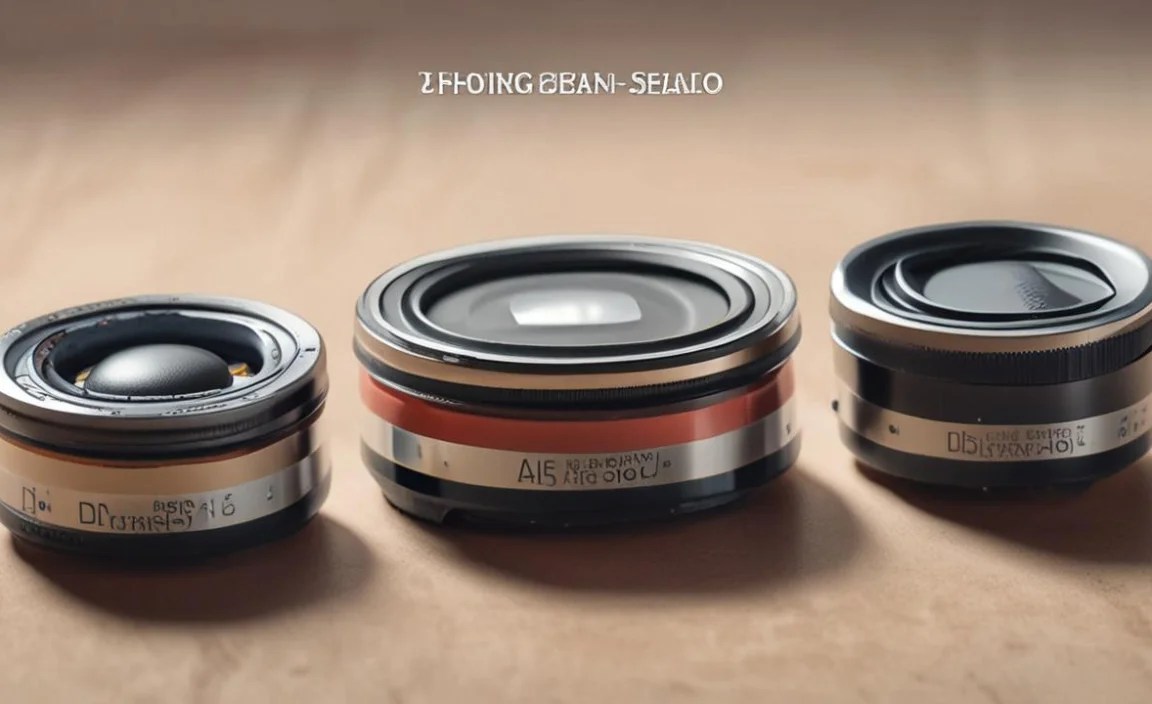
Not all chuck seals are created equal. Here’s a quick rundown of common types:
- Rubber O-Rings: These are common in many bike pumps. They’re relatively inexpensive and easy to replace.
- Plastic or Composite Seals: Some pumps use harder plastic or composite seals. These can be more durable but might crack over time.
- Specialized Seals: High-end pumps might use proprietary seals designed for optimal performance.
Table: Common Symptoms and Likely Causes
| Symptom | Likely Cause | Possible Solution |
|---|---|---|
| Air leaking around the chuck | Worn, cracked, or dry seal | Replace the seal |
| Difficulty reaching desired tire pressure | Seal not creating an airtight connection | Replace the seal; check chuck for debris |
| Excessive pumping required | Seal failing to contain air pressure | Replace the seal; check pump piston |
| Visible cracks or tears on the seal | Seal degradation due to age or use | Replace the seal immediately |
| Hissing sound during pumping | Air escaping through damaged seal | Replace the seal |
Replacing a Worn-Out Chuck Seal
So, you’ve identified a worn chuck seal. What’s next? Replacing it is usually a straightforward process.
- Identify the Seal Type: Determine the type of seal your pump uses. Check your pump’s manual or the manufacturer’s website.
- Purchase Replacement Seals: Buy the correct replacement seals. Many bike shops sell these individually or in kits.
- Disassemble the Chuck: Carefully disassemble the chuck. This usually involves unscrewing parts or removing retaining clips.
- Remove the Old Seal: Use a small tool (like a pick or small screwdriver) to remove the old seal. Be careful not to scratch or damage the surrounding parts.
- Install the New Seal: Lubricate the new seal with a small amount of silicone grease or pump oil. This helps it seat properly and extends its life.
- Reassemble the Chuck: Put the chuck back together, making sure all parts are properly aligned and tightened.
- Test: Attach the pump to your tire and test for leaks.
Preventative Maintenance for Chuck Seals
A little care can go a long way in extending the life of your chuck seals.
- Keep it Clean: Regularly wipe down the chuck with a clean cloth to remove dirt and grime.
- Lubricate: Periodically lubricate the seal with a small amount of silicone grease or pump oil.
- Store Properly: Store your pump in a cool, dry place away from direct sunlight.
- Inspect Regularly: Make it a habit to inspect your chuck seals regularly for signs of wear.
When to Consider a New Pump
Sometimes, despite your best efforts, the pump itself might be the problem. Here are some signs it’s time to consider a new pump:
- Pump Body Damage: Cracks or damage to the pump body can affect its performance.
- Piston Problems: A worn or damaged piston can reduce pumping efficiency.
- Irreparable Chuck: If the chuck itself is damaged beyond repair, it might be more cost-effective to replace the entire pump.
Table: Pros and Cons of Repairing vs. Replacing
| Factor | Repairing Chuck Seals | Replacing the Pump |
|---|---|---|
| Cost | Low (cost of replacement seals) | High (cost of a new pump) |
| Time | Quick (usually 15-30 minutes) | Minimal (unpack and use) |
| Skill Level | Easy (basic mechanical skills) | None (just using the new pump) |
| Environmental Impact | Lower (reduces waste) | Higher (disposing of old pump) |
| Longevity | Moderate (depends on seal quality) | High (new pump, new parts) |
Pump Recommendations for Longevity
If you’re in the market for a new pump, here are a few brands known for their durability and quality:
- Lezyne: Known for their high-quality construction and durable parts. Lezyne’s website offers a wide range of pumps.
- Topeak: A popular choice among cyclists, offering a good balance of performance and durability. Check out their selection on Topeak’s website.
- Park Tool: If you want something reliable, Park Tool pumps are built to last. Visit Park Tool’s website for more info.
FAQ: Identifying Worn-Out Chuck Seals
What exactly are chuck seals?
Chuck seals are small rubber or plastic rings inside your bike pump’s chuck (the part that connects to the tire valve). They create an airtight seal to prevent air from leaking while you pump.
How often should I replace my chuck seals?
It depends on how often you use your pump and the quality of the seals. Inspect them regularly and replace them as soon as you notice any signs of wear or leakage.
Can I use any type of seal as a replacement?
No, it’s crucial to use the correct type and size of seal for your specific pump model. Check your pump’s manual or the manufacturer’s website to find the right replacement seals.
Is it difficult to replace chuck seals?
Not at all! Replacing chuck seals is a simple task that most cyclists can do themselves with basic tools and a little patience.
What if I can’t find replacement seals for my pump?
Contact the pump manufacturer or a local bike shop. They may be able to help you find the correct replacement seals or suggest a compatible alternative.
Will replacing the chuck seals fix all my pump problems?
Replacing the chuck seals will only fix problems related to air leakage at the chuck. If you’re experiencing other issues, such as a faulty piston or damaged pump body, you may need to address those separately.
Can I prevent my chuck seals from wearing out so quickly?
Yes! Keeping your pump clean, lubricating the seals regularly, and storing your pump in a cool, dry place can help extend the life of your chuck seals.
Conclusion
Identifying worn-out chuck seals is a simple yet essential skill for any cyclist. By paying attention to the visual cues, sounds, and performance of your pump, you can quickly diagnose and address seal issues. Replacing these small components can significantly improve your pumping efficiency and save you from unnecessary frustration. So, keep those seals in good shape, and happy riding!


