
How to Cycle ABS Pump Subaru: Easy Pro Guide
“`html
How to Cycle the ABS Pump on a Subaru: A Step-by-Step Guide
Cycling the ABS pump on your Subaru involves using a scan tool to activate the pump and valves, bleeding the brake lines to remove air bubbles, and ensuring proper brake function. This process is crucial for maintaining a safe and effective braking system, especially after replacing ABS components.
Has your Subaru’s brake pedal felt spongy lately? Are you dealing with ABS warning lights after replacing a brake line or ABS module? Air trapped in the ABS (Anti-lock Braking System) can cause these issues. Cycling the ABS pump forces the system to purge trapped air, restoring firm brake pedal feel and proper ABS function. Don’t worry, it’s a manageable task with the right tools and a little patience. This guide will walk you through the entire process, step-by-step, making sure you get your Subaru stopping safely again.
Ready to get started? We’ll cover everything from gathering the necessary tools to the final test drive. Let’s dive in!
Understanding Your Subaru’s ABS System
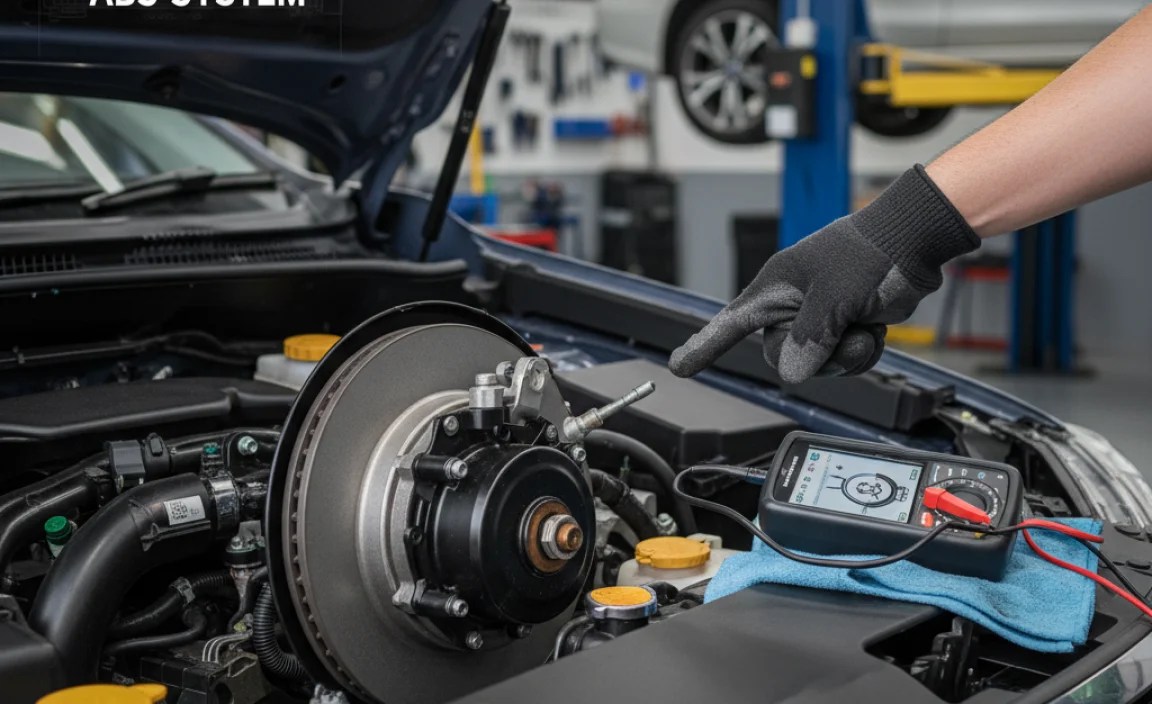
Before we jump into the “how-to,” let’s understand the basics of your Subaru’s ABS. The ABS prevents your wheels from locking up during hard braking, allowing you to maintain steering control. The ABS pump and module are the heart of this system, controlling brake pressure to each wheel individually.
When you open the brake lines (like when replacing a caliper or ABS module), air can enter the system. This air compresses, leading to a soft or spongy brake pedal. Simply bleeding the brakes in the traditional way often doesn’t remove air trapped in the ABS module. Cycling the ABS pump forces the module’s internal valves to open and close, pushing out any trapped air.
Tools and Materials You’ll Need

Gathering the right tools is essential for a smooth and successful ABS cycling process. Here’s a comprehensive list:
- Scan Tool with ABS Functionality: This is the most crucial tool. It allows you to activate the ABS pump and valves. Look for a scan tool that specifically states it supports ABS cycling or ABS bleeding functions for Subaru vehicles. Autel, Launch, and Snap-on are reputable brands.
- Brake Fluid: Use the correct type of brake fluid specified for your Subaru (usually DOT 3 or DOT 4). Check your owner’s manual or the brake fluid reservoir cap.
- Brake Bleeder Wrench: A flare nut wrench designed for brake bleeder screws. This prevents rounding off the bleeder screw. The size is usually 10mm or 11mm.
- Clear Tubing: To attach to the bleeder screw and direct the fluid into a container.
- Catch Container: An empty bottle or container to collect the old brake fluid.
- Jack and Jack Stands: To safely lift your Subaru and access the brake bleeders.
- Wheel Chocks: For added safety, place wheel chocks behind the rear wheels.
- Gloves: To protect your hands from brake fluid.
- Safety Glasses: To protect your eyes from brake fluid splashes.
- Shop Rags: For cleaning up any spills.
- Torque Wrench: To properly tighten the wheel lug nuts after re-installation.
Step-by-Step Guide: Cycling the ABS Pump

Now, let’s get into the detailed steps. Remember to work in a well-lit and safe environment.
Step 1: Prepare Your Subaru
- Park on a Level Surface: Ensure your Subaru is parked on a flat, level surface.
- Engage the Parking Brake: Firmly engage the parking brake.
- Chock the Rear Wheels: Place wheel chocks behind the rear wheels for added safety.
- Loosen the Lug Nuts: Use your lug wrench to slightly loosen the lug nuts on all four wheels. Don’t remove them completely yet.
- Lift the Vehicle: Use a jack to lift the vehicle at the designated jacking points. Consult your owner’s manual for the correct jacking locations.
- Support with Jack Stands: Place jack stands securely under the frame rails. Never work under a vehicle supported only by a jack.
- Remove the Wheels: Finish removing the lug nuts and take off all four wheels.
Step 2: Connect the Scan Tool
- Locate the OBD-II Port: The OBD-II port is usually located under the dashboard on the driver’s side.
- Plug in the Scan Tool: Connect your scan tool to the OBD-II port.
- Turn on the Ignition: Turn the ignition key to the “ON” position, but don’t start the engine.
- Navigate to ABS Functions: Follow the scan tool’s instructions to navigate to the ABS functions menu. This might be labeled as “ABS Bleeding,” “ABS Cycling,” or “Special Functions.”
Step 3: Cycle the ABS Pump and Bleed the Brakes
This is the core of the process. The scan tool will guide you through activating the ABS pump and bleeding each brake caliper.
- Follow the Scan Tool’s Prompts: The scan tool will likely instruct you to start with a specific wheel (usually the right rear).
- Prepare the Bleeder Screw: Locate the bleeder screw on the caliper of the specified wheel. Remove the rubber cap (if present) and attach the clear tubing to the bleeder screw. Place the other end of the tubing into the catch container.
- Open the Bleeder Screw: Have an assistant gently depress the brake pedal. While the pedal is depressed, use your brake bleeder wrench to open the bleeder screw. Only open it slightly, about a quarter turn.
- Observe the Fluid: Watch the fluid flowing through the clear tubing. You should see air bubbles coming out.
- Close the Bleeder Screw: Before your assistant releases the brake pedal, close the bleeder screw. This prevents air from being sucked back into the system.
- Repeat the Process: Repeat steps 3-5 several times until no more air bubbles are visible in the fluid flowing through the tubing.
- Follow Scan Tool Instructions: The scan tool will likely activate the ABS pump during this process. You might hear the pump running and feel vibrations. Continue bleeding the brake while the pump is active, as instructed by the scan tool.
- Move to the Next Wheel: Once you’ve bled the first wheel, the scan tool will prompt you to move to the next wheel. Repeat the bleeding process on each wheel, following the scan tool’s instructions. The typical bleeding order is: Right Rear, Left Rear, Right Front, Left Front.
- Monitor Brake Fluid Level: Regularly check the brake fluid level in the master cylinder reservoir. Add brake fluid as needed to keep the reservoir full. Never let the reservoir run dry, as this will introduce more air into the system.
Step 4: Finalizing the Process
- Disconnect the Scan Tool: Once you’ve bled all four wheels, disconnect the scan tool from the OBD-II port.
- Top Off Brake Fluid: Ensure the brake fluid reservoir is filled to the “MAX” line.
- Reinstall the Wheels: Carefully reinstall the wheels, tightening the lug nuts by hand.
- Lower the Vehicle: Use the jack to lower the vehicle until the wheels are touching the ground.
- Torque the Lug Nuts: Use a torque wrench to tighten the lug nuts to the manufacturer’s specified torque. Consult your owner’s manual for the correct torque specification.
- Remove Jack Stands: Remove the jack stands and lower the vehicle completely to the ground.
- Final Torque Check: Double-check the torque on the lug nuts one last time.
Step 5: Test Drive
- Pump the Brakes: Before driving, pump the brake pedal several times to ensure you have a firm pedal feel.
- Slow Test Drive: Start with a slow test drive in a safe area. Test the brakes gently to ensure they are working properly.
- ABS Activation Test: In a safe, controlled environment, perform a hard braking test to activate the ABS. You should feel the ABS pulsating and hear the ABS pump working.
- Check for Warning Lights: Ensure there are no ABS warning lights illuminated on the dashboard.
Troubleshooting Tips
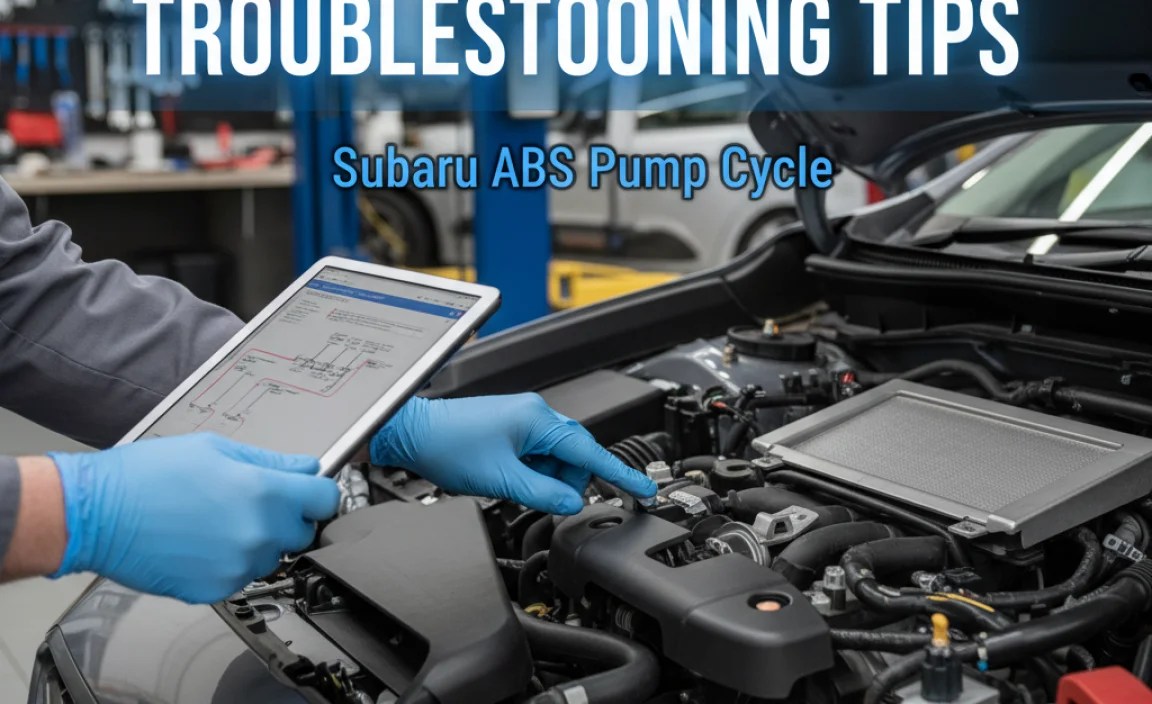
Sometimes, things don’t go exactly as planned. Here are some troubleshooting tips:
- Still Have a Spongy Pedal?: If the brake pedal still feels spongy after cycling the ABS pump, double-check for leaks in the brake lines or calipers. Re-bleed the brakes to ensure all air is removed.
- ABS Warning Light Remains On?: If the ABS warning light remains on, use the scan tool to read the diagnostic trouble codes (DTCs). This will help pinpoint the problem. You may need to consult a qualified mechanic for further diagnosis and repair.
- Bleeder Screw is Stuck?: If the bleeder screw is stuck, try applying penetrating oil and letting it soak for a while. You can also try gently tapping the bleeder screw with a hammer. If it still won’t budge, you may need to replace the caliper.
- Scan Tool Not Connecting?: Ensure the scan tool is compatible with your Subaru model and that the OBD-II port is clean and functional. Try a different scan tool if possible.
Choosing the Right Scan Tool

Selecting the correct scan tool is crucial for successfully cycling your Subaru’s ABS pump. Here’s what to consider:
- Compatibility: Ensure the scan tool is compatible with your Subaru model year. Check the manufacturer’s website or product description.
- ABS Functionality: Verify that the scan tool specifically supports ABS cycling or ABS bleeding functions. Look for phrases like “ABS Bleed,” “ABS Purge,” or “Special Functions – ABS.”
- User-Friendliness: Choose a scan tool with an intuitive interface and clear instructions. Some scan tools have color screens and helpful graphics.
- Price: Scan tools range in price from affordable to professional-grade. Consider your budget and how often you plan to use the tool.
- Reviews: Read online reviews to get feedback from other users. This can help you identify reliable and effective scan tools.
Here’s a comparison table of popular scan tool brands:
| Brand | Model Example | Price Range | Key Features | Pros | Cons |
|---|---|---|---|---|---|
| Autel | Autel MaxiCOM MK808S | $300 – $1500 | Comprehensive diagnostics, ABS bleeding, bi-directional control | User-friendly, wide vehicle coverage | Can be expensive for basic use |
| Launch | Launch X431 V+ | $500 – $2000 | Advanced diagnostics, ABS bleeding, ECU coding | Powerful features, extensive vehicle database | Steeper learning curve |
| Snap-on | Snap-on Zeus | $3000 – $10000 | Professional-grade, advanced diagnostics, ABS bleeding, integrated scope | Top-of-the-line performance, unparalleled support | Very expensive |
| Innova | Innova 5610 | $150 – $300 | Basic diagnostics, ABS reading, some ABS bleeding capabilities | Affordable, easy to use | Limited advanced features |
Safety Precautions
Working with brake systems involves handling brake fluid, which can be harmful. Always take these safety precautions:
- Wear Safety Glasses: Brake fluid can irritate your eyes.
- Wear Gloves: Brake fluid can also irritate your skin.
- Clean Up Spills Immediately: Brake fluid can damage paint and other surfaces. Use shop rags to clean up any spills.
- Dispose of Old Brake Fluid Properly: Brake fluid is considered hazardous waste. Dispose of it at a local recycling center or auto parts store.
- Work in a Well-Ventilated Area: Brake fluid fumes can be harmful.
- Never Mix Different Types of Brake Fluid: Always use the correct type of brake fluid specified for your Subaru.
When to Consult a Professional
While cycling the ABS pump is a manageable DIY task, there are situations where it’s best to consult a professional mechanic:
- You’re Not Comfortable Working on Brakes: Brakes are a critical safety system. If you’re not comfortable working on them, it’s best to leave it to a professional.
- You Can’t Get the Scan Tool to Work: If you’re having trouble connecting the scan tool or navigating the menus, a professional mechanic can help.
- The ABS Warning Light Remains On After Bleeding: This indicates a more serious problem that requires professional diagnosis and repair.
- You Suspect a Major ABS System Failure: If you suspect a major ABS system failure (e.g., a faulty ABS module), it’s best to consult a professional.
FAQ: Cycling Your Subaru’s ABS Pump
Here are some frequently asked questions about cycling the ABS pump on a Subaru:
- What happens if I don’t cycle the ABS pump after replacing brake components?
- Air can remain trapped in the ABS module, leading to a spongy brake pedal and reduced braking performance. The ABS system may not function correctly in emergency braking situations.
- Can I cycle the ABS pump without a scan tool?
- No, cycling the ABS pump requires a scan tool that can activate the pump and valves. Traditional brake bleeding methods won’t effectively remove air trapped in the ABS module.
- How often should I cycle the ABS pump?
- You only need to cycle the ABS pump when air has potentially entered the system, such as after replacing brake lines, calipers, or the ABS module.
- What type of brake fluid should I use?
- Use the brake fluid type specified in your Subaru’s owner’s manual or on the brake fluid reservoir cap. Typically, DOT 3 or DOT 4 brake fluid is recommended.
- Is it safe to drive with air in the ABS system?
- It’s not recommended to drive with air in the ABS system. It can compromise braking performance and safety. Get the system bled as soon as possible.
- Can cycling the ABS pump fix an ABS warning light?
- Cycling the ABS pump may resolve an ABS warning light if the light is caused by air in the system. However, if the light persists, there may be other underlying issues that require further diagnosis.
- What does it mean when the scan tool says “ABS Incompatible”?
- This means the scan tool is either not compatible with your Subaru model or is not properly communicating with the ABS module. Ensure the scan tool is updated with the latest software and that the connection to the OBD-II port is secure.
Conclusion
Cycling the ABS pump on your Subaru is a crucial maintenance task that ensures your braking system functions optimally. By following these detailed steps, you can effectively remove air from the ABS module and restore a firm brake pedal feel. Remember to prioritize safety and consult a professional if you’re uncomfortable with any part of the process. With a little patience and the right tools, you can keep your Subaru stopping safely and confidently for years to come.
“`


