
How to Use Hand Pump for Pool Float: Easy Guide
Using a hand pump for your pool float is easy! First, choose the right nozzle. Then, firmly attach the nozzle to the float’s valve. Pump with a steady motion until the float is firm but not overinflated. Remove the nozzle carefully to avoid air leaks, and quickly close the valve. Enjoy your perfectly inflated pool float!
Pool floats are a must-have for summer fun, but nobody enjoys struggling to inflate them. Blowing them up by mouth can take forever and leave you lightheaded. A hand pump is a simple, affordable solution that makes inflating your pool floats quick and easy. This guide will walk you through each step, so you can spend less time pumping and more time relaxing in the water. Let’s get that float ready for some fun!
Understanding Hand Pumps for Pool Floats

Before we dive into the how-to, let’s understand the basics of hand pumps and why they’re perfect for inflating pool floats.
Why Use a Hand Pump?
Hand pumps offer several advantages over other inflation methods:
- Efficiency: They inflate floats much faster than blowing by mouth.
- Convenience: They are portable and don’t require electricity, making them ideal for poolside use.
- Cost-Effective: Hand pumps are generally inexpensive.
- Health: Avoid the lightheadedness and effort of inflating large floats manually.
Types of Hand Pumps
There are two main types of hand pumps commonly used for pool floats:
- Single-Action Pumps: These pumps inflate only when you push down on the handle.
- Double-Action Pumps: These pumps inflate on both the upstroke and downstroke, making them more efficient.
For pool floats, a double-action pump is often the better choice due to its increased efficiency, but either type will work.
Key Features to Look For
When selecting a hand pump for your pool floats, consider these features:
- Nozzle Attachments: Ensure the pump comes with multiple nozzle sizes to fit different valve types.
- Air Volume: A pump with a larger air volume per stroke will inflate floats faster.
- Durability: Look for a pump made from sturdy materials that can withstand regular use.
- Comfort: A comfortable handle will make the inflation process easier, especially for larger floats.
Step-by-Step Guide: How to Use a Hand Pump for a Pool Float

Now, let’s get into the practical steps of using a hand pump to inflate your pool float. Follow these instructions for a smooth and easy inflation process.
Step 1: Gather Your Supplies
Before you start, make sure you have the following items:
- Hand pump
- Appropriate nozzle attachment for your pool float
- Pool float
- A clean, flat surface
Step 2: Identify the Float Valve
Locate the valve on your pool float. Most floats have one or more valves, depending on their design. These valves are usually made of rubber or plastic and may have a cap to keep them sealed.
Step 3: Select the Correct Nozzle
Your hand pump should come with a variety of nozzle attachments. Choose the nozzle that best fits the valve on your pool float. The nozzle should fit snugly into the valve without being too tight or too loose.
- Too Tight: A nozzle that is too tight can damage the valve.
- Too Loose: A nozzle that is too loose will allow air to leak out during inflation.
If you’re unsure which nozzle to use, start with a slightly larger size and work your way down until you find one that fits well.
Step 4: Attach the Nozzle to the Hand Pump
Connect the selected nozzle to the hand pump. Most nozzles either screw on or press fit onto the pump’s hose or outlet. Ensure the nozzle is securely attached to prevent air leaks.
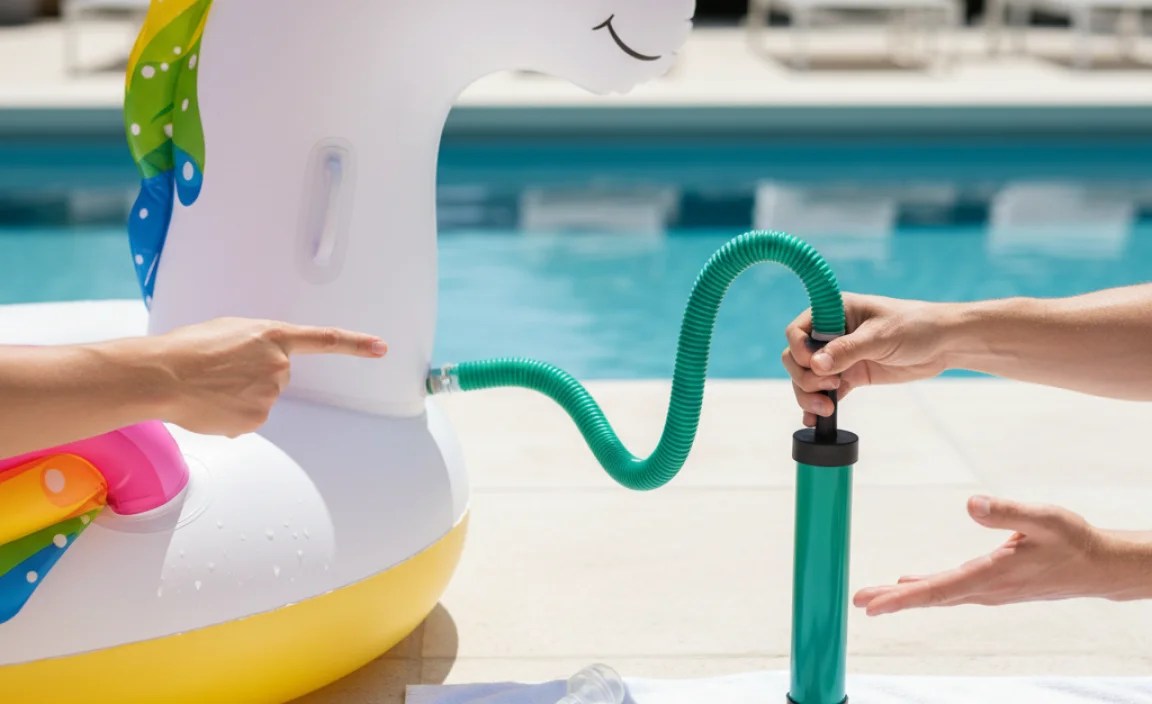
Step 5: Insert the Nozzle into the Float Valve
Carefully insert the nozzle into the valve of your pool float. Push it in firmly enough to create a good seal. You may need to hold the base of the valve with one hand while inserting the nozzle with the other.
Step 6: Begin Pumping
Now, it’s time to start inflating your pool float. Grip the handle of the hand pump firmly and begin pumping. Use a steady, rhythmic motion. If you’re using a double-action pump, you’ll feel air being pumped on both the upstroke and downstroke. If you’re using a single-action pump, you’ll only feel air being pumped on the downstroke.
Keep an eye on the float as you pump. You’ll notice it gradually inflating. Be careful not to overinflate the float, as this can cause it to burst or damage the seams.
Step 7: Monitor the Inflation Level
Periodically check the firmness of the pool float as you pump. The ideal inflation level is firm but not rock hard. You should be able to press your finger into the float slightly without it feeling too soft or squishy.
- Underinflated: The float will feel soft and won’t provide adequate support in the water.
- Overinflated: The float will feel very hard and may be at risk of bursting, especially in hot weather when the air inside expands.
Step 8: Remove the Nozzle and Seal the Valve
Once the pool float is properly inflated, carefully remove the nozzle from the valve. As you remove the nozzle, some air may escape. To minimize air loss, quickly seal the valve with your finger or replace the valve cap immediately.
Ensure the valve cap is securely tightened to prevent air from leaking out during use.
Step 9: Repeat for Other Sections (If Necessary)
Some pool floats have multiple chambers or sections that need to be inflated separately. If your float has more than one valve, repeat steps 5-8 for each section until the entire float is properly inflated.
Tips and Tricks for Efficient Inflation
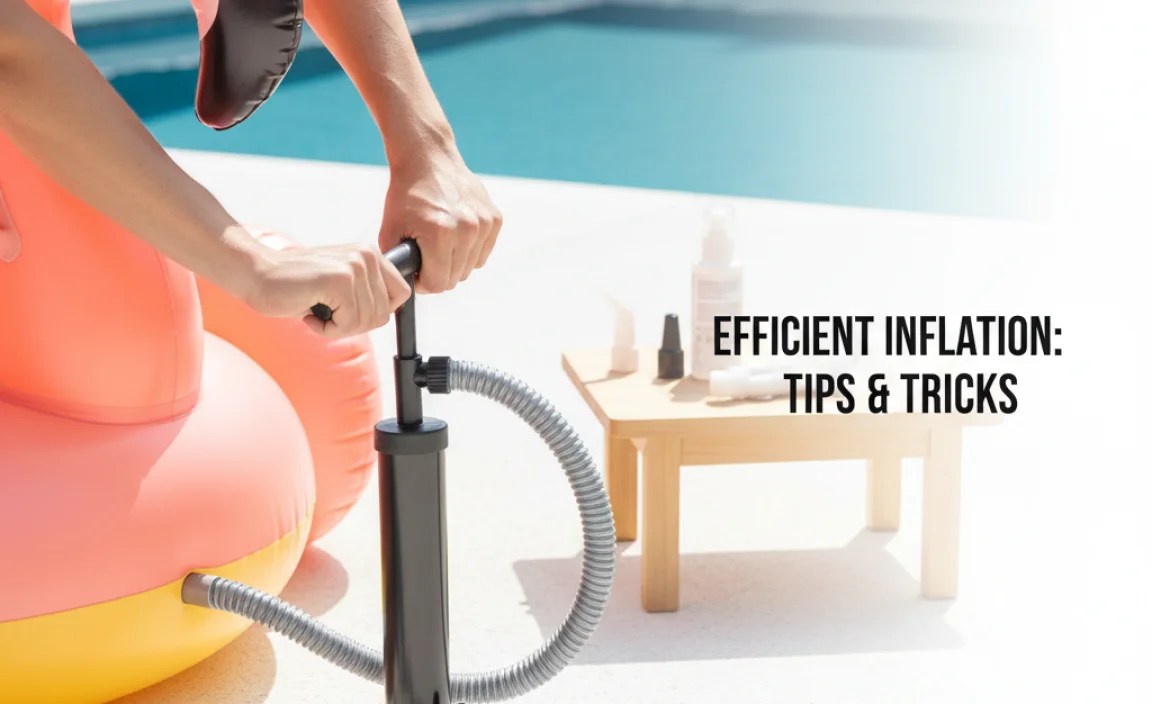
Here are some extra tips and tricks to make inflating your pool floats even easier and more efficient.
- Lubricate the Nozzle: If the nozzle is difficult to insert into the valve, try lubricating it with a small amount of water or silicone grease. This can help the nozzle slide in more easily.
- Pump in a Shaded Area: Avoid inflating your pool floats in direct sunlight, as the heat can cause the air inside to expand, potentially leading to overinflation and damage.
- Take Breaks: If you’re inflating a large float or multiple floats, take breaks as needed to avoid fatigue. Pumping can be tiring, especially in hot weather.
- Use Your Body Weight: When pumping, use your body weight to help push down on the handle. This can make the process easier and more efficient.
- Store Your Pump Properly: When not in use, store your hand pump in a cool, dry place. This will help prolong its lifespan and prevent damage.
Troubleshooting Common Issues
Sometimes, you might encounter issues while using a hand pump to inflate your pool float. Here are some common problems and how to solve them.
| Issue | Possible Cause | Solution |
|---|---|---|
| Air is leaking from the valve | Incorrect nozzle size or damaged valve | Try a different nozzle size. If the valve is damaged, consider replacing the float or using a valve repair kit. |
| The pump is difficult to push | Clogged pump or incorrect nozzle | Check the pump for any obstructions. Ensure the nozzle is properly inserted and not too tight. |
| The float is not inflating evenly | Uneven distribution of air or multiple chambers | Check for separate chambers and inflate each one individually. Ensure the float is lying flat during inflation. |
| The pump is making strange noises | Worn-out parts or lack of lubrication | Check the pump for any loose or damaged parts. Apply a small amount of lubricant to the moving parts. |
| The nozzle keeps popping out | Incorrect nozzle size or damaged valve | Try a smaller nozzle size. If the valve is damaged, it may need to be repaired or replaced. |
Maintaining Your Hand Pump
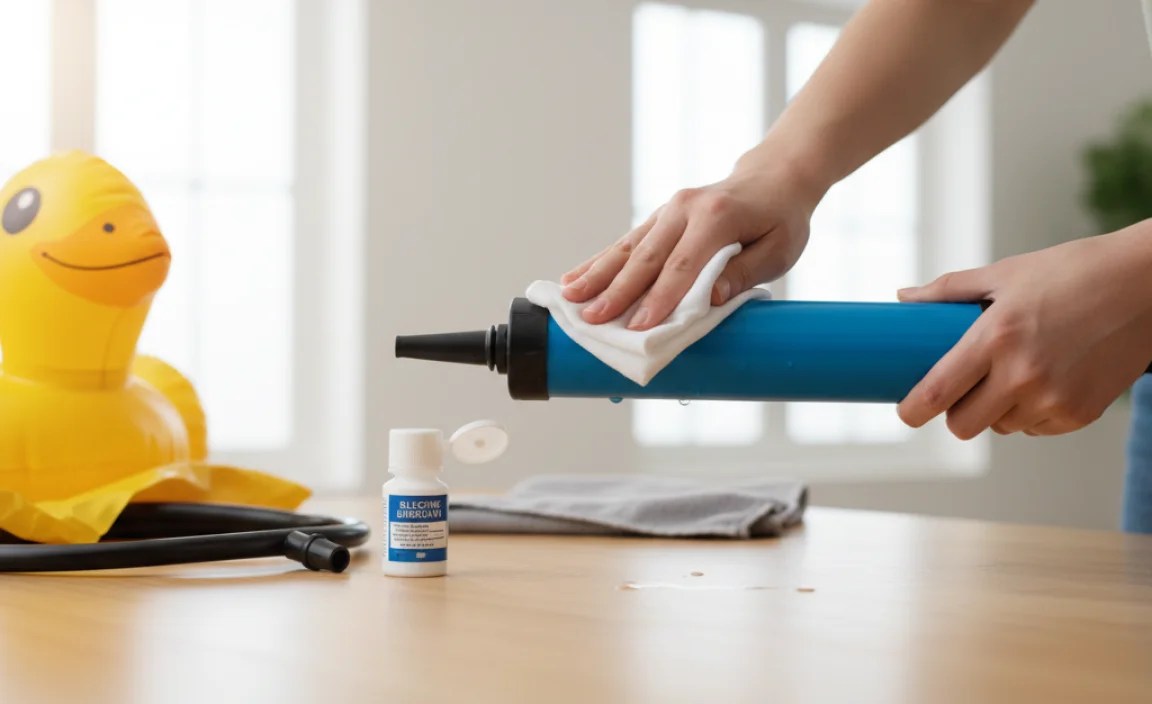
Proper maintenance can extend the life of your hand pump and ensure it works efficiently. Here are some tips for maintaining your hand pump:
- Clean Regularly: Wipe down the pump with a damp cloth after each use to remove dirt and debris.
- Lubricate Moving Parts: Periodically lubricate the moving parts of the pump with a silicone-based lubricant. This will help keep the pump working smoothly.
- Check for Damage: Inspect the pump regularly for any signs of damage, such as cracks or leaks. Replace any damaged parts as needed.
- Store Properly: Store the pump in a cool, dry place when not in use. Avoid exposing it to extreme temperatures or direct sunlight.
Choosing the Right Pool Float
Selecting the right pool float can enhance your pool experience. Here are some factors to consider when choosing a pool float:
- Size and Capacity: Choose a float that is appropriately sized for your body and can support your weight.
- Material: Look for floats made from durable, puncture-resistant materials such as PVC or vinyl.
- Design: Consider the design of the float and choose one that suits your preferences. Options include lounge floats, inflatable islands, and novelty floats.
- Features: Some floats come with extra features such as cup holders, headrests, and built-in coolers.
- Safety: Ensure the float is designed with safety in mind, with features such as grab handles and sturdy construction.
Safety Precautions
While enjoying your pool floats, it’s important to prioritize safety. Here are some safety precautions to keep in mind:
- Supervise Children: Always supervise children closely when they are using pool floats. Never leave them unattended near the water.
- Avoid Overinflation: Do not overinflate pool floats, as this can make them more prone to bursting.
- Stay Within Weight Limits: Do not exceed the weight limits of the pool float. Overloading the float can make it unstable and increase the risk of accidents.
- Use in Safe Areas: Only use pool floats in designated swimming areas that are free from hazards such as sharp objects or strong currents.
- Be Aware of Weather Conditions: Avoid using pool floats in strong winds or during thunderstorms.
Alternative Inflation Methods
While hand pumps are a great option for inflating pool floats, there are other methods you can use as well. Here are a few alternatives:
- Electric Air Pump: Electric air pumps are faster and more convenient than hand pumps, but they require a power source.
- Foot Pump: Foot pumps are similar to hand pumps but are operated with your foot, freeing up your hands.
- Air Compressor: Air compressors can quickly inflate pool floats, but they are typically larger and less portable than hand pumps. Be very careful not to overinflate!
- Mouth Inflation: In a pinch, you can inflate a pool float by mouth, but this can be time-consuming and tiring, especially for larger floats.
Hand Pump Recommendations
If you’re in the market for a new hand pump for your pool floats, here are a few recommendations based on different needs and budgets:
| Pump | Type | Pros | Cons | Price Range |
|---|---|---|---|---|
| Intex Double Quick III S Hand Pump | Double-Action | Affordable, efficient, includes multiple nozzles | May not be as durable as higher-end models | $10 – $15 |
| Sevylor Double Lock Hand Pump | Double-Action | Durable, high-volume, easy to use | Slightly more expensive | $15 – $25 |
| Advanced Elements Double Action Pump with Gauge | Double-Action | Includes pressure gauge, very efficient, durable | Higher price point | $30 – $40 |
FAQs
What if I don’t have the right size nozzle?
If you don’t have the right size nozzle, try using an adapter or a universal nozzle kit. Some hardware stores or online retailers sell kits with various nozzle sizes to fit different valves.
How do I know if my pool float is overinflated?
An overinflated pool float will feel very hard to the touch and may appear stretched or distorted. If you press on it, there should be little to no give. It’s best to release some air if it feels too firm.
Can I use a bicycle pump for my pool float?
While you can technically use a bicycle pump for a pool float, it may not be the most efficient method. Bicycle pumps are designed for high pressure but low volume, while pool floats require high volume. If you do use a bicycle pump, make sure you have the correct nozzle adapter.
How do I store my pool floats when they’re not in use?
When your pool floats are not in use, deflate them completely and store them in a cool, dry place away from direct sunlight. This will help prevent damage and prolong their lifespan.
What do I do if my pool float has a leak?
If your pool float has a small leak, you can try patching it with a vinyl repair kit. Clean the area around the leak, apply the adhesive patch, and allow it to dry completely before using the float again. For larger leaks, you may need to replace the float.
How long should it take to inflate a pool float with a hand pump?
The time it takes to inflate a pool float with a hand pump depends on the size of the float and the efficiency of the pump. A small float may take only a few minutes, while a larger float could take 10-15 minutes or more.
Can I use a car tire inflator for my pool float?
While it’s possible to use a car tire inflator, it’s generally not recommended. Car tire inflators are designed for high pressure and can easily overinflate and damage a pool float. If you choose to use one, do so very carefully and monitor the inflation level closely.
Conclusion
Using a hand pump for your pool floats is a simple and effective way to get them ready for summer fun. By following the steps outlined in this guide, you can quickly and easily inflate your floats without any hassle. Remember to choose the right pump, select the correct nozzle, and monitor the inflation level to avoid overinflation. With a little practice, you’ll be inflating pool floats like a pro in no time!


