
How to Repair Hose Thread Connection: Easy Fix!
Quick Summary:
Fixing a damaged hose thread connection is usually simple. Start by inspecting the threads for damage. For minor issues, try cleaning and realigning the threads. If heavily damaged, use a thread repair tool or replace the entire fitting. Knowing these steps can save you time and money, keeping your gear in top shape!
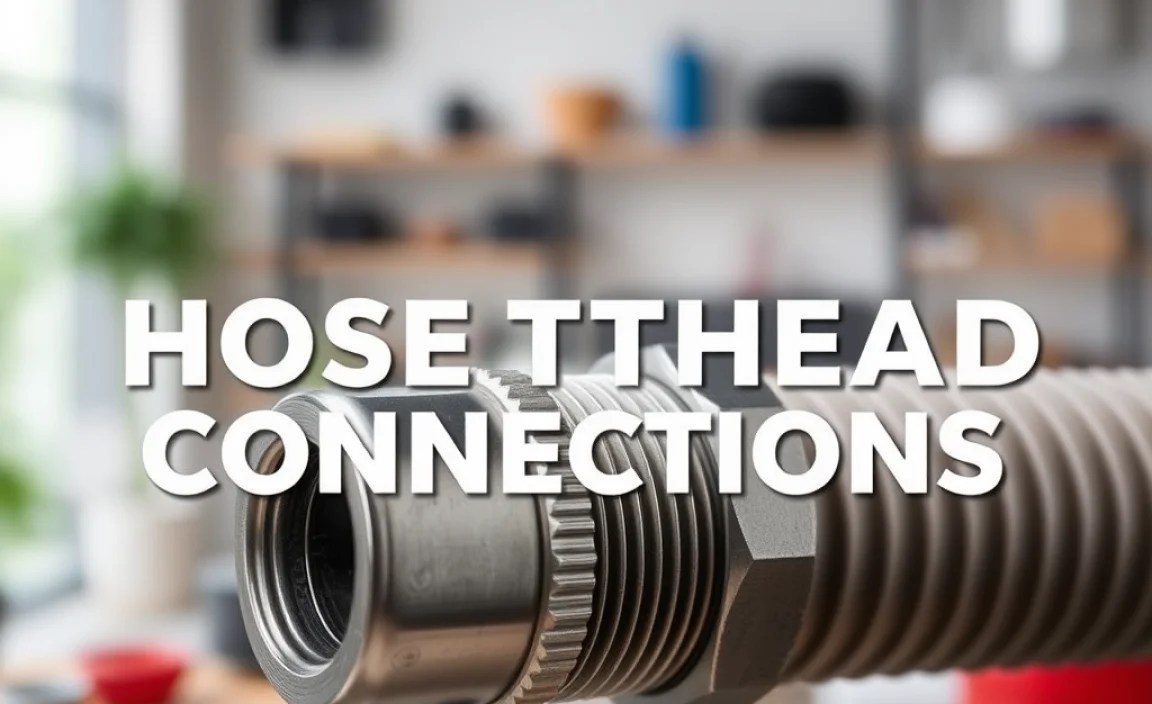
Hose thread connections are everywhere, from your trusty bike pump to your garden hose. It’s super frustrating when they get damaged, causing leaks or just not connecting right. Don’t worry, though! Most of the time, you can fix the problem yourself without needing to buy a whole new part.
In this guide, I’ll walk you through simple steps to diagnose and repair those pesky hose threads. We’ll cover everything from cleaning and realigning threads to using thread repair tools and knowing when it’s time for a replacement. By the end, you’ll have the know-how to keep your connections tight and leak-free. Let’s get started!
Understanding Hose Thread Connections
Before we dive into fixing things, let’s quickly understand what we’re dealing with. Hose threads aren’t all the same. Knowing the basics helps you choose the right tools and parts.
Types of Hose Threads
There are a few common types of hose threads you’ll run into:
- Garden Hose Thread (GHT): This is the standard thread for garden hoses in North America. It’s also often found on bike pumps and other outdoor equipment.
- National Pipe Thread (NPT): NPT is used for plumbing and industrial applications. It’s tapered, meaning it gets tighter as you screw it in.
- British Standard Pipe (BSP): Common in Europe and other parts of the world, BSP threads can be parallel (BSPP) or tapered (BSPT).
Common Problems with Hose Threads
Hose threads can get damaged in a few ways:
- Cross-threading: This happens when you force a connection at the wrong angle, damaging the threads.
- Stripped threads: Over-tightening or using worn-out parts can strip the threads, making them useless.
- Physical damage: Dropping or hitting a hose fitting can bend or break the threads.
- Corrosion: Exposure to water and chemicals can corrode metal threads, making them weak and brittle.
Tools and Materials You’ll Need

Having the right tools makes the job much easier. Here’s a basic list of what you might need:
- Thread repair tool: These tools help to reshape damaged threads.
- Small brushes: A toothbrush or wire brush for cleaning threads.
- Lubricant: Silicone grease or Teflon tape for smoother connections.
- Pliers: For gripping and turning fittings.
- Hose cutter or knife: To trim the hose if needed.
- Replacement fittings: If the damage is too severe to repair.
- Safety glasses: To protect your eyes from debris.
- Gloves: To keep your hands clean and protected.
Step-by-Step Guide to Repairing Hose Thread Connections

Now, let’s get to the repair process. Follow these steps to fix your hose thread connection:
Step 1: Inspect the Damage
Start by carefully looking at the threads. Check for:
- Bent or crushed threads
- Missing or stripped threads
- Dirt, rust, or corrosion
Use a magnifying glass if needed to get a closer look. This will help you decide if the fitting can be repaired or needs to be replaced.
Step 2: Clean the Threads
Even if the threads look okay, cleaning them is a good first step. Use a small brush (like an old toothbrush or a wire brush) to remove any dirt, rust, or debris.
- Dry brushing: Start by brushing the threads dry to remove loose particles.
- Soapy water: If needed, use soapy water and the brush to scrub the threads.
- Rinse and dry: Rinse the fitting with clean water and let it dry completely before moving on.
Step 3: Realign Bent Threads
If the threads are bent but not severely damaged, you might be able to realign them. Here’s how:
- Use pliers: Gently use pliers to straighten any bent threads. Be careful not to apply too much pressure, or you could break them off.
- Thread file: A thread file can help to reshape the threads. Use it carefully to file down any rough spots.
- Test the fit: Try screwing the fitting onto the hose. If it’s still difficult, try realigning the threads again.
Step 4: Using a Thread Repair Tool
A thread repair tool is designed to fix damaged threads without removing material. Here’s how to use one:
- Select the right size: Make sure the tool matches the thread size of your fitting.
- Attach the tool: Follow the instructions that come with your tool to attach it to the fitting.
- Rotate the tool: Gently rotate the tool to reshape the threads. Be careful not to force it.
- Test the fit: Try screwing the fitting onto the hose. If it’s still difficult, try using the tool again.
Step 5: Applying Lubricant
Lubricant can help to create a tighter seal and prevent future damage. Here are a few options:
- Silicone grease: Apply a thin layer of silicone grease to the threads before connecting the fitting.
- Teflon tape: Wrap Teflon tape around the threads in the direction of the screw. This helps to create a watertight seal.
Avoid using petroleum-based lubricants, as they can damage some types of hoses and fittings.
Step 6: Replacing the Fitting
If the threads are too damaged to repair, you’ll need to replace the fitting. Here’s how:
- Remove the old fitting: Use pliers or a wrench to remove the old fitting from the hose.
- Prepare the hose: If the end of the hose is damaged, trim it with a hose cutter or knife.
- Attach the new fitting: Follow the instructions that come with the new fitting to attach it to the hose.
- Secure the connection: Use a hose clamp or other fastener to secure the connection.
Specific Repair Scenarios

Let’s look at some common scenarios and how to handle them.
Repairing a Garden Hose Thread (GHT)
Garden hose threads are common and often get damaged. Here’s what to do:
- Assess the damage: Check for cross-threading or crushed threads.
- Clean the threads: Use a wire brush to remove any dirt or debris.
- Realign the threads: Use pliers to gently straighten any bent threads.
- Apply Teflon tape: Wrap Teflon tape around the threads to create a watertight seal.
- Test the connection: Connect the hose to a spigot and check for leaks.
Repairing a Bike Pump Hose Thread
Bike pump hoses can suffer from wear and tear. Here’s how to fix them:
- Inspect the threads: Look for stripped or damaged threads.
- Clean the threads: Use a small brush to remove any dirt.
- Thread repair tool: Use a thread repair tool to reshape the threads if needed.
- Lubricate: Apply silicone grease to the threads.
- Test: Connect the pump to a tire and check for leaks.
Dealing with Cross-Threaded Connections
Cross-threading is a common issue that can ruin threads. Here’s how to handle it:
- Identify the problem: Notice if the fitting is difficult to screw on straight.
- Unscrew carefully: Gently unscrew the fitting, being careful not to damage the threads further.
- Clean the threads: Clean both the male and female threads.
- Realign: Use a thread file or pliers to realign any bent threads.
- Try again: Carefully screw the fitting back on, making sure it goes on straight.
Preventative Measures
Preventing damage in the first place is always the best strategy. Here are some tips:
- Avoid over-tightening: Over-tightening can strip the threads. Tighten until snug, but not excessively.
- Use proper alignment: Make sure the fitting is aligned correctly before screwing it on.
- Store hoses properly: Store hoses neatly to prevent them from getting damaged.
- Regular cleaning: Clean threads regularly to prevent corrosion and buildup.
- Lubricate threads: Use lubricant to keep threads smooth and prevent wear.
Troubleshooting Common Issues
Sometimes, things don’t go as planned. Here are some common issues and how to troubleshoot them:
Leaks After Repair
If you’re still getting leaks after repairing the threads:
- Check the seal: Make sure the seal is intact and properly seated.
- Tighten the connection: Tighten the connection a bit more, but be careful not to over-tighten.
- Add more Teflon tape: Try adding more Teflon tape to the threads.
- Inspect for damage: Double-check the threads for any remaining damage.
Difficulty Connecting Fittings
If you’re having trouble connecting the fittings:
- Check the thread size: Make sure the fittings are the same thread size.
- Clean the threads: Clean the threads to remove any dirt or debris.
- Lubricate the threads: Apply lubricant to the threads.
- Realign the threads: Use pliers or a thread file to realign any bent threads.
Stripped Threads
If the threads are completely stripped:
- Replace the fitting: The best option is usually to replace the fitting.
- Use a thread insert: In some cases, you can use a thread insert to repair the threads.
When to Call a Professional
Sometimes, the damage is too severe to handle yourself. Here are some situations where you should call a professional:
- Major damage: If the fitting is severely damaged or broken.
- Complex systems: If you’re working with complex plumbing or industrial systems.
- Lack of experience: If you’re not comfortable working with tools or repairing threads.
Cost Considerations
Repairing hose thread connections can save you money compared to replacing parts. Here’s a breakdown of potential costs:
| Repair Option | Estimated Cost | Notes |
|---|---|---|
| Cleaning and Realigning | $0 – $5 | Using tools you likely already have. |
| Thread Repair Tool | $10 – $30 | A one-time investment for multiple repairs. |
| Replacement Fitting | $5 – $20 | Cost depends on the type and material of the fitting. |
| Professional Repair | $50 – $100+ | For complex issues or when you’re not comfortable DIYing. |
Recommended Products
Here are some products that can help with hose thread repair:
- Thread Repair Tools: Irwin Tools Bolt-Grip Thread Restorer Set (Irwin Tools)
- Thread Sealant: Loctite 567 Thread Sealant (Loctite)
- Hose Clamps: Jubilee Clips (Jubilee Clips)
FAQ Section
What is a hose thread?
A hose thread is a type of screw thread used to connect hoses to fittings, like on your bike pump or garden hose. They come in different sizes and types, like Garden Hose Thread (GHT) or National Pipe Thread (NPT).
Why do hose threads get damaged?
Hose threads can get damaged from cross-threading (forcing the connection), over-tightening, physical impacts, or corrosion over time.
Can I use Teflon tape on any type of hose thread?
Yes, Teflon tape is safe to use on most types of hose threads. It helps create a watertight seal and prevents leaks.
What’s the best way to clean dirty hose threads?
Use a small brush (like a toothbrush) with soapy water to scrub the threads. Rinse with clean water and let it dry completely.
When should I replace a hose fitting instead of repairing it?
If the threads are severely damaged, stripped, or broken, it’s usually best to replace the entire fitting.
Can I use regular oil as a lubricant for hose threads?
No, avoid using petroleum-based oils, as they can damage some types of hoses and fittings. Silicone grease is a better option.
What is cross-threading and how can I avoid it?
Cross-threading happens when you force a connection at the wrong angle, damaging the threads. To avoid it, make sure the fitting is aligned correctly before screwing it on and don’t force it.
Conclusion
Repairing hose thread connections might seem daunting, but with the right tools and a bit of patience, it’s a skill anyone can master. By following the steps outlined in this guide, you can save money, extend the life of your equipment, and avoid the frustration of leaky connections.
Remember to always inspect the damage first, clean the threads thoroughly, and use the appropriate repair techniques. Whether you’re fixing a garden hose, a bike pump, or any other hose connection, these tips will help you get the job done right.
So, next time you encounter a damaged hose thread, don’t rush to replace it. Give these repair methods a try, and you might be surprised at how easy it is to get things working smoothly again. Happy riding and happy repairing!


