
How to Assemble Full Hose Replacement Kit: Easy Guide
Assembling a full hose replacement kit involves carefully removing the old hose, selecting the correct replacement, and securely installing it with new clamps. This ensures leak-free connections, maintaining optimal performance and safety. Follow these steps for a successful hose replacement.
Bike hoses are vital for smooth braking and shifting. Over time, they can wear out, crack, or become less responsive, affecting your bike’s performance. Replacing your bike’s hoses might seem daunting, but with the right tools and a bit of patience, it’s a task you can easily handle at home. This guide breaks down each step, making the process straightforward and stress-free. You’ll learn how to confidently replace your hoses, ensuring your bike runs smoothly and safely for every ride.
Tools and Materials You’ll Need

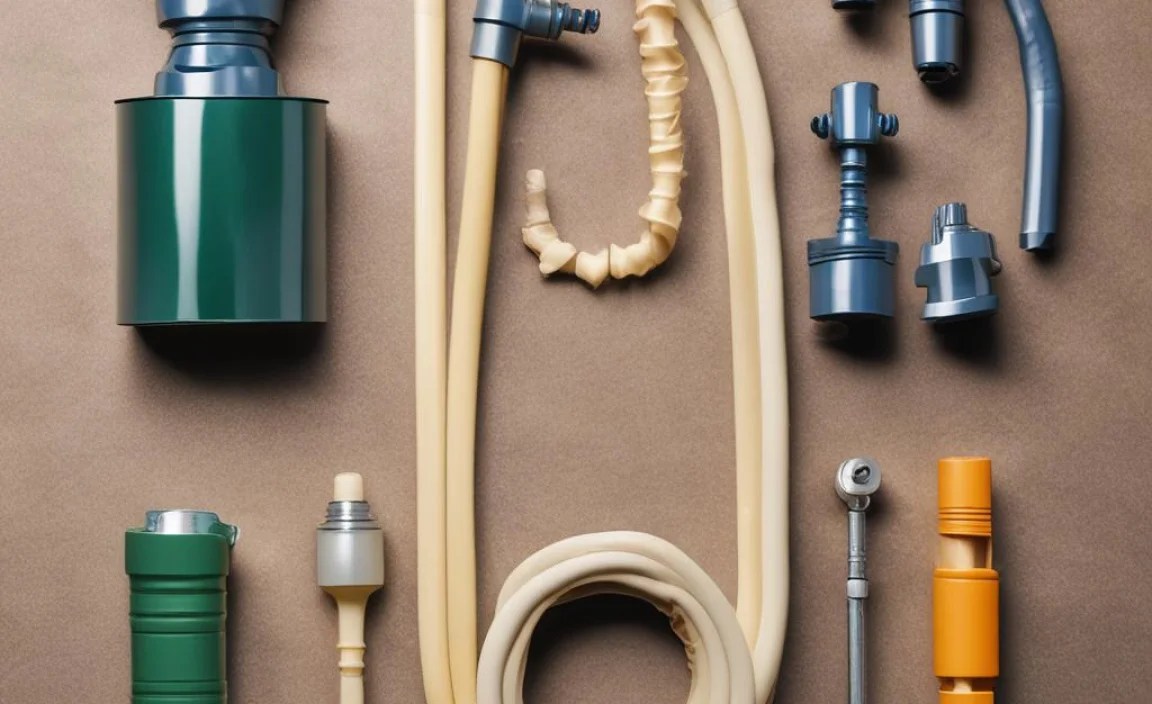
Before you start, gather all the necessary tools and materials. Having everything on hand will make the process smoother and more efficient.
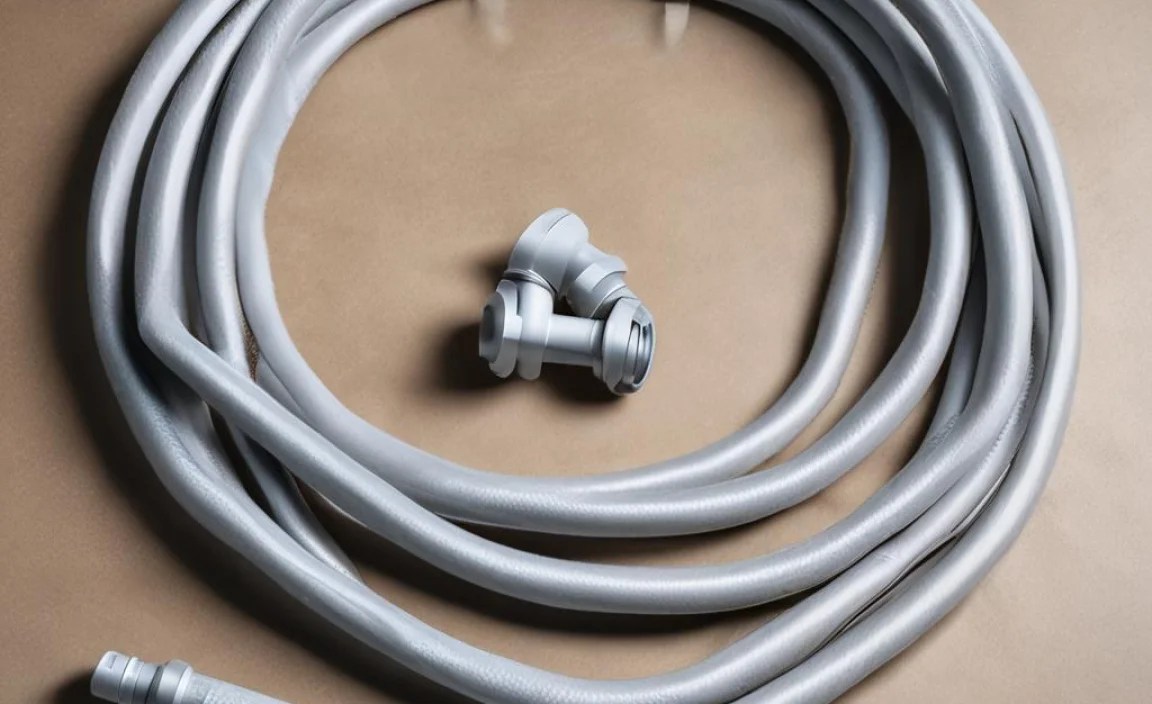
- Full Hose Replacement Kit: Includes new hoses, ferrules, and olives.
- Cable and Housing Cutters: Essential for clean cuts without fraying.
- Wrenches: For loosening and tightening bolts (sizes will vary).
- Allen Keys: Common sizes for brake and shifter components.
- Pick or Awl: Useful for removing old ferrules and olives.
- Torque Wrench: To ensure bolts are tightened to the correct specification.
- Rag or Shop Towel: For cleaning and wiping off excess fluid.
- Brake Fluid (if replacing brake hoses): DOT fluid or mineral oil, depending on your brakes.
- Bleed Kit (if replacing brake hoses): Syringe and fittings for bleeding the brakes.
- Work Gloves: To protect your hands.
- Safety Glasses: To protect your eyes from fluid splashes.
Step-by-Step Guide to Assembling a Full Hose Replacement Kit

Follow these steps carefully to ensure a successful hose replacement.
1. Prepare Your Work Area
Choose a clean, well-lit area to work on your bike. Protect the floor with a drop cloth or old newspapers to catch any spills.
2. Remove the Old Hose
Start by disconnecting the old hose from the brake lever or shifter. If you’re working on brakes, drain the system first to avoid spills.
- Brakes: Use a wrench to loosen the bolt connecting the hose to the brake lever. Have a rag ready to catch any dripping fluid.
- Shifters: Use an Allen key to loosen the bolt connecting the hose to the shifter.
- Carefully disconnect the hose from the caliper or derailleur, again using a wrench or Allen key.
- Gently pull the old hose out, noting its routing. Take a picture or make a sketch to help you remember how it was routed.
3. Measure and Cut the New Hose
Use the old hose as a guide to measure the new hose. It’s better to cut it slightly longer than needed; you can always trim it later.
- Lay the old hose next to the new hose.
- Mark the length on the new hose with a marker.
- Use cable and housing cutters to make a clean, square cut.
4. Install New Ferrules and Olives
Ferrules and olives are crucial for creating a tight, leak-proof seal. Make sure they are correctly installed.
- Slide the ferrule onto the hose. Ensure it’s oriented correctly (the wider end usually faces the component).
- Insert the olive into the end of the hose. Some olives require a special tool to press them in fully.
5. Connect the Hose to the Brake Lever or Shifter
Carefully connect the new hose to the brake lever or shifter, ensuring the olive seats properly.
- Insert the hose into the brake lever or shifter.
- Tighten the bolt to the manufacturer’s specified torque. Use a torque wrench to avoid over-tightening.
6. Route the Hose
Follow the routing you noted earlier to guide the hose along the frame. Use zip ties or clips to secure the hose in place.
7. Connect the Hose to the Caliper or Derailleur
Connect the other end of the hose to the caliper (for brakes) or derailleur (for shifters). Make sure the olive seats correctly and tighten the bolt to the specified torque.
8. Bleed the Brakes (If Applicable)
If you replaced a brake hose, you’ll need to bleed the brakes to remove any air bubbles from the system.
- Attach the bleed kit to the brake lever and caliper.
- Follow the manufacturer’s instructions for your bleed kit to remove air bubbles.
- Close the bleed valve and remove the kit.
9. Test the System
Before you ride, test the brakes or shifters to ensure they are working correctly. Check for leaks at all connections.
Troubleshooting Common Issues
Sometimes, things don’t go as planned. Here are some common issues and how to fix them.
Leaky Connections
If you notice fluid leaking from the connections, it could be due to several reasons:
- Incorrectly Seated Olive: Make sure the olive is fully seated in the hose.
- Over-tightened Bolt: Over-tightening can damage the olive or hose. Use a torque wrench to tighten to the correct specification.
- Damaged Hose: Inspect the hose for any cuts or damage. If damaged, replace the hose.
Spongy Brakes
Spongy brakes indicate air in the system. Bleed the brakes again, ensuring all air bubbles are removed.
Poor Shifting Performance
If your shifting is not smooth, check the following:
- Cable Tension: Ensure the cable tension is correct. Adjust the barrel adjuster on the shifter or derailleur.
- Cable Routing: Make sure the cable is routed correctly and not pinched or kinked.
- Cable Condition: Inspect the cable for fraying or damage. Replace the cable if necessary.
Maintenance Tips for Long-Lasting Performance
Proper maintenance will extend the life of your new hoses and keep your bike running smoothly.
- Regularly Inspect Hoses: Check for cracks, wear, and leaks.
- Clean Hoses: Wipe down the hoses with a clean rag to remove dirt and grime.
- Lubricate Cables: For shifter cables, apply a small amount of lubricant to keep them moving freely.
- Replace Fluid Regularly: For hydraulic brakes, replace the brake fluid according to the manufacturer’s recommendations.
Choosing the Right Hose Replacement Kit

Selecting the right hose replacement kit is crucial for compatibility and performance. Here’s what to consider:
Compatibility
Ensure the kit is compatible with your bike’s make and model. Check the manufacturer’s specifications for hose diameter and fitting types.
Material
Hoses are typically made from rubber, Teflon, or braided stainless steel. Braided stainless steel hoses offer superior durability and performance but are more expensive.
Kit Contents
Check that the kit includes all necessary components, such as hoses, ferrules, olives, and any specific fittings required for your bike.
Brand Reputation
Opt for reputable brands known for quality and reliability. Reading reviews and seeking recommendations from other cyclists can help you make an informed decision.
Advanced Tips and Tricks
For those looking to take their hose replacement skills to the next level, here are some advanced tips and tricks.
Using a Heat Gun
A heat gun can be useful for softening the hose before inserting the olive, making the process easier. Be careful not to overheat the hose, as this can damage it.
Custom Hose Lengths
Consider using custom hose lengths for a cleaner look and improved performance. Measure carefully and ensure the hoses are not too short, which can restrict movement.
Upgrading to Braided Stainless Steel Hoses
Braided stainless steel hoses offer improved durability and performance, especially for hydraulic brakes. They are less prone to expansion under pressure, providing more consistent braking power.
Table: Comparing Hose Materials
| Material | Pros | Cons | Typical Use |
|---|---|---|---|
| Rubber | Affordable, Flexible | Less Durable, Prone to Expansion | Entry-Level Bikes |
| Teflon | Durable, Resistant to Expansion | More Expensive than Rubber | Mid-Range Bikes |
| Braided Stainless Steel | Highly Durable, Minimal Expansion | Most Expensive, Can be Stiff | High-End Bikes, Performance Applications |
Table: Recommended Torque Settings
| Component | Torque Setting (Nm) |
|---|---|
| Brake Lever Hose Bolt | 6-8 Nm |
| Caliper Hose Bolt | 8-10 Nm |
| Shifter Hose Bolt | 5-7 Nm |
| Derailleur Hose Bolt | 6-8 Nm |
External Resources
- Park Tool Repair Help – Comprehensive bike repair guides.
- Sheldon Brown’s Website – A wealth of information on bicycle maintenance and repair.
- BikeRadar Gear Servicing Guide – Detailed guide on servicing bicycle gears.
FAQ: Assembling a Full Hose Replacement Kit
Q: How often should I replace my bike hoses?
A: It depends on usage and conditions, but generally, replace hoses every 2-3 years or when you notice cracks, leaks, or decreased performance.
Q: Can I use any type of hose replacement kit for my bike?
A: No, ensure the kit is compatible with your bike’s make and model. Check the manufacturer’s specifications for hose diameter and fitting types.
Q: What is the purpose of ferrules and olives?
A: Ferrules and olives create a tight, leak-proof seal between the hose and the brake lever, caliper, or shifter.
Q: Do I need to bleed my brakes after replacing the brake hose?
A: Yes, bleeding the brakes is essential to remove air bubbles and ensure optimal braking performance.
Q: What happens if I over-tighten the hose bolts?
A: Over-tightening can damage the olive or hose, leading to leaks. Use a torque wrench to tighten to the correct specification.
Q: Can I reuse the old ferrules and olives?
A: No, always use new ferrules and olives when replacing hoses to ensure a proper seal.
Q: What should I do if I can’t remove the old olive from the hose?
A: Use a pick or awl to carefully remove the old olive. If it’s stuck, you may need to cut the hose to remove it.
Conclusion
Replacing your bike’s hoses is a manageable task with the right tools and a step-by-step approach. By following this guide, you can confidently assemble a full hose replacement kit, ensuring your bike performs at its best. Regular maintenance and timely replacements will keep your rides smooth and safe. So, grab your tools, follow these steps, and enjoy the satisfaction of maintaining your bike yourself. Happy riding!


