
How to Fix Hose Connection at Pump Head – Easy Fix!
Quick Summary: A loose hose connection at your bike pump head means air leaks and wasted effort. Usually, you can fix it by tightening the hose clamp with a screwdriver or replacing worn-out parts like the O-rings or the hose itself. Sometimes, the pump head needs a complete replacement if it’s too damaged. Keep your pump working smoothly with these simple steps!
A wobbly hose connection at your bike pump head can be super frustrating. You’re trying to get your tires inflated, but all you hear is hissing and feel air escaping. It’s a common problem that can make even a simple task feel impossible. Don’t worry, though! Most of the time, you can fix this issue yourself without needing to buy a whole new pump.
In this guide, I’ll walk you through easy steps to diagnose and repair that pesky hose connection. We’ll cover everything from tightening clamps to replacing worn parts. By the end, you’ll be back to pumping up your tires with ease. Let’s get started!
Why is My Pump Hose Leaking?

Before we dive into fixing the hose connection, let’s understand why it’s leaking in the first place. Knowing the cause can help you choose the right fix and prevent the problem from happening again.
- Loose Hose Clamp: The clamp that secures the hose to the pump head can loosen over time due to vibration and use.
- Worn O-rings: O-rings create a seal between the hose and the pump head. They can dry out, crack, or become deformed.
- Damaged Hose: The hose itself might develop cracks or splits, especially near the connection points.
- Corroded or Damaged Pump Head: Over time, the pump head can corrode or get damaged, preventing a tight seal.
- Improper Installation: Sometimes, the hose wasn’t properly installed in the first place, leading to leaks.
Tools You’ll Need
Having the right tools makes the repair process much smoother. Here’s a list of what you’ll likely need:
- Screwdrivers: Both flathead and Phillips head screwdrivers might be needed, depending on the type of clamp.
- Wrench Set: For tightening or loosening specific nuts and bolts.
- Pliers: Useful for gripping and maneuvering small parts.
- Replacement O-rings: Make sure they are the correct size for your pump.
- New Hose: If the hose is damaged, you’ll need a replacement.
- Utility Knife or Scissors: For cutting the hose if needed.
- Lubricant: Silicone grease can help with sealing and prevent wear.
- Cleaning Cloth: To wipe away dirt and grease.
Step-by-Step Guide to Fixing the Hose Connection

Here’s how to fix your bike pump hose connection:
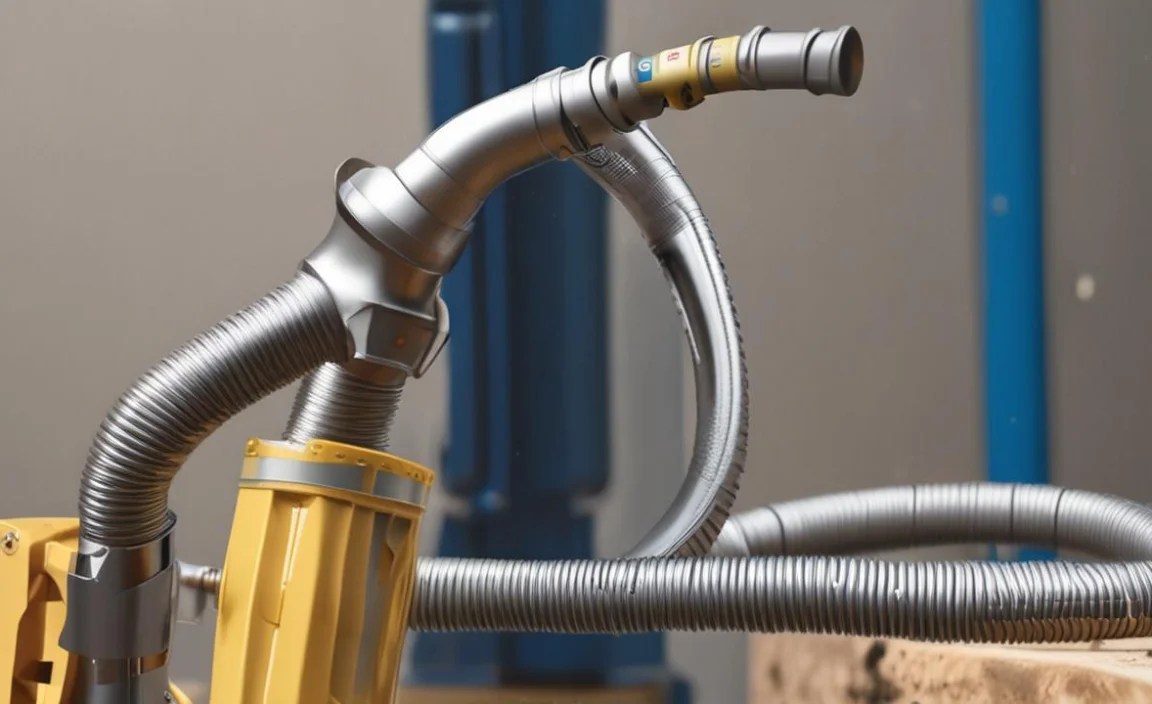
Step 1: Inspect the Hose Connection
Start by carefully examining the hose connection at the pump head. Look for:
- Visible cracks or damage to the hose.
- Loose or corroded clamps.
- Signs of wear and tear on the O-rings (if visible).
Step 2: Tighten the Hose Clamp
The easiest fix is often tightening the hose clamp. Here’s how:
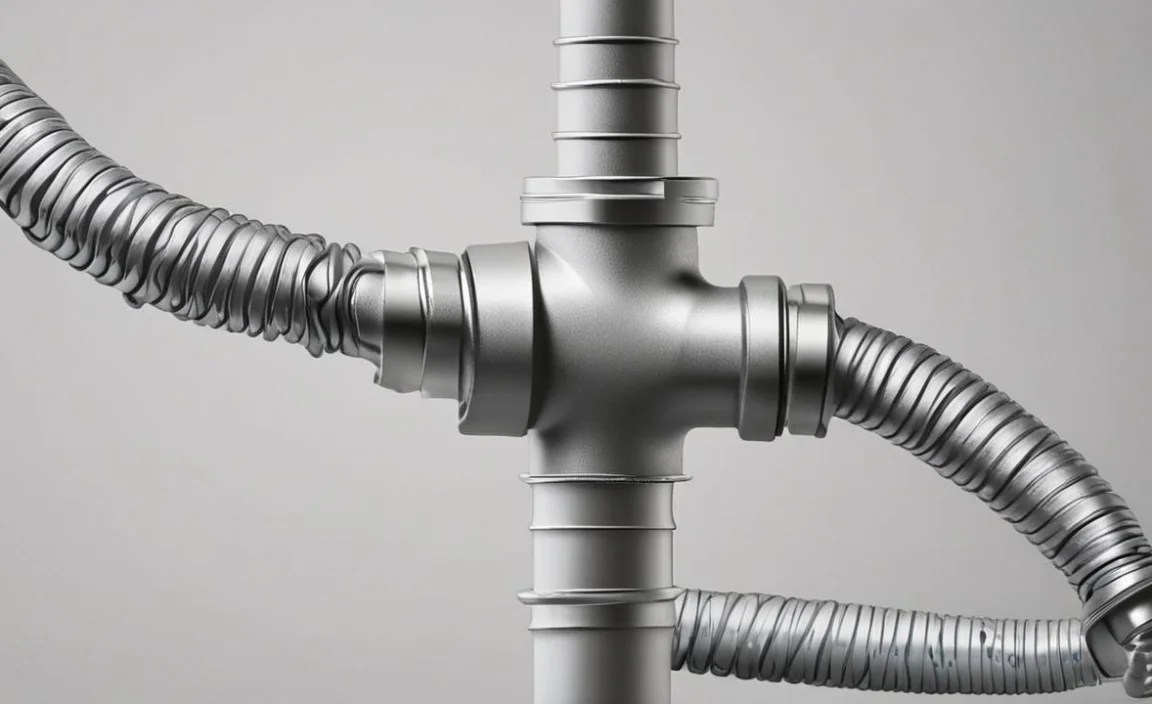
- Locate the hose clamp where the hose connects to the pump head.
- Use a screwdriver (flathead or Phillips, depending on the clamp type) to tighten the clamp.
- Don’t overtighten, as this can damage the hose. Tighten until snug.
- Test the connection by pumping air and listening for leaks.
Step 3: Replace the O-rings
If tightening the clamp doesn’t solve the problem, the O-rings might be the issue. Here’s how to replace them:
- Disconnect the hose from the pump head.
- Locate the O-rings. They are usually around the fitting where the hose connects.
- Use a small tool (like a pick or small screwdriver) to carefully remove the old O-rings. Be careful not to scratch the metal surface.
- Clean the area with a cloth to remove any dirt or debris.
- Apply a small amount of silicone grease to the new O-rings.
- Install the new O-rings in the correct position.
- Reconnect the hose to the pump head.
- Test the connection by pumping air and listening for leaks.
Step 4: Replace the Hose
If the hose is cracked or damaged, replacing it is the best option. Here’s how:
- Disconnect the hose from the pump head and the other end (if applicable).
- Measure the length of the old hose to ensure the new hose is the same length.
- Cut the new hose to the correct length using a utility knife or scissors.
- Slide the hose clamp onto the new hose.
- Connect the new hose to the pump head and the other end.
- Position the hose clamp over the connection and tighten it with a screwdriver.
- Test the connection by pumping air and listening for leaks.
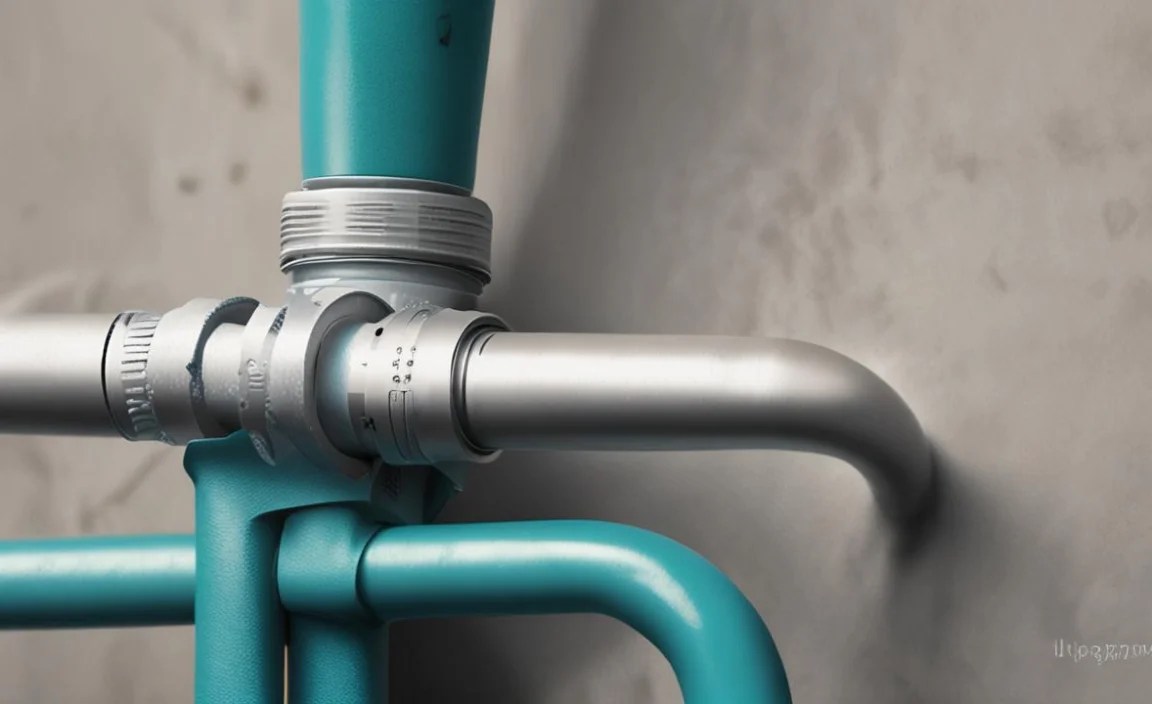
Step 5: Check the Pump Head
Sometimes, the pump head itself might be the problem. Check for:
- Cracks or damage to the pump head body.
- Corrosion or wear on the internal parts.
If the pump head is damaged, you might need to replace it. Replacement pump heads are available online and at bike shops. Here’s how to replace it:
- Disconnect the hose from the old pump head.
- Remove the old pump head from the pump body. This might involve unscrewing it or removing a retaining clip.
- Install the new pump head, following the manufacturer’s instructions.
- Connect the hose to the new pump head.
- Test the connection by pumping air and listening for leaks.
Troubleshooting Common Issues
Even with careful repair, you might still encounter some issues. Here are a few common problems and how to solve them:
| Problem | Possible Cause | Solution |
|---|---|---|
| Still leaking after tightening the clamp | Clamp is worn out or the hose is too damaged | Replace the clamp or the hose |
| O-rings keep failing | Incorrect O-ring size or poor quality | Use the correct size and buy high-quality O-rings |
| Pump head won’t stay on the valve | Worn out rubber seal inside the pump head | Replace the rubber seal or the entire pump head |
| Hose keeps popping off | Hose is not securely attached or the clamp is too loose | Ensure the hose is fully inserted and tighten the clamp properly |
Preventative Maintenance
To keep your pump in good working order and prevent hose connection issues, follow these tips:
- Regularly Inspect: Check the hose, clamps, and O-rings for wear and tear.
- Lubricate: Apply silicone grease to the O-rings periodically to keep them supple.
- Store Properly: Store your pump in a dry place to prevent corrosion.
- Avoid Over-Tightening: Don’t overtighten the clamps, as this can damage the hose.
- Replace Parts: Replace worn parts as soon as you notice them to prevent further damage.
Choosing the Right Replacement Parts
When replacing parts, it’s essential to choose the right ones. Here’s what to consider:
- O-rings:
- Material: Look for O-rings made of durable materials like neoprene or silicone.
- Size: Ensure the O-rings are the correct size for your pump model. Check your pump’s manual or measure the old O-rings.
- Hoses:
- Material: Choose a hose made of durable rubber or reinforced plastic.
- Length: Ensure the hose is the correct length for your pump.
- Diameter: The hose diameter should match the fittings on your pump head and body.
- Pump Heads:
- Compatibility: Ensure the pump head is compatible with your pump model and valve types (Presta, Schrader, Dunlop).
- Material: Look for pump heads made of durable materials like aluminum or reinforced plastic.
You can find replacement parts at local bike shops or online retailers like Amazon and specialty cycling stores. When purchasing, make sure to check customer reviews and product specifications to ensure compatibility and quality.
When to Call a Professional
While many hose connection issues can be fixed at home, there are times when it’s best to seek professional help:
- Extensive Damage: If the pump is severely damaged or corroded.
- Complex Issues: If you’re not comfortable disassembling the pump or dealing with small parts.
- Lack of Tools: If you don’t have the necessary tools to perform the repair.
A professional bike mechanic can diagnose the problem accurately and perform the necessary repairs, ensuring your pump is working correctly and safely. They can also provide advice on maintaining your pump to prevent future issues.
Alternative Solutions
If fixing the hose connection proves too difficult or costly, you might consider alternative solutions:
- Buy a New Pump: Sometimes, the cost of replacement parts and the effort involved in repairing an old pump can outweigh the cost of buying a new one.
- Use a Bike Shop Pump: Many bike shops offer free air for customers. You can use their pump to inflate your tires if your pump is out of commission.
- CO2 Inflators: CO2 inflators are a quick and convenient way to inflate your tires on the go. However, they are single-use and require purchasing CO2 cartridges.
Here’s a comparison table to help you decide which option is best for you:
| Solution | Pros | Cons |
|---|---|---|
| Repairing the Hose Connection | Cost-effective, environmentally friendly | Requires time and effort, may not always be successful |
| Buying a New Pump | Convenient, reliable, comes with a warranty | More expensive, less environmentally friendly |
| Using a Bike Shop Pump | Free, convenient | Requires a trip to the bike shop, may not be available 24/7 |
| CO2 Inflators | Quick, portable | Single-use, requires purchasing cartridges |
Frequently Asked Questions (FAQ)
Here are some common questions about fixing hose connections at pump heads:
1. Why does my bike pump hose keep popping off?
The hose might be popping off because the clamp is loose, the hose is not fully inserted, or the hose is worn out. Make sure the hose is pushed all the way onto the fitting and that the clamp is tightened securely. If the hose is old or damaged, replace it.
2. Can I use any O-ring to replace the old one?
No, you should use an O-ring that is the correct size and material for your pump. Using the wrong O-ring can prevent a proper seal and cause leaks. Check your pump’s manual or measure the old O-ring to find the right size.
3. How often should I lubricate the O-rings on my bike pump?
You should lubricate the O-rings every few months or whenever you notice the pump is not working as smoothly as it should. Use a small amount of silicone grease to keep the O-rings supple and prevent them from drying out.
4. What type of screwdriver do I need to tighten the hose clamp?
It depends on the type of clamp. Some clamps use a flathead screw, while others use a Phillips head screw. Check the clamp on your pump to determine which type of screwdriver you need.
5. Is it worth repairing an old bike pump, or should I just buy a new one?
It depends on the age and condition of the pump. If the pump is relatively new and the problem is a simple fix like a loose clamp or worn O-rings, it’s worth repairing. However, if the pump is old, heavily damaged, or requires extensive repairs, it might be more cost-effective to buy a new one.
6. Can I use Teflon tape to seal the hose connection?
While Teflon tape is useful for sealing threaded connections, it’s not typically recommended for sealing hose connections on bike pumps. O-rings and clamps are usually sufficient for creating a tight seal. Teflon tape might add bulk and prevent the clamp from tightening properly.
7. Where can I buy replacement parts for my bike pump?
You can buy replacement parts for your bike pump at local bike shops, online retailers like Amazon, and specialty cycling stores. When purchasing, make sure to check customer reviews and product specifications to ensure compatibility and quality.
Conclusion
Fixing a leaky hose connection at your bike pump head doesn’t have to be a headache. By following these simple steps, you can diagnose the problem, replace worn parts, and get your pump working like new. Remember to regularly inspect and maintain your pump to prevent future issues. With a little bit of care and attention, you can keep your tires properly inflated and enjoy smooth, worry-free rides. Now get back out there and pump it up!


