
How to Fix Melted Hose from CO₂ Freezing: Easy Fix!
How to Fix a Melted Hose from CO₂ Freezing

Quick Summary: Got a melted hose from using CO₂? Don’t worry! You can usually fix it. First, let the hose warm up completely. Then, check for any damage like cracks or holes. If it’s just a little melted, you might be able to carefully reshape it. If it’s seriously damaged, you’ll need to replace the hose. Always use short bursts of CO₂ to prevent future melting.
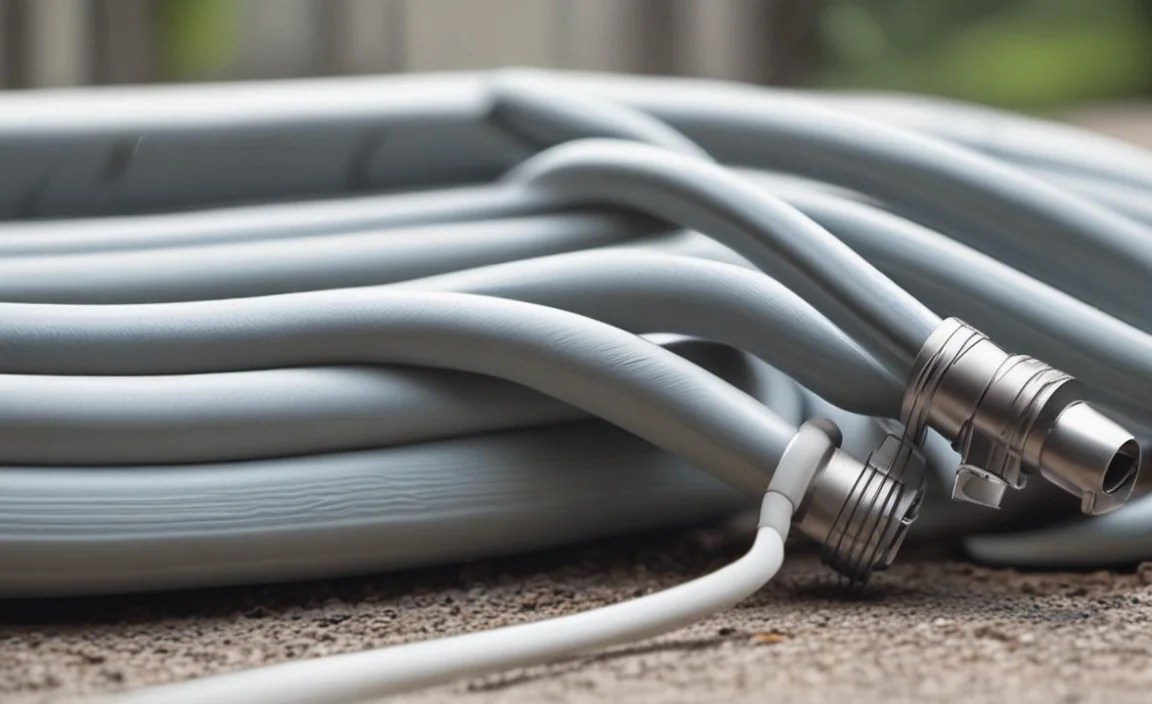
Ever had that sinking feeling when you’re inflating your bike tire with CO₂ and the inflator hose starts to look… wrong? Maybe it’s getting soft, or even starting to melt! It’s a common problem caused by the rapid cooling effect of CO₂. Don’t panic! A melted hose doesn’t always mean it’s ruined. This guide will walk you through how to assess the damage, try a fix, and prevent it from happening again. We’ll cover everything from letting the hose thaw out to replacing it if necessary. Let’s get started and get you back on the road!
Understanding CO₂ Freezing and Your Inflator Hose

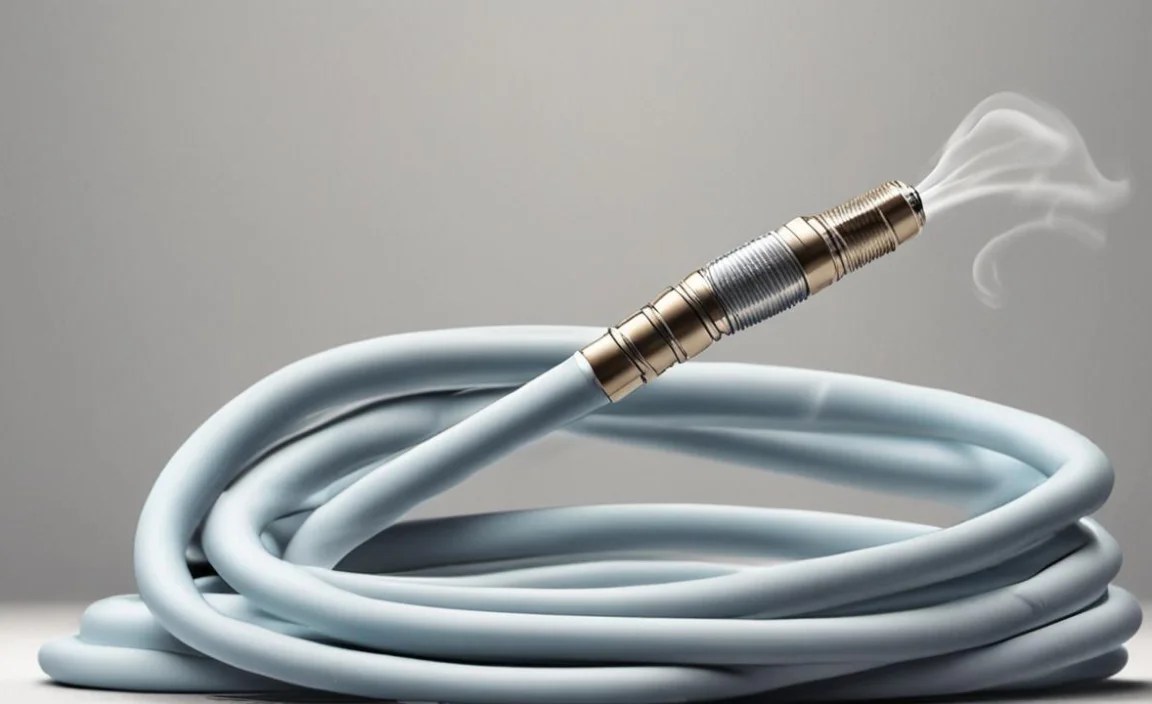
CO₂ inflators are super handy for quick tire inflation on the go. But they work by releasing compressed carbon dioxide, which expands rapidly. This rapid expansion causes a significant drop in temperature, a process known as Joule-Thomson effect. This extreme cold can freeze the moisture in the air and even affect the materials of your inflator hose.
Why Does My Hose Melt?
Most inflator hoses are made from rubber or plastic. While these materials are flexible and durable under normal conditions, they aren’t designed to withstand the extreme cold produced by rapid CO₂ release. When the hose gets too cold, the material can become brittle and even melt or deform.
Factors That Increase the Risk
- Long Bursts of CO₂: Holding the inflator open for extended periods causes more cooling.
- High Humidity: More moisture in the air means more ice forming on the hose, further reducing its temperature.
- Low-Quality Hoses: Cheaper hoses are often made from materials that are more susceptible to cold damage.
- Repeated Use: Using the inflator multiple times in quick succession doesn’t allow the hose to warm up between uses.
Assessing the Damage to Your CO₂ Inflator Hose

Before you try to fix anything, you need to figure out how bad the damage is. Here’s a step-by-step way to check your hose:
- Let it Warm Up: First, let the hose return to room temperature. This might take 15-30 minutes. Don’t try to assess it while it’s still frozen or very cold.
- Visual Inspection: Look closely at the hose. Are there any cracks, holes, or significant deformations? Is the material brittle or unusually soft?
- Flex Test: Gently bend the hose. Does it feel stiff or fragile? Does it crack or show signs of stress?
- Check the Connections: Examine where the hose connects to the inflator head and the valve. Are these connections secure? Is there any damage to the threads or seals?
Damage Levels and What They Mean
| Damage Level | Description | Likelihood of Repair |
|---|---|---|
| Minor Melting/Softening | The hose feels a bit soft or slightly deformed in a small area. | High – May be repairable with reshaping. |
| Cracks or Small Holes | Small cracks or holes are visible on the surface of the hose. | Low – Replacement is usually recommended. |
| Significant Deformation | The hose is severely misshapen or has large melted areas. | Very Low – Replacement is necessary. |
| Brittle Material | The hose feels stiff and cracks easily when bent. | Very Low – Replacement is necessary. |
How to Potentially Fix Minor Melting

If the damage is minor, you might be able to salvage your hose. This method works best for slight softening or deformation.
Tools You’ll Need
- Heat Gun or Hair Dryer
- Gloves (to protect your hands)
- Round Object (like a pen or small dowel) – slightly smaller than the hose’s inner diameter
Step-by-Step Repair Process
- Warm the Hose: Use a heat gun or hair dryer on a low setting to gently warm the affected area. Keep the heat source moving to avoid overheating. The goal is to make the material pliable, not to melt it further.
- Reshape the Hose: While the hose is warm and pliable, gently insert the round object into the hose. This will help to restore its original shape.
- Cool Down: Allow the hose to cool completely with the round object still inserted. This will help the material to set in the correct shape.
- Inspect Again: Once cooled, remove the round object and inspect the hose. Check for any remaining deformation or damage. If it looks good, test it carefully with a CO₂ cartridge.
Important Considerations
- Don’t Overheat: Too much heat can cause further damage. Use a low setting and keep the heat source moving.
- Work Carefully: Be gentle when reshaping the hose to avoid causing cracks or weakening the material.
- Test Thoroughly: After reshaping, test the hose with a CO₂ cartridge in a safe environment. Watch for leaks or further deformation. If you see any issues, replace the hose immediately.
When to Replace the Hose
Sometimes, the damage is just too severe to repair safely. Here are the signs that you need to replace your CO₂ inflator hose:
- Visible cracks or holes
- Significant deformation or melting
- Brittle or stiff material
- Loose or damaged connections
- The hose fails during testing
Choosing a Replacement Hose
When buying a new hose, look for one that is designed to withstand the cold temperatures associated with CO₂ inflation. Here are some features to consider:
- Material: Look for hoses made from high-quality rubber or plastic that is specifically formulated to resist cold damage. Some hoses are even reinforced with braided fibers for added strength and durability.
- Length: Choose a hose that is long enough to easily reach your tire valve, but not so long that it gets in the way.
- Connections: Make sure the hose has compatible connections for your inflator head and valve.
- Reviews: Read reviews from other cyclists to see how well the hose performs in real-world conditions.
Where to Buy a Replacement
You can find replacement CO₂ inflator hoses at:
- Local Bike Shops: Your local bike shop is a great place to find a replacement hose and get expert advice.
- Online Retailers: Many online retailers sell replacement hoses, offering a wide selection and competitive prices. Check out sites like Amazon or specialized cycling stores.
- Manufacturer Websites: Check the website of your inflator manufacturer for replacement parts.
Preventing Future Hose Damage
The best way to deal with a melted hose is to prevent it from happening in the first place. Here are some tips to help you avoid damage:
- Use Short Bursts: Inflate your tire in short bursts rather than one long continuous blast. This allows the hose to warm up slightly between bursts.
- Protect the Hose: Wrap the hose with a small piece of cloth or foam during inflation to insulate it from the cold.
- Use a CO₂ Inflator with a Regulator: Some inflators have a regulator that controls the flow of CO₂, reducing the risk of freezing.
- Carry Spare Cartridges: Avoid the temptation to use a single cartridge to inflate multiple tires, as this can cause excessive cooling.
- Choose a Quality Inflator: Invest in a high-quality inflator with a durable hose made from materials that can withstand cold temperatures.
Comparing CO₂ Inflator Options
| Feature | Basic Inflator | Regulated Inflator | Insulated Inflator |
|---|---|---|---|
| Price | Lower | Moderate | Higher |
| CO₂ Control | Manual | Regulated Flow | Manual, but with insulation |
| Hose Protection | Minimal | Moderate | High |
| Best For | Occasional Use | Frequent Use, Less Risk | Extreme Conditions |
Alternative Inflation Methods
While CO₂ inflators are convenient, they aren’t the only option. Consider these alternatives to reduce the risk of hose damage:
- Mini Pumps: These hand-operated pumps are small and lightweight, making them easy to carry on your bike. They require more effort than CO₂ inflators, but they don’t produce extreme cold.
- Frame-Mounted Pumps: These pumps attach directly to your bike frame, so you always have them with you. They are generally more efficient than mini pumps.
- Electric Pumps: Small electric pumps are becoming increasingly popular. They are battery-powered and can inflate a tire quickly and easily without the risk of freezing.
Pros and Cons of Different Inflation Methods
- CO₂ Inflators:
- Pros: Fast, convenient, lightweight
- Cons: Can damage hose, requires cartridges, less environmentally friendly
- Mini Pumps:
- Pros: Reliable, no cartridges needed, environmentally friendly
- Cons: Requires more effort, can be slow
- Electric Pumps:
- Pros: Fast, easy, rechargeable
- Cons: Requires charging, can be bulky, more expensive
FAQ: CO₂ Inflator Hose Problems
What causes a CO₂ inflator hose to melt?
The rapid expansion of CO₂ causes extreme cooling, which can damage or melt the hose material if it’s not designed to handle the cold.
Can I repair a melted CO₂ inflator hose?
If the damage is minor, like slight softening, you might be able to reshape it with gentle heat. However, cracks, holes, or significant deformation require replacement.
How can I prevent my CO₂ inflator hose from melting?
Use short bursts of CO₂, protect the hose with insulation, and choose a high-quality inflator with a durable hose.
What type of replacement hose should I buy?
Look for hoses made from high-quality rubber or plastic that are specifically designed to resist cold damage. Reinforced hoses are also a good option.
Are there alternatives to CO₂ inflators?
Yes, mini pumps, frame-mounted pumps, and electric pumps are all viable alternatives that don’t produce extreme cold.
Is it safe to use a CO₂ inflator if the hose is slightly damaged?
No, it’s not safe. Even slight damage can weaken the hose and cause it to fail during inflation, potentially leading to injury. Replace the hose immediately.
How often should I replace my CO₂ inflator hose?
Inspect your hose regularly for signs of damage. Replace it as soon as you notice any cracks, holes, deformation, or brittleness.
Conclusion
Dealing with a melted CO₂ inflator hose can be frustrating, but understanding the cause and knowing how to assess the damage can save you time and money. Remember, prevention is key: use short bursts, protect the hose, and invest in a quality inflator. If the damage is too severe, don’t hesitate to replace the hose. By following these tips, you can keep your CO₂ inflator working properly and enjoy smooth, hassle-free tire inflation on all your rides. Happy cycling!


