
How to Inspect Hose for Cracks Before Inflation: Easy Guide
Quick Summary: Before inflating any hose, especially on your bike pump, give it a good look and feel! Check for any small cracks, bulges, or worn spots. Gently bend the hose to see if cracks open up. If you spot damage, replace the hose immediately to avoid bursts and ensure accurate inflation. A few minutes of inspection can save you from a flat tire and a lot of frustration.
Ever had a bike tire deflate right after you pumped it up? Or worse, had a pump hose burst while you’re trying to inflate? Chances are, a cracked or damaged hose is to blame. It’s a common problem, but thankfully, it’s easy to prevent with a quick inspection. Don’t worry; you don’t need to be a bike mechanic to do this. I’ll walk you through the simple steps to check your hoses before you inflate, so you can ride with confidence.
Why Inspect Your Hose Before Inflation?

Inspecting your hoses before inflating seems like a small thing, but it can prevent a lot of headaches. Here’s why it’s so important:
- Safety First: A burst hose can be dangerous, especially if you’re using a high-pressure pump.
- Accurate Inflation: Cracks can cause leaks, making it impossible to get your tires to the correct pressure.
- Save Money: Replacing a hose is cheaper than dealing with a flat tire or a damaged pump.
- Avoid Frustration: There’s nothing worse than being stranded with a flat because of a faulty hose.
Tools You’ll Need
The good news is you don’t need any special tools for this. Just a few simple things:
- Your Eyes: The most important tool! Good lighting helps too.
- Your Hands: To feel for bulges or soft spots.
- A Clean Rag (Optional): To wipe down the hose for better visibility.
- Replacement Hose (If Needed): Have one on hand in case you find damage. You can find reliable replacements at most bike shops or online retailers like REI.
Step-by-Step Guide: How to Inspect a Hose for Cracks

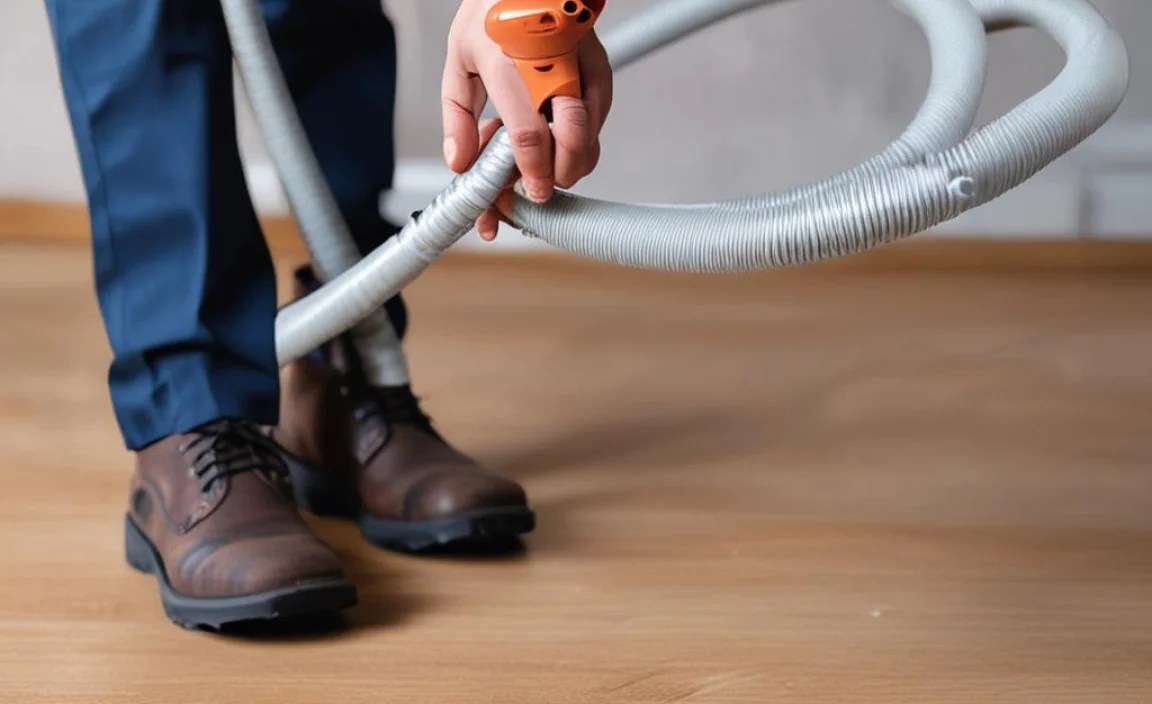
Step 1: Visual Inspection
Start with a close look at the entire length of the hose. Pay attention to these areas:
- The Ends: Where the hose connects to the pump and the valve connector. These areas experience the most stress.
- Bends and Curves: Hoses often crack where they bend repeatedly.
- Areas Near Fittings: Check where the hose is clamped or attached to fittings.
Look for:
- Cracks: Even small, hairline cracks can be a problem.
- Bulges: These indicate weakened spots in the hose wall.
- Abrasions: Scratches or worn spots can weaken the hose over time.
- Discoloration: Unusual colors might indicate the hose material is degrading.
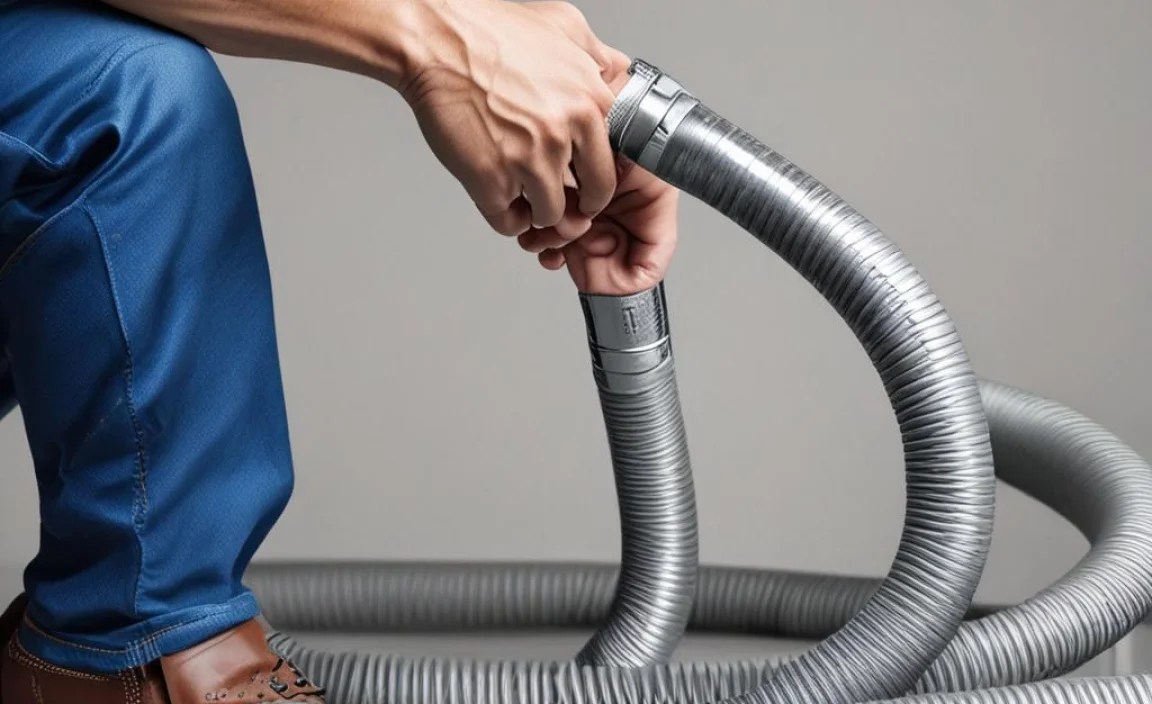
Step 2: The Bend Test
Gently bend the hose along its entire length. This will help you spot cracks that might not be visible when the hose is straight.
- Small Cracks: Bending can make small cracks open up, making them easier to see.
- Listen Carefully: If you hear a crackling or hissing sound, that’s a sign of damage.
Step 3: The Squeeze Test
Run your fingers along the hose, gently squeezing as you go. Feel for:
- Soft Spots: These indicate the hose wall is weakening.
- Hard Spots: These could be caused by internal damage or kinks.
- Uneven Texture: Any unusual bumps or dips could be a sign of trouble.
Step 4: Check the Fittings
Inspect the areas where the hose connects to the pump and the valve connector.
- Tightness: Make sure the fittings are securely attached.
- Cracks or Damage: Look for cracks or damage in the fittings themselves.
- Leaks: If you see any signs of air leaking around the fittings, tighten them or replace the hose.
Step 5: The Soap Test (Optional)
If you suspect a leak but can’t find it, try this:
- Mix a small amount of dish soap with water.
- Apply the soapy water to the hose, especially around the fittings.
- Inflate the hose slightly.
- Look for bubbles forming, which indicate a leak.
Understanding Hose Materials
Bike pump hoses are typically made from rubber, vinyl, or reinforced materials. Each has its pros and cons:
| Material | Pros | Cons |
|---|---|---|
| Rubber | Flexible, durable, good resistance to abrasion. | Can crack over time, especially with exposure to sunlight. |
| Vinyl | Inexpensive, lightweight. | Less durable than rubber, prone to cracking in cold weather. |
| Reinforced (e.g., Braided Steel) | Very durable, high pressure rating, resistant to kinking. | More expensive, can be less flexible. |
Knowing the material of your hose can help you understand its weaknesses and how to care for it properly.
Common Types of Hose Damage and How to Spot Them

Here’s a breakdown of typical hose damage and what to look for:
- Cracks: The most common issue, usually caused by age, UV exposure, or bending. Look for hairline cracks, especially near fittings and bends.
- Pinholes: Tiny holes that leak air. The soap test is great for finding these.
- Bulges: Weak spots in the hose wall, often caused by internal pressure. Replace the hose immediately if you see a bulge.
- Abrasions: Worn spots from rubbing against other parts of the bike or pump. These weaken the hose over time.
- Kinks: Sharp bends that can damage the hose and restrict airflow. Avoid kinking the hose when storing it.
Preventing Hose Damage: Tips and Tricks
A little care can extend the life of your bike pump hose:
- Proper Storage: Store your pump in a cool, dry place away from direct sunlight.
- Avoid Kinking: Don’t bend the hose sharply. When storing, coil it loosely.
- Regular Cleaning: Wipe down the hose with a damp cloth to remove dirt and grime.
- UV Protection: If you store your pump outside, cover the hose to protect it from UV rays.
- Gentle Use: Avoid pulling or yanking on the hose when attaching it to the valve.
When to Replace Your Hose
Even with the best care, hoses eventually wear out. Here are some signs it’s time for a replacement:
- Visible Cracks: Any cracks, no matter how small, are a sign of weakening.
- Bulges: These indicate the hose wall is compromised.
- Leaks: If you can’t stop a leak by tightening the fittings, replace the hose.
- Age: If your hose is several years old, it’s probably time for a new one, even if it looks okay.
- Reduced Performance: If you notice it’s taking longer to inflate your tires, the hose might be leaking or restricted.
Choosing a Replacement Hose
When it’s time to replace your hose, consider these factors:
- Material: Choose a material that suits your needs. Reinforced hoses are more durable, while rubber hoses are more flexible.
- Length: Make sure the replacement hose is the correct length for your pump.
- Fittings: Ensure the fittings are compatible with your pump and valve connectors.
- Pressure Rating: Choose a hose with a pressure rating that’s higher than your pump’s maximum pressure.
- Brand: Stick with reputable brands known for quality and durability. Some trusted brands include Park Tool, Topeak, and Lezyne.
Step-by-Step: Replacing a Bike Pump Hose
Replacing a bike pump hose is usually a straightforward process. Here’s a general guide:
- Gather Your Tools: You’ll likely need a wrench or pliers to remove the old hose.
- Remove the Old Hose: Loosen the fittings and carefully detach the old hose from the pump and valve connector.
- Install the New Hose: Attach the new hose to the pump and valve connector, tightening the fittings securely.
- Test for Leaks: Inflate a tire and check for leaks around the fittings.
Important Note: Some pumps have proprietary hose fittings. Refer to your pump’s manual for specific instructions.
Troubleshooting Common Hose Problems
Here are some common issues you might encounter and how to solve them:
| Problem | Possible Cause | Solution |
|---|---|---|
| Hose won’t attach to valve | Incorrect valve adapter. | Make sure you’re using the correct adapter for your valve type (Presta or Schrader). |
| Air leaking from fitting | Loose fitting. | Tighten the fitting with a wrench or pliers. |
| Hose keeps kinking | Low-quality hose. | Replace with a reinforced hose that’s more resistant to kinking. |
| Hose bursts | Hose is old or damaged, over-inflation. | Replace the hose immediately. Be sure to never exceed the recommended PSI for your tires. |
FAQ: Inspecting Hoses for Cracks
What happens if I ignore a small crack in my bike pump hose?
Ignoring a small crack can lead to a sudden hose burst during inflation, which is dangerous and can damage your pump or tire.
How often should I inspect my bike pump hose?
Inspect your hose before each use, especially if you haven’t used your pump in a while.
Can I repair a cracked bike pump hose?
It’s not recommended. Repairing a hose is usually a temporary fix, and the hose is likely to fail again. It’s best to replace it.
What’s the best way to store my bike pump to prevent hose damage?
Store your pump in a cool, dry place away from direct sunlight, and coil the hose loosely to avoid kinking.
Are all bike pump hoses the same size?
No, hoses come in different lengths and diameters. Make sure to choose a replacement hose that’s compatible with your pump.
Can I use a car tire inflator hose on my bike pump?
No, car tire inflator hoses typically have different fittings and pressure ratings than bike pump hoses. They are not interchangeable.
Is it okay to use a hose that feels sticky or oily?
No, a sticky or oily hose indicates that the material is degrading. Replace it immediately.
Conclusion
Inspecting your bike pump hose for cracks before inflation is a simple yet crucial step in bike maintenance. By taking a few minutes to check for damage, you can prevent accidents, ensure accurate inflation, and extend the life of your equipment. Remember to look, bend, and feel the hose regularly, and replace it at the first sign of wear. Happy riding!


