
How to Attach Gauge Inline with Pump: Easy Guide
Have you ever wondered how to attach a gauge inline with a pump? It might seem tricky. But it’s easier than you think! Gauges help us know what’s happening inside. They measure pressure and flow.
Pumps move liquids or gases. We need gauges to check their work. Attaching a gauge correctly is very important. It keeps things safe and working well. Let’s learn how to do it right!
Key Takeaways
- Attaching a gauge inline with a pump helps to monitor pressure levels accurately.
- Always use the right tools to ensure a secure and leak-proof connection.
- Knowing how to attach gauge inline with pump prevents damage to equipment.
- Safety is key; always turn off the pump before starting any work.
- Regular checks of your gauge setup will help maintain proper pump function.
Why Inline Gauge Attachment Is Important
Knowing how to attach gauge inline with pump is very important. It helps us see what’s going on. Gauges measure pressure. Pressure tells us how hard the pump is working. If the pressure is too high, something could break. If it’s too low, the pump isn’t doing its job. By watching the gauge, we can make sure the pump is working right. This keeps everything safe. We also save money. Fixing a small problem is cheaper than fixing a big one. Attaching the gauge correctly is the first step. This makes sure we get the right information. Then we can take care of our pump and keep it running smoothly for a long time. So, learning this skill is super useful.
- Inline gauges show the real-time pressure in the pipe.
- Correct readings help avoid pump damage or failure.
- Monitoring pressure helps keep systems running smoothly.
- Gauges help find problems before they become big issues.
- Regular checks save money on repairs.
Think of it like this. Your bike tires need the right amount of air. Too much air, and the tire could pop! Too little, and it’s hard to pedal. A gauge tells you exactly how much air is inside. Pumps are the same. They need the right pressure to work well. A gauge helps you see that pressure. That way, you can keep everything working just right. Attaching the gauge inline puts it right in the flow. This gives you the most accurate reading. This is why knowing how to attach gauge inline with pump can be useful!
Fun Fact or Stat: Did you know that pressure gauges were first used in the 1800s to monitor steam engines? They helped prevent dangerous explosions!
What Tools Do You Need?
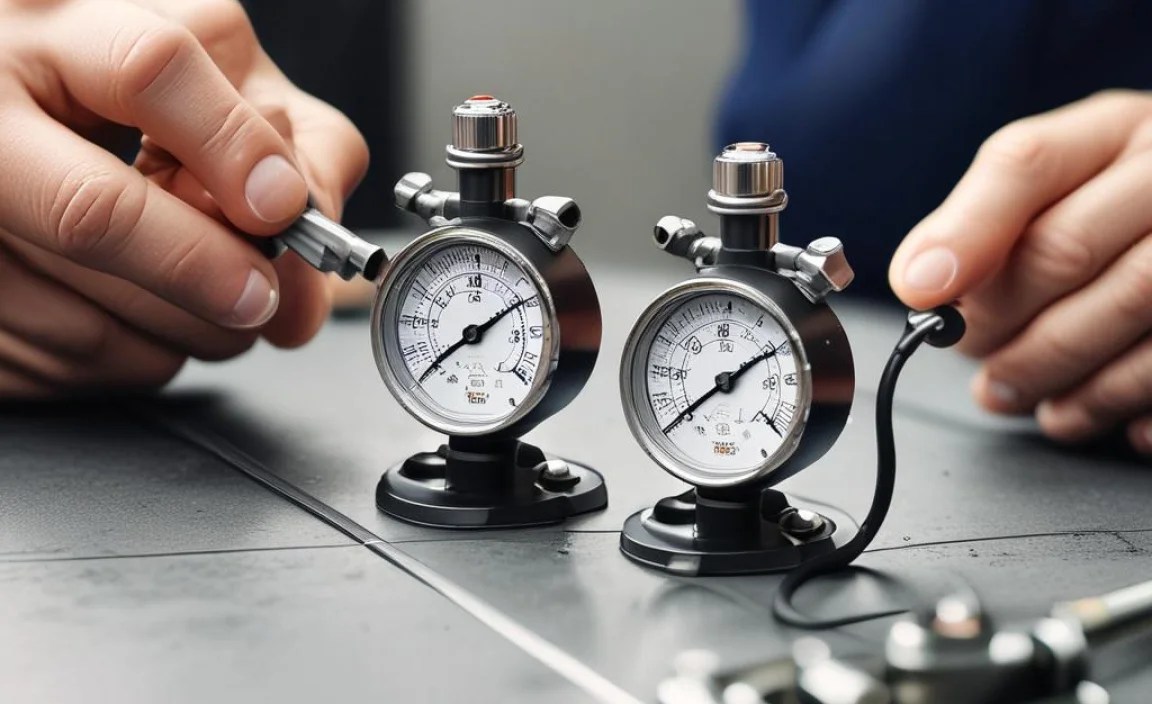
Before you start, gather all your tools. You will need a pressure gauge. Pick one that matches the pressure of your pump. Get pipe fittings. These connect the gauge to the pump. Use Teflon tape. This seals the threads and stops leaks. You’ll also need wrenches. Wrenches help tighten the fittings. Safety glasses are a must. They protect your eyes from debris. Gloves keep your hands clean and safe. Make sure you have everything ready before you begin. This will make the job easier and safer. If you don’t have the right tools, ask an adult to help you get them. They can make sure you have what you need. Having the right tools makes how to attach gauge inline with pump easier.
Choosing the Right Gauge
Choosing the right gauge is key. Not all gauges are the same. Some measure high pressure. Others measure low pressure. Look at your pump’s manual. It will tell you what pressure range you need. Pick a gauge that matches that range. Make sure the gauge is easy to read. Big numbers are better. A clear face helps too. The gauge should also be strong. It needs to handle the pressure. Look for gauges made of good materials. Stainless steel is a good choice. It lasts a long time. Think about where you will put the gauge. If it will be outside, pick one that can handle the weather. A good gauge will give you accurate readings for a long time. So, take your time and choose carefully. It will be worth it in the end. Knowing how to attach gauge inline with pump starts with the proper equipment.
Safety First: Before You Begin
Safety is always first. Before you even touch anything, turn off the pump. Unplug it from the power. This stops any accidents. Let the pump cool down. Hot parts can burn you. Wear your safety glasses. They protect your eyes. Put on gloves. They keep your hands safe. Check the area around the pump. Make sure it’s dry. Water and electricity don’t mix. Tell someone you are working on the pump. That way, they can check on you. If you feel unsure about anything, ask for help. It’s better to be safe than sorry. Working with pumps can be dangerous if you’re not careful. So, always follow safety rules. This will keep you safe and sound. Knowing how to attach gauge inline with pump safely is the first step.
Step-by-Step Guide: Inline Gauge Installation

Now, let’s get started on how to attach gauge inline with pump. First, find the right spot. You want a place that’s easy to see. It should be close to the pump. But not too close that it gets in the way. Next, prepare the pipe. Clean the threads with a brush. This gets rid of dirt and old tape. Wrap Teflon tape around the threads. Wrap it tightly. This stops leaks. Now, screw the fittings onto the pipe. Tighten them with a wrench. But don’t over-tighten. You could break them. Attach the gauge to the fitting. Again, use Teflon tape. Tighten it gently. Check everything to make sure it’s snug. Now, you’re ready to test it out. Turn the pump on and watch the gauge. Make sure it’s reading the right pressure. If you see any leaks, turn off the pump and tighten the fittings a bit more.
- Turn off the pump and disconnect it from power.
- Find a good spot near the pump for the gauge.
- Clean the pipe threads and wrap with Teflon tape.
- Attach fittings and the gauge, tightening carefully.
- Turn the pump on and check for leaks and correct pressure.
- Adjust as needed to ensure a secure, leak-free setup.
Imagine you’re building with LEGOs. Each piece needs to fit just right. If one piece is loose, the whole thing could fall apart. Attaching a gauge is similar. Each fitting needs to be tight. But not too tight! Teflon tape is like the glue that holds it all together. It fills in the tiny gaps between the threads. This stops water or air from escaping. When you tighten the fittings, use two wrenches. One to hold the pipe. The other to turn the fitting. This keeps you from twisting the pipe. Take your time and be careful. With a little patience, you’ll have the gauge attached perfectly. Remember, knowing how to attach gauge inline with pump takes practice!
Fun Fact or Stat: Teflon tape was invented in 1938 by Roy Plunkett. He accidentally created it while working with refrigerants!
Preparing the Pipe
Before you start, get the pipe ready. First, clean the threads. Use a wire brush. This removes any dirt or old tape. Make sure the threads are dry. Now, grab your Teflon tape. Wrap it around the threads. Start at the end of the pipe. Overlap the tape as you go. Wrap it in the right direction. If you wrap it backward, it will come off when you screw on the fitting. Wrap the tape tightly. Use about three or four layers. This will make a good seal. Cut off the extra tape. Press the tape down firmly. This makes it stick to the threads. Now, the pipe is ready for the fitting. Taking the time to prepare the pipe helps prevent leaks later. This part is important for knowing how to attach gauge inline with pump.
Connecting the Fittings
Now, let’s connect the fittings. Hold the pipe steady. Start screwing on the fitting. Turn it by hand at first. This makes sure it’s lined up right. Once it’s snug, grab your wrenches. Use one wrench to hold the pipe. Use the other wrench to tighten the fitting. Turn the fitting clockwise. Tighten it until it’s snug. Don’t over-tighten it! You could break the fitting. If it feels too tight, stop. Check the connection. Make sure it’s straight. If it’s crooked, loosen it and try again. Once the fitting is tight, wipe off any dirt. Repeat these steps for the other fittings. Make sure each one is secure. A good connection is key to a good seal. Knowing how to attach gauge inline with pump depends on this step.
Testing for Leaks
After you attach everything, test for leaks. Turn the pump on. Watch the gauge. Does it show the right pressure? If so, that’s great! Now, look at the connections. Do you see any water or air leaking out? If you do, turn off the pump. Tighten the fitting a little more. Then, turn the pump back on and check again. Sometimes, it takes a few tries to get it right. If you still see leaks, try adding more Teflon tape. Make sure the tape is wrapped tightly. If you can’t stop the leak, ask for help. There might be a problem with the fitting or the pipe. Testing for leaks is very important. It keeps things safe and working well. Knowing how to attach gauge inline with pump includes leak testing.
Understanding Gauge Readings and Pressure


Understanding gauge readings is like learning a new language. The gauge tells you how hard the pump is working. It shows the pressure. Pressure is measured in different units. PSI is one common unit. It stands for pounds per square inch. Another unit is bar. Your gauge will show one or both of these. The reading tells you if the pressure is too high, too low, or just right. Too high can damage the pump. Too low means the pump isn’t working hard enough. The right pressure keeps everything running smoothly. Check your pump’s manual. It will tell you the right pressure range. Watch the gauge regularly. This helps you catch problems early. Understanding gauge readings helps you take care of your pump.
- Gauge readings show the pump’s pressure level.
- Pressure is often measured in PSI or bar units.
- The correct pressure keeps the pump running well.
- High pressure can damage the pump.
- Low pressure means the pump isn’t working hard enough.
- Check the pump’s manual for the correct pressure range.
Imagine a balloon. If you blow too much air into it, it will pop! That’s like high pressure in a pump. It can cause things to break. Now, imagine a flat tire on your bike. It’s hard to ride, right? That’s like low pressure in a pump. It can’t do its job well. The gauge tells you how much “air” is in the pump. You want just the right amount. That way, everything works perfectly. Learning how to read the gauge is like learning to read a map. It helps you know where you are and where you need to go. In this case, it helps you keep your pump healthy and happy. Knowing how to attach gauge inline with pump is useful but reading is just as crucial.
Fun Fact or Stat: The highest pressure ever recorded was in the Mariana Trench, the deepest part of the ocean. It’s over 1,000 times the pressure at sea level!
What is PSI?
PSI stands for pounds per square inch. It’s a way to measure pressure. Imagine a square inch. Now, imagine how many pounds are pushing on that square. That’s the PSI. A higher PSI means more force. A lower PSI means less force. Your car tires have a PSI rating. Your bike tires too. Pumps also have a PSI rating. The gauge tells you the PSI inside the pump. Knowing the PSI helps you keep things safe. Too much PSI can be dangerous. Too little PSI can cause problems. So, pay attention to the PSI reading. It’s an important number. Knowing how to attach gauge inline with pump is only the beginning!
Why Is Pressure Important?
Pressure is important because it makes things work. Think about a water hose. When you turn on the water, pressure pushes the water out. The more pressure, the farther the water goes. Pumps use pressure to move liquids or gases. Pressure helps them do their job. If the pressure is too low, the pump won’t work well. If the pressure is too high, something could break. So, keeping the right pressure is very important. It keeps everything running smoothly and safely. That’s why we use gauges. Gauges help us see the pressure. Then we can make sure it’s just right. Managing the right pressure is a key aspect of knowing how to attach gauge inline with pump.
Troubleshooting Pressure Issues
Sometimes, things go wrong. The pressure might be too high. Or too low. What do you do? First, check the gauge. Is it working right? Sometimes, gauges break. If the gauge seems wrong, replace it. Next, check the pump. Is it making strange noises? Are there any leaks? If so, the pump might need repair. Check the pipes. Are they blocked? A blocked pipe can cause pressure problems. Clean out the pipes. Finally, check the settings. Is the pump set to the right pressure? Adjust the settings if needed. If you still have problems, ask for help. A professional can help you find the problem. Troubleshooting pressure issues is part of keeping your pump working well. Knowing how to attach gauge inline with pump is not the whole picture!
Different Types of Gauges for Pumps


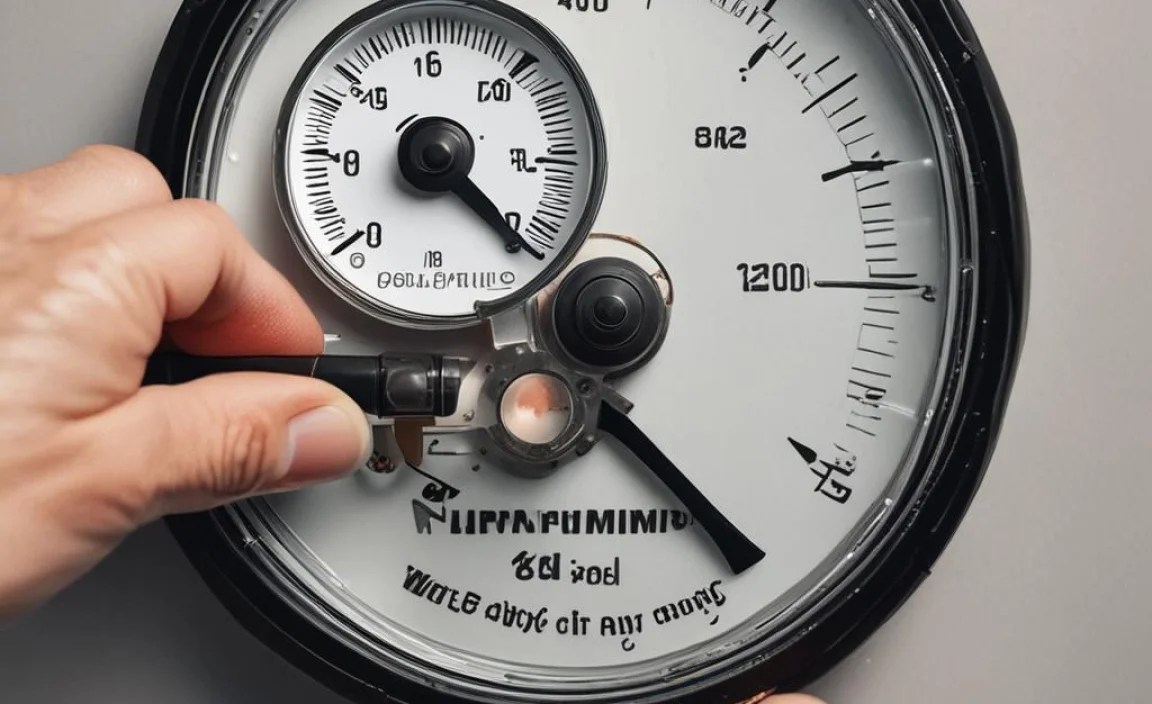
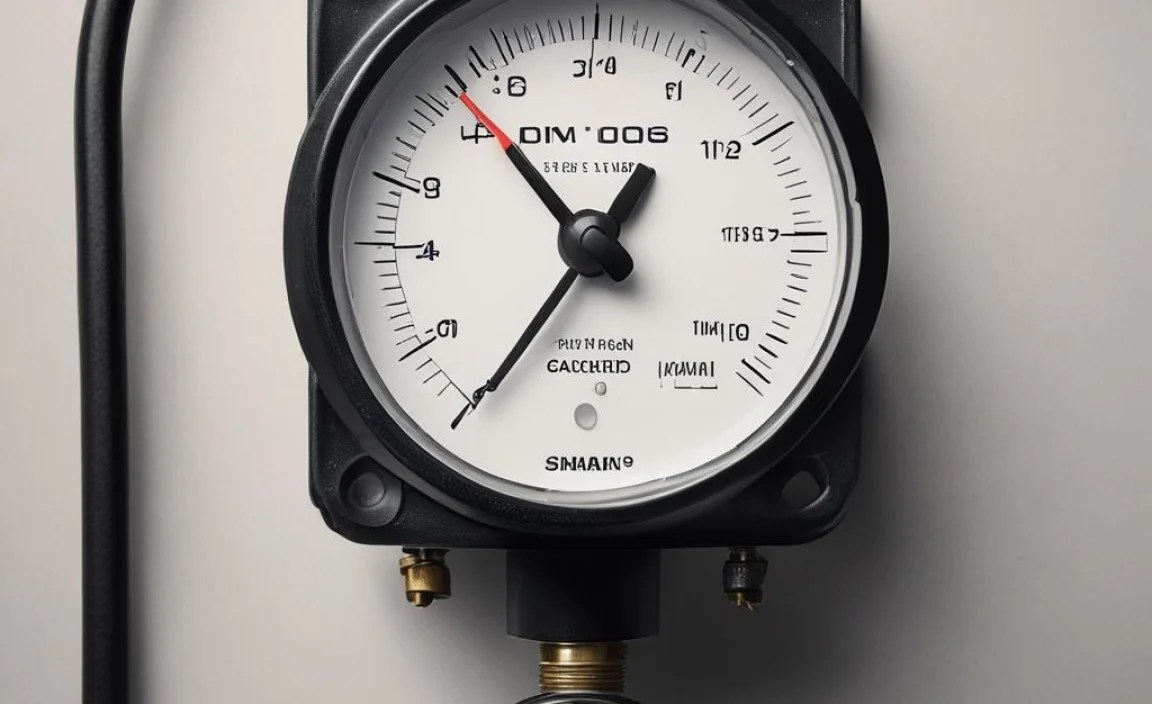
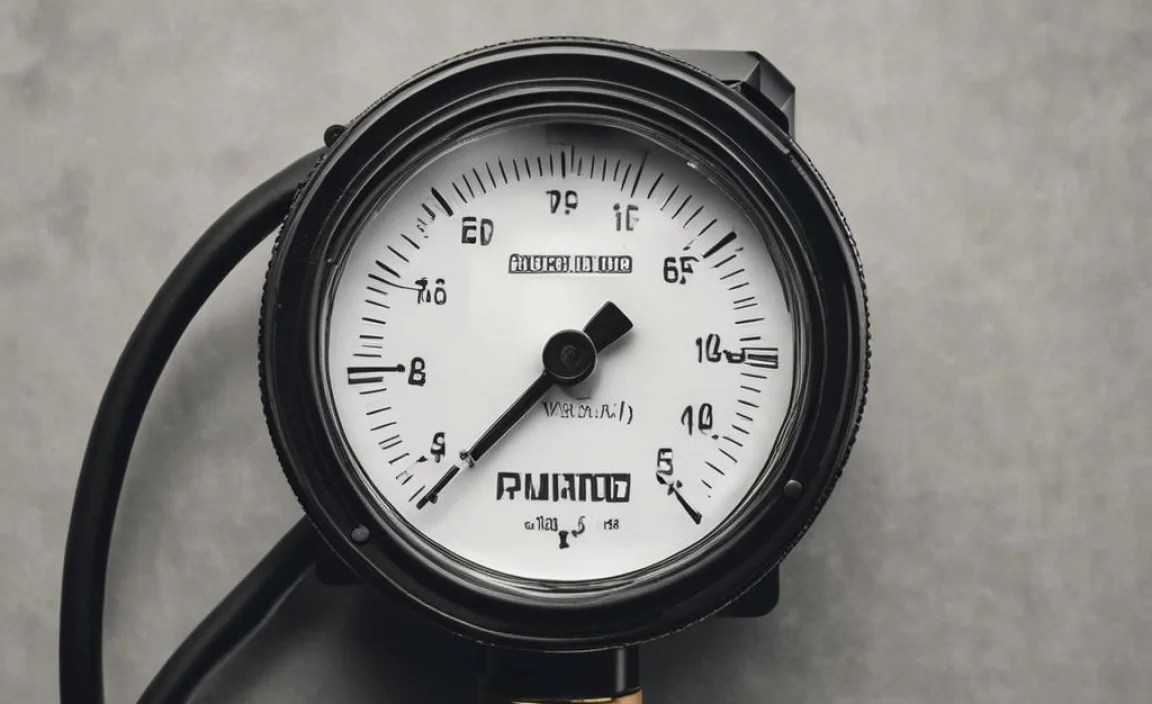
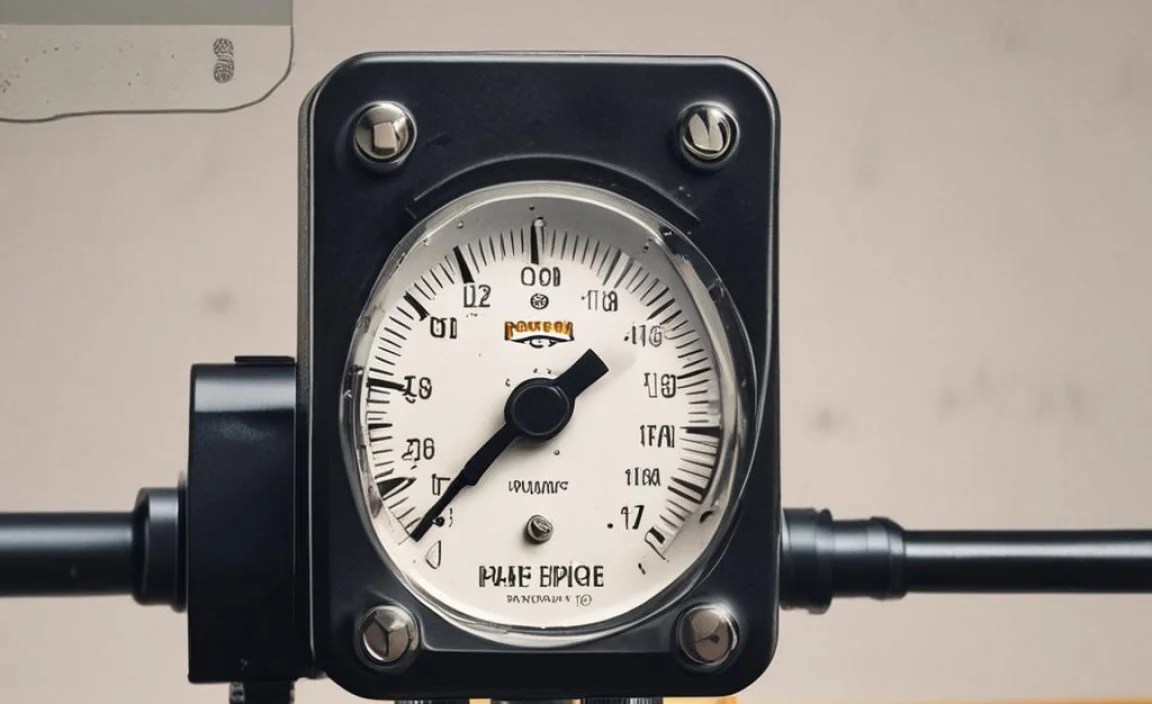
There are many kinds of gauges. Some are simple. Others are fancy. The most common type is the analog gauge. It has a needle that points to the pressure. It’s easy to read. Another type is the digital gauge. It shows the pressure on a screen. Digital gauges are often more accurate. Some gauges measure only pressure. Others measure both pressure and temperature. Some gauges are small. Others are big. The best gauge for you depends on your pump. Think about what you need to measure. Think about how easy it is to read. Choose a gauge that works well for you. Knowing what is available will help you know how to attach gauge inline with pump better.
- Analog gauges have a needle to show pressure.
- Digital gauges show pressure on a screen.
- Some gauges measure pressure and temperature.
- Choose a gauge that is easy to read.
- The best gauge depends on your pump’s needs.
Imagine you’re choosing a new video game. Some games are simple and easy to play. Others are complex and have lots of features. Gauges are similar. Some are basic and show just the pressure. Others have extra features, like alarms or data logging. An analog gauge is like a simple game. It’s easy to understand. A digital gauge is like a more complex game. It gives you more information. Think about what you need. If you just want to see the pressure, an analog gauge might be fine. If you need more detailed information, a digital gauge might be better. Selecting the right gauge is a crucial part of knowing how to attach gauge inline with pump.
Fun Fact or Stat: The first digital pressure gauge was invented in the 1970s. It used a microchip to measure and display pressure!
Analog vs. Digital Gauges
Analog gauges are simple and easy to read. They have a needle that points to the pressure. They don’t need batteries. They are often cheaper than digital gauges. But they might not be as accurate. Digital gauges show the pressure on a screen. They are often more accurate. They can also show more information. But they need batteries. And they can be more expensive. Which one is better? It depends on your needs. If you want simple and cheap, choose analog. If you want accurate and fancy, choose digital. Both can work well if you know how to attach gauge inline with pump.
Specialty Gauges
Some gauges are special. They are made for specific jobs. Vacuum gauges measure very low pressure. They are used in labs and factories. Differential pressure gauges measure the difference between two pressures. They are used to check filters. Sanitary gauges are used in food and medicine. They are easy to clean. High-pressure gauges are used for very high pressures. They are used in oil and gas. These special gauges help with specific tasks. They make sure things are working right. They are important for safety and quality. Knowing what is available will help you know how to attach gauge inline with pump better.
Gauge Materials and Durability
Gauges are made of different materials. Brass is a common material. It’s strong and cheap. But it can rust. Stainless steel is better. It doesn’t rust. It’s also stronger. Plastic gauges are light and cheap. But they are not as strong. The material affects how long the gauge lasts. A good gauge should last a long time. It should be able to handle the pressure. It should also be able to handle the environment. If it’s outside, it needs to be waterproof. Choose a gauge made of strong materials. This will save you money in the long run. Make sure the materials work with how to attach gauge inline with pump.
Troubleshooting Common Gauge Problems
Sometimes, gauges don’t work right. The needle might be stuck. The reading might be wrong. There might be a leak. What do you do? First, check the gauge itself. Is it damaged? Is the glass cracked? If so, replace the gauge. Next, check the connections. Are they tight? Are there any leaks? If so, tighten the connections. Use Teflon tape to seal the threads. Check the pressure source. Is the pump working right? Is there enough pressure? If not, fix the pump. Sometimes, gauges just need to be replaced. They wear out over time. Knowing how to troubleshoot gauge problems will save you time and money. You might not know how to attach gauge inline with pump, but you can solve a problem.
- Check the gauge for damage like cracks or breaks.
- Tighten loose connections and use Teflon tape to seal threads.
- Check the pump for proper operation and pressure output.
- Replace gauges that are old or worn out.
- Make sure the gauge is rated for the correct pressure range.
Imagine your TV remote isn’t working. First, you check the batteries. Are they dead? If so, you replace them. Then, you check the buttons. Are they stuck? If so, you clean them. Gauges are similar. When they don’t work right, you need to check a few things. Is the gauge damaged? Are the connections loose? Is the pump working? Sometimes, the problem is simple. Sometimes, it’s more complex. But with a little detective work, you can usually find the cause. And fix it. Or know when to ask for help. These are the most common problems when learning how to attach gauge inline with pump.
Fun Fact or Stat: Some gauges have a “snubber.” This is a small device that protects the gauge from sudden pressure changes. It helps the gauge last longer!
Gauge Not Reading Correctly
If your gauge is not reading correctly, don’t worry! First, make sure the gauge is rated for the right pressure. If it is not, switch it. Next, check the gauge for damage. Is the needle bent? Is the screen cracked? If so, replace the gauge. Then, check the connections. Are they tight? If not, tighten them. Use Teflon tape to seal the threads. Sometimes, the gauge is just old. Gauges can wear out over time. If the gauge is old, replace it. A new gauge will give you accurate readings. Always make sure you know how to attach gauge inline with pump correctly.
Leaks Around the Gauge
Leaks are a common problem. If you see a leak, act fast. Turn off the pump. This stops the pressure. Then, check the connections. Are they tight? If not, tighten them. Use two wrenches. One to hold the pipe. One to tighten the fitting. If that doesn’t work, try Teflon tape. Remove the fitting. Wrap the threads with new tape. Then, tighten the fitting again. If the leak is still there, check the gauge. Is it cracked? If so, replace it. Leaks can be dangerous. They can also waste water or air. So, fix them quickly. Make sure the leak is not in the connection you made learning how to attach gauge inline with pump.
Gauge is Vibrating Excessively
Sometimes, gauges vibrate too much. This can make it hard to read. It can also damage the gauge. What causes this? Often, it’s the pump. The pump might be vibrating. This vibration travels to the gauge. To fix this, try using a snubber. A snubber is a small device that absorbs vibrations. It protects the gauge. You can also try moving the gauge. Put it in a place that vibrates less. Make sure the gauge is mounted securely. This will help reduce vibration. You can also try using a liquid-filled gauge. The liquid dampens the vibrations. Excessive vibration is not good. Fix it to protect your gauge. This is important to consider when learning how to attach gauge inline with pump.
Maintenance Tips for Inline Gauges
Taking care of your inline gauge is important. It helps it last longer. Check the gauge regularly. Look for damage. Look for leaks. Clean the gauge with a soft cloth. Keep it free of dirt and dust. Make sure the connections are tight. If they are loose, tighten them. Replace the gauge if it’s old or damaged. Calibrate the gauge regularly. This makes sure it’s accurate. Store the gauge properly when not in use. Keep it in a dry place. Protect it from extreme temperatures. With good maintenance, your gauge will last for many years. This is the best thing to know after learning how to attach gauge inline with pump.
- Check the gauge regularly for damage and leaks.
- Clean the gauge with a soft cloth to remove dirt.
- Tighten loose connections to prevent leaks.
- Replace old or damaged gauges promptly.
- Calibrate the gauge regularly for accurate readings.
- Store the gauge properly in a dry place when not in use.
Imagine you have a pet. You need to feed it, give it water, and take it for walks. Gauges are similar. They need a little care to stay healthy. Checking the gauge regularly is like feeding your pet. Cleaning it is like giving it a bath. Tightening the connections is like taking it for a walk to make sure it’s active. By taking good care of your gauge, you’ll keep it working well for a long time. And you’ll avoid costly repairs. Always remember to check your work when learning how to attach gauge inline with pump.
Fun Fact or Stat: Some gauges have a special coating that protects them from harsh chemicals. This helps them last longer in tough environments!
Regular Visual Inspections
Regular visual inspections are easy. Just look at the gauge. Check the glass. Is it cracked? Check the needle. Is it bent? Check the connections. Are they leaking? Check the case. Is it damaged? If you see anything wrong, fix it. A quick visual inspection can save you trouble later. Do it regularly. Make it a habit. It only takes a few seconds. It’s worth it. Knowing how to attach gauge inline with pump is the first step, maintaining it is the second.
Cleaning the Gauge
Cleaning the gauge is simple. Use a soft cloth. Wipe the glass. Wipe the case. Remove any dirt or dust. Don’t use harsh chemicals. They can damage the gauge. Don’t use too much water. Water can get inside the gauge. Just wipe it gently. Keep it clean. A clean gauge is easier to read. It also looks better. Cleaning the gauge helps it last longer. Take care of your gauge. Knowing how to attach gauge inline with pump is good, keeping it clean is better.
Calibration and Accuracy Checks
Calibration is important. It makes sure the gauge is accurate. Over time, gauges can drift. They might not show the right pressure. To calibrate a gauge, you need a standard. This is a known pressure. You compare the gauge reading to the standard. If the reading is wrong, you adjust the gauge. Calibration can be tricky. If you’re not sure how to do it, ask for help. A professional can calibrate your gauge. Accurate readings are important for safety. They also help you run your pump efficiently. If you want to know how to attach gauge inline with pump, you will need to calibrate it.
Summary
Attaching a gauge inline with a pump is a useful skill. It helps you monitor the pump’s pressure. This keeps everything running smoothly and safely. First, you need the right tools. Then, prepare the pipe and connect the fittings. Next, test for leaks. Understand the gauge readings. Choose the right type of gauge for your needs. Troubleshoot common problems. Maintain the gauge regularly. With these steps, you can how to attach gauge inline with pump like a pro. Always remember safety first!
Conclusion
Learning how to attach gauge inline with pump is a great skill. It helps you keep your equipment running well. Gauges show important information. They tell you about pressure and flow. This information helps you prevent problems. By following the steps, you can attach a gauge safely and correctly. Remember to use the right tools. Be careful when tightening fittings. And always check for leaks. With practice, you’ll become an expert.
Frequently Asked Questions
Question No 1: Why is it important to attach a gauge inline with a pump?
Answer: Attaching a gauge inline with a pump is important for several reasons. First, it allows you to monitor the pressure of the fluid being pumped. This is crucial for ensuring that the pump is operating within its designed parameters. Overpressure can damage the pump or the system it’s connected to, while under pressure can indicate a problem with the pump’s performance. By monitoring the pressure, you can quickly identify and address any issues, preventing costly repairs or downtime. Also, knowing the pressure helps in optimizing the pump’s performance for specific tasks or applications.
Question No 2: What tools do I need to attach a gauge inline with a pump?
Answer: To properly attach a gauge inline with a pump, you’ll need a few essential tools. First, you’ll need the pressure gauge itself, selected to match the pressure range of your pump system. You’ll also need pipe fittings, such as threaded adapters or couplings, to connect the gauge to the pump’s pipeline. Teflon tape is crucial for sealing the threads and preventing leaks. Wrenches are needed to tighten the fittings securely. Safety glasses are a must to protect your eyes from debris. Depending on the setup, you might also need a pipe cutter or deburring tool to prepare the pipe ends for connection. Having these tools on hand ensures a smooth and safe installation process, making it easier to how to attach gauge inline with pump.
Question No 3: How do I prepare the pipe before attaching the gauge?
Answer: Preparing the pipe correctly is a key step in how to attach gauge inline with pump. First, turn off the pump and disconnect it from the power source to ensure safety. Then, clean the pipe threads thoroughly with a wire brush to remove any dirt, rust, or old sealant. This ensures a clean surface for a proper seal. After cleaning, apply Teflon tape to the threads. Wrap the tape clockwise, overlapping each layer, to create a tight seal. Usually, three to four wraps of Teflon tape are sufficient. Finally, inspect the pipe ends to ensure they are free from any damage or burrs that could compromise the connection. Taking these steps will help prevent leaks and ensure a secure and reliable connection for your pressure gauge.
Question No 4: How do I know if the gauge is reading the pressure correctly?
Answer: Verifying the accuracy of your pressure gauge is important for reliable pump operation. First, compare the gauge reading to the pump’s specifications or a known pressure reference. If the reading deviates significantly, the gauge may need calibration or replacement. Use a calibrated test gauge to check the accuracy of the installed gauge. Connect the test gauge to the same point in the system and compare the readings. If the gauge consistently provides inaccurate readings, it may be faulty or damaged. Also, check for any visible signs of damage, such as cracks or a bent needle, which can affect its accuracy. Regular checks and comparisons can ensure the gauge provides accurate information, helping you maintain the health of your pump system. Remember this when thinking about how to attach gauge inline with pump.
Question No 5: What should I do if there is a leak after attaching the gauge?
Answer: If you notice a leak after attaching the gauge, act quickly to prevent further issues. First, turn off the pump immediately to reduce pressure in the system. Then, carefully inspect the connections around the gauge for any signs of leakage. If you find a loose connection, use a wrench to tighten the fittings. Be careful not to over-tighten, as this can damage the threads. If tightening doesn’t stop the leak, remove the fitting and reapply Teflon tape to the threads, ensuring a tight and complete seal. Reconnect the fitting and tighten it securely. After making these adjustments, turn the pump back on and check for any remaining leaks. If the leak persists, there may be damage to the gauge or fittings, requiring replacement. Knowing how to attach gauge inline with pump also means knowing how to fix leaks.
Question No 6: How often should I check the gauge after installation?
Answer: Regular monitoring of your pressure gauge is important for maintaining the health and efficiency of your pump system. After the initial installation, check the gauge frequently for the first few days to ensure there are no leaks or other issues. Once you’re confident that the system is stable, establish a routine for periodic checks. Depending on the application and environment, a weekly or monthly inspection is typically sufficient. During these checks, look for any signs of damage, such as cracks or corrosion, and verify that the gauge is reading within the expected pressure range. Keeping a log of your gauge readings can help you identify any trends or anomalies that may indicate a problem. Regular monitoring helps you maintain the connection you made when learning how to attach gauge inline with pump.


