
Why Does My Well Pump Cycle On and Off? Troubleshooting Guide
Quick Summary: Well pump cycling (turning on and off rapidly) is often due to a loss of pressure, usually caused by a faulty pressure tank, a leak in the system, a clogged well, or a malfunctioning pump. Addressing these issues promptly prevents pump damage and ensures a consistent water supply. Follow this guide for easy troubleshooting steps.
Is your well pump turning on and off more than it should? This rapid cycling, also called “short cycling,” is a common problem that can be super frustrating. It not only messes with your water pressure but can also seriously damage your well pump over time. The good news is, you can often troubleshoot and fix the issue yourself, saving money and hassle. This guide will walk you through the most common causes of well pump cycling and give you simple, step-by-step solutions to get your water system back on track. Ready to dive in and get your pump working smoothly again?
Understanding Well Pump Cycling

Well pump cycling refers to the pump turning on and off more frequently than it should. A healthy well system maintains consistent water pressure, so the pump only kicks in when the pressure drops to a certain level. When it starts cycling rapidly, it indicates an underlying issue that needs attention.
Why is cycling bad for your pump?
Each time your well pump starts, it puts a strain on the motor and other components. Frequent starts due to short cycling significantly reduce the lifespan of your pump. It’s like constantly starting and stopping your car – it wears down the engine faster.
Normal vs. Short Cycling
A well pump normally cycles on and off as you use water. However, short cycling is characterized by very frequent on/off cycles, often with only seconds or minutes between each cycle. This is a sign that something is wrong with your system.
Common Causes of Well Pump Cycling

Several factors can cause your well pump to cycle on and off rapidly. Here are the most common culprits:
- Faulty Pressure Tank: The most frequent cause. The pressure tank stores water under pressure, so your pump doesn’t have to turn on every time you use a small amount of water. If the tank is waterlogged or has lost its air charge, the pump will cycle rapidly.
- Leaks in the System: Even a small leak in your pipes, fittings, or well casing can cause a pressure drop, triggering the pump to cycle more often.
- Clogged Well or Sediment Buildup: A well that’s becoming clogged with sediment or minerals can restrict water flow, leading to pressure fluctuations and cycling.
- Malfunctioning Check Valve: The check valve prevents water from flowing back into the well. If it fails, water drains back, causing the pump to kick on more frequently.
- Incorrect Pressure Switch Setting: The pressure switch controls when the pump turns on and off. If the settings are off, it can cause short cycling.
- Low Well Water Level: If your well’s water level is dropping too low, the pump might struggle to maintain pressure and cycle more often.
- Pump Issues: In some cases, the pump itself may be failing, causing erratic pressure and cycling.
Troubleshooting Well Pump Cycling: A Step-by-Step Guide

Now, let’s get into the troubleshooting steps. Follow these steps in order to identify and fix the problem causing your well pump to cycle.
Step 1: Check the Pressure Tank
The pressure tank is the most common source of cycling issues, so start here.
- Locate the Pressure Tank: It’s usually a blue or gray tank near your well pump.
- Check the Air Pressure: Turn off the pump breaker. Locate the Schrader valve (like a tire valve) on top of the tank. Use a tire pressure gauge to check the air pressure. It should be 2 PSI below the pump’s cut-in pressure (usually 28 PSI if the cut-in pressure is 30 PSI).
- Adjust Air Pressure (If Needed): If the pressure is too low, use an air compressor to add air. If it’s too high, release some air.
- Check for Waterlogging: Tap on the side of the tank. If it sounds full of water from top to bottom, the bladder inside may be broken, and the tank needs replacing.
Here’s a table summarizing common pressure tank issues and how to address them:
| Problem | Possible Cause | Solution |
|---|---|---|
| Low air pressure | Air leak, bladder failure | Add air using compressor, replace tank if bladder is bad |
| Waterlogged tank | Bladder failure | Replace the pressure tank |
| Incorrect pressure | Improper initial setup | Adjust air pressure to 2 PSI below pump cut-in pressure |
Step 2: Inspect for Leaks
Even small leaks can cause your pump to cycle frequently.
- Check Faucets and Toilets: Look for dripping faucets or running toilets. Even a slow drip can cause a pressure drop.
- Inspect Pipes and Fittings: Examine all visible pipes and fittings for signs of leaks. Look for water stains, corrosion, or drips. Don’t forget to check the connections near the well pump and pressure tank.
- Check the Well Casing: Inspect the above-ground portion of your well casing for cracks or leaks.
- Listen for Leaks: Turn off all water sources and listen for the sound of water running. This can help you locate hidden leaks.
Step 3: Examine the Check Valve
A faulty check valve can allow water to flow back into the well, causing the pump to cycle on and off.
- Locate the Check Valve: It’s usually located near the pump or in the well casing.
- Inspect the Check Valve: If possible, visually inspect the check valve for damage or debris.
- Test the Check Valve: Turn off the pump and open a faucet. If water continues to flow for more than a few seconds, the check valve may be leaking.
- Replace the Check Valve: If the check valve is faulty, replace it with a new one.
Step 4: Check the Pressure Switch
The pressure switch controls the pump’s on/off cycle. Incorrect settings can cause short cycling.
- Locate the Pressure Switch: It’s usually a small, box-shaped device near the pressure tank.
- Inspect the Pressure Switch: Check for corrosion or damage.
- Adjust the Pressure Switch Settings: Most pressure switches have adjustable settings. Consult your owner’s manual for the correct settings. Typically, you’ll adjust the range and differential screws. A common setting is 30/50 PSI (pump turns on at 30 PSI and off at 50 PSI).
- Clean the Pressure Switch Nipple: Sometimes, sediment can clog the small nipple that connects the pressure switch to the plumbing. Carefully remove the switch and clean the nipple.
Step 5: Inspect for a Clogged Well
Sediment or mineral buildup can restrict water flow and cause pressure fluctuations.
- Check Water Quality: Look for sediment or discoloration in your water.
- Monitor Water Pressure: Notice if the water pressure drops significantly after using water for a short time.
- Consider Well Cleaning: If you suspect a clogged well, you may need to have it professionally cleaned or shocked to remove sediment and bacteria. Contact a licensed well contractor for this service. You can find qualified professionals through the National Ground Water Association NGWA Website.
Step 6: Check the Well Water Level
If your well’s water level is low, the pump might struggle to maintain pressure.
- Monitor Water Production: Notice if your water production decreases significantly, especially during periods of high water usage.
- Consider Well Deepening: If your well is consistently running low, you may need to have it deepened by a professional well contractor.
Step 7: Inspect the Pump Itself
In some cases, the pump itself may be the problem.
- Listen to the Pump: Pay attention to any unusual noises coming from the pump. Grinding, squealing, or rattling sounds can indicate a problem.
- Check the Pump Motor: Make sure the motor is running smoothly and not overheating.
- Consider Professional Inspection: If you suspect a pump issue, it’s best to have it inspected by a qualified well pump technician.
Tools You Might Need
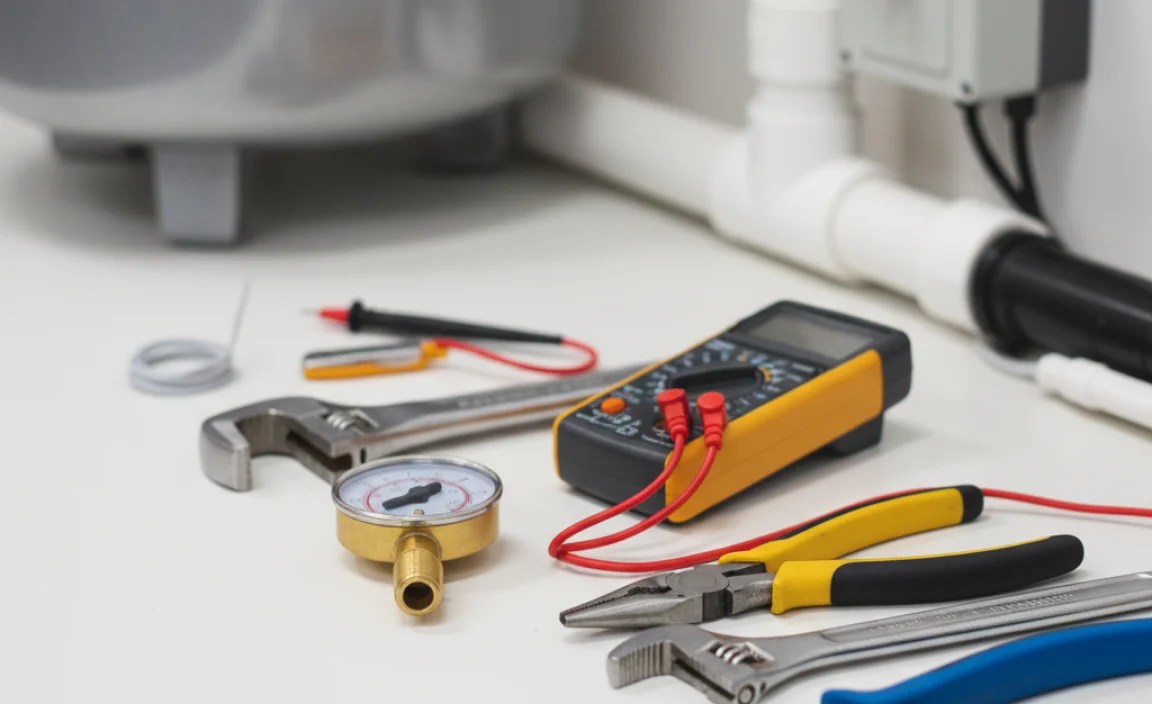
Having the right tools on hand can make the troubleshooting process much easier. Here’s a list of tools you might need:
- Tire Pressure Gauge: For checking the air pressure in the pressure tank.
- Air Compressor: For adding air to the pressure tank.
- Wrenches: For tightening or loosening fittings.
- Screwdrivers: For adjusting the pressure switch.
- Multimeter: For testing electrical components (if you’re comfortable working with electricity).
- Plumber’s Tape: For sealing threaded connections.
- Bucket and Rag: For catching water and cleaning up spills.
Preventative Maintenance Tips
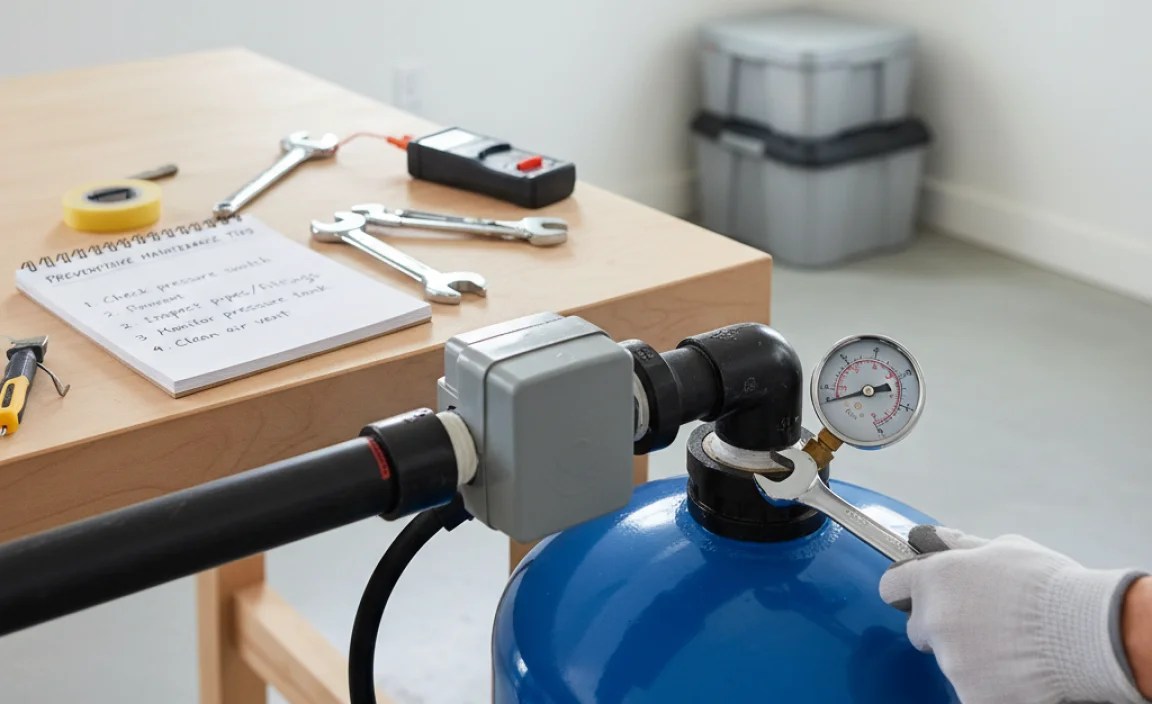
Preventing well pump cycling is better than fixing it. Here are some maintenance tips to keep your well system running smoothly:
- Regularly Check Pressure Tank: Check the air pressure in your pressure tank every 6 months.
- Inspect for Leaks: Regularly inspect your pipes, fittings, and fixtures for leaks.
- Flush Your Well: Flush your well periodically to remove sediment and debris.
- Water Softener: If you have hard water, consider installing a water softener to prevent mineral buildup.
- Professional Inspection: Have your well system inspected by a professional every few years.
FAQ: Well Pump Cycling
Here are some frequently asked questions about well pump cycling:
- Why is my well pump turning on and off so frequently?
- Frequent cycling is often caused by a faulty pressure tank, leaks in the system, a clogged well, or a malfunctioning check valve. Each of these issues causes a loss of pressure, which triggers the pump to turn on more often.
- How do I know if my pressure tank is bad?
- Check the air pressure in the tank. If it’s consistently low or if the tank sounds full of water when you tap on it, the bladder inside may be broken, indicating a bad tank.
Troubleshoot: Water Well Pump Starts too Often (Rapid Cycling)

- Can a leaky toilet cause my well pump to cycle?
- Yes, even a slow leak from a toilet can cause a pressure drop in the system, leading the well pump to cycle more frequently.
- How do I adjust the pressure switch on my well pump?
- Locate the pressure switch (usually near the pressure tank). Consult your owner’s manual for the correct settings. Typically, you’ll adjust the range and differential screws to achieve the desired on/off pressure settings (e.g., 30/50 PSI).
- What is a check valve, and why is it important?
- A check valve is a one-way valve that prevents water from flowing back into the well. It’s important because it helps maintain pressure in the system and prevents the pump from cycling unnecessarily.
- How often should I have my well inspected?
- It’s recommended to have your well system inspected by a professional every few years to ensure it’s functioning properly and to catch any potential problems early.
- Is it safe to drink water if my well pump is cycling?
- While the cycling itself doesn’t necessarily make the water unsafe, it’s a sign of a problem that could affect water quality. It’s best to address the cycling issue and test your water if you have any concerns about contamination. The EPA Website has more information.
Conclusion
Dealing with a cycling well pump can be a real headache, but with a little troubleshooting, you can often identify and fix the problem yourself. Start by checking the pressure tank and looking for leaks. If those aren’t the issue, move on to the check valve, pressure switch, and well itself. Remember, regular maintenance can go a long way in preventing these issues from occurring in the first place. If you’re not comfortable tackling these repairs yourself, don’t hesitate to call a qualified well pump technician. Getting your well system back in shape will not only improve your water pressure but also extend the life of your pump and save you money in the long run. Happy troubleshooting!
“`


