
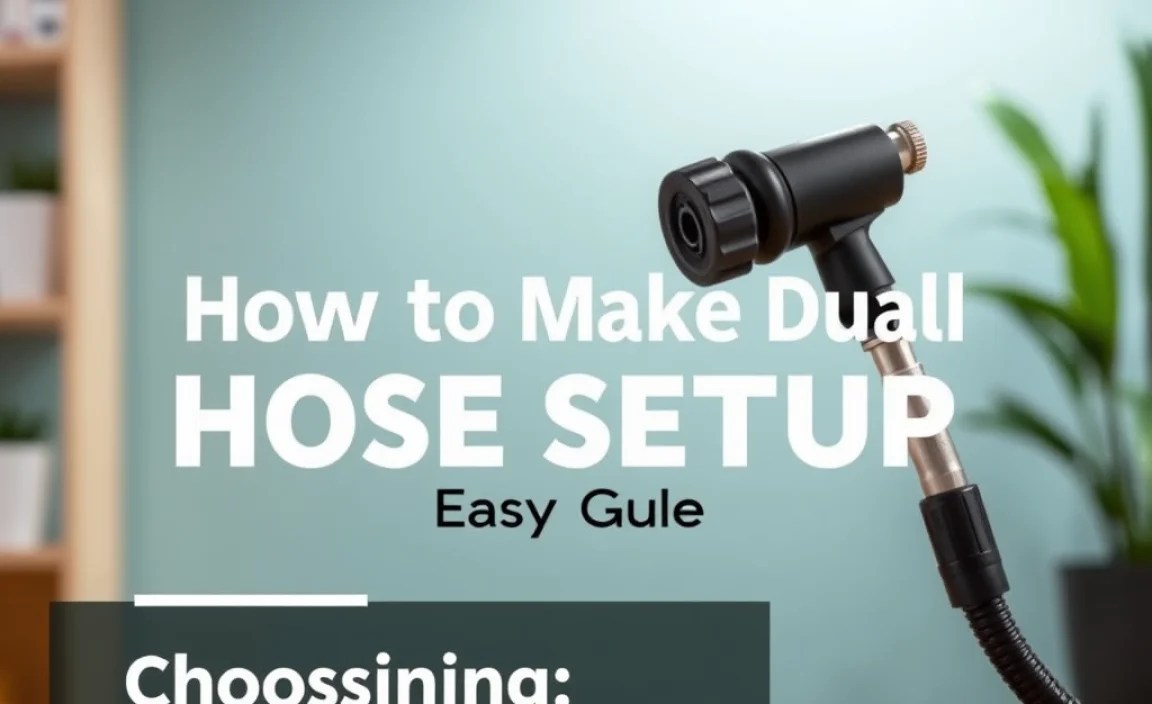
How to Make Dual Inflator Hose Setup: Easy Guide
Quick Summary: Want to inflate your tires faster and more easily? A dual inflator hose setup lets you inflate two tires at once, saving you time and effort. This guide shows you how to assemble a reliable dual inflator using simple tools and readily available parts, making your pre-ride routine a breeze.
Ever felt frustrated trying to get the perfect tire pressure, especially when you’re rushing to get on the road? Inflating one tire at a time can be a real pain. A dual inflator hose setup is the answer. It lets you pump up two tires simultaneously, cutting your inflation time in half. No more swapping the pump head back and forth – just even, consistent pressure in both tires. Ready to make your cycling life easier? Let’s dive in!
What You’ll Need

Before we get started, let’s gather all the tools and parts you’ll need. This makes the process smooth and efficient. Here’s a comprehensive list:
- Two High-Quality Tire Chucks: Choose durable chucks that securely attach to your tire valves.
- Teflon Tape: Essential for sealing threaded connections.
- Hose Barb Fittings: To connect the hoses to the chucks and tee fitting.
- Tee Fitting: This connects the two hoses into one.
- Hose Clamps: To secure the hoses to the fittings.
- High-Pressure Hose: Flexible and durable hose to handle the pressure.
- Hose Cutter or Sharp Knife: For clean and precise hose cuts.
- Wrench or Pliers: For tightening the fittings.
- Bike Pump with Pressure Gauge: To monitor the pressure accurately.
Step-by-Step Guide to Making a Dual Inflator Hose Setup

Follow these steps to create your own dual inflator hose setup. Each step is designed to be clear and easy to follow, even if you’re new to bike maintenance.
Step 1: Prepare the Tire Chucks
Start by preparing the tire chucks. These are the parts that will connect directly to your tire valves.
- Inspect the Chucks: Make sure the chucks are clean and free of any debris. Check the rubber seals for any cracks or damage.
- Apply Teflon Tape: Wrap Teflon tape around the threads of each chuck’s connection point. This will ensure a tight, leak-proof seal. Wrap the tape in the direction that tightens the fitting.
Step 2: Attach Hose Barb Fittings to Tire Chucks
Next, attach the hose barb fittings to the tire chucks. These fittings will connect the hoses to the chucks.
- Thread the Fittings: Screw the hose barb fittings into the threaded ends of the tire chucks.
- Tighten Securely: Use a wrench or pliers to tighten the fittings. Be careful not to overtighten, as this could damage the threads. You want them snug and secure.
Step 3: Cut the High-Pressure Hose
Now, cut the high-pressure hose into the correct lengths. You’ll need two equal lengths for the tires and one shorter length to connect to your pump.
- Measure the Lengths: Measure and mark two equal lengths of hose for the tire connections. A good length is usually between 12 and 18 inches, depending on your preference. Measure a shorter length (around 6 inches) for the pump connection.
- Cut the Hose: Use a hose cutter or a sharp knife to cut the hose at the marked points. Make sure the cuts are clean and straight.
Step 4: Connect the Hoses to the Tire Chucks
Attach the longer hose pieces to the hose barb fittings on the tire chucks.
- Slide Hose Clamps: Slide a hose clamp onto each hose end before connecting it to the fitting.
- Attach the Hoses: Push the hose ends onto the hose barb fittings. Make sure the hose is fully seated on the fitting.
- Secure with Clamps: Slide the hose clamps over the hose and onto the fitting. Tighten the clamps with a screwdriver to secure the hose in place.
Step 5: Assemble the Tee Fitting
Assemble the tee fitting to connect the two hoses into one.
- Prepare the Tee Fitting: Ensure the tee fitting is clean and ready for assembly.
- Apply Teflon Tape: Apply Teflon tape to the threads of the tee fitting’s connection points.
Step 6: Connect the Hoses to the Tee Fitting
Connect the hoses from the tire chucks to two of the tee fitting’s openings.
- Slide Hose Clamps: Slide a hose clamp onto each hose end before connecting it to the tee fitting.
- Attach the Hoses: Push the hose ends onto the tee fitting’s barbs. Ensure the hoses are fully seated.
- Secure with Clamps: Slide the hose clamps over the hoses and onto the fitting. Tighten the clamps to secure the hoses.
Step 7: Connect the Pump Hose to the Tee Fitting
Connect the shorter hose to the remaining opening of the tee fitting. This will connect your dual inflator to your bike pump.
- Slide Hose Clamp: Slide a hose clamp onto the end of the shorter hose.
- Attach the Hose: Push the hose end onto the tee fitting’s barb. Ensure it’s fully seated.
- Secure with Clamp: Slide the hose clamp over the hose and onto the fitting. Tighten the clamp to secure the hose.
Step 8: Test Your Dual Inflator
Before you hit the road, it’s crucial to test your new dual inflator to ensure it’s working correctly and there are no leaks.
- Attach to Tires: Connect the tire chucks to your bike’s tires.
- Attach to Pump: Connect the pump hose to your bike pump.
- Inflate Tires: Start pumping and watch the pressure gauge on your pump. Check that both tires are inflating evenly.
- Check for Leaks: Listen for any hissing sounds or feel for air escaping around the fittings and chucks. If you find any leaks, tighten the clamps or fittings as needed.
Benefits of Using a Dual Inflator Hose Setup

A dual inflator hose setup offers several advantages for cyclists who value efficiency and convenience.
- Time-Saving: Inflate two tires simultaneously, cutting your inflation time in half.
- Even Pressure: Ensures both tires have the same pressure, improving handling and performance.
- Convenience: No need to switch the pump head between tires, making the process smoother.
- Accuracy: Easier to achieve precise tire pressure, enhancing your ride quality.
Troubleshooting Common Issues
Even with careful assembly, you might encounter a few issues. Here’s how to troubleshoot them:
- Leaks at Fittings:
- Problem: Air hissing or escaping from the fittings.
- Solution: Tighten the hose clamps or fittings. If the leak persists, reapply Teflon tape to the threads.
- Uneven Inflation:
- Problem: One tire inflating faster than the other.
- Solution: Check that both tire chucks are securely attached to the valves. Ensure there are no blockages in the hoses.
- Difficulty Attaching Chucks:
- Problem: Chucks not fitting properly on the tire valves.
- Solution: Try different chucks or valve adapters. Make sure the valve cores are not damaged.
Choosing the Right Components
Selecting high-quality components is crucial for the performance and longevity of your dual inflator hose setup. Here’s what to consider:
Tire Chucks
Opt for durable chucks made from brass or stainless steel. Ensure they have a secure and reliable connection to your tire valves. There are two main types:
- Presta Chucks: Designed for Presta valves, which are common on road bikes.
- Schrader Chucks: Designed for Schrader valves, which are common on mountain bikes and some hybrid bikes.
Hose Barb Fittings
Choose fittings made from brass or stainless steel for corrosion resistance and durability. Ensure they match the inner diameter of your high-pressure hose.
High-Pressure Hose
Select a hose that is specifically designed for high-pressure applications. Look for hoses made from reinforced rubber or braided nylon for added strength and flexibility. The hose should be able to withstand the maximum pressure of your bike pump.
Hose Clamps
Use stainless steel hose clamps for their durability and resistance to rust. Ensure they are the correct size for your hose and fittings.
Tee Fitting
Choose a tee fitting made from brass or stainless steel. Ensure it has the same thread size as your hose barb fittings. A solid, well-constructed tee fitting will ensure a secure and leak-free connection.
Maintaining Your Dual Inflator Hose Setup
Proper maintenance will extend the life of your dual inflator hose setup and ensure it performs optimally. Here are some tips:
- Regular Inspections: Check the hoses, fittings, and chucks for any signs of wear, cracks, or damage. Replace any worn components immediately.
- Cleaning: Keep the chucks clean and free of debris. Use a small brush to remove dirt and grime.
- Storage: Store the dual inflator in a cool, dry place away from direct sunlight. This will prevent the hose from drying out and cracking.
- Lubrication: Occasionally lubricate the threads of the fittings with a silicone-based lubricant to prevent corrosion and ensure easy assembly and disassembly.
Alternative Setups
While the standard dual inflator hose setup is effective, there are a few alternative configurations you might consider based on your specific needs.
Using a Manifold
Instead of a tee fitting, you can use a manifold with multiple outlets. This allows you to connect more than two tires at once, which can be useful for families with multiple bikes or for bike shops.
Adding a Pressure Gauge
For even more precise pressure control, you can add a small pressure gauge directly to the tee fitting or manifold. This allows you to monitor the pressure at the connection point, ensuring both tires are inflated to the exact same pressure.
Using Quick-Connect Fittings
Quick-connect fittings make it easy to attach and detach the hoses from the chucks and pump. This can be particularly useful if you frequently switch between different types of pumps or valves.
Cost Breakdown
Here’s an estimated cost breakdown for building your dual inflator hose setup. Prices may vary depending on the brand and quality of the components.
| Component | Estimated Cost |
|---|---|
| Two High-Quality Tire Chucks | $15 – $30 |
| Teflon Tape | $2 – $5 |
| Hose Barb Fittings (3) | $6 – $12 |
| Tee Fitting | $3 – $8 |
| Hose Clamps (6) | $3 – $6 |
| High-Pressure Hose | $10 – $20 |
| Total | $39 – $81 |
Dual Inflator Hose Setup: Safety Tips
When working with pressurized systems, safety should always be a priority. Here are some essential safety tips to keep in mind while assembling and using your dual inflator hose setup:
- Wear Safety Glasses: Protect your eyes from debris or sudden bursts of air.
- Use Proper Tools: Ensure you are using the correct tools for each task. Avoid using makeshift tools that could damage the components or cause injury.
- Inspect Components: Before each use, inspect all components for signs of wear or damage. Replace any worn or damaged parts immediately.
- Avoid Over-Pressurizing: Never exceed the maximum pressure rating of your tires or pump. Over-pressurizing can cause the tires to explode or the pump to fail.
- Secure Connections: Ensure all connections are tight and secure before inflating your tires. Loose connections can cause leaks or sudden disconnections, which can be dangerous.
- Work in a Well-Ventilated Area: If you are using any solvents or lubricants, work in a well-ventilated area to avoid inhaling harmful fumes.
- Keep Away from Children: Store your dual inflator hose setup and all related tools and components out of reach of children.
FAQ Section
Here are some frequently asked questions about making and using a dual inflator hose setup.
What is a dual inflator hose setup?
A dual inflator hose setup allows you to inflate two tires simultaneously using a single bike pump. It consists of a tee fitting, high-pressure hoses, and tire chucks.
Why should I use a dual inflator hose setup?
Using a dual inflator hose setup saves time, ensures even tire pressure, and provides a more convenient inflation process compared to inflating one tire at a time.
What type of hose should I use?
Use a high-pressure hose specifically designed for bike pumps. Reinforced rubber or braided nylon hoses are durable and can handle high pressures.
How do I prevent leaks in my dual inflator hose setup?
Use Teflon tape on all threaded connections, tighten hose clamps securely, and regularly inspect the hoses and fittings for any signs of wear or damage.
Can I use a dual inflator hose setup with any bike pump?
Yes, you can use a dual inflator hose setup with most bike pumps that have a standard hose connection. Just make sure the pump can handle the volume of air required to inflate two tires at once.
What if one tire inflates faster than the other?
Check that both tire chucks are securely attached to the valves. Also, ensure there are no blockages or kinks in the hoses. If the problem persists, inspect the valve cores for damage.
How often should I inspect my dual inflator hose setup?
Inspect your dual inflator hose setup before each use to ensure all components are in good condition and there are no leaks or damage.
Conclusion
Building your own dual inflator hose setup is a straightforward project that can significantly improve your cycling experience. By following these steps and tips, you can create a reliable and efficient tool that saves you time and ensures your tires are always properly inflated. Enjoy the convenience and precision of your new dual inflator, and happy riding!


