
Easy: How to Connect Hose to Digital Inflator?
Quick Summary: Connecting a hose to a digital inflator is simple! First, identify the correct nozzle or adapter for your tire valve (Presta or Schrader). Then, firmly press the nozzle onto the valve, ensuring a snug, airtight fit. Finally, lock the lever (if applicable) to secure the connection. Now you’re ready to inflate your tires to the perfect pressure!
Ever struggled to get your bike tire properly inflated? You’re not alone! Many cyclists find connecting the hose to their digital inflator a bit tricky at first. Maybe the connection is loose, or you’re not sure which adapter to use. It can be frustrating, but don’t worry! With the right know-how, you’ll be inflating your tires like a pro in no time. We’ll walk you through each step, from identifying your valve type to achieving a secure, leak-free connection. Get ready to say goodbye to flat tires and hello to smooth rides!
Understanding Your Digital Inflator and Hose

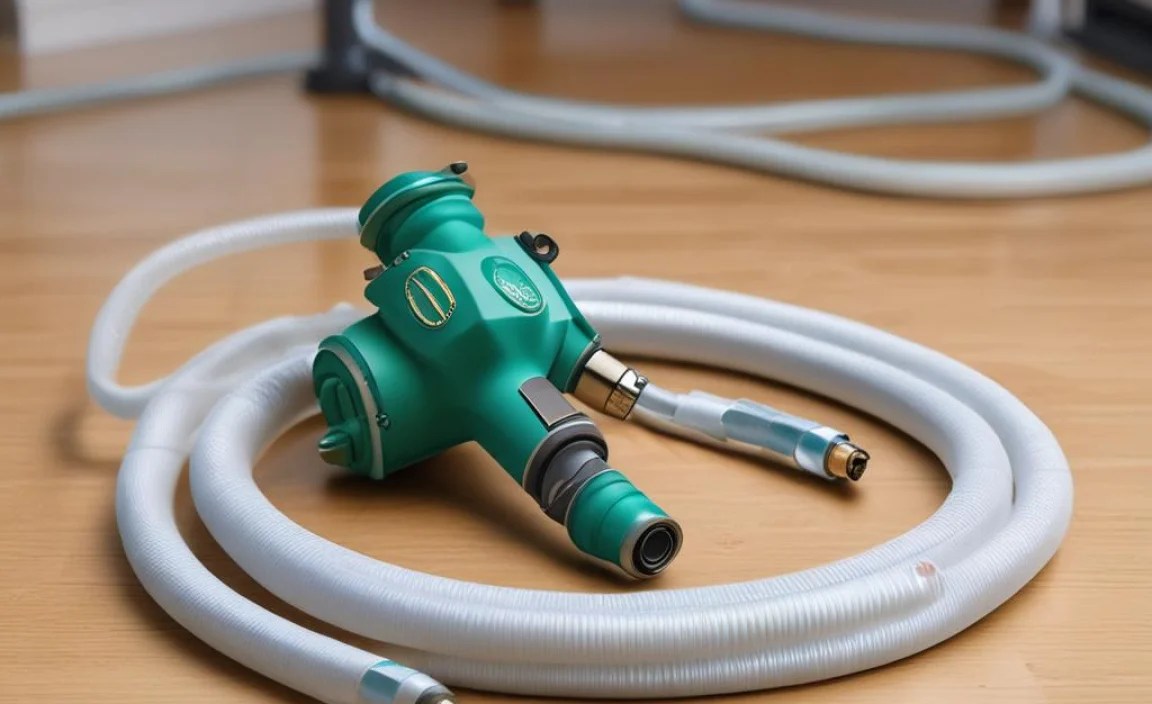
Before we dive into the connection process, let’s familiarize ourselves with the components. A digital inflator typically consists of a main unit with a digital display, a hose, and various nozzle attachments. Understanding these parts is crucial for a successful inflation.
Key Components
- Digital Inflator Unit: This is the main body of the inflator, housing the pressure gauge, controls, and power source (battery or plug).
- Hose: A flexible tube that carries air from the inflator to the tire valve.
- Nozzle/Valve Adapter: The part that attaches to the tire valve. Most inflators come with adapters for both Presta and Schrader valves.
Types of Tire Valves
The type of valve on your inner tube will determine which nozzle or adapter you need. The two most common types are:
- Schrader Valve: This is the same type of valve you find on car tires. It’s wider and sturdier than a Presta valve.
- Presta Valve: This valve is narrower and typically found on higher-end bikes. It has a small nut at the top that needs to be unscrewed before inflation.
It’s essential to identify your valve type before attempting to connect the hose. Using the wrong adapter can damage the valve or result in an ineffective seal.
Here’s a quick visual guide:
| Valve Type | Appearance | Commonly Found On |
|---|---|---|
| Schrader | Wider, similar to car tire valves | Mountain bikes, hybrid bikes, some road bikes |
| Presta | Narrower, with a small nut at the tip | Road bikes, high-performance bikes |
Step-by-Step Guide: Connecting the Hose

Now that you understand the components, let’s get to the actual connection process. Follow these steps for a secure and efficient inflation:
Step 1: Prepare the Valve
Before connecting the hose, make sure your tire valve is ready. For Schrader valves, simply remove the valve cap. For Presta valves, unscrew the small nut at the top of the valve stem.
Step 2: Select the Correct Nozzle or Adapter
Choose the nozzle or adapter that matches your valve type. Most digital inflators have a dual-head nozzle, with one side for Schrader and the other for Presta. Some inflators use separate adapters that you need to screw onto the hose.
Pro Tip: If you’re unsure which nozzle to use, compare the nozzle opening to the valve. The Schrader nozzle will be wider than the Presta nozzle.
Step 3: Connect the Nozzle to the Valve
This is the most crucial step. Firmly press the nozzle onto the valve, ensuring a snug, airtight fit. You should feel the nozzle engage with the valve. Some nozzles have a lever that you need to flip to lock the connection.
Troubleshooting: If you’re having trouble getting a good seal, try the following:
- Make sure the nozzle is clean and free of debris.
- Check that the valve core is properly tightened.
- Try pressing harder on the nozzle while connecting.
Step 4: Lock the Lever (If Applicable)
Many digital inflators have a lever on the nozzle that locks the connection in place. Once the nozzle is firmly pressed onto the valve, flip the lever to secure the connection. This will prevent air from leaking during inflation.
Step 5: Inflate to the Desired Pressure
Now that the hose is securely connected, you can start inflating your tire. Turn on the digital inflator and set the desired pressure using the controls. Refer to your tire sidewall for the recommended pressure range. Start inflating, and monitor the pressure reading on the digital display.
Safety Note: Never exceed the maximum pressure recommended on your tire sidewall. Overinflating can cause the tire to burst, which can be dangerous.
Troubleshooting Common Issues
Even with the best instructions, you might encounter some issues while connecting the hose to your digital inflator. Here are some common problems and how to solve them:
Air Leaking Around the Nozzle
This is a common issue, usually caused by a loose connection. Try the following:
- Make sure the nozzle is firmly pressed onto the valve.
- Check that the lever (if applicable) is properly locked.
- Inspect the nozzle for damage or wear.
- Ensure the valve core is tightened using a valve core tool.
Nozzle Won’t Fit on the Valve
This usually means you’re using the wrong nozzle or adapter. Double-check your valve type and select the correct nozzle. If you’re using an adapter, make sure it’s properly screwed onto the hose.
Digital Inflator Not Turning On
Check the power source. If your inflator is battery-powered, make sure the batteries are fresh. If it’s plug-in, ensure it’s properly connected to a working outlet.
Inaccurate Pressure Readings
Digital inflators can sometimes give inaccurate readings. To ensure accuracy, calibrate your inflator regularly. Some inflators have a built-in calibration function, while others may require professional calibration.
Essential Tools and Accessories
While a digital inflator is the primary tool, here are a few other accessories that can make the process easier and more efficient:
- Valve Core Tool: This tool is used to tighten or remove valve cores. A loose valve core can cause air leaks.
- Tire Pressure Gauge: A separate pressure gauge can be used to verify the accuracy of your digital inflator.
- Patch Kit: In case you discover a puncture while inflating, a patch kit will allow you to repair the tube and get back on the road.
Having these tools on hand will ensure you’re prepared for any inflation-related issues.
Maintaining Your Digital Inflator and Hose

Proper maintenance will extend the life of your digital inflator and ensure it functions correctly. Here are some tips:
- Clean the Nozzle Regularly: Dirt and debris can accumulate in the nozzle, affecting the seal. Clean it with a soft cloth or brush.
- Inspect the Hose for Cracks or Damage: Replace the hose if you notice any cracks, leaks, or damage.
- Store the Inflator in a Dry Place: Moisture can damage the internal components of the inflator. Store it in a dry, protected area.
- Calibrate Regularly: As mentioned earlier, calibrate your inflator regularly to ensure accurate pressure readings.
Choosing the Right Digital Inflator
With so many digital inflators on the market, choosing the right one can be overwhelming. Here are some factors to consider:
- Pressure Range: Make sure the inflator has a pressure range that suits your needs. Road bikes typically require higher pressures than mountain bikes.
- Accuracy: Look for an inflator with a reputation for accuracy. Read reviews and compare specifications.
- Power Source: Choose between battery-powered and plug-in models, depending on your preferences. Battery-powered inflators are more portable, while plug-in models offer consistent power.
- Features: Some inflators have additional features like automatic shut-off, LED lights, and multiple pressure units (PSI, BAR, kPa).
Here’s a comparison table of different digital inflator types:
| Type | Pros | Cons | Best For |
|---|---|---|---|
| Battery-Powered | Portable, convenient, no cords | Requires batteries, may have lower power | Roadside repairs, travel |
| Plug-In | Consistent power, no batteries needed | Requires access to an outlet, less portable | Home use, workshops |
| Hybrid (Battery & Plug-In) | Versatile, offers both portability and consistent power | May be more expensive | Both home and travel use |
Advanced Techniques for Difficult Valves
Sometimes, you might encounter valves that are difficult to inflate, even with the correct nozzle. Here are some advanced techniques:
Using a Valve Extender
If you have deep-section rims, you might need a valve extender to make the valve accessible. A valve extender screws onto the existing valve, providing a longer stem for inflation.
Seating the Tire Bead
Sometimes, the tire bead (the edge of the tire that sits on the rim) isn’t properly seated, causing air to leak. To seat the bead, try the following:
- Deflate the tire completely.
- Apply soapy water to the tire bead and rim.
- Inflate the tire to a slightly higher pressure than recommended.
- Listen for a “pop” as the bead seats into place.
- Deflate to the correct pressure.
Using a CO2 Inflator
For quick inflation on the road, consider using a CO2 inflator. These devices use a cartridge of compressed carbon dioxide to rapidly inflate the tire. However, be aware that CO2 can leak out of the tire over time, so you’ll need to reinflate with a regular pump eventually.
Safety Precautions
When using a digital inflator, it’s important to follow these safety precautions:
- Wear Eye Protection: Protect your eyes from flying debris in case the tire bursts.
- Don’t Overinflate: Never exceed the maximum pressure recommended on your tire sidewall.
- Inspect Tires Regularly: Check your tires for cuts, bulges, or other damage before inflating.
- Keep Away From Children: Store the inflator and accessories out of reach of children.
How To Connect Hose To Digital Inflator: FAQ
Here are some frequently asked questions about connecting a hose to a digital inflator:
What if the hose is too short?
If the hose is too short, consider purchasing a hose extension. These extensions can be easily attached to the existing hose, providing extra length and flexibility.
Can I use a digital inflator for car tires?
Yes, many digital inflators are suitable for both bike and car tires. However, make sure the inflator has a sufficient pressure range and the correct nozzle for car tires (Schrader valve).
How often should I check my tire pressure?
It’s recommended to check your tire pressure before every ride. Proper tire pressure improves rolling efficiency, handling, and prevents flats.
What is the ideal tire pressure for my bike?
The ideal tire pressure depends on several factors, including tire size, rider weight, and riding conditions. Refer to your tire sidewall for the recommended pressure range and adjust accordingly.
My digital inflator is making a loud noise. Is this normal?
Some digital inflators can be noisy, especially when operating at high pressure. However, if the noise is excessive or unusual, it could indicate a problem. Check the inflator for any obstructions or damage, and consult the manufacturer’s instructions.
Can I use a digital inflator on tubeless tires?
Yes, you can use a digital inflator on tubeless tires. However, seating tubeless tires can sometimes require a high-volume burst of air. Some digital inflators may not be powerful enough to seat tubeless tires, so you might need a specialized tubeless inflator or compressor.
What does PSI mean?
PSI stands for “pounds per square inch,” and it’s a unit of measurement for pressure. It’s commonly used to measure tire pressure. Your digital inflator will likely display the pressure in PSI, BAR, or kPa. You can use online converters to switch between these units.
Conclusion
Connecting a hose to a digital inflator doesn’t have to be a frustrating experience. By understanding the components, following the step-by-step guide, and troubleshooting common issues, you can achieve a secure and efficient inflation every time. Remember to maintain your inflator, choose the right model for your needs, and always prioritize safety. With these tips, you’ll be ready to hit the road with confidence, knowing your tires are perfectly inflated for a smooth and enjoyable ride. Happy cycling!


