
How to Connect Hose to CO₂ Inflator Head: Easy Guide
Quick Summary: Connecting a hose to your CO₂ inflator head is simple! First, ensure both the inflator head and hose are free from debris. Then, firmly push the hose onto the nozzle of the inflator head until it’s securely attached. Some inflator heads have a threaded connection; if so, screw the hose onto the head until snug. Always test the connection before fully relying on it to inflate your tires.
Ever struggled to get your CO₂ inflator to work when you need it most? One of the most common issues is a poor connection between the hose and the inflator head. A loose or improperly attached hose can lead to wasted CO₂, leaving you with a flat tire and frustration. But don’t worry! Getting a secure connection is easier than you think.
In this guide, I’ll walk you through the simple steps to properly connect your hose to a CO₂ inflator head. We’ll cover everything from identifying the parts to troubleshooting common problems. By the end, you’ll be able to confidently inflate your tires and get back on the road quickly.
Understanding CO₂ Inflator Components
Before diving into the connection process, let’s quickly review the key components of a CO₂ inflator system. Knowing the parts will make the process smoother and help you troubleshoot any issues.
- CO₂ Cartridge: A small, disposable cylinder filled with compressed carbon dioxide. These come in various sizes, like 12g, 16g, and 25g, depending on your tire size and inflation needs.
- Inflator Head: The device that punctures the CO₂ cartridge and controls the flow of gas into the tire. Inflator heads can be threaded or push-on.
- Hose (Optional): A flexible tube that connects the inflator head to the tire valve. Hoses provide better control and prevent damage to the valve stem, especially with Presta valves.
- Tire Valve (Presta or Schrader): The valve on your inner tube or tubeless tire that you attach the inflator to. Presta valves are common on road bikes, while Schrader valves are typically found on mountain bikes and commuter bikes.
Types of CO₂ Inflator Head Connections

There are two main types of connections you’ll encounter when attaching a hose to a CO₂ inflator head:
- Push-On: The hose simply pushes onto a nozzle on the inflator head. These are generally easier to use but require a snug fit to prevent leaks.
- Threaded: The hose screws onto the inflator head. Threaded connections provide a more secure and leak-free seal but require a bit more effort to attach.
Tools You’ll Need

Fortunately, you don’t need many tools for this task. In most cases, just your hands will do! However, here are a few items that might be helpful:
- Clean Rag: To wipe away any dirt or debris from the inflator head and hose.
- Small Pliers (Optional): If you have trouble gripping the hose or inflator head, pliers can provide extra leverage. Be careful not to damage the components.
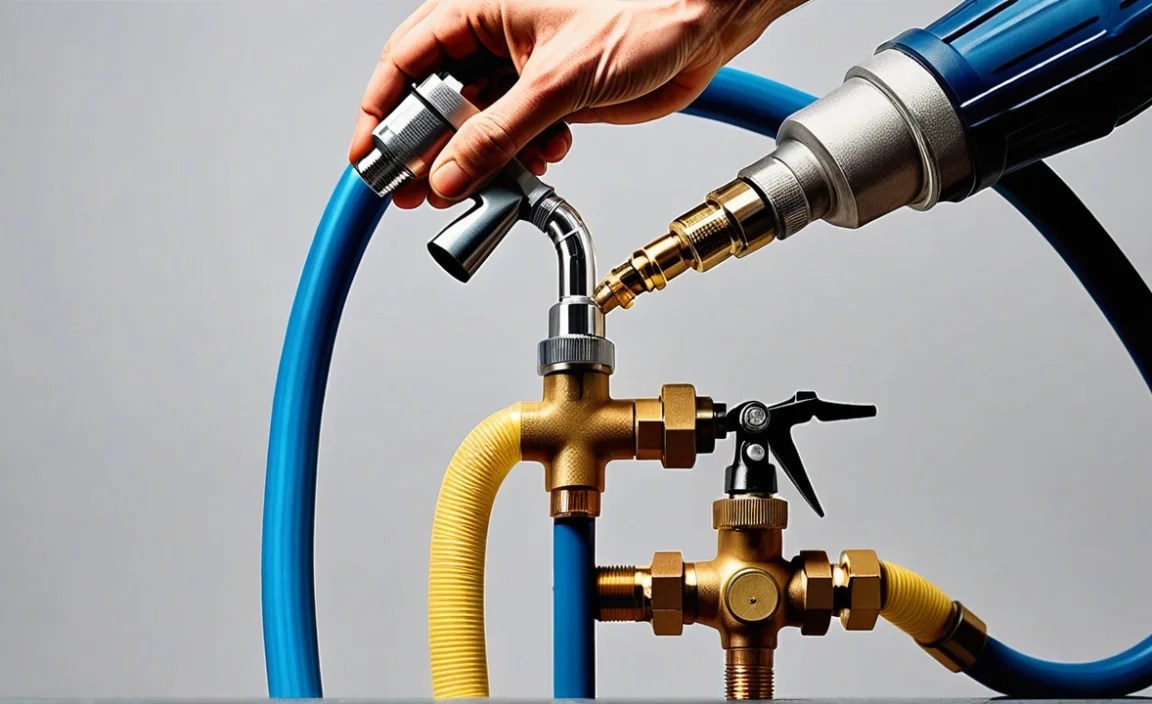
Step-by-Step Guide: Connecting the Hose

Now, let’s get into the step-by-step instructions for connecting your hose to the CO₂ inflator head. I’ll cover both push-on and threaded connections.
Step 1: Prepare the Inflator Head and Hose
Before you start, make sure both the inflator head and the hose are clean and free from any dirt or debris. Use a clean rag to wipe them down. This ensures a good seal and prevents any particles from getting into your tire valve.
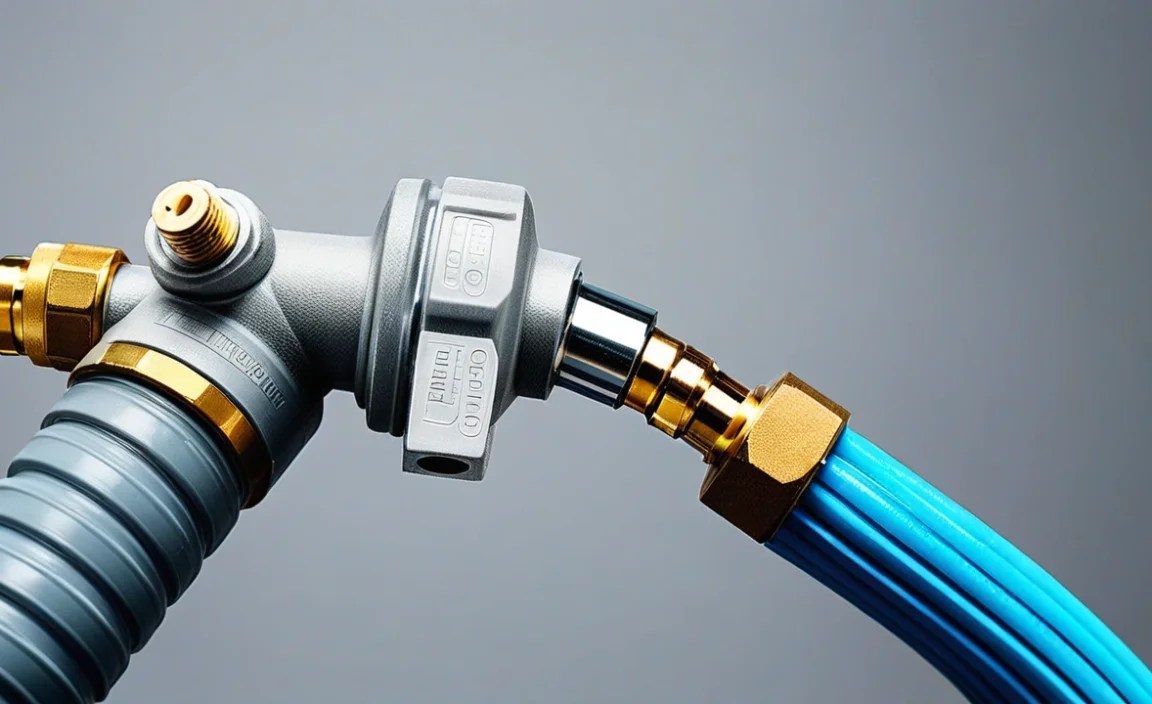
Step 2: Identify the Connection Type
Determine whether your inflator head uses a push-on or threaded connection. This will dictate the next steps.
Step 3a: Connecting a Push-On Hose
- Locate the Nozzle: Find the nozzle on the inflator head where the hose will attach.
- Align the Hose: Line up the end of the hose with the nozzle.
- Push Firmly: Push the hose onto the nozzle with firm, even pressure. You should feel the hose slide onto the nozzle.
- Check the Connection: Gently tug on the hose to make sure it’s securely attached. It shouldn’t come off easily.
Step 3b: Connecting a Threaded Hose
- Locate the Threads: Find the threaded area on both the inflator head and the hose.
- Align the Threads: Line up the threads on the hose with the threads on the inflator head.
- Start Threading: Begin screwing the hose onto the inflator head. Turn it clockwise until you feel the threads engage.
- Tighten Securely: Continue tightening the hose until it’s snug. You don’t need to overtighten it, just make sure it’s secure.
- Check the Connection: Gently tug on the hose to make sure it’s securely attached. It shouldn’t come loose.
Step 4: Test the Connection
Before you rely on the connection to inflate your tire, it’s always a good idea to test it. Here’s how:
- Attach to Tire Valve: Connect the other end of the hose to your tire valve (either Presta or Schrader).
- Activate the Inflator: Carefully activate the CO₂ inflator to release a small amount of gas.
- Listen for Leaks: Listen for any hissing sounds around the connection between the hose and the inflator head. If you hear a hiss, the connection isn’t secure.
- Tighten or Reconnect: If you detect a leak, either tighten the threaded connection or push the push-on hose more firmly onto the nozzle. Then, test again.
Troubleshooting Common Issues
Sometimes, even with the best intentions, things don’t go as planned. Here are some common issues you might encounter and how to fix them.
| Problem | Possible Cause | Solution |
|---|---|---|
| Hose won’t stay connected | Loose fit, dirty connection | Clean the hose and inflator head. Ensure a firm push or tight thread. |
| Air leaking from the connection | Improper seal, damaged hose | Tighten the connection or replace the hose if damaged. |
| Threads are stripped | Overtightening, wear and tear | Replace the inflator head or hose. |
| Hose is blocked | Debris inside the hose | Try blowing air through the hose to clear any blockages. |
Problem: Hose Won’t Stay Connected
Possible Causes:
- The hose is not pushed on far enough.
- The nozzle or hose is dirty, preventing a good grip.
- The hose is worn out and no longer fits snugly.
Solutions:
- Push the hose onto the nozzle with more force, ensuring it’s fully seated.
- Clean the nozzle and the inside of the hose with a clean rag.
- If the hose is old or stretched out, replace it with a new one.
Problem: Air Leaking from the Connection
Possible Causes:
- The connection is not tight enough.
- The threads are not properly aligned.
- There’s damage to the hose or inflator head.
Solutions:
- Tighten the threaded connection or push the push-on hose more firmly.
- Unscrew and re-screw the threaded connection, making sure the threads align correctly.
- Inspect the hose and inflator head for any cracks or damage. Replace if necessary.
Problem: Threads are Stripped
Possible Causes:
- Overtightening the connection.
- Normal wear and tear over time.
Solutions:
- Unfortunately, stripped threads usually mean you need to replace the affected part (either the hose or the inflator head).
- Be careful not to overtighten connections in the future.
Problem: Hose is Blocked
Possible Causes:
- Debris or sealant inside the hose.
Solutions:
- Try blowing air through the hose to dislodge any debris.
- If that doesn’t work, you can try using a small wire to carefully clear the blockage.
- As a last resort, replace the hose.
Maintenance Tips for Your CO₂ Inflator
To keep your CO₂ inflator in good working condition, follow these maintenance tips:
- Clean Regularly: Wipe down the inflator head and hose after each use to remove any dirt or moisture.
- Store Properly: Store your CO₂ inflator in a dry place to prevent corrosion.
- Inspect Regularly: Check the hose and inflator head for any signs of damage, such as cracks or worn threads.
- Replace Cartridges: Use a new CO₂ cartridge each time you inflate a tire for optimal performance. Expended (used) CO₂ cartridges can be recycled.
Advantages of Using a CO₂ Inflator
CO₂ inflators are a popular choice for cyclists for several reasons:
- Speed: They inflate tires much faster than hand pumps.
- Portability: They are small and lightweight, making them easy to carry on rides.
- Convenience: They require minimal effort compared to manual pumping.
Disadvantages of Using a CO₂ Inflator
Despite their advantages, CO₂ inflators also have some drawbacks:
- One-Time Use: Each cartridge can only be used once.
- Cost: CO₂ cartridges can be more expensive than using a hand pump.
- Environmental Impact: Disposing of used cartridges can contribute to waste.
- Cold: Cartridges get extremely cold when discharged, which can cause freezing.
Choosing the Right CO₂ Inflator Hose and Head
Selecting the right CO₂ inflator and hose can make a big difference in your cycling experience. Here are some factors to consider:
- Compatibility: Ensure the inflator head is compatible with both Presta and Schrader valves. Some inflators have dual heads, while others require adapters.
- Material: Look for durable materials like aluminum or high-quality plastic for the inflator head and reinforced rubber or braided nylon for the hose.
- Control: Choose an inflator head with a control valve that allows you to regulate the flow of CO₂. This prevents over-inflation and wasted gas.
- Size: Consider the size and weight of the inflator, especially if you plan to carry it on long rides.
- Reviews: Read online reviews to get insights from other cyclists about the performance and reliability of different inflators.
Alternative Inflation Methods
While CO₂ inflators are convenient, they aren’t the only option for inflating your tires. Here are some alternatives:
- Hand Pumps: Reliable and reusable, hand pumps are a great option for topping off tire pressure or fully inflating a tire. They require more effort but don’t rely on disposable cartridges.
- Mini Pumps: Compact and lightweight, mini pumps are designed for portability. They are less efficient than full-sized hand pumps but are still a good option for emergency repairs.
- Floor Pumps: These are best used at home. Floor pumps provide the most efficient and comfortable way to inflate your tires. They have a built-in gauge for accurate pressure readings.
CO₂ Inflator Safety Tips
Using a CO₂ inflator is generally safe, but it’s important to follow these safety tips:
- Protect Your Hands: CO₂ cartridges get extremely cold when discharged, which can cause frostbite. Wear gloves or use an insulated sleeve to protect your hands.
- Avoid Over-Inflation: Use an inflator with a control valve to regulate the flow of CO₂ and prevent over-inflation.
- Check Tire Pressure: Use a tire pressure gauge to ensure you’re inflating your tires to the correct pressure. Over-inflated tires can burst, while under-inflated tires can lead to pinch flats.
- Dispose of Cartridges Properly: Punctured CO₂ cartridges are recyclable and should be disposed of properly. Check with your local recycling center for guidelines.
- Practice: Before you need to use a CO₂ inflator on the road, practice at home to familiarize yourself with the process.
FAQ
Q: Can I reuse a CO₂ cartridge?
A: No, CO₂ cartridges are designed for single use only. Once punctured, the gas is released, and the cartridge cannot be refilled.
Q: What size CO₂ cartridge should I use?
A: The appropriate size depends on your tire size and desired pressure. 16g cartridges are common for road bikes, while mountain bikes may require 20g or 25g cartridges.
Q: How do I know if my CO₂ inflator is compatible with my tire valve?
A: Most inflators are designed to work with both Presta and Schrader valves. Some have dual heads, while others require an adapter. Check the product specifications to ensure compatibility.
Q: Can I use a CO₂ inflator with tubeless tires?
A: Yes, CO₂ inflators can be used with tubeless tires. However, be aware that CO₂ can cause the sealant to dry out more quickly than regular air. It’s best to reinflate with air as soon as possible.
Q: What should I do if I accidentally discharge a CO₂ cartridge?
A: If you accidentally discharge a cartridge, let the gas fully escape in a well-ventilated area. Avoid touching the cartridge with bare hands, as it will be extremely cold.
Q: How tight should the hose be on the inflator head?
A: For threaded connections, tighten the hose until it is snug but not overly tight. For push-on connections, ensure the hose is firmly pushed onto the nozzle. The connection should be secure enough to prevent leaks.
Q: Why does my CO₂ cartridge get so cold?
A: CO₂ cartridges get cold due to rapid expansion of the gas, a process called adiabatic cooling. This is normal, but it’s important to protect your hands to avoid frostbite.
Conclusion
Connecting a hose to your CO₂ inflator head doesn’t have to be a daunting task. By following these simple steps and troubleshooting tips, you can ensure a secure and reliable connection every time. Whether you have a push-on or threaded connection, taking the time to properly attach the hose will save you frustration and wasted CO₂ on the road.
Remember to keep your inflator clean, inspect it regularly, and practice the connection process at home. With a little preparation, you’ll be able to confidently inflate your tires and get back to enjoying your ride. Happy cycling!


