
How to Install New Chuck Hose: Easy DIY Guide
Quick Summary:
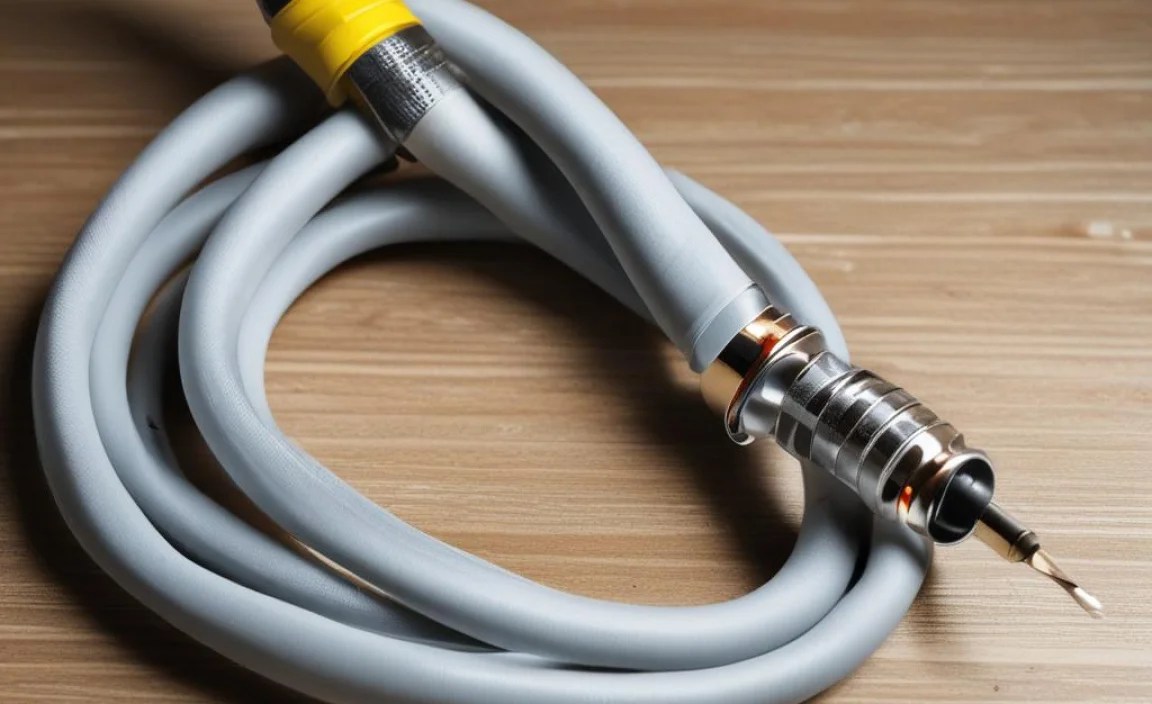
Replacing a worn-out chuck hose on your bike pump is easy! First, unscrew the old hose from the pump body and chuck. Then, attach the new hose to the chuck, tightening it securely. Finally, screw the other end of the hose onto the pump body. Test for leaks, and you’re ready to inflate your tires again!
Is your bike pump’s chuck hose cracked, leaky, or just plain worn out? Don’t toss the whole pump! Replacing the hose is a simple, affordable fix that can breathe new life into your trusty inflator. A faulty hose leads to frustrating air leaks and wasted effort, but don’t worry. This guide will walk you through each step of replacing the hose, so you can get back to riding with perfectly inflated tires.
Ready to get started? We’ll cover everything from gathering the right tools to testing your new hose for leaks. Let’s dive in!
Tools and Materials You’ll Need

Before you begin, gather these essential items. Having everything on hand will make the process smooth and efficient.
- New Chuck Hose: Make sure it’s compatible with your pump and valve types (Presta and Schrader).
- Adjustable Wrench or Pliers: For loosening and tightening connections.
- Hose Clamps (if needed): Some hoses require clamps for a secure fit.
- Screwdrivers (Phillips and flathead): Depending on your pump model.
- Utility Knife or Scissors: For trimming the hose if necessary.
- Soapy Water or Spray Bottle: To check for leaks after installation.
Step-by-Step Guide to Installing a New Chuck Hose

Follow these steps carefully to ensure a successful hose replacement.
Step 1: Prepare Your Workspace
Choose a clean, well-lit area. Protect your work surface with a cloth or mat. This will prevent damage to your pump and make it easier to see what you’re doing.
Step 2: Disconnect the Old Hose
First, detach the old hose from both the chuck and the pump body. Here’s how:
- At the Chuck: Use an adjustable wrench or pliers to loosen the nut or fitting connecting the hose to the chuck. Turn counterclockwise.
- At the Pump Body: Locate where the hose connects to the pump body. It might be screwed directly into the pump or attached with a fitting. Use your wrench or pliers to loosen and detach it.
- Remove the Old Hose: Once both ends are disconnected, remove the old hose completely.
Step 3: Prepare the New Hose
Before installing the new hose, inspect it for any damage. Ensure it’s the correct length and compatible with your pump and valve types.
- Check Compatibility: Verify that the hose fits both Presta and Schrader valves if your pump supports both.
- Trim if Necessary: If the hose is too long, use a utility knife or scissors to trim it to the appropriate length. Make a clean, straight cut.
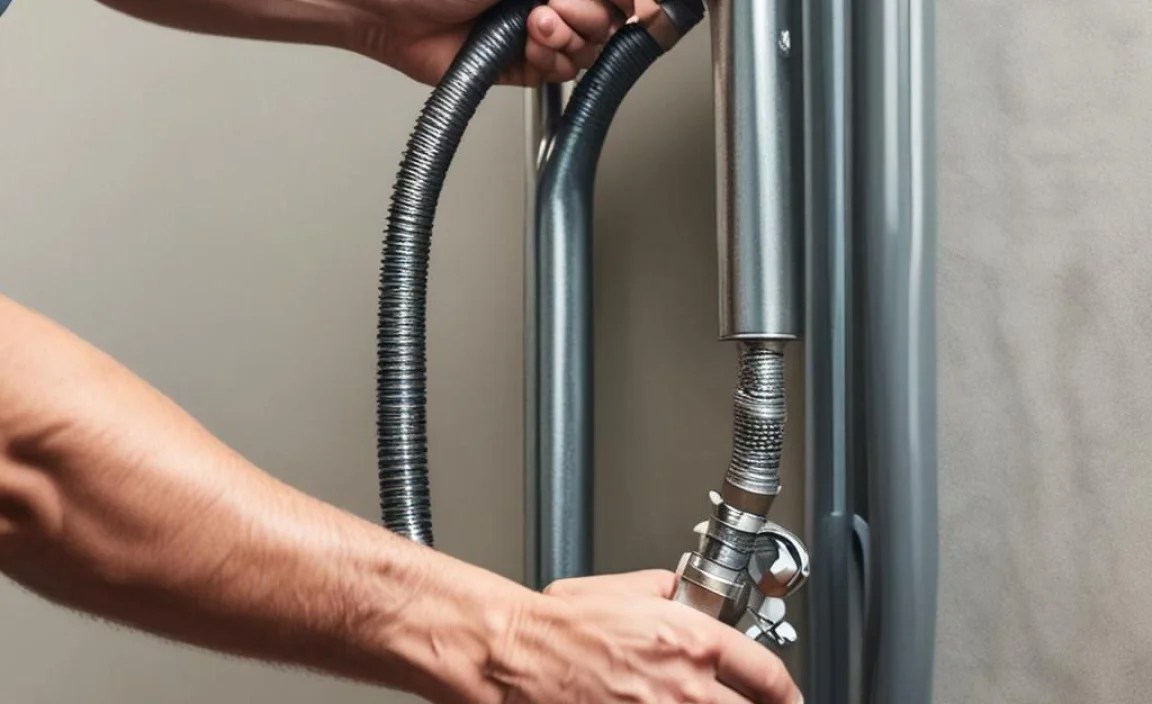
Step 4: Attach the New Hose to the Chuck
Now, connect one end of the new hose to the chuck. Follow these steps:
- Insert the Hose: Push the hose onto the chuck fitting. Make sure it’s seated securely.
- Tighten the Fitting: Use your wrench or pliers to tighten the nut or fitting. Turn clockwise until snug. Be careful not to overtighten, as this could damage the hose or fitting.
- Add a Hose Clamp (if needed): If your hose requires a clamp, slide it over the hose and position it near the end of the fitting. Tighten the clamp with a screwdriver to secure the hose in place.
Step 5: Attach the New Hose to the Pump Body
Next, connect the other end of the hose to the pump body.
- Insert the Hose: Push the hose onto the pump body fitting. Ensure it’s fully seated.
- Tighten the Fitting: Use your wrench or pliers to tighten the nut or fitting. Turn clockwise until snug. Again, avoid overtightening.
- Add a Hose Clamp (if needed): If necessary, use a hose clamp to secure the hose to the pump body fitting.
Step 6: Test for Leaks
After installing the new hose, it’s crucial to check for leaks. This will ensure your pump is working efficiently.
- Prepare Soapy Water: Mix a small amount of dish soap with water in a spray bottle or bowl.
- Apply Soapy Water: Spray or apply the soapy water to all connections (both at the chuck and the pump body).
- Pump Air: Operate the pump to build pressure in the hose.
- Observe for Bubbles: Watch carefully for any bubbles forming at the connections. Bubbles indicate an air leak.
- Tighten Connections (if needed): If you find a leak, tighten the fitting at that connection slightly. Reapply soapy water and check again. Repeat until the leak is resolved.
Step 7: Final Inspection and Maintenance
Once you’ve confirmed there are no leaks, give your pump a final inspection. Make sure all connections are secure and the hose is properly aligned.
- Check Hose Alignment: Ensure the hose isn’t kinked or twisted, which could restrict airflow.
- Lubricate Moving Parts: Apply a small amount of lubricant to the pump’s moving parts, such as the piston and seals, to keep it working smoothly.
- Store Properly: When not in use, store your pump in a clean, dry place to prevent damage and prolong its lifespan.
Troubleshooting Common Issues
Even with careful installation, you might encounter some issues. Here’s how to troubleshoot them.
Problem: Air Leaks at the Connections
Solution: The most common cause of leaks is loose fittings. Tighten the nuts or fittings with your wrench or pliers. Make sure the hose is fully seated on the fittings. If the leak persists, try adding a hose clamp for extra security. Also, inspect the hose itself for any cuts or punctures that could be causing the leak.
Problem: Hose Keeps Popping Off
Solution: If the hose keeps popping off the fittings, it could be due to insufficient clamping force or an improperly sized hose. Ensure you’re using the correct size hose for your pump and chuck. Use hose clamps to provide a secure grip. If the fittings are worn or damaged, consider replacing them.
Problem: Difficulty Attaching the Hose
Solution: If you’re having trouble attaching the hose to the fittings, try lubricating the end of the hose with a small amount of silicone grease or soapy water. This will make it easier to slide onto the fitting. Also, make sure you’re using the correct type of fitting for your hose and pump.
Problem: Pump is Still Not Inflating Tires
Solution: If the pump isn’t inflating tires even after replacing the hose, there might be other issues. Check the pump’s piston and seals for wear or damage. Clean and lubricate these parts as needed. Also, inspect the check valve to make sure it’s functioning properly. If the pump is severely damaged, it might be time to replace it.
Choosing the Right Chuck Hose

Selecting the right chuck hose is crucial for optimal performance and compatibility. Here’s what to consider.
Hose Material
Chuck hoses are typically made from rubber, vinyl, or braided stainless steel. Each material has its pros and cons.
- Rubber: Flexible and affordable, but can crack or deteriorate over time.
- Vinyl: More durable than rubber and resistant to cracking, but can be less flexible.
- Braided Stainless Steel: Highly durable and resistant to kinking, but more expensive.
Hose Length
Choose a hose length that’s appropriate for your pump and riding style. A longer hose can be more convenient, but it can also reduce pumping efficiency.
Valve Compatibility
Ensure the hose is compatible with both Presta and Schrader valves, if your pump supports both. Some hoses have a dual-head design that works with both valve types.
Fitting Type
Make sure the hose has the correct type of fitting for your pump and chuck. Common fitting types include threaded and push-on.
Brand and Quality
Choose a reputable brand known for producing high-quality bike pump accessories. A well-made hose will last longer and provide better performance.
Chuck Hose Maintenance Tips
Proper maintenance will extend the life of your chuck hose and keep your pump working efficiently.
- Inspect Regularly: Check the hose for cracks, cuts, or wear. Replace it if you notice any damage.
- Avoid Kinking: Store the hose in a way that prevents kinking or twisting.
- Clean Periodically: Wipe the hose clean with a damp cloth to remove dirt and grime.
- Lubricate Fittings: Apply a small amount of silicone grease to the fittings to prevent corrosion and ensure smooth operation.
- Store Properly: Store your pump in a clean, dry place to protect the hose from damage.
Table: Chuck Hose Material Comparison
| Material | Pros | Cons | Best For |
|---|---|---|---|
| Rubber | Affordable, Flexible | Cracks Easily, Deteriorates Over Time | Budget-Conscious Cyclists |
| Vinyl | Durable, Crack-Resistant | Less Flexible Than Rubber | Everyday Use |
| Braided Stainless Steel | Highly Durable, Kink-Resistant | More Expensive | Serious Cyclists, Heavy Use |
Table: Common Bike Pump Problems and Solutions
| Problem | Possible Cause | Solution |
|---|---|---|
| Pump Won’t Inflate | Leaky Hose, Damaged Piston | Replace Hose, Repair/Replace Piston |
| Air Leaks | Loose Fittings, Worn Seals | Tighten Fittings, Replace Seals |
| Hose Pops Off | Incorrect Hose Size, Insufficient Clamping | Use Correct Hose, Add Clamps |
| Stiff Pumping Action | Lack of Lubrication, Dirty Internals | Lubricate Piston, Clean Internals |
External Resources
For more information on bike pump maintenance and repair, check out these resources:
- Park Tool Repair Help: A comprehensive guide to bike repair and maintenance.
- BikeRadar Bike Pump Reviews: Reviews and comparisons of different bike pump models.
- REI Expert Advice on Bike Maintenance: Tips and advice on keeping your bike in top condition.
FAQ: Installing a New Chuck Hose
Question 1: How often should I replace my bike pump hose?
Answer: It depends on how often you use your pump and the quality of the hose. Inspect it regularly and replace it as soon as you see signs of wear, such as cracks or leaks.
Question 2: Can I use any type of hose for my bike pump?
Answer: No, you need to use a hose that’s specifically designed for bike pumps. Make sure it’s compatible with your pump’s fittings and valve types.
Question 3: What’s the difference between Presta and Schrader valves?
Answer: Presta valves are narrower and have a locking nut at the tip. Schrader valves are wider and similar to those found on car tires. Some pumps have a dual-head design that works with both valve types.
Question 4: Do I need any special tools to replace my bike pump hose?
Answer: You’ll typically need an adjustable wrench or pliers, screwdrivers (if your pump has screws), and possibly hose clamps. A utility knife or scissors might be needed to trim the hose.
Question 5: How do I know if my bike pump hose is leaking?
Answer: You can check for leaks by applying soapy water to the connections and looking for bubbles while pumping air. If you see bubbles, there’s a leak.
Question 6: What if I overtighten the fittings?
Answer: Overtightening can damage the hose or fittings. Tighten them until they’re snug, but not excessively tight. If you overtighten and damage a fitting, you might need to replace it.
Question 7: Where can I buy a replacement chuck hose?
Answer: You can buy replacement hoses at most bike shops, online retailers that sell bike parts, and some hardware stores.
Conclusion
Replacing your bike pump’s chuck hose is a straightforward task that can significantly improve your pumping efficiency. By following these steps and tips, you can easily restore your pump to like-new condition and keep your tires properly inflated for every ride. Don’t let a worn-out hose keep you off the road—take control of your bike maintenance and enjoy the ride!


