
How to Hold Mini Pump While Inflating Bike Tire: Easy Trick
Quick Summary
Holding a mini pump correctly while inflating a bike tire involves a few key steps: secure the pump head onto the valve, stabilize the pump against the tire or frame, use a firm grip with both hands, and apply smooth, consistent strokes. Proper technique maximizes efficiency and minimizes air loss, making roadside inflation manageable.
Ever been stranded with a flat tire and a mini pump that seems more like a workout tool than a lifesaver? You’re not alone! Many cyclists struggle with getting enough air into their tires using these compact pumps. The secret isn’t brute strength, but technique. Getting a good grip and using your body weight efficiently makes all the difference.
In this guide, I’ll walk you through the best ways to hold and use a mini pump, so you can get back on the road quickly and confidently. We’ll cover everything from pump placement to body positioning, ensuring you get the most out of your portable inflator. Let’s get started!
Understanding Your Mini Pump
Before we dive into the how-to, let’s quickly cover the basics of mini pumps. Not all pumps are created equal, and knowing your equipment is the first step to successful inflation. A mini pump is designed for portability, making it easy to carry on rides for emergency repairs. However, their small size means they require more effort to inflate a tire compared to larger floor pumps.
Types of Mini Pumps
Mini pumps come in various designs, but here are the most common:
- Hand Pumps: These are the standard mini pumps that you operate with your hands.
- Frame-Mounted Pumps: Designed to attach directly to your bike frame for easy access.
- Hybrid Pumps: Combine features of both hand pumps and CO2 inflators for versatility.
Key Features to Consider
- Valve Compatibility: Ensure your pump works with both Presta and Schrader valves. Some pumps have reversible parts or adapters to switch between valve types.
- Inflation Power (PSI): Check the maximum pressure the pump can deliver. Road bikes typically need higher PSI than mountain bikes.
- Pump Length and Volume: Longer pumps and those with larger barrels will move more air per stroke, making inflation faster.
- Grip and Ergonomics: A comfortable grip will make the pumping process easier and more efficient.
Step-by-Step Guide: How to Hold and Use a Mini Pump

Now, let’s get to the heart of the matter: how to hold a mini pump correctly to inflate your bike tire effectively. Follow these steps for optimal results.
Step 1: Prepare Your Bike and Pump
Before you start pumping, make sure your bike is stable and your pump is ready to use.
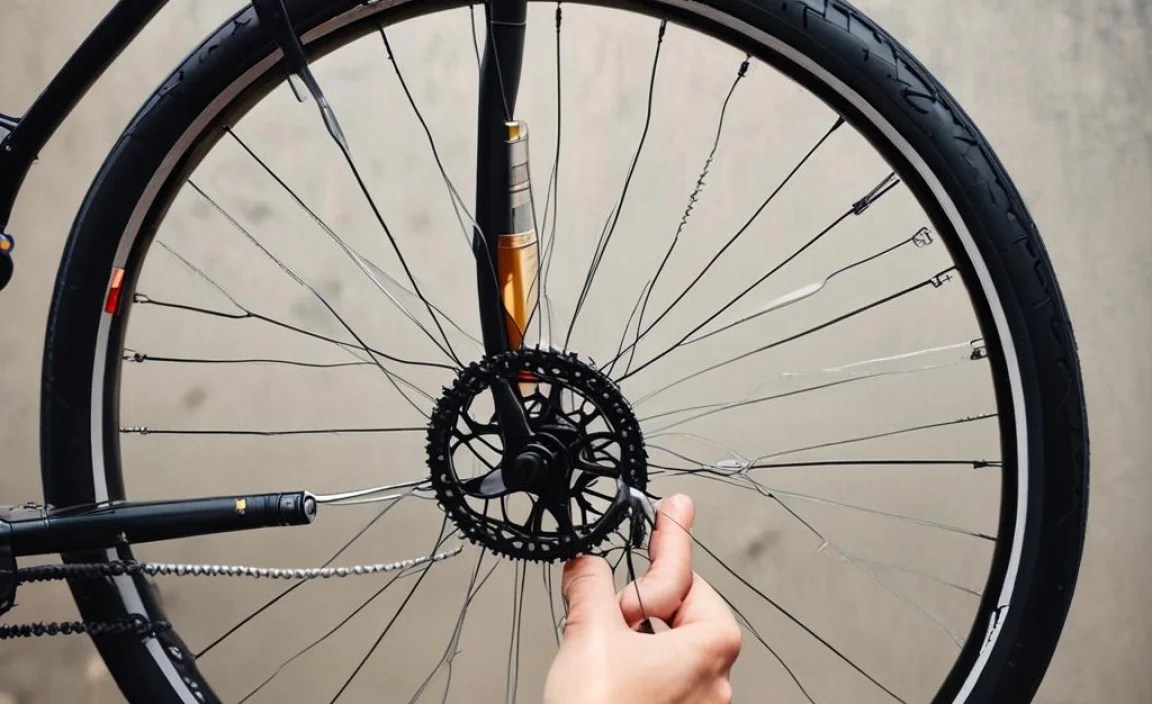
- Secure Your Bike: Lean your bike against a stable object, like a wall or a tree. If possible, flip the bike upside down so it rests on the handlebars and seat.
- Inspect the Tire and Valve: Check for any visible damage to the tire and ensure the valve is clean and free of debris.
- Prepare the Pump: Extend the pump’s handle fully and ensure it’s ready to engage with the valve.
Step 2: Attach the Pump Head to the Valve
Properly attaching the pump head to the valve is crucial for creating an airtight seal.
- Presta Valve: Unscrew the valve nut counterclockwise to open the valve. Press the valve stem briefly to release any remaining air and ensure it’s not stuck.
- Schrader Valve: Simply remove the valve cap.
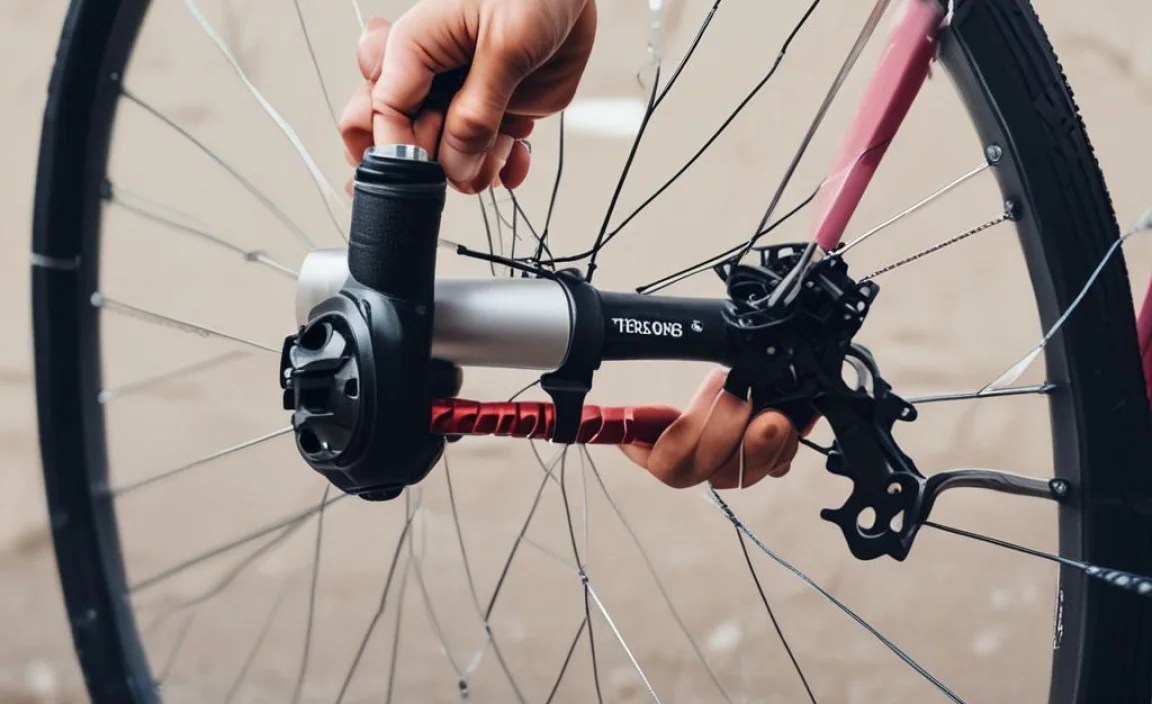
- Attach the Pump Head: Firmly press the pump head onto the valve. Some pumps have a lever that you need to flip to lock the head in place. Make sure the connection is secure and airtight.
Step 3: Stabilize the Pump
Stabilizing the pump is essential for efficient pumping and preventing damage to the valve.
- Positioning: Hold the pump so that the valve is in a straight line with the tire. Avoid bending or twisting the valve, as this can damage it.
- Using Your Body: Use your body weight to help stabilize the pump. You can brace the tire against your leg or use one hand to hold the pump head steady against the valve.
Step 4: Grip and Body Position
Your grip and body position play a significant role in how effectively you can pump.
- Grip: Use both hands to grip the pump. Place one hand on the pump handle and the other on the pump body for stability.
- Body Position: Stand with your feet shoulder-width apart and bend your knees slightly. This will allow you to use your body weight to generate power.
- Pumping Motion: Use smooth, consistent strokes. Push down on the pump handle while keeping your arms straight. Avoid jerky or rapid movements, as these can be less efficient and harder on the valve.
Step 5: Pumping Technique
Effective pumping technique is key to getting enough air into your tire without exhausting yourself.
- Consistent Strokes: Maintain a steady rhythm while pumping. This will help you build pressure gradually.
- Listen for Leaks: Pay attention to any hissing sounds, which could indicate a leak. If you hear a leak, recheck the connection between the pump head and the valve.
- Check Tire Pressure: Periodically check the tire pressure by squeezing the tire. If your pump has a gauge, use it to monitor the pressure more accurately.
- Rest When Needed: Pumping can be tiring, especially with a mini pump. Take breaks as needed to avoid overexertion.
Step 6: Detach the Pump and Secure the Valve
Once you’ve reached the desired tire pressure, carefully detach the pump and secure the valve.
- Detach the Pump Head: If your pump has a lever, flip it to release the pump head. Gently pull the pump head straight off the valve.
- Presta Valve: Screw the valve nut clockwise until it’s snug. This will prevent air from leaking out.
- Schrader Valve: Replace the valve cap.
Step 7: Final Check
Before you hop back on your bike, give the tire one last check.
- Tire Pressure: Ensure the tire feels firm and has reached the desired pressure.
- Valve Security: Double-check that the valve is properly secured to prevent air leaks.
Tips for Efficient Pumping

Here are some additional tips to help you pump more efficiently and effectively.
- Use Your Body Weight: Leverage your body weight to push down on the pump handle. This will reduce the amount of effort required from your arms and shoulders.
- Maintain a Straight Line: Keep the pump and valve in a straight line to minimize stress on the valve stem.
- Lubricate the Pump: Occasionally lubricate the pump’s internal components with a silicone-based lubricant to keep it working smoothly.
- Practice: Practice using your mini pump at home before you need it on the road. This will help you become more comfortable with the process and identify any potential issues.
Common Mistakes to Avoid
Knowing what not to do is just as important as knowing what to do. Here are some common mistakes to avoid when using a mini pump.
- Damaging the Valve: Bending or twisting the valve can damage it, leading to air leaks or even a broken valve stem. Always keep the pump and valve in a straight line.
- Using Too Much Force: Applying excessive force can damage the pump or the valve. Use smooth, controlled strokes instead.
- Forgetting to Lock the Pump Head: If your pump has a lever, make sure to lock the pump head in place before you start pumping. This will ensure a secure connection and prevent air leaks.
- Ignoring Leaks: If you hear a hissing sound, stop pumping and check for leaks. Ignoring leaks will only make the process more difficult and time-consuming.
Choosing the Right Mini Pump

Selecting the right mini pump can make a big difference in your pumping experience. Here are some factors to consider when choosing a mini pump.
Valve Compatibility
Ensure the pump is compatible with the type of valves on your bike. Many pumps work with both Presta and Schrader valves, but some may require adapters.
Inflation Power (PSI)
Consider the maximum pressure the pump can deliver. Road bikes typically require higher PSI (around 80-120) than mountain bikes (around 30-50). Choose a pump that can reach the recommended pressure for your tires.
Pump Length and Volume
Longer pumps and those with larger barrels will move more air per stroke, making inflation faster. However, they may also be bulkier to carry.
Grip and Ergonomics
Look for a pump with a comfortable grip that fits well in your hands. Ergonomic designs can reduce fatigue and make pumping easier.
Additional Features
Some mini pumps come with additional features, such as built-in pressure gauges, flexible hoses, and frame mounts. Consider which features are important to you.
Mini Pump Recommendations
Here are a few mini pump recommendations based on different needs and preferences.
| Pump | Features | Pros | Cons |
|---|---|---|---|
| Lezyne Micro Floor Drive HP | Floor pump design, integrated foot peg, ABS chuck | Efficient inflation, easy to use, durable | Slightly bulkier than other mini pumps |
| Topeak RaceRocket HP | Lightweight, high-pressure, integrated hose | Compact, efficient, easy to attach to valve | Smaller volume per stroke |
| Blackburn Chamber Mini Pump | Two-stage inflation, high-volume and high-pressure modes | Versatile, efficient for different tire types | Can be slightly complex to switch between modes |
| Crankbrothers Sterling S | Compact, lightweight, Presta/Schrader compatible | Affordable, easy to carry, reliable | May require more strokes to reach desired pressure |
Maintaining Your Mini Pump
Proper maintenance will keep your mini pump working smoothly and extend its lifespan. Here are some tips for maintaining your pump.
- Clean Regularly: Wipe down the pump with a clean cloth after each use to remove dirt and debris.
- Lubricate Moving Parts: Occasionally lubricate the pump’s internal components with a silicone-based lubricant.
- Inspect for Damage: Check the pump for any signs of damage, such as cracks, leaks, or worn-out parts. Replace any damaged parts as needed.
- Store Properly: Store the pump in a dry, protected location to prevent corrosion and damage.
Troubleshooting Common Issues
Even with proper technique and maintenance, you may encounter some common issues when using a mini pump. Here are some troubleshooting tips.
| Issue | Possible Cause | Solution |
|---|---|---|
| Pump Won’t Attach to Valve | Incorrect valve type, debris in pump head | Ensure pump is compatible with valve type, clean pump head |
| Air Leaking from Pump Head | Loose connection, damaged pump head | Ensure pump head is securely attached, replace pump head if damaged |
| Difficulty Pumping | Dry pump, low tire pressure | Lubricate pump, use body weight to assist pumping |
| Pump Not Building Pressure | Leak in tire, damaged pump | Check tire for punctures, inspect pump for damage |
Alternative Inflation Methods
While mini pumps are essential for on-the-go repairs, there are other inflation methods you can use.
CO2 Inflators
CO2 inflators use cartridges of compressed carbon dioxide to quickly inflate tires. They are lightweight and easy to carry, but they require purchasing new cartridges after each use. CO2 inflators are great for speed but less economical for frequent use. Always follow the manufacturer’s instructions when using a CO2 inflator.
Floor Pumps
Floor pumps are larger, more powerful pumps that are ideal for home use. They provide more leverage and can inflate tires to higher pressures more easily than mini pumps. A floor pump is a worthwhile investment for regular bike maintenance.
Electric Pumps
Electric pumps are battery-powered pumps that automatically inflate tires to the desired pressure. They are convenient and easy to use, but they can be more expensive and require charging. Electric pumps are a great option for those who struggle with manual pumping.
FAQ: How to Hold a Mini Pump While Inflating a Bike Tire
Here are some frequently asked questions about holding and using a mini pump to inflate a bike tire.
What is the best way to hold a mini pump?
Hold the pump with both hands, one on the handle and one on the body, to stabilize it. Keep the pump in line with the valve to avoid bending it.
How do I prevent air from leaking while pumping?
Ensure the pump head is securely attached to the valve and locked in place if your pump has a lever. Use smooth, consistent strokes and avoid jerky movements.
Can I use a mini pump for both Presta and Schrader valves?
Yes, many mini pumps are compatible with both valve types. Some have reversible parts or adapters to switch between valve types.
How much pressure should I put in my tires?
Check the sidewall of your tire for the recommended pressure range (PSI). Road bikes typically need higher pressure (80-120 PSI) than mountain bikes (30-50 PSI).
What should I do if my pump gets stuck on the valve?
Gently wiggle the pump head while pulling it straight off the valve. Avoid twisting or bending the valve, as this can damage it.
How often should I maintain my mini pump?
Clean your mini pump after each use and lubricate the moving parts every few months to keep it working smoothly.
Is it possible to over-inflate my tires with a mini pump?
Yes, it’s possible to over-inflate your tires, especially with a floor pump. Always check the tire pressure periodically and avoid exceeding the recommended range.
Conclusion
Mastering the art of holding and using a mini pump can save you from being stranded with a flat tire. By following these steps and tips, you can efficiently inflate your tires and get back to enjoying your ride. Remember to choose the right pump for your needs, maintain it properly, and practice your technique. Safe riding!


