
How to Pump a Cycle: A Beginner’s Guide
Quick Summary: To pump your cycle, first identify the valve type (Presta or Schrader). Connect the correct pump head securely to the valve. Inflate to the recommended PSI (printed on the tire sidewall) using steady strokes. Check the pressure with a gauge. Detach the pump head carefully. Now you’re ready to ride!
Is your bike tire looking a little flat? Don’t worry, you’re not alone! Many cyclists, especially beginners, find pumping their tires a bit tricky. A flat or under-inflated tire makes cycling harder and increases the risk of punctures. But don’t let that stop you! Pumping your cycle is a simple skill you can quickly learn. With the right tools and a few easy steps, you’ll be back on the road in no time. We’ll walk you through everything you need to know, from identifying your valve type to achieving the perfect tire pressure. Let’s get started!
Understanding Bike Tire Valves

Before you even think about pumping, you need to know what kind of valve your bike has. The two most common types are Presta and Schrader. Knowing the difference is key to using the right pump and getting a good seal.
Presta Valves
Presta valves are narrower and usually found on road bikes and higher-end mountain bikes. They have a small nut at the top that you need to unscrew before inflating.
Characteristics of Presta Valves:
- Narrower than Schrader valves
- Typically found on road and performance bikes
- Require unscrewing the valve nut before inflation
- Often longer than Schrader valves
Schrader Valves
Schrader valves are wider and look just like the valves on car tires. You’ll usually find them on mountain bikes, hybrid bikes, and kids’ bikes. They’re more robust and easier to use with standard air compressors.
Characteristics of Schrader Valves:
- Wider than Presta valves
- Common on mountain, hybrid, and kids’ bikes
- Similar to car tire valves
- More robust and easier to use with air compressors
Identifying Your Valve Type: A Quick Comparison
Here’s a table to help you quickly identify your valve type:
| Feature | Presta Valve | Schrader Valve |
|---|---|---|
| Width | Narrow | Wide |
| Nut at Tip | Yes, must be unscrewed | No |
| Typical Bikes | Road, Performance | Mountain, Hybrid, Kids’ |
| Similarity | None | Car tire valve |
Gathering Your Tools
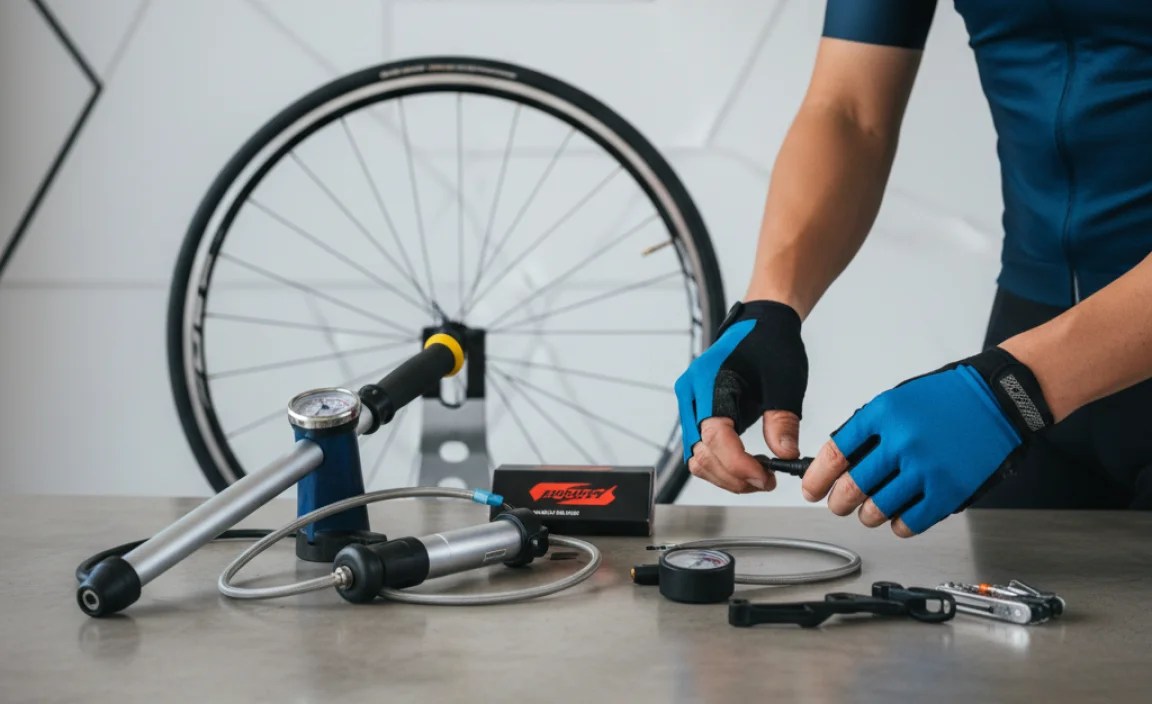
Having the right tools makes pumping your cycle much easier. Here’s what you’ll need:
- Bike Pump: Choose a pump that’s compatible with your valve type. Floor pumps are easier to use for higher pressures, while mini-pumps are great for on-the-go inflation.
- Pressure Gauge: Many floor pumps have built-in gauges. If not, a separate gauge helps you achieve the correct tire pressure.
- Valve Adapter (if needed): If your pump isn’t compatible with your valve type, you might need an adapter.
- Rag (optional): To wipe your hands or clean the valve.
Choosing the Right Bike Pump
There are two main types of bike pumps:
- Floor Pumps: These are larger pumps that stand on the floor. They’re easier to use and provide more pressure, making them ideal for home use. Look for one with a built-in pressure gauge.
- Mini Pumps: These are small, portable pumps that you can carry with you on rides. They’re not as efficient as floor pumps but are essential for fixing flats on the road.
When choosing a pump, make sure it’s compatible with both Presta and Schrader valves, or get one that fits your specific valve type. Some pumps have a switch or reversible parts to accommodate both types.
Step-by-Step Guide to Pumping Your Cycle
Now that you know your valve type and have your tools ready, let’s get pumping! Follow these steps for a perfectly inflated tire.
Step 1: Prepare the Valve
For Presta Valves:
- Remove the valve cap.
- Unscrew the valve nut at the top.
- Press the valve tip briefly to release any remaining air and ensure it’s not stuck.
For Schrader Valves:
- Remove the valve cap.
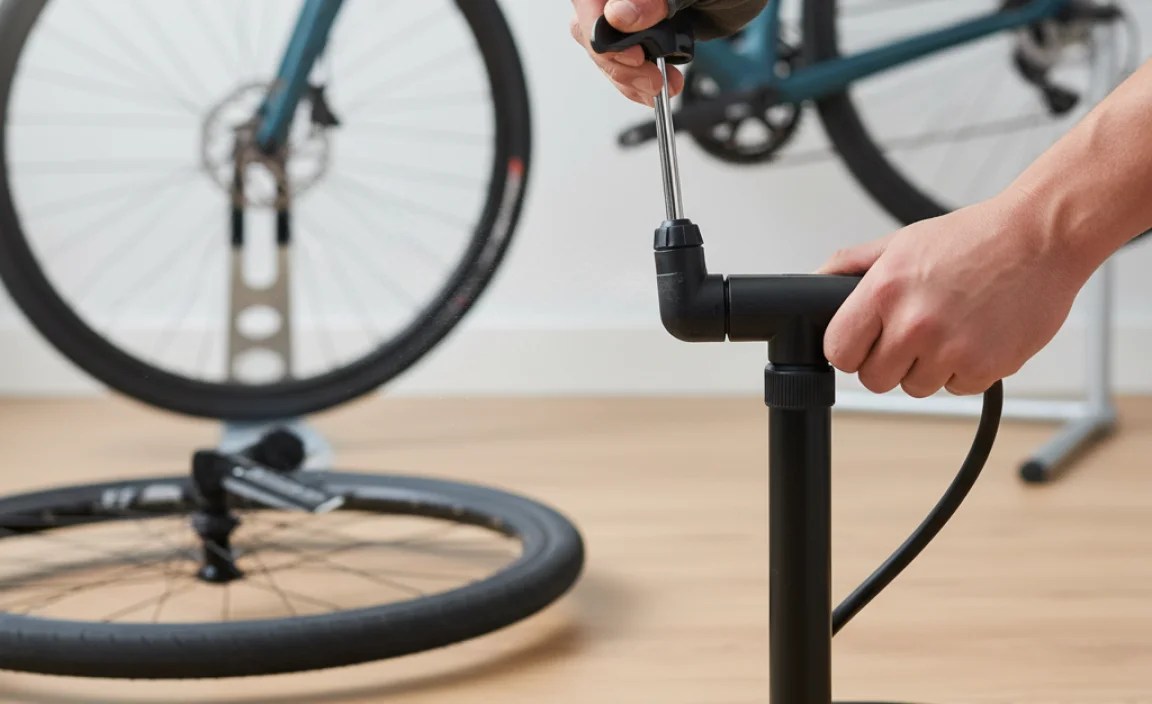
Step 2: Attach the Pump Head
For Presta Valves:
- Firmly press the pump head onto the valve. Make sure it’s fully seated.
- Flip the locking lever (if your pump has one) to secure the connection.
For Schrader Valves:
- Firmly press the pump head onto the valve.
- If your pump head has a lever, flip it to secure the connection.
Pro Tip: A hissing sound means the connection isn’t tight enough. Readjust the pump head until the seal is secure.
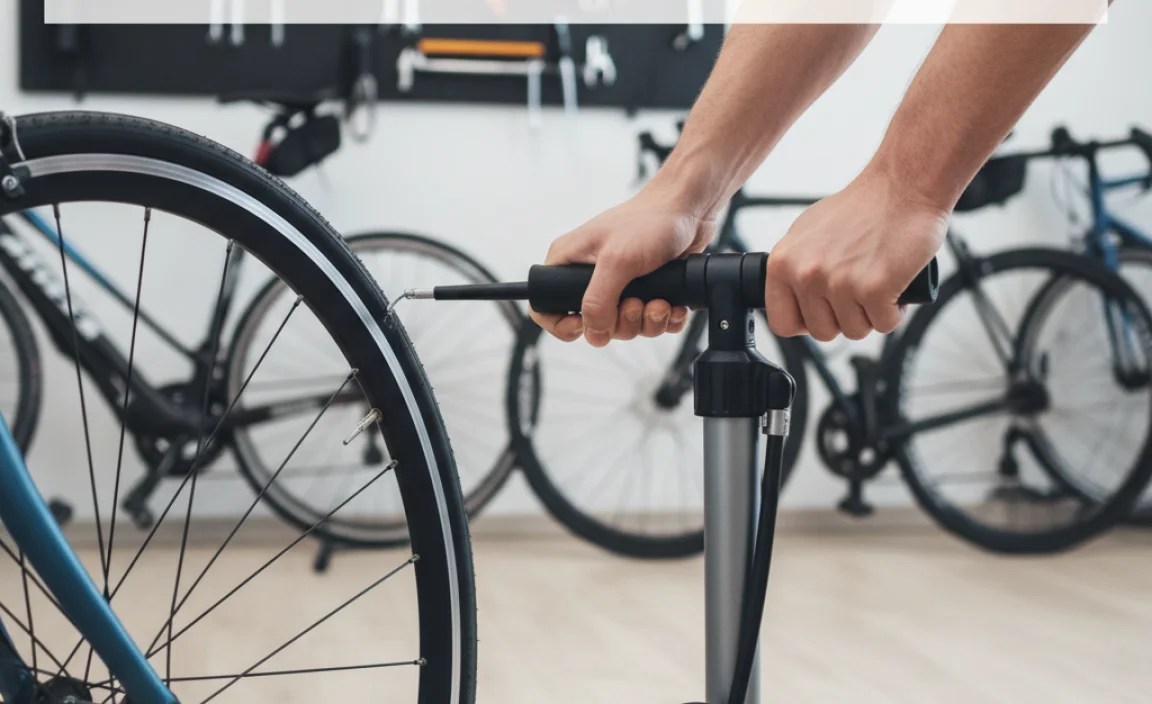
Step 3: Inflate the Tire
- Using a Floor Pump: Place your feet on the base of the pump for stability. Grip the handle firmly and pump up and down using smooth, full strokes.
- Using a Mini Pump: Place the pump head on the valve, then brace the opposite end of the pump against a solid object or your leg. Pump steadily, using your body weight to help.
Watch the Pressure Gauge: Keep an eye on the pressure gauge as you pump. Inflate the tire to the recommended PSI (pounds per square inch) or BAR (metric unit of pressure). This number is usually printed on the tire sidewall.
Important Note: Don’t exceed the maximum PSI listed on the tire. Over-inflation can cause the tire to burst.
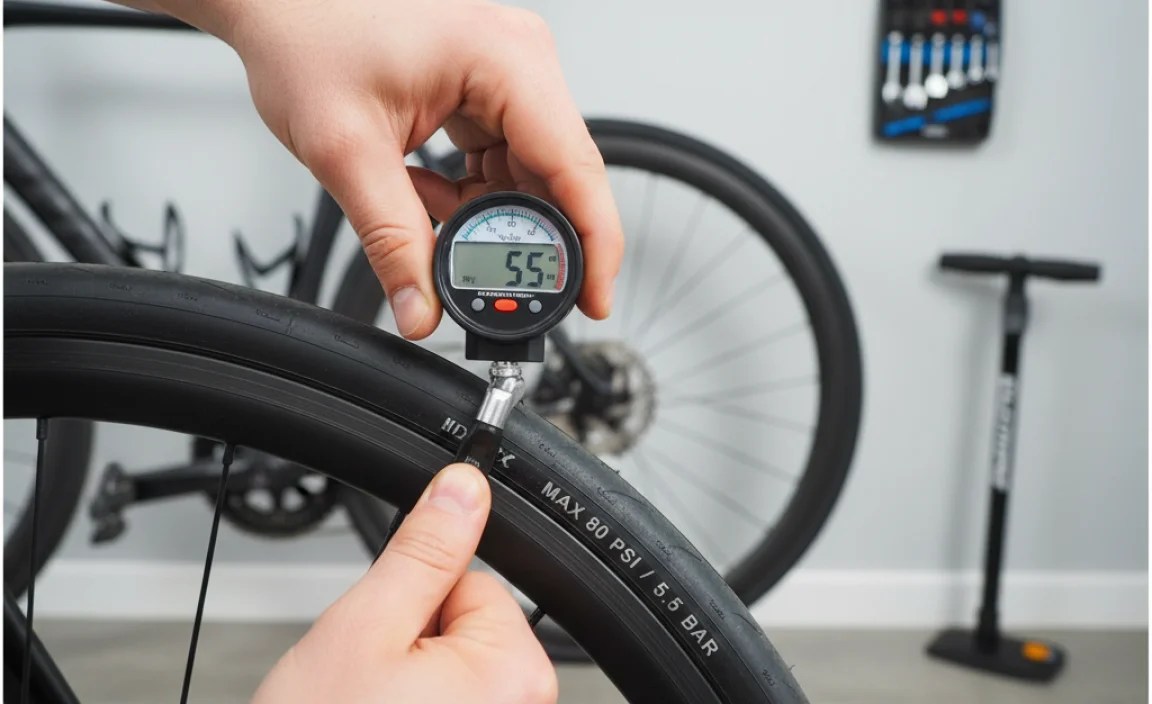
Step 4: Check the Pressure
If your pump doesn’t have a gauge, use a separate pressure gauge to check the tire pressure. Press the gauge onto the valve and read the measurement. Adjust the pressure as needed.
Step 5: Detach the Pump Head
For Presta Valves:
- Flip the locking lever (if your pump has one) to release the connection.
- Carefully remove the pump head from the valve.
- Screw the valve nut back down to prevent air from escaping.
- Replace the valve cap.
For Schrader Valves:
- Flip the locking lever (if your pump has one) to release the connection.
- Carefully remove the pump head from the valve.
- Replace the valve cap.
Understanding Tire Pressure
Getting the right tire pressure is crucial for a comfortable and efficient ride. Too little pressure and you risk pinch flats and slow rolling. Too much pressure and the ride becomes harsh and bumpy. Here’s what you need to know:
Finding the Recommended PSI
The recommended PSI is usually printed on the tire sidewall. It’s often a range, like “50-75 PSI.” This range gives you some flexibility based on your weight, riding style, and terrain.
Factors Affecting Tire Pressure
- Rider Weight: Heavier riders need higher pressure.
- Tire Width: Wider tires can be run at lower pressures.
- Terrain: Rougher terrain benefits from slightly lower pressure for better grip and comfort.
- Riding Style: Aggressive riders might prefer slightly higher pressure for better cornering stability.
Tire Pressure Chart
Here’s a general guideline for tire pressure based on rider weight and tire width. Always refer to the recommended PSI on your tire sidewall first.
| Rider Weight (lbs) | Tire Width (mm) | Recommended PSI |
|---|---|---|
| 120-150 | 23-25 | 90-100 |
| 150-180 | 23-25 | 100-110 |
| 180-220 | 23-25 | 110-120 |
| 120-150 | 28-32 | 60-70 |
| 150-180 | 28-32 | 70-80 |
| 180-220 | 28-32 | 80-90 |
Disclaimer: This chart is a general guideline. Always check the recommended PSI on your tire sidewall and adjust based on your specific needs.
Troubleshooting Common Pumping Problems
Sometimes, things don’t go as planned. Here are some common problems you might encounter and how to fix them:
- Pump Not Connecting: Make sure the pump head is fully seated on the valve and the locking lever (if any) is engaged. Check for dirt or debris in the valve or pump head.
- Air Leaking: This usually means the connection isn’t tight enough. Readjust the pump head and make sure it’s securely attached.
- Tire Not Inflating: Ensure the valve is open (Presta valves) and that there are no punctures in the tire. Check the pump for any blockages or leaks.
- Pump Handle Hard to Push: This could mean the tire is already at high pressure or that the pump needs lubrication.
Maintaining Your Bike Pump
A well-maintained pump will last longer and work more efficiently. Here are some tips:
- Clean the Pump Head: Regularly clean the pump head to remove dirt and debris that can interfere with the seal.
- Lubricate the Piston: Apply a few drops of silicone-based lubricant to the piston of your floor pump to keep it moving smoothly.
- Store Properly: Store your pump in a dry place to prevent rust and corrosion.
- Check for Wear and Tear: Inspect the pump hose and fittings regularly for cracks or leaks. Replace any worn parts as needed.
FAQ About Pumping Your Cycle
1. How often should I pump my bike tires?
You should check and inflate your tires before every ride. Tires lose pressure over time, so regular inflation is essential for optimal performance and safety.
2. What happens if my tire pressure is too low?
Low tire pressure can lead to pinch flats (where the tire gets pinched between the rim and the road), increased rolling resistance (making it harder to pedal), and reduced handling.
3. What happens if my tire pressure is too high?
High tire pressure can result in a harsh and uncomfortable ride, reduced grip, and an increased risk of tire blowout.
4. Can I use a car air compressor to pump my bike tires?
Yes, but only if you have a Schrader valve. You’ll also need to be very careful not to over-inflate the tire, as car compressors can deliver air very quickly. Use a pressure gauge to monitor the pressure closely.
5. What is the difference between PSI and BAR?
PSI (pounds per square inch) and BAR are both units of pressure. 1 BAR is equal to approximately 14.5 PSI. Most bike pumps and pressure gauges display both units.
6. My Presta valve is leaking air after I pump it. What should I do?
Make sure the valve nut is tightened after inflating. If it continues to leak, the valve core might be damaged. You can try replacing the valve core with a new one using a valve core tool. Here’s a helpful video.
7. Can I use any pump for both Presta and Schrader valves?
Some pumps are designed to work with both Presta and Schrader valves. These pumps usually have a dual-headed pump head or a reversible insert that allows you to switch between the two valve types. Check the pump’s specifications to see if it’s compatible with both.
Conclusion
Pumping your cycle tires is a fundamental skill that every cyclist should master. By understanding the different valve types, using the right tools, and following our step-by-step guide, you can keep your tires properly inflated for a safe, comfortable, and efficient ride. Remember to always check the recommended PSI on your tire sidewall and adjust the pressure based on your weight, riding style, and terrain. With a little practice, you’ll be pumping like a pro in no time. Now get out there and enjoy the ride!
“`


