
How Does a Bike Pump Work? A Simple Guide
Quick Summary: A bike pump works by using a piston inside a cylinder to create pressure. When you pull the handle, air is sucked into the cylinder. When you push the handle down, this air is forced through a valve and into your bike tire, inflating it. Different pumps may have slight variations, but the core principle remains the same.
Ever wondered how that simple-looking bike pump magically inflates your tires? It might seem like a straightforward tool, but there’s some clever engineering at play. Many cyclists find themselves puzzled by the inner workings of their pumps. Understanding how your bike pump works can help you troubleshoot issues, maintain your equipment, and even choose the right pump for your needs.
In this guide, we’ll break down the mechanics of a bike pump in easy-to-understand terms. We’ll cover the essential parts, the steps involved in inflating a tire, and different types of pumps you might encounter. By the end, you’ll be a bike pump expert, ready to tackle any inflation challenge. Let’s get started!
The Key Components of a Bike Pump

To understand how a bike pump works, it’s essential to know its main parts. Each component plays a vital role in the inflation process.
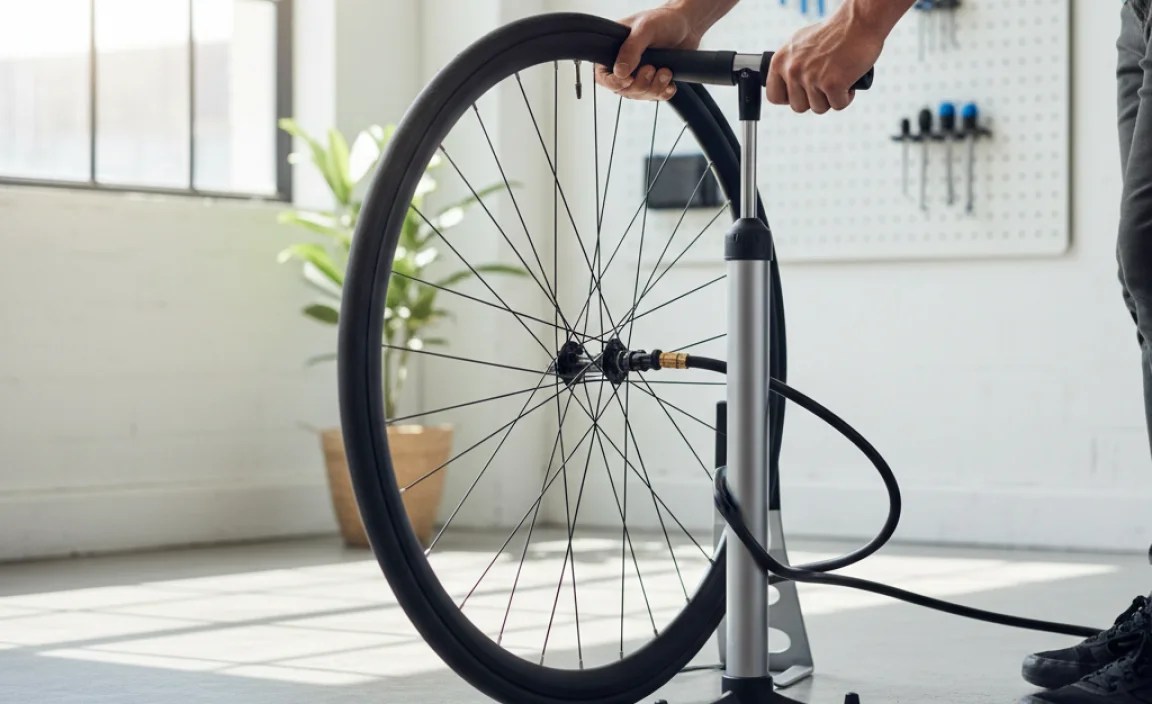
- Cylinder: This is the main body of the pump, usually a metal or plastic tube. It houses the piston and provides the chamber where air is compressed.
- Piston: The piston is a movable component inside the cylinder. It creates the pressure needed to force air into the tire.
- Handle: This is the part you grip and move up and down to operate the pump. It’s connected to the piston.
- Hose: The hose connects the pump to the tire valve. It’s usually made of rubber or flexible plastic.
- Valve Connector (Chuck): This attaches to the tire valve (Presta or Schrader) and allows air to flow into the tire.
- Base: Provides stability for floor pumps. Hand pumps omit this.
- Valves: Small, one-way valves control the direction of airflow, ensuring air goes into the tire and not back into the pump.
The Step-by-Step Inflation Process
Here’s a simplified breakdown of how a bike pump works to inflate your tires:
- The Upstroke: When you pull the handle up, the piston moves upward inside the cylinder. This creates a vacuum, drawing air into the cylinder through an intake valve.
- Intake Valve Action: The intake valve opens to allow air to enter the cylinder and closes when the piston starts moving down, preventing air from escaping.
- The Downstroke: As you push the handle down, the piston compresses the air inside the cylinder.
- Outlet Valve Action: The increased pressure forces the outlet valve to open, allowing the compressed air to flow through the hose and into the tire.
- Into the Tire: The air passes through the valve connector (chuck) and into the tire, increasing the tire pressure.
- Repeating the Process: You repeat the up and down strokes to continue pumping air into the tire until you reach the desired pressure.
Types of Bike Pumps

There are several types of bike pumps, each designed for different purposes and preferences. Here’s a look at some common types:
Floor Pumps (Track Pumps)
Floor pumps are designed for home use and offer stability and efficiency. They typically have a gauge to monitor tire pressure accurately.
- Pros: Efficient, stable, accurate pressure readings.
- Cons: Bulky, not portable.
- Best For: Home use, inflating tires quickly and accurately.
Hand Pumps
Hand pumps are compact and portable, making them ideal for on-the-go inflation. They are smaller and require more effort to use than floor pumps.
- Pros: Portable, lightweight.
- Cons: Less efficient, requires more effort.
- Best For: Emergency roadside repairs.
Mini Pumps
Mini pumps are smaller versions of hand pumps, emphasizing portability. They often come with mounting brackets to attach to your bike frame.
- Pros: Extremely portable, lightweight.
- Cons: Least efficient, requires significant effort.
- Best For: Emergency repairs when space is limited.
CO2 Inflators
CO2 inflators use compressed carbon dioxide cartridges to inflate tires rapidly. They are lightweight and convenient for quick fixes during races or rides.
- Pros: Very fast inflation, lightweight.
- Cons: Requires CO2 cartridges, can be wasteful, no pressure control.
- Best For: Racing, quick repairs, situations where speed is essential.
Electric Pumps
Electric pumps use a motor to inflate tires. They’re convenient and require minimal effort, but they need a power source.
- Pros: Effortless, fast inflation.
- Cons: Requires power, can be bulky, may be expensive.
- Best For: Home use, inflating multiple tires, users with limited strength.
Presta vs. Schrader Valves

Bike pumps need to connect properly to your tire’s valve. The two main types of valves are Presta and Schrader. Knowing the difference is crucial for proper inflation.
Presta Valves
Presta valves are commonly found on road bikes and high-performance bicycles. They are narrower and have a locking nut at the top.
- Appearance: Slimmer, with a threaded tip and a locking nut.
- Usage: Road bikes, high-performance bikes.
- Inflation: Requires unlocking the nut before inflation and relocking after.
Schrader Valves
Schrader valves are similar to those found on car tires. They are wider and have a spring-loaded pin in the center.
- Appearance: Wider, with a spring-loaded pin.
- Usage: Mountain bikes, hybrid bikes, some road bikes.
- Inflation: Simpler to use, similar to inflating a car tire.
Most modern bike pumps come with a dual-head that can accommodate both Presta and Schrader valves. Some pumps require you to disassemble and reassemble the pump head to switch between valve types, while others have a simple switch or lever.
Troubleshooting Common Pump Problems
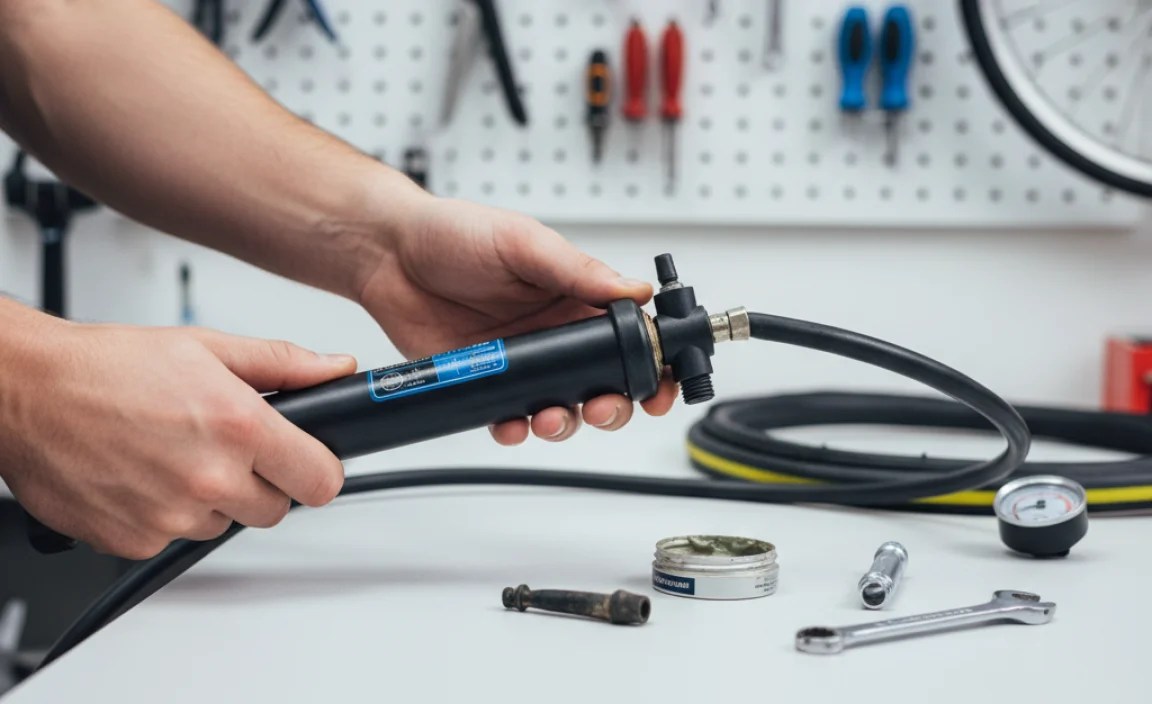
Sometimes, your bike pump might not work as expected. Here are some common issues and how to address them:
- Pump Not Inflating: Make sure the valve connector is securely attached to the tire valve. Check if the pump head is set correctly for the valve type (Presta or Schrader).
- Air Leaking: Ensure the valve connector is properly sealed. Replace worn-out rubber seals or O-rings in the pump head.
- Difficulty Pumping: Lubricate the piston with a small amount of silicone grease. Check for obstructions in the hose or valve connector.
- Gauge Not Working: The gauge may be faulty and needs replacement. Alternatively, the hose connecting the gauge to the pump cylinder may be damaged or loose.
Maintaining Your Bike Pump
Regular maintenance can prolong the life of your bike pump and ensure it works efficiently. Here are some maintenance tips:
- Clean Regularly: Wipe down the pump with a damp cloth to remove dirt and grime.
- Lubricate the Piston: Apply a small amount of silicone grease to the piston periodically to keep it moving smoothly.
- Check Seals and O-Rings: Inspect rubber seals and O-rings for wear and tear. Replace them as needed.
- Store Properly: Store the pump in a dry place to prevent rust and corrosion.
Choosing the Right Bike Pump
Selecting the right bike pump depends on your needs and riding style. Consider the following factors:
- Type of Bike: Road bikes often benefit from high-pressure floor pumps, while mountain bikes may need pumps with larger volume.
- Portability: If you need a pump for on-the-go repairs, a hand pump or CO2 inflator is a good choice.
- Frequency of Use: For frequent home use, invest in a durable floor pump.
- Budget: Prices vary widely, so set a budget and look for the best value within that range.
Here’s a table to help you decide which pump is best for you:
| Pump Type | Pros | Cons | Best Use |
|---|---|---|---|
| Floor Pump | Efficient, stable, accurate | Bulky, not portable | Home use, precise inflation |
| Hand Pump | Portable, lightweight | Less efficient, more effort | Roadside repairs |
| Mini Pump | Extremely portable | Least efficient, high effort | Emergency, space-saving |
| CO2 Inflator | Fast inflation, lightweight | Requires cartridges, no control | Racing, quick fixes |
| Electric Pump | Effortless, fast | Needs power, can be bulky | Home, multiple tires |
Understanding Air Pressure and PSI
Knowing the correct tire pressure is vital for optimal performance and safety. Tire pressure is measured in pounds per square inch (PSI) or BAR (a metric unit of pressure).
- Importance of Correct Pressure: Proper inflation improves rolling resistance, handling, and prevents pinch flats.
- Finding Recommended Pressure: Check the sidewall of your tire for the recommended PSI range.
- Using a Gauge: Use a pump with an accurate gauge to ensure you reach the desired pressure.
Maintaining the correct PSI ensures a comfortable and efficient ride. Too little pressure can lead to flats and poor handling, while too much pressure can make the ride harsh and increase the risk of blowouts.
Safety Tips When Using a Bike Pump
While using a bike pump is generally safe, it’s important to take a few precautions:
- Wear Eye Protection: Protect your eyes from debris or sudden air bursts.
- Secure the Bike: Ensure the bike is stable to prevent it from falling while you’re pumping.
- Avoid Over-Inflation: Never exceed the maximum PSI recommended on the tire sidewall.
- Check the Valve: Make sure the valve is in good condition before inflating.
Advanced Pumping Techniques
Once you’re comfortable with the basics, you can explore some advanced techniques to improve your pumping efficiency:
- Using Body Weight: For floor pumps, use your body weight to push down on the handle, making inflation easier.
- Seating the Tire Bead: If you’re having trouble seating the tire bead, try inflating the tire slightly above the recommended pressure (but still within the safe range) to help the bead pop into place. Then, deflate to the correct pressure.
- Pre-Ride Checks: Always check your tire pressure before each ride to ensure optimal performance.
External Resources for Further Learning
For more in-depth information and resources on bike maintenance and pumps, check out these authoritative sources:
- Park Tool Repair Help – Comprehensive guides on bike repair and maintenance.
- Sheldon Brown’s Website – A wealth of information on bicycle technology and repair.
- League of American Bicyclists – Advocacy and resources for cyclists.
FAQ About Bike Pumps
Here are some frequently asked questions about bike pumps:
- Why is my pump not inflating my tire?
- Make sure the pump head is securely attached to the valve and set to the correct valve type (Presta or Schrader). Check for leaks and ensure the pump is working correctly.
- How do I know what PSI to inflate my tires to?
- Look for the recommended PSI range printed on the sidewall of your tire. Use a pump with a gauge to reach the desired pressure.
- What’s the difference between Presta and Schrader valves?
- Presta valves are narrow with a locking nut, commonly found on road bikes. Schrader valves are wider with a spring-loaded pin, similar to car tires.
- Can I use a car tire pump on my bike?
- Yes, if your bike has Schrader valves. However, car tire pumps often deliver too much air too quickly, so be careful not to over-inflate. It’s best to use a bike pump for more control.
- How often should I check my tire pressure?
- Ideally, check your tire pressure before each ride to ensure optimal performance and safety.
- What type of pump is best for me?
- If you want accuracy and ease of use at home, a floor pump is best. For portability on rides, choose a hand pump or CO2 inflator.
- How do I maintain my bike pump?
- Clean it regularly, lubricate the piston, and check for worn seals. Store it in a dry place to prevent rust.
Conclusion
Understanding how a bike pump works empowers you to maintain your tires properly, ensuring safe and enjoyable rides. From knowing the key components to troubleshooting common issues, you’re now equipped with the knowledge to handle your inflation needs. Whether you choose a floor pump for home use or a portable pump for on-the-go repairs, the principles remain the same. Keep your pump in good condition, maintain the correct tire pressure, and enjoy the ride!
“`


