
How to Use Mini Pump for Road Bike Tires: Easy Guide
Quick Summary: Using a mini pump for your road bike tires is simple! First, make sure the pump head is compatible with your valve type (Presta or Schrader). Attach the pump head securely to the valve, lock it in place, and start pumping using smooth, full strokes. Check the tire pressure frequently, aiming for the recommended PSI printed on the tire sidewall. It might take some effort, but you’ll be back on the road in no time!
Getting a flat tire is a cyclist’s worst nightmare, especially when you’re miles from home. While a mini pump might not be as efficient as a floor pump, it’s a lifesaver on the road. Many riders struggle with mini pumps, finding them awkward or ineffective. But don’t worry! With the right technique, you can easily inflate your tires and get back to enjoying your ride.
This guide will walk you through each step, from choosing the right pump to mastering the pumping technique. We’ll cover everything you need to know to confidently use a mini pump and keep your tires properly inflated on the go.
Choosing the Right Mini Pump
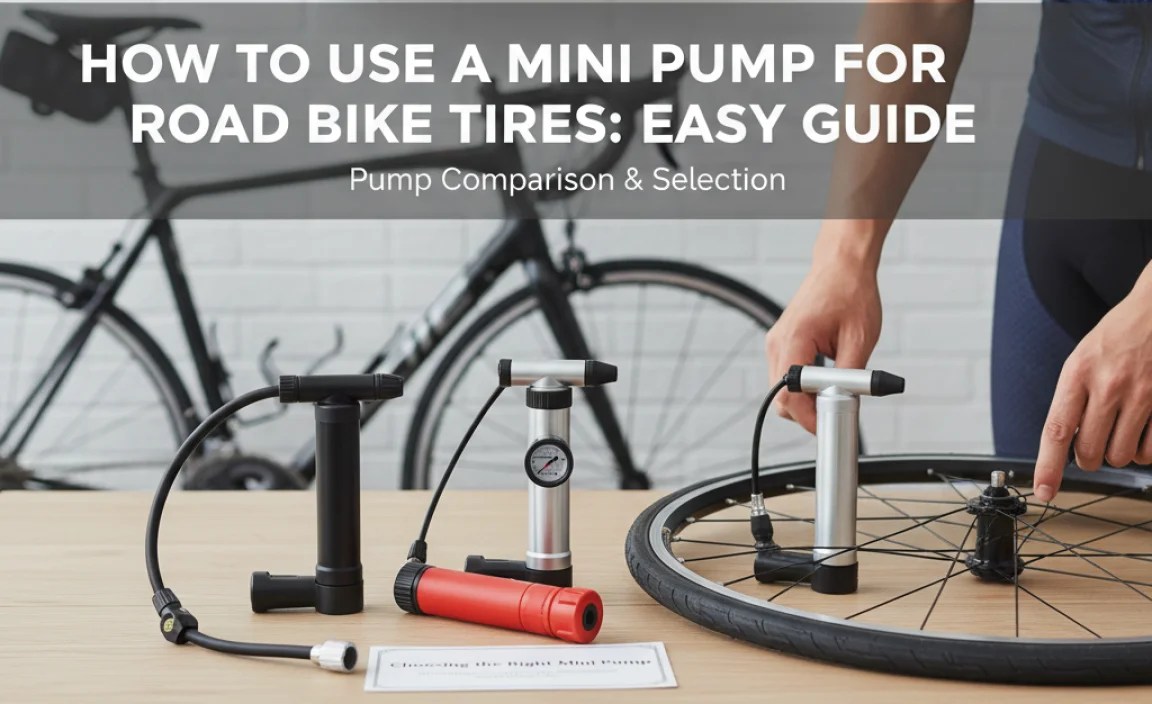
Before you start pumping, you need the right tool for the job. Mini pumps come in various shapes and sizes, each with its own set of features. Here’s what to consider when choosing a mini pump:
Valve Compatibility
Road bikes typically use Presta valves, which are narrow and have a small locking nut at the tip. Some bikes, especially older models or hybrids, might use Schrader valves, which are wider and similar to those found on car tires. Make sure your mini pump is compatible with the valve type on your bike. Many pumps come with adapters for both valve types.
Pump Type
There are two main types of mini pumps:
- Standard Mini Pumps: These are compact and lightweight, making them easy to carry. They require more strokes to inflate a tire but are generally more affordable.
- Mini Floor Pumps: These have a fold-out footrest and a longer handle, allowing you to use your body weight for more efficient pumping. They’re slightly larger and heavier but offer a better pumping experience.
Pressure Gauge
Some mini pumps come with a built-in pressure gauge, which helps you inflate your tires to the correct PSI (pounds per square inch). While not essential, a gauge can prevent over- or under-inflation, both of which can lead to problems. Under inflation can increase the risk of pinch flats and decrease rolling efficiency, while over inflation can lead to a harsh ride and increased risk of tire explosion. If your pump doesn’t have a gauge, consider carrying a separate pressure gauge or using a gas station pump to fine-tune the pressure once you get home.
Size and Weight
Consider how you’ll be carrying the pump. Most mini pumps come with a bracket that attaches to your bike frame. If you prefer to carry it in your jersey pocket or saddlebag, choose a smaller, lighter model.
Material and Durability
Look for a pump made from durable materials like aluminum or high-quality plastic. A well-built pump will last longer and withstand the rigors of the road.
Here’s a quick comparison table of different mini pump types:
| Feature | Standard Mini Pump | Mini Floor Pump |
|---|---|---|
| Size | Compact and lightweight | Slightly larger and heavier |
| Efficiency | Less efficient, requires more strokes | More efficient, easier to pump |
| Pressure Gauge | Optional | Optional |
| Portability | Very portable | Less portable |
| Price | Generally more affordable | Generally more expensive |
Step-by-Step Guide to Using a Mini Pump
Now that you have the right mini pump, let’s get started! Follow these steps to inflate your road bike tires:
Step 1: Prepare the Bike and Pump
- Find a Safe Location: Move your bike to a safe, stable surface away from traffic.
- Remove the Valve Cap: Unscrew the valve cap from the tire valve and set it aside.
- Prepare the Valve (Presta): If you have Presta valves, briefly depress the valve core to loosen it. This helps prevent it from sticking when you remove the pump.
- Check the Pump Head: Make sure the pump head is clean and free of debris. If your pump has a switch for Presta and Schrader valves, ensure it’s set to the correct position.
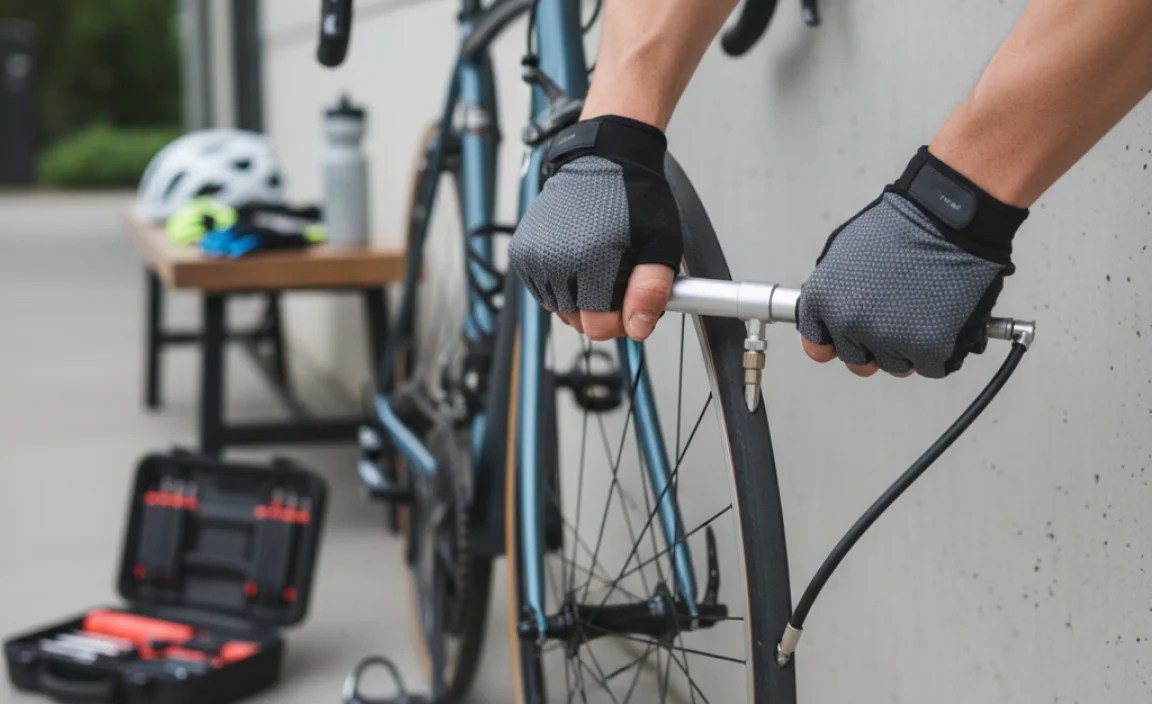
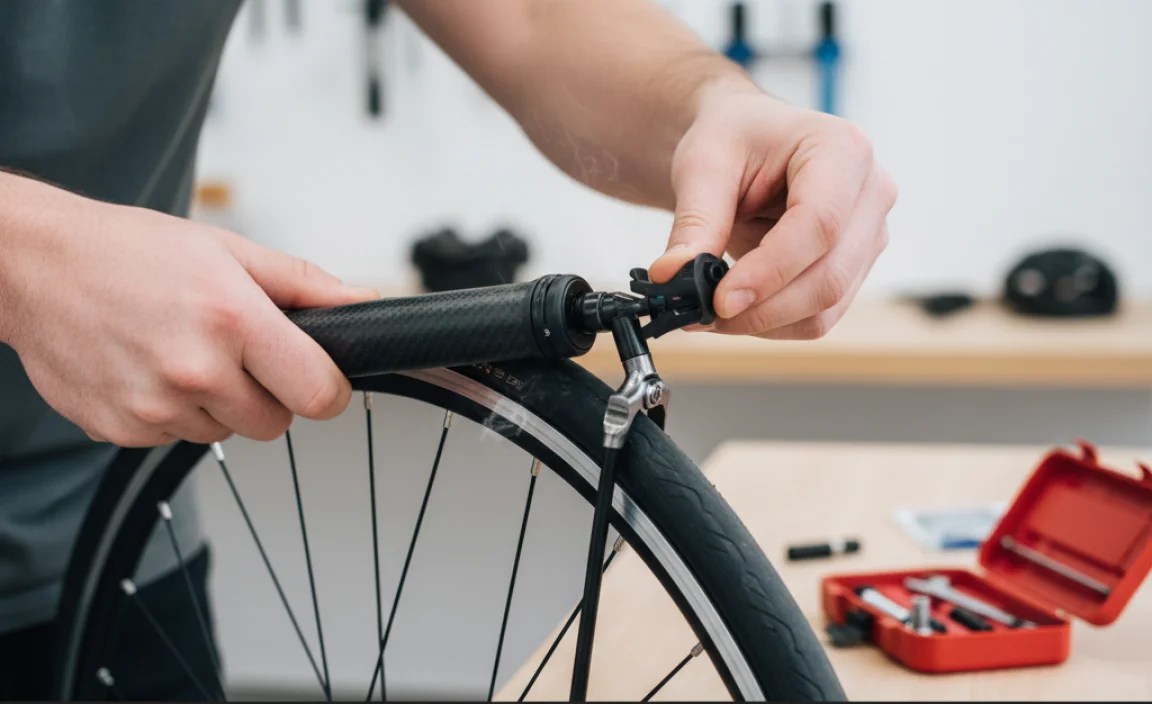
Step 2: Attach the Pump Head
- Position the Pump Head: Align the pump head with the valve.
- Press and Secure: Firmly press the pump head onto the valve, ensuring a tight seal. Some pumps have a lever or locking mechanism to secure the connection. Engage the lever to lock the pump head in place.
- Check the Connection: Gently tug on the pump head to make sure it’s securely attached. A loose connection will result in air leaking out.
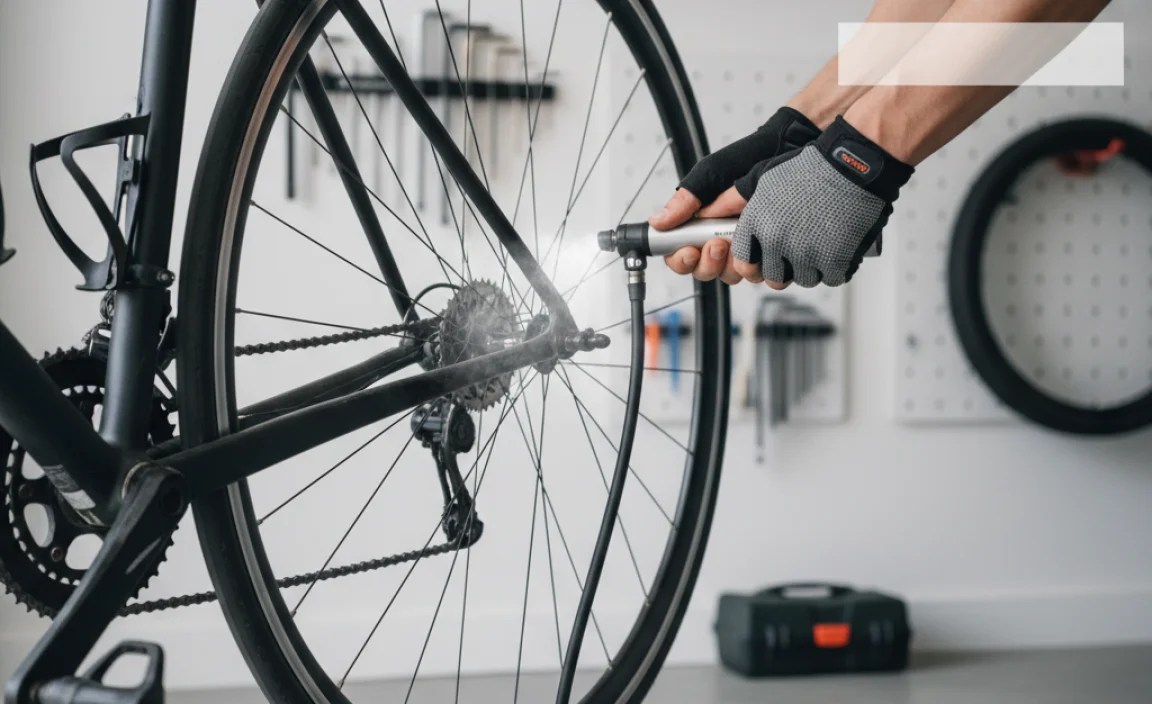
Step 3: Start Pumping
- Stabilize the Wheel: Hold the wheel firmly with one hand to prevent it from moving.
- Position Yourself: Place your body weight over the pump to maximize leverage. If using a mini floor pump, unfold the footrest and place your foot on it for stability.
- Pump with Smooth Strokes: Begin pumping using smooth, full strokes. Push the pump handle down and pull it back up, maintaining a consistent rhythm.
- Listen for Air Leaks: Pay attention to any hissing sounds, which indicate an air leak. If you hear a leak, stop pumping and recheck the connection between the pump head and the valve.
Step 4: Check Tire Pressure
- Feel the Tire: Periodically squeeze the tire to check its firmness. It should feel firm but not rock hard.
- Use a Pressure Gauge: If your pump has a built-in gauge, monitor the pressure as you pump. If not, use a separate pressure gauge to check the PSI.
- Aim for the Recommended PSI: Look for the recommended PSI range printed on the tire sidewall. Inflate the tire to the appropriate pressure for your weight and riding conditions. Road bike tires typically require a higher PSI than mountain bike tires.
Step 5: Detach the Pump Head
- Disengage the Lever: If your pump has a locking lever, disengage it.
- Remove the Pump Head: Gently pull the pump head straight off the valve. Be careful not to bend or damage the valve.
- Replace the Valve Cap: Screw the valve cap back onto the valve to protect it from dirt and debris.
Tips for Efficient Pumping
Using a mini pump can be challenging, especially when trying to reach high pressures. Here are some tips to make the process easier:
- Use Your Body Weight: Lean over the pump and use your body weight to generate more force.
- Maintain a Good Grip: Hold the pump handle firmly to prevent it from slipping.
- Pump with Your Whole Body: Engage your core and leg muscles to generate more power.
- Take Breaks: If you’re struggling to pump, take a break to rest your arms and hands.
- Lubricate the Pump: Periodically lubricate the pump’s internal parts with a silicone-based lubricant to keep it working smoothly.
- Practice Makes Perfect: Practice using your mini pump at home before you need it on the road. This will help you develop the technique and build confidence.
Troubleshooting Common Issues
Sometimes, things don’t go as planned. Here are some common issues you might encounter when using a mini pump and how to fix them:
Air Leaking from the Pump Head
- Problem: Air is leaking from the connection between the pump head and the valve.
- Solution:
- Make sure the pump head is securely attached to the valve.
- Check that the locking lever (if present) is engaged.
- Clean the pump head and valve to remove any dirt or debris.
- Replace the pump head if it’s worn or damaged.
Pump Not Building Pressure
- Problem: The pump is moving, but the tire isn’t inflating.
- Solution:
- Make sure the pump is set to the correct valve type (Presta or Schrader).
- Check that the valve core is open (Presta valves).
- Inspect the pump for any internal damage or leaks.
- Replace the pump if necessary.
Difficulty Pumping
- Problem: It’s hard to push the pump handle down.
- Solution:
- Use your body weight to generate more force.
- Take breaks to rest your arms and hands.
- Lubricate the pump’s internal parts.
- Consider using a mini floor pump for easier pumping.
Damaged Valve
- Problem: The tire valve is bent or broken.
- Solution:
- Replace the inner tube with a new one.
- Be careful when attaching and detaching the pump head to avoid damaging the valve.
Maintaining Your Mini Pump
To keep your mini pump in good working condition, follow these maintenance tips:
- Clean the Pump: Regularly clean the pump’s exterior with a damp cloth to remove dirt and grime.
- Lubricate the Pump: Periodically lubricate the pump’s internal parts with a silicone-based lubricant.
- Inspect the Pump Head: Check the pump head for any signs of wear or damage. Replace it if necessary.
- Store the Pump Properly: Store the pump in a dry, clean place to prevent corrosion and damage.
FAQ About Using Mini Pumps
Here are some frequently asked questions about using mini pumps for road bike tires:
Q: Can I use a mini pump to inflate my tires to the recommended PSI?
A: Yes, you can, but it may take some time and effort. Mini pumps are designed for emergency use and may not be as efficient as floor pumps. Check your tire pressure with a separate gauge to ensure accuracy.
Q: How do I know if my pump is compatible with my valve type?
A: Check the pump head for a switch or adapter that allows you to switch between Presta and Schrader valves. If you’re unsure, consult the pump’s manual or contact the manufacturer.
Q: What’s the difference between a Presta and Schrader valve?
A: Presta valves are narrow and have a small locking nut at the tip, while Schrader valves are wider and similar to those found on car tires. Road bikes typically use Presta valves.
Q: How often should I lubricate my mini pump?
A: Lubricate your mini pump every few months, or more often if you use it frequently. Use a silicone-based lubricant to keep the internal parts working smoothly.
Q: What should I do if I can’t get the pump head to seal properly?
A: Make sure the pump head is clean and free of debris. Check that the locking lever (if present) is engaged. If the problem persists, try using a different pump head or replacing the entire pump.
Q: Is it possible to over-inflate my tires with a mini pump?
A: Yes, it is. Over-inflation can lead to a harsh ride and increase the risk of tire explosion. Always check the tire pressure with a gauge and avoid exceeding the recommended PSI.
Q: Can I use a CO2 inflator instead of a mini pump?
A: Yes, CO2 inflators are a quick and convenient alternative to mini pumps. However, they require you to carry CO2 cartridges, and you only get one chance to inflate your tire. Mini pumps are reusable and don’t require any additional supplies.
Recommended Mini Pumps
Here are some highly-rated mini pumps for road bikes:
- Lezyne Road Drive: A compact and efficient pump with a durable aluminum construction.
- Topeak RaceRocket HP: A lightweight and high-pressure pump with a built-in pressure gauge.
- Crankbrothers Sterling LG: A versatile pump that can be used for both road and mountain bikes.
- Blackburn Core Mini-Pump: An affordable and reliable pump with a comfortable handle.
- Pro Bike Tool Mini Bike Pump: Compact, lightweight, and reliably inflates tires to high pressure.
Conclusion
Using a mini pump effectively is a crucial skill for any cyclist. While it may require some practice and effort, mastering the technique will give you the confidence to handle flat tires on the road. Remember to choose the right pump for your needs, follow the step-by-step instructions, and maintain your pump properly. With a little patience and perseverance, you’ll be back on your bike in no time, enjoying the ride!
Safe travels and happy cycling!


