
Easy: How to Change Hose on Hand Pump Now!
Quick Summary: Changing the hose on a hand pump is easy! First, gather a new hose, a wrench, and a screwdriver. Then, disconnect the old hose by unscrewing or unclamping it. Attach the new hose, ensuring it’s securely tightened. Test the pump to make sure it’s working properly. This simple fix keeps your tires inflated and you on the road!
Is your trusty hand pump not so trusty anymore? Does it leak air or struggle to inflate your tires? A damaged hose is often the culprit. Don’t toss that pump! Replacing the hose is a simple, cost-effective way to breathe new life into your bike pump. It’s much cheaper than buying a new one. Plus, you’ll gain some valuable bike maintenance skills.
This guide will walk you through each step. We’ll cover the tools you’ll need, how to safely remove the old hose, and how to properly install the new one. By the end, you’ll be pumping like a pro!
Tools You’ll Need
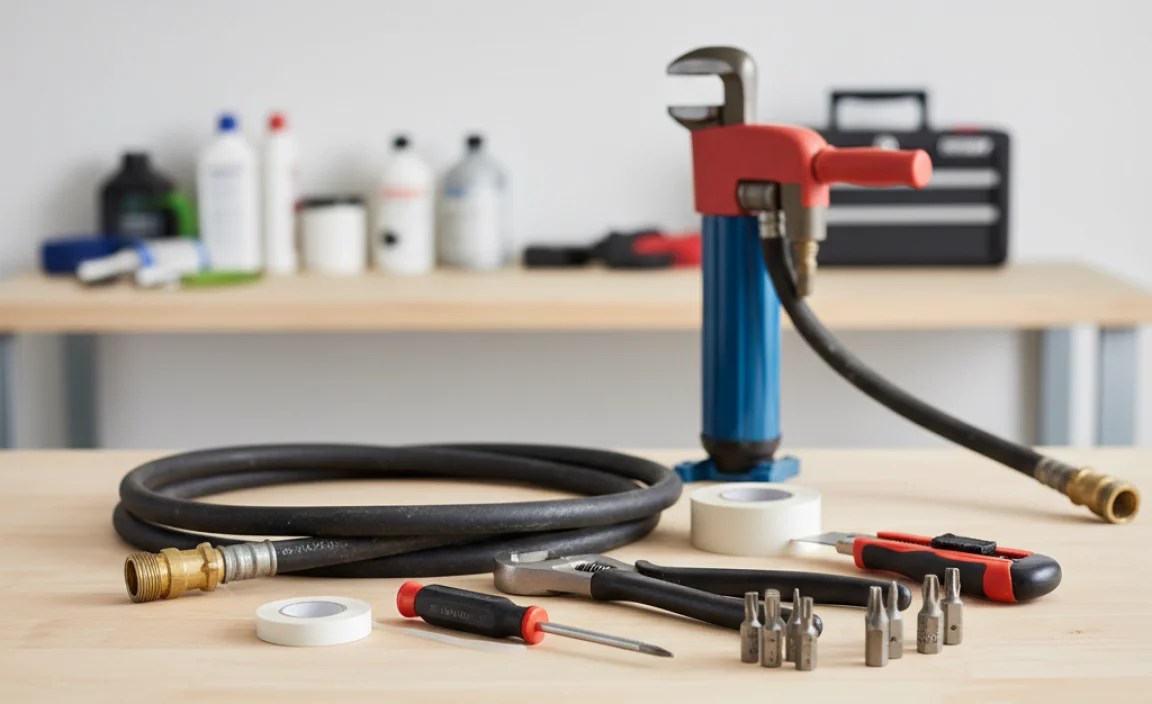
Before you start, gather these simple tools:
- New Hose: Make sure it’s compatible with your pump. Check the pump’s model number to find the right replacement.
- Wrench: Adjustable or the correct size for your hose fittings.
- Screwdriver: Usually a Phillips head, but check your pump.
- Pliers (Optional): For stubborn clamps.
- Utility Knife or Scissors: To trim the new hose if needed.
- Soapy Water: To check for leaks after installation.
Step-by-Step Guide to Changing Your Hand Pump Hose

Step 1: Preparing Your Workspace
Find a clean, well-lit area to work on your pump. This will help you see what you’re doing and prevent losing small parts. A workbench or a table covered with a cloth works great.
Step 2: Releasing Air Pressure
Before you start taking things apart, make sure all the air is out of the pump. Depress the pump head valve or use the release button if your pump has one. This prevents any sudden bursts of air while you’re working.
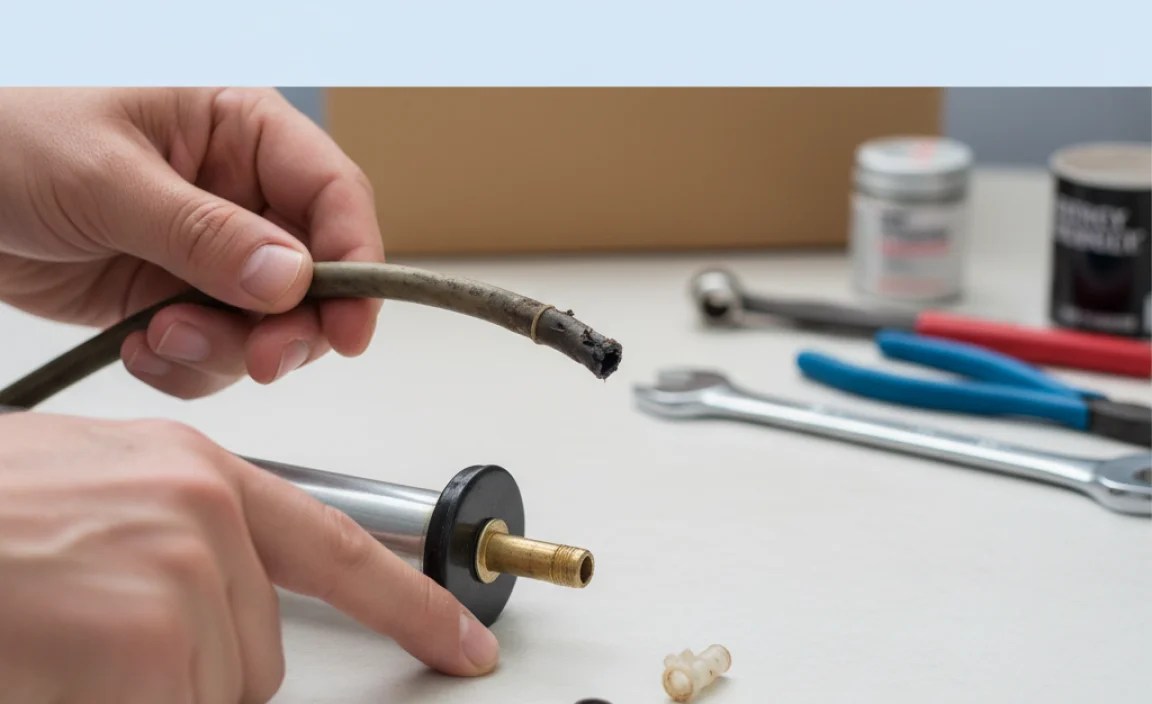
Step 3: Disconnecting the Old Hose
This is where you’ll need your wrench and screwdriver. The way the hose is attached varies depending on the pump, but here are the most common methods:
- Threaded Connection: Use a wrench to carefully unscrew the hose fitting from the pump body and the pump head. Be careful not to strip the threads.
- Clamped Connection: Use a screwdriver or pliers to loosen the clamp securing the hose to the pump. Then, gently pull the hose off.
- Press-Fit Connection: These can be tricky. Sometimes you can wiggle and pull the hose off. If it’s stuck, try gently warming the hose with a hairdryer to soften it before pulling.
Take a close look at how the old hose is connected before you remove it. This will help you install the new one correctly.
Step 4: Inspecting the Fittings
Once the old hose is off, check the fittings on the pump body and pump head. Look for any signs of damage, like cracks or corrosion. Clean the threads or the area where the hose connects to remove any dirt or debris. A clean connection ensures a good seal.
Step 5: Preparing the New Hose
Take your new hose and compare it to the old one. Make sure it’s the same length and has the same type of fittings. If the new hose is too long, you can trim it with a utility knife or scissors. Cut it cleanly to avoid any kinks or sharp edges.
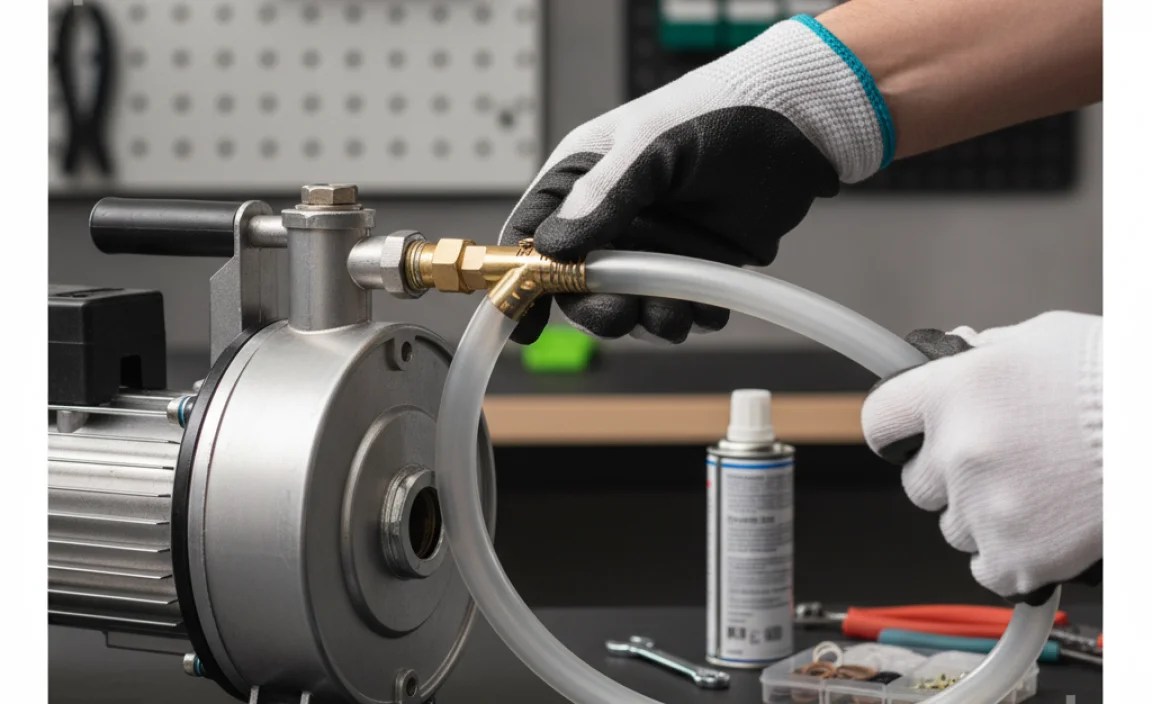
Step 6: Attaching the New Hose
Now it’s time to connect the new hose. Follow these steps based on the type of connection:
- Threaded Connection: Apply a small amount of Teflon tape to the threads of the fitting. This helps create a tight seal. Screw the hose fitting onto the pump body and pump head. Tighten it with a wrench, but don’t overtighten. You want it snug, not stripped.
- Clamped Connection: Slide the clamp onto the new hose. Push the hose onto the fitting on the pump body and pump head. Position the clamp over the connection and tighten it with a screwdriver or pliers. Make sure the clamp is secure.
- Press-Fit Connection: Push the hose firmly onto the fitting. You might need to use a bit of force. Make sure the hose is fully seated on the fitting.
Step 7: Testing for Leaks
After you’ve installed the new hose, it’s time to test for leaks. Fill a spray bottle with soapy water. Inflate the pump and spray the soapy water around the hose connections. If you see bubbles forming, that means there’s a leak. Tighten the fittings or clamps until the leak stops.
Step 8: Final Check and Maintenance
Once you’ve confirmed there are no leaks, give the pump a final check. Make sure the hose is securely attached and that all the parts are in good working order. Lubricate any moving parts with a light oil or grease to keep the pump working smoothly.
Troubleshooting Common Issues
Sometimes, things don’t go as planned. Here are some common issues you might encounter and how to fix them:
- Hose is too short: Double-check the hose length before cutting. If it’s too short, you’ll need to get a longer hose.
- Fittings don’t match: Make sure you have the correct fittings for your pump. You might need to buy adapters if the fittings are different.
- Leak persists after tightening: Check the threads or the hose for damage. You might need to replace the fitting or the hose.
- Pump still doesn’t inflate properly: The problem might not be the hose. Check the pump’s internal seals and valves for wear and tear.
Choosing the Right Replacement Hose

Not all hoses are created equal. Here’s what to look for when choosing a replacement hose:
- Compatibility: Make sure the hose is compatible with your pump model. Check the manufacturer’s website or the pump’s manual.
- Material: Look for hoses made from durable materials like rubber or reinforced plastic. These will last longer and resist cracking.
- Length: Choose a hose that’s the same length as the original. Too short, and it won’t reach. Too long, and it will get in the way.
- Fittings: Make sure the hose has the correct fittings for your pump. Threaded, clamped, or press-fit – get the right type.
Maintaining Your Hand Pump for Longevity
A little maintenance goes a long way. Here are some tips to keep your hand pump in top condition:
- Regular Cleaning: Wipe down the pump with a damp cloth after each use. This removes dirt and grime that can damage the seals and valves.
- Lubrication: Lubricate the moving parts of the pump with a light oil or grease every few months. This keeps everything working smoothly.
- Storage: Store the pump in a cool, dry place. Avoid direct sunlight and extreme temperatures, which can damage the hose and other parts.
- Check for Wear and Tear: Regularly inspect the hose, seals, and valves for signs of wear and tear. Replace worn parts promptly to prevent further damage.
Hand Pump Hose Material Comparison
| Material | Pros | Cons | Best Use |
|---|---|---|---|
| Rubber | Flexible, durable, good seal | Can crack over time, affected by UV | General use, older pumps |
| Reinforced Plastic | Resistant to cracking, lightweight | Less flexible than rubber | Modern pumps, high pressure |
| Braided Steel | Extremely durable, high pressure | Expensive, can be stiff | High-end pumps, professional use |
Cost Comparison: Repair vs. Replace
| Option | Cost | Pros | Cons |
|---|---|---|---|
| Replace Hose | $5 – $20 | Inexpensive, extends pump life, DIY | Requires some skill, not always the issue |
| Buy New Pump | $20 – $100+ | New, reliable, latest features | More expensive, wasteful if repairable |
FAQ: Hand Pump Hose Replacement
Here are some frequently asked questions about changing the hose on a hand pump:
Can I use any hose as a replacement?
No, it’s important to use a hose that’s specifically designed for hand pumps. These hoses are made from materials that can withstand high pressure and are compatible with the pump’s fittings.
How do I know what size hose to buy?
Check the pump’s manual or the manufacturer’s website for the correct hose size. You can also measure the old hose to determine the length and diameter.
What if I can’t remove the old hose?
If the old hose is stuck, try gently warming it with a hairdryer to soften it. You can also use pliers to carefully loosen the clamp or fitting. Be careful not to damage the pump.
Do I need any special tools to change the hose?
You’ll typically need a wrench, a screwdriver, and possibly pliers. A utility knife or scissors can be helpful for trimming the new hose.
How often should I replace the hose on my hand pump?
It depends on how often you use the pump and the condition of the hose. Inspect the hose regularly for cracks, leaks, or other signs of wear and tear. Replace it as needed.
What if my pump still doesn’t work after replacing the hose?
The problem might be with another part of the pump, such as the seals or valves. Consider disassembling the pump and inspecting these parts for damage. You may need to replace them.
Where can I buy a replacement hose for my hand pump?
You can find replacement hoses at most bike shops, online retailers, and hardware stores. Be sure to check the compatibility of the hose with your pump before purchasing.
Conclusion
Changing the hose on your hand pump is a simple and rewarding task. It’s a great way to save money, extend the life of your pump, and gain some valuable bike maintenance skills. With the right tools and a little patience, you can easily replace the hose and get back to pumping up your tires with ease. Remember to choose the right replacement hose, follow the steps carefully, and test for leaks after installation. Happy cycling!


