
How to Fix Hand Pump Leaking From Top: Easy Fix!
Quick Summary: A hand pump leaking from the top usually means a worn-out or improperly seated seal. To fix it, start by disassembling the pump head. Inspect the O-rings and gaskets for damage, and replace them if needed. Clean all parts thoroughly, apply fresh grease, and reassemble carefully, ensuring a tight seal. With a little effort, you can get your pump working like new again!
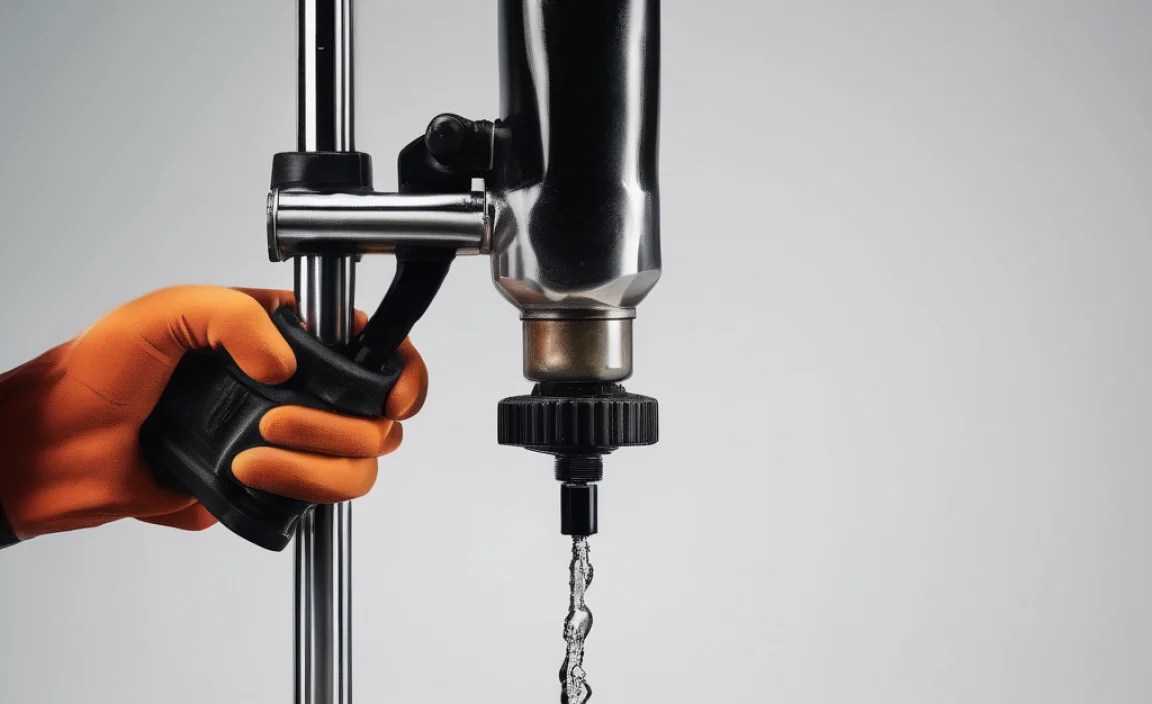
Is your trusty hand pump spitting air back at you instead of filling your tires? A leak from the top of the pump is a common problem that can be frustrating, especially when you’re trying to get ready for a ride. Don’t worry, though – it’s usually a simple fix! This guide will walk you through the steps to diagnose and repair that leak, saving you money and keeping you rolling. We’ll cover everything from identifying the problem to replacing worn parts, so you can get back to pumping with confidence.
Why is Your Hand Pump Leaking?
Before diving into the repair, let’s understand why your hand pump might be leaking from the top. The most common causes include:
- Worn-out O-rings or Seals: These rubber components provide the airtight seal necessary for efficient pumping. Over time, they can dry out, crack, or become deformed.
- Dirty or Corroded Parts: Dirt and grime can accumulate inside the pump head, preventing a proper seal and causing leaks.
- Improper Assembly: If the pump was recently disassembled, it might not have been put back together correctly, leading to leaks.
- Damage to the Pump Head: Cracks or other damage to the pump head itself can also cause air to escape.
Tools You’ll Need
Gather these tools before you start. Having everything on hand will make the process smoother.
- Replacement O-rings and Seals: It’s best to have a variety pack or the specific parts for your pump model.
- Small Screwdrivers: Both flathead and Phillips head screwdrivers may be needed.
- Pliers: For gripping and removing stubborn parts.
- Grease: A good quality grease designed for bicycle components.
- Clean Rags: For wiping away dirt and grease.
- Pick or Small Hook Tool: Useful for removing O-rings.
- Work Gloves: To protect your hands.
Step-by-Step Guide to Fixing a Leaky Hand Pump

Follow these steps to diagnose and repair your leaky hand pump.
Step 1: Disassemble the Pump Head
The first step is to take apart the pump head to access the internal components. This usually involves unscrewing or unclipping the top part of the pump head.
- Release the Pressure: Make sure there’s no air pressure in the pump before you start.
- Identify Fasteners: Look for screws, clips, or other fasteners holding the pump head together.
- Remove Fasteners: Use the appropriate screwdriver or pliers to remove the fasteners. Keep track of where each one goes.
- Separate the Housing: Carefully separate the two halves of the pump head. Be gentle, as some parts may be spring-loaded.
Step 2: Inspect the O-rings and Seals
Once the pump head is open, carefully inspect the O-rings and seals for any signs of wear or damage.
- Locate the O-rings: These are usually small, black rubber rings that fit around pistons or other moving parts.
- Check for Cracks or Tears: Look closely for any cracks, tears, or deformities in the O-rings.
- Feel for Hardness: The O-rings should be pliable and slightly sticky. If they feel hard or brittle, they need to be replaced.
- Inspect the Seals: Check for any damage or wear on the seals, which are usually larger and flatter than O-rings.
Step 3: Clean All the Parts
Dirt and grime can prevent a proper seal, so it’s important to clean all the parts thoroughly.
- Wipe Down Components: Use a clean rag to wipe down all the components of the pump head, removing any dirt or grease.
- Use a Degreaser: For stubborn dirt, use a mild degreaser or soapy water.
- Clean the Cylinder Walls: Pay special attention to the inside of the cylinder, where the piston moves.
- Dry Thoroughly: Make sure all parts are completely dry before reassembling.
Step 4: Replace Damaged O-rings and Seals
If you found any damaged O-rings or seals, now is the time to replace them.
- Remove the Old O-ring: Use a pick or small hook tool to carefully remove the old O-ring. Be careful not to scratch the surrounding surfaces.
- Install the New O-ring: Stretch the new O-ring over the piston or cylinder, making sure it sits properly in its groove.
- Replace Seals: If you’re replacing a seal, make sure it’s oriented correctly. Some seals have a specific direction they need to face.
Step 5: Grease the Components
Applying a thin layer of grease to the moving parts will help them slide smoothly and create a better seal.
- Apply Grease to O-rings: Use your finger to apply a thin layer of grease to the O-rings.
- Grease the Piston: Apply grease to the piston and the inside of the cylinder.
- Use the Right Grease: Use a grease that is compatible with rubber and plastic components. Silicone grease is a good option.
Step 6: Reassemble the Pump Head
Now it’s time to put the pump head back together.
- Align the Parts: Carefully align the two halves of the pump head.
- Reinstall Fasteners: Reinstall the screws, clips, or other fasteners that you removed earlier.
- Tighten Securely: Tighten the fasteners securely, but be careful not to overtighten them.
- Test the Pump: After reassembling, test the pump to make sure it’s working properly.
Step 7: Troubleshooting After Reassembly
Even after careful reassembly, you might still encounter some issues. Here’s how to troubleshoot common problems:
- Leak Persists: If the pump is still leaking, double-check the O-rings and seals to make sure they are properly seated and not damaged.
- Pump is Hard to Push: If the pump is hard to push, make sure you didn’t use too much grease. Also, check for any obstructions in the cylinder.
- No Airflow: If there’s no airflow, make sure the check valve is working properly. This is a small valve that allows air to flow in one direction only.
Advanced Tips for Pump Maintenance
Here are some additional tips to keep your hand pump in top condition:
- Regular Cleaning: Clean your pump regularly to prevent dirt and grime from building up.
- Proper Storage: Store your pump in a dry place to prevent corrosion.
- Use the Right Pressure: Don’t exceed the maximum pressure rating of your pump.
- Inspect Regularly: Check the O-rings and seals regularly for signs of wear.
Choosing the Right Replacement Parts

Selecting the correct replacement parts is crucial for a successful repair. Here’s what to keep in mind:
- Pump Model Compatibility: Always check that the replacement parts are compatible with your specific pump model.
- Material Quality: Opt for high-quality O-rings and seals made from durable materials like Viton or silicone.
- Size and Dimensions: Ensure the replacement parts match the exact size and dimensions of the original components.
- Manufacturer Recommendations: Refer to the pump manufacturer’s website or documentation for recommended replacement parts.
Table: Common Hand Pump Problems and Solutions
| Problem | Possible Cause | Solution |
|---|---|---|
| Leaking from the top | Worn O-rings or seals | Replace O-rings and seals |
| Pump is hard to push | Too much grease or obstruction | Clean and re-grease sparingly |
| No airflow | Faulty check valve | Replace check valve |
| Loose connection to valve | Worn valve adapter | Replace valve adapter |
| Handle slipping | Worn handle grip | Replace handle grip |
Table: Types of Grease for Hand Pumps
| Type of Grease | Pros | Cons | Best Use |
|---|---|---|---|
| Silicone Grease | Safe for rubber and plastic, excellent water resistance | Can be more expensive | O-rings, seals, and plastic components |
| Lithium Grease | Good all-purpose grease, widely available | Can degrade rubber over time | Metal parts, threads |
| Teflon Grease | Low friction, good for high-pressure applications | Can be messy | Piston and cylinder |
| Mineral Oil-Based Grease | Inexpensive, good for general lubrication | Not ideal for rubber or plastic | Simple metal components |
FAQ: Fixing a Leaky Hand Pump
Here are some frequently asked questions about fixing a leaky hand pump:
- Q: How often should I service my hand pump?
- A: It depends on how often you use it. If you use it daily, service it every few months. If you use it less frequently, once a year should be sufficient.
- Q: Can I use any type of grease on my hand pump?
- A: No, you should use a grease that is compatible with rubber and plastic components. Silicone grease is a good option.
- Q: Where can I buy replacement O-rings and seals?
- A: You can buy them at most bike shops or online retailers. Make sure to get the correct size and type for your pump model.
- Q: What if I can’t find replacement parts for my pump?
- A: Contact the pump manufacturer or a local bike shop. They may be able to help you find the parts you need.
- Q: Is it worth fixing a leaky hand pump, or should I just buy a new one?
- A: It’s usually worth fixing it, as it’s often a simple and inexpensive repair. Plus, it’s more environmentally friendly than buying a new pump.
- Q: What causes O-rings to fail in hand pumps?
- A: O-rings fail due to age, wear, exposure to air and moisture, and using incompatible lubricants. Regular maintenance can extend their lifespan.
- Q: How can I prevent my hand pump from leaking in the future?
- A: Regular cleaning, proper lubrication, and storing the pump in a dry place can help prevent leaks. Also, avoid exceeding the pump’s maximum pressure rating.
External Resources
For more detailed information and troubleshooting tips, consider these resources:
- Park Tool Repair Help – Offers comprehensive guides on bicycle maintenance and repair.
- Sheldon Brown’s Website – A vast resource for bicycle information, including maintenance tips.
- Bike Forums – A community forum where you can ask questions and get advice from other cyclists.
Conclusion
Fixing a hand pump that’s leaking from the top is a manageable task for any cyclist. By following these steps, you can diagnose the problem, replace worn parts, and get your pump working like new again. Regular maintenance and proper care will keep your pump in good condition for years to come, ensuring you’re always ready to inflate your tires and hit the road or trail. So, grab your tools, get your hands a little greasy, and enjoy the satisfaction of fixing it yourself!


