
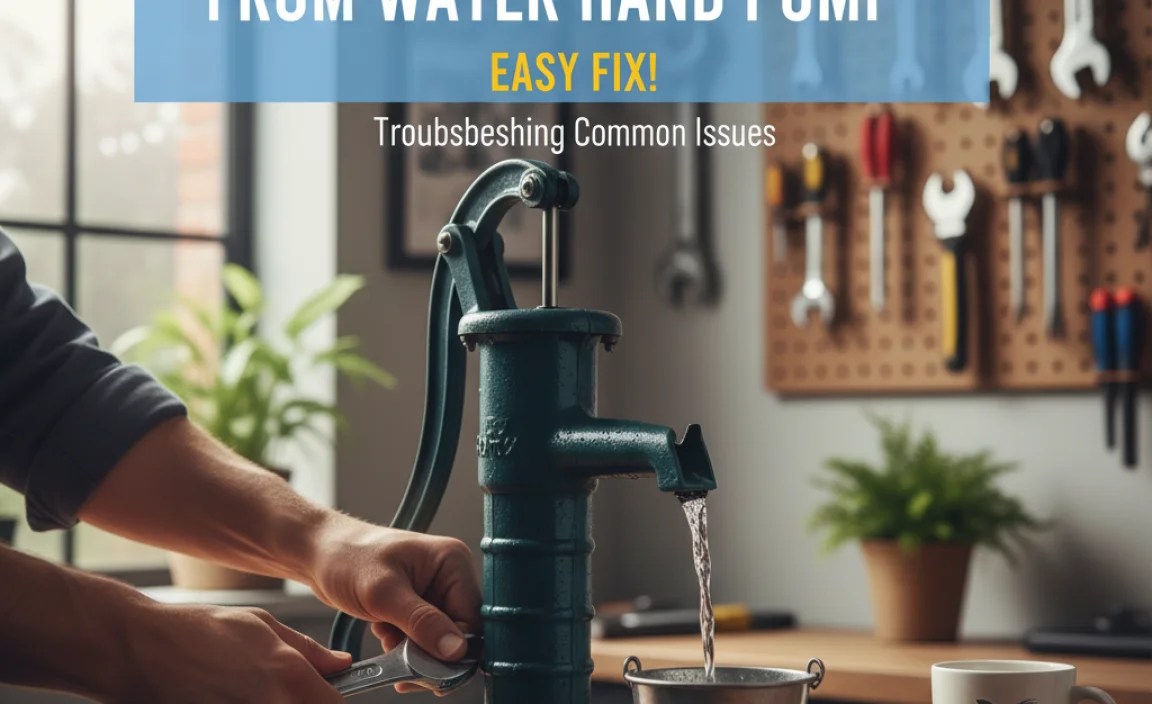
How to Remove Airlock From Water Hand Pump: Easy Fix!
Quick Summary:
Got an airlock in your water hand pump? No worries! Often, you can fix it by priming the pump: Pour water into the pump until it’s full, then operate the handle to push the air out. If that doesn’t work, check for leaks in the pipes or pump body, tighten any loose connections, and try priming again. A bit of patience and these simple steps should get your pump working smoothly!
Water hand pumps are super useful for getting water where you need it, especially when you don’t have electricity. But sometimes, they stop working because of something called an airlock. This happens when air gets trapped inside the pump and stops the water from flowing. It can be frustrating, but don’t worry! Removing an airlock is usually a simple fix.
In this guide, I’ll walk you through the steps to get your water hand pump working again. We’ll cover how to identify an airlock, easy ways to prime your pump, and what to check if the problem keeps happening. Let’s get started and get that water flowing!
Understanding Airlocks in Water Hand Pumps

An airlock happens when air gets trapped inside your water pump’s pipes or the pump itself. Water pumps are designed to move water, not air. The trapped air can block the flow of water, making the pump useless until you remove it.
Why Airlocks Occur
- Dry Starts: Running the pump without water can introduce air into the system.
- Leaks: Small leaks in pipes or connections can suck in air.
- Low Water Levels: If the water source is too low, the pump might draw in air along with the water.
- Maintenance: After repairs or maintenance, air can get trapped when the system is reassembled.
Identifying an Airlock
Here are some signs that you might have an airlock:
- No Water Flow: The most obvious sign is that no water is coming out of the pump, even when you operate the handle.
- Weak or Spitting Flow: You might get some water, but it comes out in spurts or mixed with air bubbles.
- Unusual Noises: Gurgling or sputtering sounds can indicate air trapped inside the pump.
- Pump Runs But No Water: The pump motor might be running (if it’s an electric pump), but no water is being moved.
Tools and Materials You’ll Need

Before you start, gather these simple tools and materials:
- Water: A bucket or hose to supply water for priming the pump.
- Wrench: To tighten any loose fittings or connections.
- Screwdriver: To open the pump casing if needed.
- Teflon Tape: To seal any leaky connections.
- Container: To catch any water that spills during the process.
- Gloves: To keep your hands clean and protected.
Step-by-Step Guide to Removing an Airlock

Here’s how to get rid of that pesky airlock and get your water flowing again:
Step 1: Check the Water Source
Make sure your water source (well, tank, etc.) has enough water. If the water level is too low, the pump might be sucking in air.
Step 2: Prime the Pump
Priming means filling the pump and pipes with water to force out the air. Here’s how:
- Locate the Priming Plug: Most hand pumps have a priming plug or a designated opening for adding water. It’s usually on top of the pump housing.
- Remove the Plug: Unscrew or open the priming plug.
- Add Water: Pour water into the opening until the pump is full. You might hear air escaping as the water fills the pump.
- Replace the Plug: Once the pump is full, replace the priming plug tightly.
Step 3: Operate the Pump
Now that the pump is primed, start working the handle to see if the water flows.
- Pump Slowly at First: Start with slow, steady strokes to allow the water to move through the system.
- Listen for Air: Listen for any gurgling or sputtering sounds, which indicate air is still being purged.
- Increase the Pumping Speed: Once the water starts flowing steadily, you can increase the pumping speed.
- Check the Water Flow: Make sure the water is flowing strongly and without air bubbles.
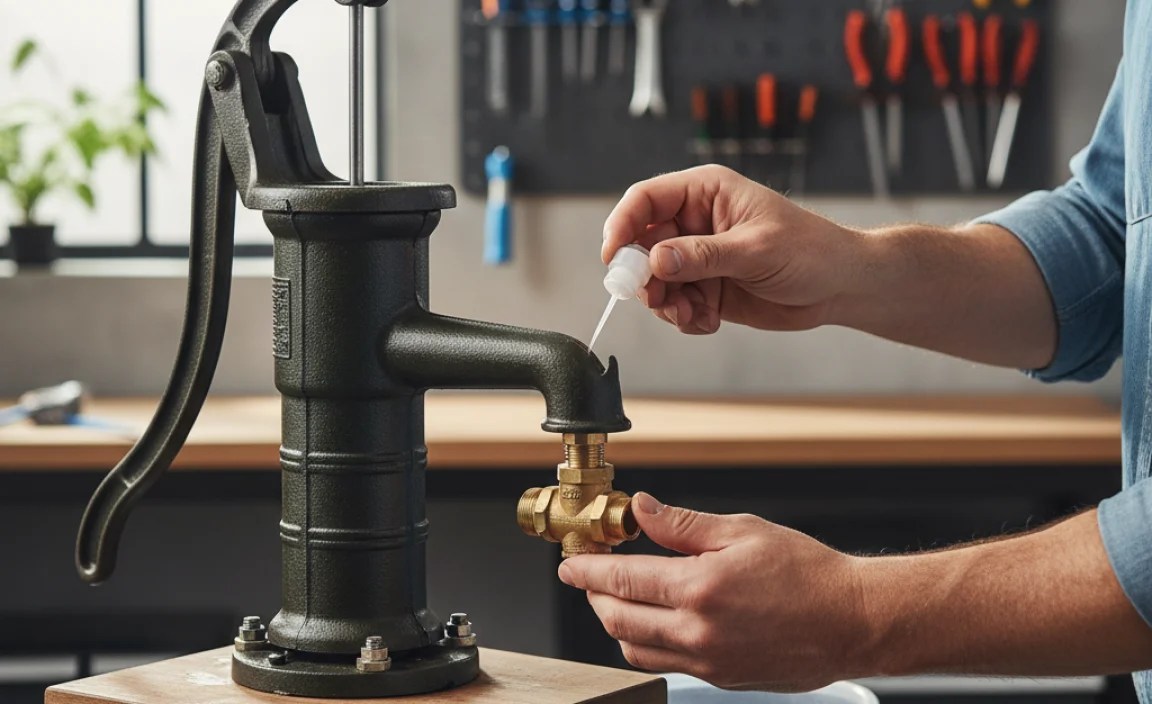
Step 4: Check for Leaks
If priming doesn’t work, check for leaks in the pipes and connections.
- Inspect the Pipes: Look for any signs of water leaking from the pipes, especially at joints and connections.
- Tighten Connections: Use a wrench to tighten any loose fittings. Be careful not to overtighten, which can damage the fittings.
- Replace Teflon Tape: If you find a leaky connection, remove the fitting, apply new Teflon tape to the threads, and reassemble it.
Step 5: Repeat the Priming Process
After checking for leaks, try priming the pump again. Sometimes it takes a few tries to remove all the air.
Step 6: Check the Foot Valve (If Applicable)
Some pumps have a foot valve at the end of the suction pipe, which prevents water from flowing back into the well or tank. If the foot valve is faulty, it can cause airlocks.
- Locate the Foot Valve: The foot valve is usually located at the bottom of the suction pipe, inside the water source.
- Inspect the Valve: If possible, remove the foot valve and check for debris or damage. Clean or replace the valve if necessary.
- Reinstall the Valve: Reinstall the foot valve securely.
Step 7: Bleeding the Air (for Jet Pumps)
If you have a jet pump (often used for wells), you might need to bleed the air from the system.
- Locate the Bleeder Valve: Find the bleeder valve on the pump housing. It’s usually a small valve or screw.
- Open the Valve: Open the bleeder valve slightly to allow air to escape.
- Wait for Water: Wait until water starts flowing out of the valve, then close it.
Step 8: Professional Help
If you’ve tried all these steps and your pump still isn’t working, it might be time to call a professional plumber or pump technician. They can diagnose and fix more complex issues.
Troubleshooting Common Issues
Here are some common problems you might encounter and how to solve them:
| Issue | Possible Cause | Solution |
|---|---|---|
| Pump won’t prime | Not enough water in the source, leaks in the suction pipe, faulty foot valve | Check water level, inspect and repair leaks, check/replace foot valve |
| Weak water flow | Partial airlock, clogged pipes, worn pump components | Repeat priming, clear any clogs, inspect and replace worn parts |
| Pump makes noise but no water | Airlock, broken impeller (for centrifugal pumps) | Prime the pump, inspect and replace the impeller |
| Pump runs intermittently | Air leaks, low voltage (for electric pumps) | Check and repair leaks, ensure proper voltage supply |
Preventing Future Airlocks
Here are some tips to prevent airlocks from happening again:
- Regularly Check for Leaks: Inspect your pipes and connections regularly and fix any leaks promptly.
- Maintain Water Levels: Ensure your water source always has enough water to prevent the pump from sucking in air.
- Prime the Pump After Maintenance: Always prime the pump after any repairs or maintenance.
- Use a Foot Valve: If your pump doesn’t have one, consider installing a foot valve to prevent water from flowing back into the source.
- Insulate Pipes: Insulate your pipes to prevent freezing, which can cause cracks and leaks.
Types of Hand Pumps and Their Specific Needs
Different types of hand pumps may have slightly different priming and maintenance needs. Here’s a quick overview:
Shallow Well Hand Pumps
These pumps are designed for wells that are less than 25 feet deep. They are generally easier to prime and maintain.
- Priming: Usually involves pouring water into the pump housing until it’s full.
- Maintenance: Regular checks for leaks and occasional lubrication of moving parts.
Deep Well Hand Pumps
These pumps are used for wells that are deeper than 25 feet. They often have more complex designs and may require more effort to prime.
- Priming: May require a longer priming pipe or a vacuum pump to remove air from the system.
- Maintenance: Regular checks of the foot valve and cylinder are important.
Diaphragm Pumps
Diaphragm pumps use a flexible diaphragm to move water. They are less prone to airlocks but can still experience them.
- Priming: Usually self-priming but may need initial priming if the diaphragm is dry.
- Maintenance: Regular inspection of the diaphragm for wear and tear.
Tips for Cold Weather
Cold weather can cause special problems for water hand pumps. Here’s how to prevent freezing and damage:
- Insulate Pipes: Wrap your pipes with insulation to prevent them from freezing. You can use foam pipe insulation or heat tape.
- Drain the Pump: If you’re not using the pump during the winter, drain it completely to prevent freezing.
- Protect the Pump Housing: Cover the pump housing with a tarp or blanket to provide extra insulation.
- Use a Heat Source: If possible, use a small heater to keep the pump and pipes warm. Be careful when using electricity near water.
Essential Maintenance Tasks
Regular maintenance will keep your hand pump working smoothly and prevent airlocks and other problems. Here are some key tasks:
- Inspect Regularly: Check the pump and pipes for leaks, cracks, and other damage.
- Lubricate Moving Parts: Apply lubricant to the pump’s moving parts to keep them working smoothly. Use a waterproof grease.
- Clean the Foot Valve: Regularly clean the foot valve to remove debris and prevent clogs.
- Check the Cylinder: Inspect the cylinder (the part of the pump that moves the water) for wear and tear. Replace it if necessary.
- Tighten Connections: Periodically tighten all the connections to prevent leaks.
Choosing the Right Hand Pump for Your Needs
Selecting the right hand pump depends on your specific needs and the conditions of your water source. Here are some factors to consider:
| Factor | Considerations |
|---|---|
| Well Depth | Shallow well pumps are suitable for wells up to 25 feet deep. Deep well pumps are needed for deeper wells. |
| Water Quality | If your water contains sediment or debris, choose a pump that can handle it. Some pumps have built-in filters. |
| Usage | If you’ll be using the pump frequently, choose a durable model that can withstand heavy use. |
| Maintenance | Consider the ease of maintenance. Some pumps are easier to repair and maintain than others. |
| Cost | Hand pumps range in price from a few hundred to several thousand dollars. Set a budget and choose a pump that fits your needs and budget. |
Advanced Troubleshooting
If you’re still having trouble, here are some more advanced troubleshooting tips:
- Check the Well Casing: Make sure the well casing is intact and not allowing air to enter the well.
- Inspect the Drop Pipe: The drop pipe is the pipe that runs from the pump to the water source. Check it for cracks or leaks.
- Test the Check Valve: The check valve prevents water from flowing back into the well. Test it to make sure it’s working properly.
- Consider a Variable Speed Pump: If you have an electric pump, consider installing a variable speed pump. These pumps adjust their speed based on demand, which can reduce the risk of airlocks.
Understanding Well Dynamics
Knowing how your well works can help you prevent airlocks and other problems. Wells draw water from underground aquifers. The water level in the well can fluctuate depending on rainfall, usage, and other factors. Keeping an eye on the water level can help you avoid running the pump dry and introducing air into the system.
FAQ: Removing Airlocks from Water Hand Pumps
What is an airlock and why does it happen?
An airlock is when air gets trapped in your water pump, blocking the flow of water. It usually happens when the pump runs dry or there are leaks in the system.
How do I know if my water pump has an airlock?
Signs include no water flow, weak or sputtering flow, unusual noises like gurgling, or the pump running without moving water.
Can I fix an airlock myself, or do I need a professional?
Most airlocks are easy to fix yourself by priming the pump and checking for leaks. If the problem persists, it’s best to call a professional.
What does “priming” a water pump mean?
Priming means filling the pump with water to force out any trapped air. This usually involves pouring water into a designated opening on the pump.
How often should I check my water pump for airlocks?
Check your pump regularly, especially after maintenance or if you notice any changes in water flow. Regular inspections can help prevent airlocks.
What tools do I need to remove an airlock?
You’ll need water, a wrench, a screwdriver, Teflon tape, a container to catch spills, and gloves to protect your hands.
Are some types of pumps more prone to airlocks?
Yes, pumps that are not self-priming or those with faulty foot valves are more likely to develop airlocks.
Conclusion
Removing an airlock from your water hand pump doesn’t have to be a headache. By understanding what causes airlocks and following these simple steps, you can quickly restore the water flow and keep your pump running smoothly. Remember to regularly check for leaks and maintain proper water levels to prevent future issues. With a little care and attention, your hand pump will continue to provide reliable water access for years to come. So, grab your tools, follow these tips, and get that water flowing again!


