
Easy Mount: Handlebar Mirror & Camera Combo?
Have you ever wished you could see behind you while riding your bike? Do you want to record your fun adventures? It can be tricky to figure out how to mount handlebar mirror & camera combination. This article will show you how to do it safely and easily. Let’s get started!
Key Takeaways
- Mounting a mirror and camera combo enhances biking safety and recording memories.
- Ensure the mount is stable to prevent shaking during your ride.
- Choose accessories that are compatible with your bike’s handlebar size.
- Properly positioning the camera and mirror is crucial for optimal viewing angles.
- Knowing how to mount handlebar mirror & camera combination improves your overall experience.
Choosing the Right Mirror Camera Combo
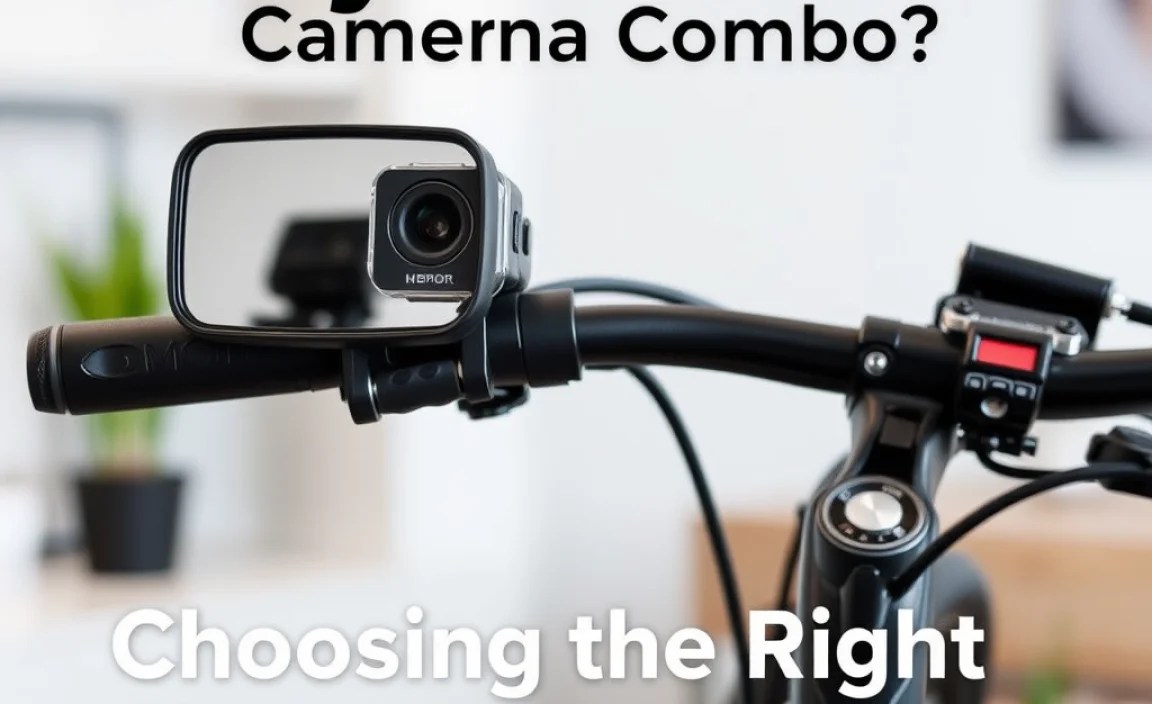
Picking the right mirror and camera combo is very important. You want something that fits your bike. Think about the size of your handlebars. Also, consider what you want to record. Do you want to see cars behind you? Do you want to record your rides? Some cameras have better video than others. Some mirrors are bigger and easier to see. Look for a combo that is easy to install. Read reviews to see what other people think. Make sure the combo is strong and will not break easily. A good combo makes riding safer and more fun. It also helps you capture great memories.
- Check handlebar size for proper fit.
- Consider camera video quality.
- Choose a mirror size that suits you.
- Read reviews before you buy.
- Make sure the combo is durable.
Think about where you will ride your bike. If you ride on bumpy roads, you need a strong mount. A shaky camera is no good. If you ride in the rain, make sure the camera is waterproof. Consider the battery life of the camera. You do not want it to die in the middle of your ride. Some cameras can record for hours. Some mirrors are adjustable. This helps you see better. Think about all these things when you pick your mirror and camera combo. It will make your rides safer and more fun. You will also get great videos to share with your friends.
What Type of Camera Do You Need?
Choosing a camera for your bike can be fun. Do you want a small camera? Or do you want a camera with lots of features? Small cameras are easy to carry. Cameras with more features can record better video. Think about what you want to record. Do you want to record fast rides? Do you want to record beautiful scenery? Some cameras are better for fast action. Other cameras are better for landscapes. Make sure the camera is easy to use. You do not want to spend all your time trying to figure out how to work it. Ask yourself, will this camera enhance how to mount handlebar mirror & camera combination to improve safety and recording capabilities?
Do You Need a Special Mirror?
Mirrors come in different sizes and shapes. Some mirrors are small and round. Others are big and flat. A bigger mirror lets you see more. A smaller mirror is lighter. Think about what you want to see. Do you want to see cars far behind you? Do you want to see just what is right behind you? Some mirrors are adjustable. You can move them to see better. Some mirrors are made of special glass. This glass helps you see more clearly. Pick a mirror that works best for you. It will help you stay safe on the road. Remember, a good mirror is a must for any bike rider.
What About Battery Life?
Battery life is very important for your camera. You do not want the battery to die while you are riding. Some cameras have long battery life. Others do not. Think about how long you will be riding. If you are going on a long ride, you need a camera with a long battery life. You can also buy extra batteries. This way, you can change the battery when it dies. Some cameras can plug into a power bank. This lets you charge the camera while you are riding. Always check the battery life before you go on a ride. A dead battery means no more videos.
Fun Fact or Stat: Did you know that using a mirror on your bike can reduce accidents by up to 20%?
Gathering the Necessary Tools and Materials
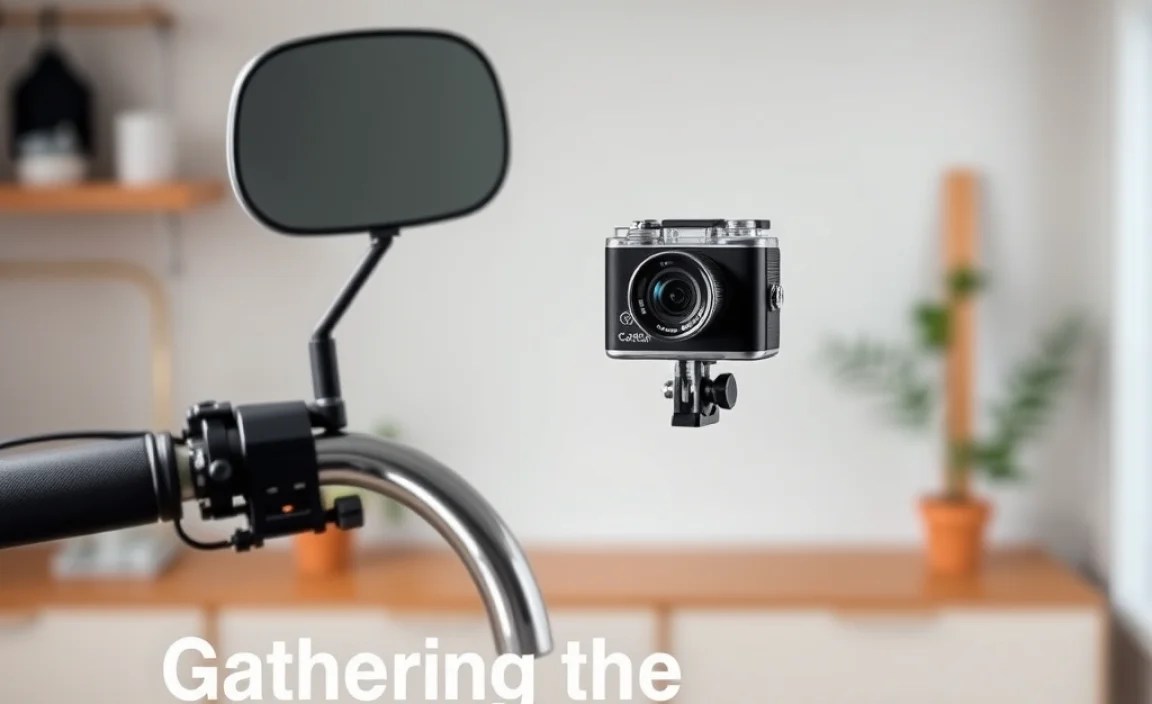
Before you start, gather everything you need. This makes the job easier and faster. You will need the mirror and camera combo. You will also need some tools. These might include a screwdriver and an Allen wrench. Check the instructions that came with your combo. They will tell you what tools you need. You might also need some tape. Tape can help hold things in place while you work. A clean cloth is also useful. You can use it to wipe off your handlebars. Make sure you have a clear workspace. This will help you stay organized. Having everything ready makes how to mount handlebar mirror & camera combination a breeze.
- Mirror and camera combo.
- Screwdriver and Allen wrench.
- Tape to hold things in place.
- Clean cloth for wiping.
- Clear workspace to stay organized.
It is a good idea to read the instructions first. This will help you understand what to do. The instructions will also tell you about any special steps. Some combos have tricky parts. If you are not sure about something, ask for help. A friend or family member might be able to help you. You can also watch videos online. These videos can show you how to install the combo. Taking your time and being careful is very important. You do not want to break anything. A little planning can save you a lot of trouble. Now you’re ready to make sure your equipment is ready.
What Kind of Screwdriver Do I Need?
Screwdrivers come in different shapes and sizes. Some have flat heads. Others have Phillips heads. The instructions for your combo will tell you what kind of screwdriver you need. Make sure you use the right size. If you use the wrong size, you could strip the screw. Stripping the screw makes it hard to tighten. It can also damage the screw head. A good screwdriver will make the job easier. It will also help you avoid mistakes. Always check the screw type before you start.
Do I Need Special Tape?
Tape can be very helpful when installing your combo. It can hold things in place while you tighten screws. You can use electrical tape or masking tape. Electrical tape is good for holding wires. Masking tape is good for holding the mirror or camera. Do not use too much tape. Too much tape can make it hard to tighten the screws. A little tape can go a long way. Just make sure the tape does not get in the way of the screws or the mount. Remember, tape is just there to help you get started.
How Do I Prepare My Handlebars?
Before you start, clean your handlebars. Use a clean cloth to wipe off any dirt or grime. This will help the mount grip better. If your handlebars are rusty, you can use some sandpaper. Sandpaper will remove the rust. Be careful not to scratch the handlebars. After sanding, wipe the handlebars clean again. Make sure the handlebars are dry before you start. A clean surface will make the installation easier. It will also help the mount stay in place. Clean handlebars are happy handlebars.
Fun Fact or Stat: The first bicycle mirror was invented in the late 1800s!
Step-by-Step Guide to Mounting the Mirror

First, find the right spot on your handlebars for the mirror. You want it to be in a place where you can see it easily. Make sure it does not block your view of the road. Next, attach the mirror mount to the handlebars. Use the screws that came with the combo. Tighten the screws, but do not over-tighten them. Over-tightening can damage the mount or the handlebars. Once the mount is in place, attach the mirror to the mount. Adjust the mirror until you can see clearly behind you. Check the mirror while you are sitting on your bike. This will help you find the best angle. Knowing how to mount handlebar mirror & camera combination begins with a secure mirror.
- Find the right spot for the mirror.
- Attach the mirror mount to the handlebars.
- Tighten the screws, but not too tight.
- Attach the mirror to the mount.
- Adjust the mirror for clear vision.
Make sure the mirror is secure. You do not want it to fall off while you are riding. If the mirror is loose, tighten the screws a little more. If you are still not sure, ask a friend to help you. They can hold the mirror while you tighten the screws. Remember, safety is very important. A loose mirror can be dangerous. Take your time and do it right. A secure mirror will help you see what is behind you. This will make your rides much safer and more fun.
Where Should I Position the Mirror?
Positioning the mirror is very important. You want to be able to see behind you without turning your head too much. The mirror should be at eye level. This will make it easier to see. Adjust the mirror so you can see the road behind you. You should also be able to see cars and other bikes. Make sure the mirror does not block your view of the road ahead. Experiment with different positions until you find the one that works best for you. A well-positioned mirror can save your life.
How Tight Should the Screws Be?
Tightening the screws is important. You want them to be tight enough to hold the mirror in place. But you do not want to over-tighten them. Over-tightening can damage the mount or the handlebars. Tighten the screws until they are snug. Then, give them a little extra turn. This should be enough to hold the mirror in place. Check the screws after your first ride. If they are loose, tighten them a little more. The right amount of tightness will keep your mirror secure.
What If the Mount Is Too Big?
Sometimes the mount is too big for your handlebars. If this happens, you can use some rubber shims. Rubber shims are small pieces of rubber that you put between the mount and the handlebars. They will make the mount fit more snugly. You can buy rubber shims at most hardware stores. Cut the shims to the right size. Then, place them between the mount and the handlebars. Tighten the screws as usual. The rubber shims will help the mount stay in place. They will also protect your handlebars from scratches.
Fun Fact or Stat: Some professional cyclists use handlebar mirrors during training to monitor other riders.
Installing the Camera Securely
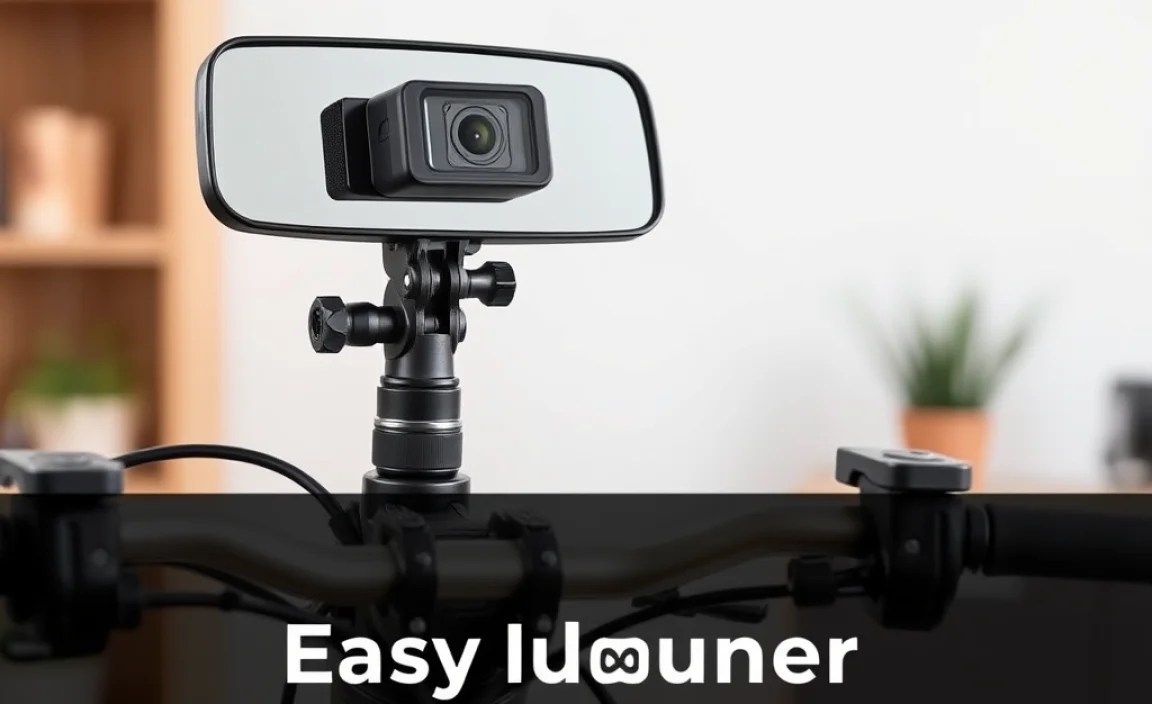
Now, let’s install the camera. Find a good spot on your handlebars for the camera mount. You want the camera to have a clear view of the road ahead. Attach the camera mount to the handlebars. Use the screws that came with the combo. Tighten the screws, but do not over-tighten them. Attach the camera to the mount. Make sure it is secure. Adjust the camera angle. You want to record the road ahead and the scenery around you. Test the camera while you are sitting on your bike. This will help you find the best angle. Always double-check that the mount is solid, as this is essential when thinking about how to mount handlebar mirror & camera combination.
- Find a good spot for the camera mount.
- Attach the camera mount to the handlebars.
- Tighten the screws gently.
- Attach the camera to the mount.
- Adjust the camera angle.
Make sure the camera is stable. You do not want it to shake too much while you are riding. If the camera is shaky, tighten the screws a little more. You can also use some rubber shims to reduce vibration. Check the camera settings. Make sure it is recording at the right resolution. You can also adjust the frame rate. A higher frame rate will give you smoother video. Remember to charge the camera before you go on a ride. A fully charged camera will let you record lots of great footage. Now you’re ready to go.
How Do I Get the Best Camera Angle?
The camera angle is very important. You want to capture the best possible video. Experiment with different angles. Try pointing the camera straight ahead. Try tilting it up a little. See what looks best. You can also adjust the camera while you are riding. This will let you fine-tune the angle. Make sure the camera is not pointing too high or too low. You want to capture the road ahead and the scenery around you. A good camera angle will make your videos much more interesting.
What If the Camera Shakes Too Much?
Camera shake can be a problem. It can make your videos blurry. There are several things you can do to reduce camera shake. First, make sure the mount is tight. Loose screws can cause vibration. Second, use rubber shims. Rubber shims can absorb vibration. Third, try a different mount. Some mounts are designed to reduce vibration. Finally, you can use video editing software. Video editing software can stabilize your footage. A stable camera will give you much better videos.
Should I Use a Waterproof Case?
If you ride in the rain, you should use a waterproof case. A waterproof case will protect your camera from the elements. Rain can damage your camera. It can also make your videos blurry. Waterproof cases are easy to find. You can buy them online or at most electronics stores. Make sure the case fits your camera. Also, make sure the case does not block the camera lens. A waterproof case will keep your camera safe and dry. It will also let you record videos in any weather.
Fun Fact or Stat: The first action cameras were developed for extreme sports like skydiving and surfing.
Connecting the Mirror and Camera
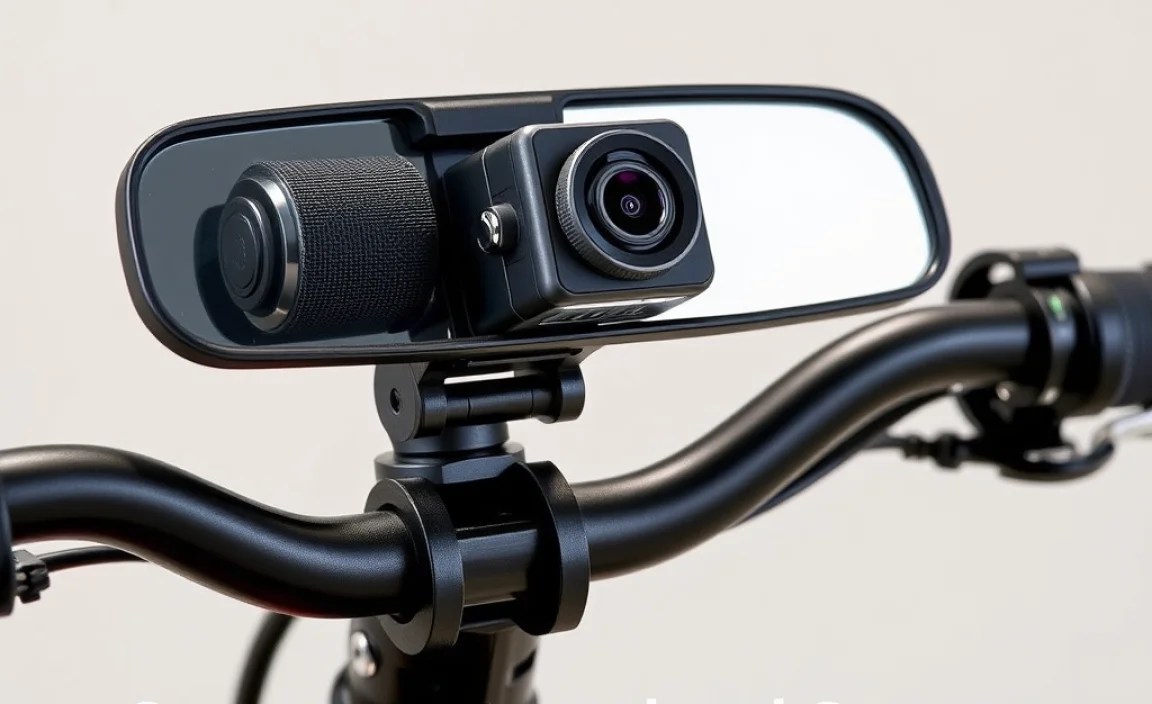
Now, let’s connect the mirror and camera. Some combos have a special mount that holds both the mirror and the camera. If your combo has this, attach the mirror and camera to the mount. Make sure they are both secure. If your combo does not have a special mount, you can use two separate mounts. Attach the mirror mount to the handlebars. Then, attach the camera mount to the handlebars. Make sure the mirror and camera do not interfere with each other. You want to be able to see the mirror clearly. You also want the camera to have a clear view of the road. Ensuring these components work together is the final step in understanding how to mount handlebar mirror & camera combination.
- Use a special mount if available.
- Attach the mirror and camera securely.
- Use separate mounts if needed.
- Make sure they do not interfere.
- Check the mirror and camera views.
Adjust the mirror and camera until you are happy with the positions. Check the mirror while you are sitting on your bike. Check the camera view on the camera screen. You might need to make some adjustments. Take your time and get it right. A well-connected mirror and camera will make your rides safer and more fun. You will be able to see what is behind you. You will also be able to record your adventures. Now you are ready to hit the road.
How Do I Keep the Wires Organized?
Wires can be messy. They can also get in the way. There are several things you can do to keep the wires organized. First, use zip ties. Zip ties can bundle the wires together. Second, use electrical tape. Electrical tape can hold the wires in place. Third, use a wire loom. A wire loom is a flexible tube that you can put the wires in. This will protect the wires from damage. It will also keep them organized. Organized wires will make your bike look neater. They will also prevent the wires from getting tangled.
What If the Mirror Blocks the Camera View?
Sometimes the mirror can block the camera view. If this happens, you need to adjust the positions of the mirror and camera. Try moving the mirror to the side. Try moving the camera up or down. Experiment until you find a position where the mirror does not block the camera view. You can also try using a smaller mirror. A smaller mirror will take up less space. A clear camera view is essential for recording good video. Take your time and get it right.
Can I Use a Wireless Camera?
A wireless camera can be a good option. Wireless cameras do not have wires. This makes them easier to install. They also look neater. However, wireless cameras can be more expensive. They also require batteries. Make sure the batteries are charged before you go on a ride. Wireless cameras can be a good choice if you want a clean and simple setup. Just remember to keep the batteries charged. Also, check wireless connectivity before riding.
Fun Fact or Stat: Some modern cameras can connect to your smartphone, allowing you to view footage instantly.
Testing and Adjusting the Setup
Before you go on a long ride, test your setup. Ride around your neighborhood. Check the mirror. Make sure you can see clearly behind you. Check the camera. Make sure it is recording good video. Adjust the mirror and camera as needed. If the mirror is loose, tighten the screws. If the camera is shaky, tighten the screws. Make sure the wires are not in the way. You want to be comfortable and safe. Testing your setup will help you find any problems. It is better to find problems before you go on a long ride. A well-tested setup will make your rides more enjoyable. It will also help you stay safe. This is an important step when considering how to mount handlebar mirror & camera combination for safety and optimal recording.
- Ride around your neighborhood.
- Check the mirror and camera.
- Adjust as needed.
- Make sure the wires are not in the way.
- Be comfortable and safe.
Take some test videos. Watch the videos on your computer. Check the video quality. Make sure the audio is clear. If the video is blurry, adjust the camera settings. If the audio is muffled, adjust the microphone settings. Experiment with different settings. Find the settings that work best for you. Good video and audio will make your videos much more enjoyable. Now you’re ready to share your adventures with the world. Have fun and be safe.
How Do I Check the Mirror While Riding?
Checking the mirror while riding is important. You want to be able to see what is behind you without taking your eyes off the road. Practice looking in the mirror quickly. Do not stare at the mirror for too long. A quick glance is all you need. You can also practice looking in the mirror while you are stopped. This will help you get used to the position of the mirror. Always be aware of your surroundings. A quick check of the mirror can help you avoid accidents.
How Do I Know If the Camera Is Recording Properly?
It is important to make sure the camera is recording properly. Most cameras have a light that indicates when they are recording. Check the light before you start riding. If the light is not on, the camera is not recording. You can also check the camera screen. The screen will show you what the camera is recording. Take a short test video. Then, watch the video on your computer. This will help you confirm that the camera is recording properly. A working camera is essential for capturing your adventures.
What If the Battery Dies During a Ride?
If the battery dies during a ride, you will not be able to record any more videos. This can be frustrating. There are several things you can do to prevent this. First, charge the battery fully before you start riding. Second, carry an extra battery. You can swap out the batteries when the first one dies. Third, use a power bank. A power bank can charge the camera while you are riding. Finally, turn off the camera when you are not using it. This will save battery power. A fully charged battery will let you record all your adventures.
Fun Fact or Stat: Some advanced cameras have features like image stabilization and wind noise reduction.
Maintaining Your Mirror Camera Setup
Taking care of your mirror camera setup is important. This will help it last longer. Clean the mirror and camera lens regularly. Use a soft cloth to wipe off any dirt or grime. Check the screws on the mount. Make sure they are tight. If the screws are loose, tighten them. Store the camera in a safe place when you are not using it. Protect it from dust and moisture. Check the wires regularly. Make sure they are not damaged. If the wires are damaged, replace them. Proper maintenance will keep your mirror camera setup in good condition. It will also help you stay safe and capture great videos. Regular checks ensure how to mount handlebar mirror & camera combination remains effective and safe.
- Clean the mirror and camera lens.
- Check the screws on the mount.
- Store the camera in a safe place.
- Check the wires regularly.
- Replace damaged parts.
If you have any problems with your setup, do not try to fix it yourself. Take it to a professional. They will be able to diagnose the problem and fix it properly. Trying to fix it yourself could damage the setup. It is better to be safe than sorry. A professional can help you keep your mirror camera setup in good working order. They can also give you advice on how to use it properly. Proper maintenance and professional help will keep your setup working for years to come.
How Often Should I Clean the Lens?
Cleaning the lens is important. A dirty lens can make your videos blurry. You should clean the lens every time you use the camera. Use a soft cloth to wipe off any dirt or grime. Do not use harsh chemicals. Harsh chemicals can damage the lens. If the lens is very dirty, you can use a special lens cleaning solution. Follow the instructions on the cleaning solution. A clean lens will give you clear and sharp videos.
How Do I Protect the Setup from Rain?
Rain can damage your mirror camera setup. You should protect it from the rain. You can use a waterproof case. Waterproof cases are available for most cameras. Make sure the case fits your camera. You can also use a plastic bag. Cover the camera with the plastic bag. Secure the bag with tape. If you are caught in the rain, stop riding. Find a safe place to wait out the rain. Protecting your setup from rain will help it last longer.
What Do I Do If the Mount Breaks?
If the mount breaks, you will need to replace it. You can buy a new mount online or at most bike shops. Make sure the new mount is compatible with your camera and mirror. Follow the instructions for installing the new mount. If you are not comfortable installing the new mount yourself, take it to a professional. They will be able to install it properly. A broken mount can be dangerous. Replace it as soon as possible.
Fun Fact or Stat: Some mirror camera setups come with GPS tracking, allowing you to record your route.
Troubleshooting Common Issues
Sometimes things go wrong. Your mirror might be loose. Your camera might not be recording. Do not worry. There are solutions. If the mirror is loose, tighten the screws. If the camera is not recording, check the battery. Make sure the camera is turned on. Check the memory card. Make sure it is not full. If the wires are tangled, untangle them. If you still have problems, consult the instructions. You can also search online for solutions. There are many helpful videos and articles. Troubleshooting is part of owning a mirror camera setup. With a little patience, you can solve most problems. Knowing the basics helps when thinking about how to mount handlebar mirror & camera combination.
- Tighten loose screws.
- Check the battery and power.
- Check the memory card.
- Untangle wires.
- Consult instructions.
If you cannot solve the problem yourself, ask for help. Take the setup to a bike shop. They can diagnose the problem. They can also fix it for you. Do not try to force anything. Forcing things can damage the setup. A professional can help you get your setup working properly. They can also give you advice on how to prevent problems in the future. Troubleshooting can be frustrating. But with a little help, you can get back on the road quickly.
Why Is My Video Blurry?
Blurry video can be caused by several things. First, check the lens. Make sure it is clean. Second, check the camera settings. Make sure the resolution is set to high. Third, check the lighting. Poor lighting can make the video blurry. Fourth, check the camera stability. A shaky camera can cause blurry video. Try using a different mount. A more stable mount can help. A clear video is essential for capturing your adventures. Troubleshoot the problem until you get a clear picture.
Why Is There No Sound in My Video?
No sound in your video can be frustrating. First, check the microphone. Make sure it is turned on. Second, check the microphone settings. Make sure the volume is turned up. Third, check the microphone connection. Make sure the microphone is properly connected. Fourth, check the environment. Loud noises can interfere with the microphone. Try recording in a quieter place. Clear audio is important for capturing your memories. Troubleshoot the problem until you get clear sound.
Why Is My Camera Not Turning On?
If your camera is not turning on, there are several things you can check. First, check the battery. Make sure it is charged. Second, check the power switch. Make sure it is turned on. Third, check the battery connection. Make sure the battery is properly connected. Fourth, check the memory card. A full memory card can prevent the camera from turning on. Try removing the memory card. If the camera turns on, the memory card is the problem. A working camera is essential for capturing your adventures. Troubleshoot the problem until the camera turns on.
Fun Fact or Stat: Some cameras have built-in error messages that can help you diagnose problems.
| Issue | Possible Cause | Solution |
|---|---|---|
| Loose Mirror | Vibration, loose screws | Tighten screws, use rubber shims |
| Blurry Video | Dirty lens, low resolution | Clean lens, increase resolution |
| No Sound | Muted microphone, bad connection | Check settings, reconnect microphone |
| Camera Not Turning On | Dead battery, power switch off | Charge battery, check power switch |
Summary
Mounting a mirror and camera combo on your bike handlebars is a great way to improve safety and capture your adventures. First, choose the right combo for your bike and your needs. Then, gather the necessary tools and materials. Follow the step-by-step guide to mount the mirror and camera securely. Connect the mirror and camera properly. Test and adjust the setup to ensure it works well. Maintain your mirror camera setup to keep it in good condition. If you encounter any problems, troubleshoot them using the tips in this article. Remember, understanding how to mount handlebar mirror & camera combination provides improved safety and the ability to record your rides.
Conclusion
Now you know how to mount a handlebar mirror and camera combination. It might seem tricky at first. But with the right tools and instructions, it is easy. A mirror and camera combo can make your rides safer and more fun. You can see what is behind you. You can also record your adventures. So get out there and start riding! You now know how to mount handlebar mirror & camera combination, so enjoy!
Frequently Asked Questions
Question No 1: What tools do I need to mount a handlebar mirror and camera combination?
Answer: You will usually need a screwdriver and an Allen wrench. The specific sizes will depend on the mounting hardware that comes with your mirror and camera combination. Some kits also include extra screws or shims. A clean cloth is helpful for wiping down your handlebars before you start. Having the right tools makes the job easier and prevents damage to your equipment. Before you start thinking about how to mount handlebar mirror & camera combination, ensure you have the right tools.
Question No 2: How do I choose the right mirror and camera combination for my bike?
Answer: First, consider the size of your handlebars. Some mounts are designed for specific handlebar diameters. Second, think about the video quality you want. Some cameras record in high definition, while others record in standard definition. Third, consider the battery life of the camera. Choose a camera with a long battery life if you plan to record long rides. Fourth, consider the size and shape of the mirror. Choose a mirror that provides a clear view of what is behind you. These factors will help you choose the best setup. Carefully considering these options is important when thinking about how to mount handlebar mirror & camera combination.
Question No 3: How do I make sure the camera is stable and doesn’t shake too much while riding?
Answer: First, make sure the mount is securely attached to your handlebars. Tighten all the screws properly. Second, use rubber shims to reduce vibration. Rubber shims can absorb some of the shock from the road. Third, consider using a camera with image stabilization. Image stabilization helps to reduce camera shake. Fourth, try a different mounting location. Some locations are more stable than others. A stable camera will produce clearer videos. You want to avoid a shaky view to enhance the benefits of knowing how to mount handlebar mirror & camera combination.
Question No 4: What should I do if the mirror blocks the camera’s view?
Answer: If the mirror blocks the camera’s view, try adjusting the positions of the mirror and camera. Move the mirror to the side or up or down. You can also try using a smaller mirror. A smaller mirror will take up less space. If you are using separate mounts, you can try mounting the camera on the other side of the handlebars. Experiment with different positions until you find one where the mirror does not block the camera’s view. A clear camera view is essential for recording good video. Finding the right balance is important when thinking about how to mount handlebar mirror & camera combination.
Question No 5: How do I keep the wires organized and out of the way?
Answer: Use zip ties to bundle the wires together. Zip ties can keep the wires from dangling and getting in the way. You can also use electrical tape to secure the wires to the handlebars. A wire loom is a flexible tube that you can put the wires in. This will protect the wires and keep them organized. Make sure the wires do not interfere with your brakes or gears. Organized wires will make your bike look neater and prevent accidents. Careful wire management is crucial to a good how to mount handlebar mirror & camera combination setup.
Question No 6: What do I do if the camera stops recording during my ride?
Answer: First, check the battery. Make sure it is not dead. If the battery is dead, replace it with a charged battery. Second, check the memory card. Make sure it is not full. If the memory card is full, delete some files or replace it with a new one. Third, check the camera settings. Make sure the camera is set to record. Fourth, check the weather. Extreme temperatures can affect the camera’s performance. If the camera still does not record, consult the instructions or contact the manufacturer. Knowing what to do in these situations is important when dealing with how to mount handlebar mirror & camera combination.


