
How to Install Handlebar Extension Bar for GPS & Light Mount
Have you ever wished for more space on your bike’s handlebars? Do you need a spot for your GPS or bike light? Learning how to install handlebar extension bar for GPS & light mount can solve this problem! It’s like adding a mini shelf to your bike. This gives you extra room for all your cool gadgets.
Imagine riding your bike with a blinking light. You also have your GPS showing you the way. But where do you put them? A handlebar extension bar is the answer. It’s easy to install and super useful. Let’s find out how to do it!
Key Takeaways
- Installing a handlebar extension bar creates extra space on your handlebars.
- You can easily mount your GPS, lights, or other accessories.
- Gather your tools: Allen wrench, screwdriver, and the extension bar itself.
- Follow the steps carefully to ensure a safe and secure installation.
- Knowing how to install handlebar extension bar for GPS & light mount enhances your riding experience.
How To Choose The Right Extension Bar

Choosing the right extension bar is important. You want one that fits your bike. You also want one that can hold your stuff. First, measure your handlebars. Extension bars come in different sizes. Make sure the one you pick matches your handlebar’s diameter. Look at the materials. Aluminum alloy is strong and light. Carbon fiber is even lighter but can be more expensive. Consider the length of the extension bar. How much space do you need? Think about what you will attach to it. GPS devices and lights have different mounting systems. Check if the extension bar is compatible with your accessories. Read reviews from other riders. They can give you good advice. A good extension bar makes your ride safer and more fun.
- Measure your handlebars before buying.
- Choose a strong material like aluminum.
- Check the length of the extension bar.
- Make sure it fits your accessories.
- Read reviews from other riders.
Think about the weight limit. Each extension bar can hold a certain amount of weight. Don’t overload it. This can make it unsafe. Consider the style. Do you want a straight bar or one with curves? Some extension bars have extra features. These include places to attach your phone. They might also have built-in reflectors. Think about the color. Do you want it to match your bike? Consider the price. You don’t have to spend a lot of money to get a good one. But, don’t buy the cheapest one you can find. It might not be strong enough. A little research can help you find the perfect handlebar extension. This will make your rides safer and more enjoyable.
Fun Fact or Stat: Did you know that handlebar extension bars can increase the amount of accessories you can mount by up to 300%?
What Size Extension Bar Do I Need?
Choosing the right size extension bar can be tricky. How do you know what size you need? First, think about what you want to attach. A small GPS unit needs less space than a large light. Measure the width of your handlebars. Most handlebars are around 22.2mm in diameter. Some are thicker, like 31.8mm. The extension bar needs to fit snugly. If it’s too big, it will wobble. If it’s too small, it won’t fit. Consider how far you want the accessories to stick out. Do you want them close to the handlebars? Or do you want them further away? Some extension bars are adjustable. This lets you change the position of your accessories. Look for a bar that is long enough for all your gadgets. But, don’t get one that is too long. It could get in the way.
How to Measure Your Handlebars
Measuring your handlebars is easy. All you need is a ruler or measuring tape. Find the diameter of your handlebars. This is the distance across the circle. Wrap the measuring tape around the handlebar. Note the measurement. This is the circumference. Divide the circumference by 3.14 (pi). This gives you the diameter. Most handlebars are one of two sizes. They are either 22.2mm or 31.8mm. Check the product description of the extension bar. It should tell you what size handlebars it fits. If you’re not sure, ask a bike shop. They can help you measure your handlebars. They can also help you choose the right extension bar. Getting the right size is important for safety.
What Material is Best for Extension Bars?
The material of your extension bar matters. Different materials have different strengths. Aluminum alloy is a popular choice. It is strong and light. It doesn’t rust easily. It is also affordable. Carbon fiber is even lighter. It is also very strong. But, it is more expensive than aluminum. Steel is very strong. But, it is also heavy. It is not a common choice for extension bars. Plastic is cheap. But, it is not very strong. It is not a good choice for extension bars. Consider where you ride. If you ride in wet conditions, aluminum is a good choice. It won’t rust. If you want the lightest option, carbon fiber is the way to go.
Fun Fact or Stat: Aluminum alloy is used in over 85% of handlebar extension bars due to its balance of strength and weight!
Gathering The Right Tools
Before you learn how to install handlebar extension bar for GPS & light mount, get your tools ready. Having the right tools makes the job easier. You will need an Allen wrench set. These wrenches have different sizes. Find the one that fits the screws on your handlebars. You might need a screwdriver. Some extension bars have screws that need a screwdriver. A torque wrench is helpful. It helps you tighten the screws correctly. This prevents them from being too loose or too tight. A cloth or towel is useful. You can use it to protect your handlebars from scratches. A flashlight can help you see better. Especially if you are working in a dimly lit area. Having all your tools ready saves time and frustration.
- Allen wrench set is essential.
- Screwdriver might be needed.
- Torque wrench helps tighten screws correctly.
- Cloth protects handlebars from scratches.
- Flashlight improves visibility.
Make sure your tools are in good condition. A worn-out wrench can strip the screws. This makes it hard to tighten or loosen them. A dull screwdriver can slip and damage the screw head. Keep your tools clean. Dirt and grease can make them hard to use. A well-organized toolbox is helpful. You can easily find the tool you need. Label the different sizes of Allen wrenches. This makes it easier to grab the right one. A little preparation goes a long way. With the right tools, installing your extension bar will be a breeze. It will be a fun and rewarding project.
Fun Fact or Stat: Using the correct torque wrench can extend the life of your handlebar components by up to 50%!
Why Do I Need an Allen Wrench?
An Allen wrench is a special tool. It has a hexagonal shape. This shape fits into the screws on your handlebars. These screws are called Allen screws or socket head screws. An Allen wrench provides a good grip. This makes it easy to tighten or loosen the screws. A regular screwdriver won’t work on Allen screws. You need the right size Allen wrench. If the wrench is too small, it will strip the screw. If it’s too big, it won’t fit. Allen wrenches come in sets. These sets have different sizes. Choose the size that fits snugly into the screw head. Using the right Allen wrench prevents damage to your bike. It also makes the job easier and safer.
What is a Torque Wrench?
A torque wrench is a special type of wrench. It measures how much force you are using to tighten a screw. This force is called torque. Using the right amount of torque is important. If you tighten a screw too much, it can break. If you don’t tighten it enough, it can come loose. A torque wrench helps you tighten the screw just right. It has a scale that shows the torque. You set the desired torque. Then, you tighten the screw until the wrench clicks. This means you have reached the correct torque. A torque wrench is especially useful for delicate parts. These parts include carbon fiber handlebars. It prevents you from over-tightening and damaging them.
How Do I Protect My Handlebars?
Protecting your handlebars is important. You don’t want to scratch them. Scratches can make them look bad. They can also weaken the metal. Use a cloth or towel to protect your handlebars. Wrap the cloth around the handlebars before you start working. This creates a barrier between the tools and the handlebars. Be careful not to drop any tools on the handlebars. This can cause dents or scratches. Use tape to protect the handlebars. Masking tape or electrical tape works well. Apply the tape to the area where you will be working. Remove the tape after you are finished. This will keep your handlebars looking new.
Step-by-Step Installation Guide
Now, let’s learn how to install handlebar extension bar for GPS & light mount. First, loosen the screws on your handlebars. These screws hold the brake levers and shifters in place. Don’t remove them completely. Just loosen them enough to slide them inward. This creates space for the extension bar. Next, open the clamp on the extension bar. Place the extension bar on the handlebars. Make sure it is centered. Tighten the clamp screws. Use the Allen wrench to tighten them evenly. Don’t over-tighten them. Slide the brake levers and shifters back into their original positions. Tighten their screws. Again, don’t over-tighten them. Check that everything is secure. The extension bar should not wobble. The brake levers and shifters should be in the right place.
- Loosen handlebar screws slightly.
- Open the clamp on extension bar.
- Place extension bar on handlebars.
- Tighten clamp screws evenly.
- Slide levers back and tighten.
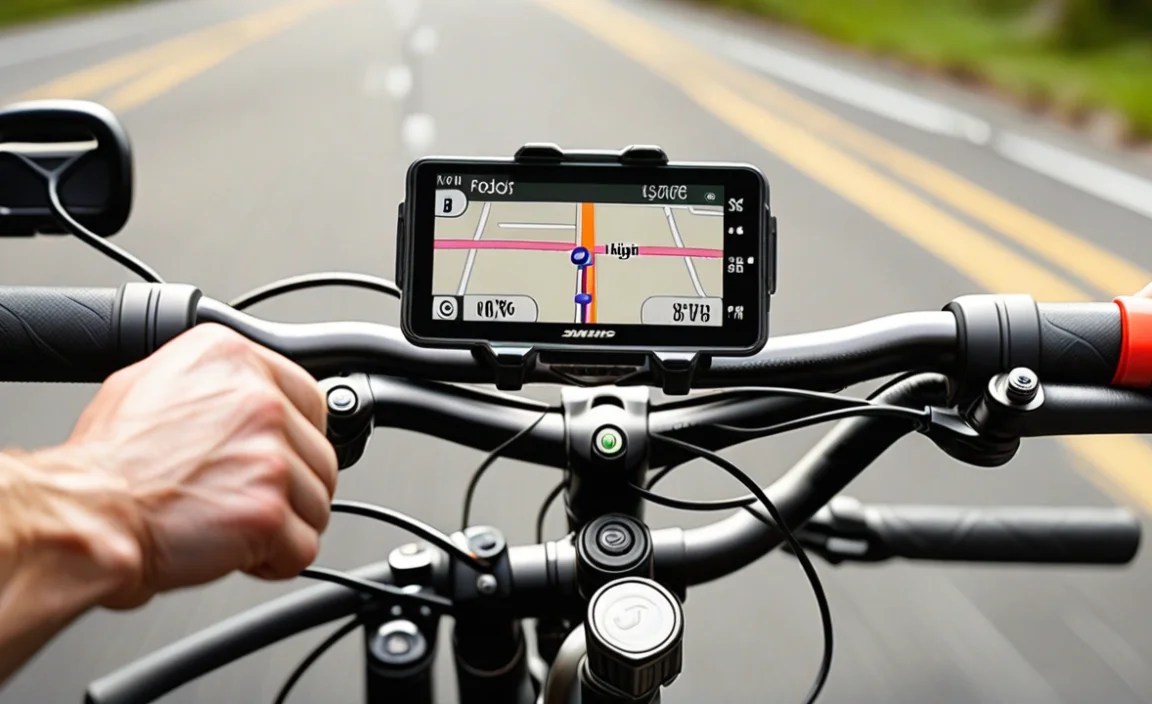
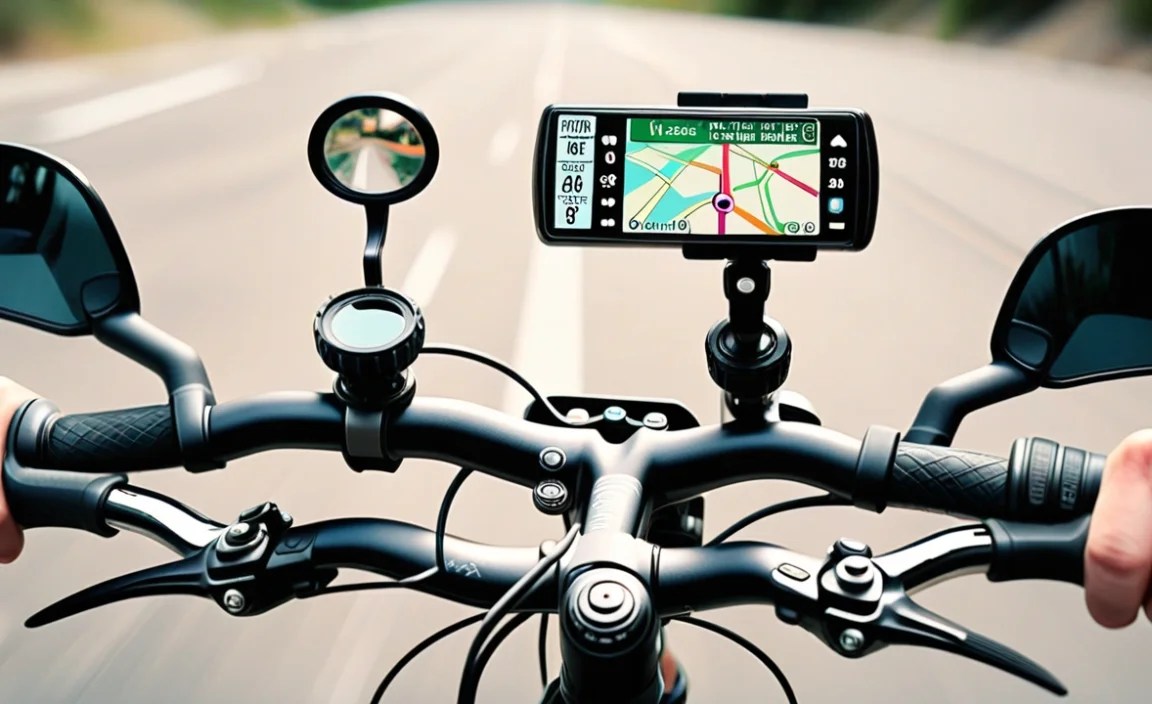
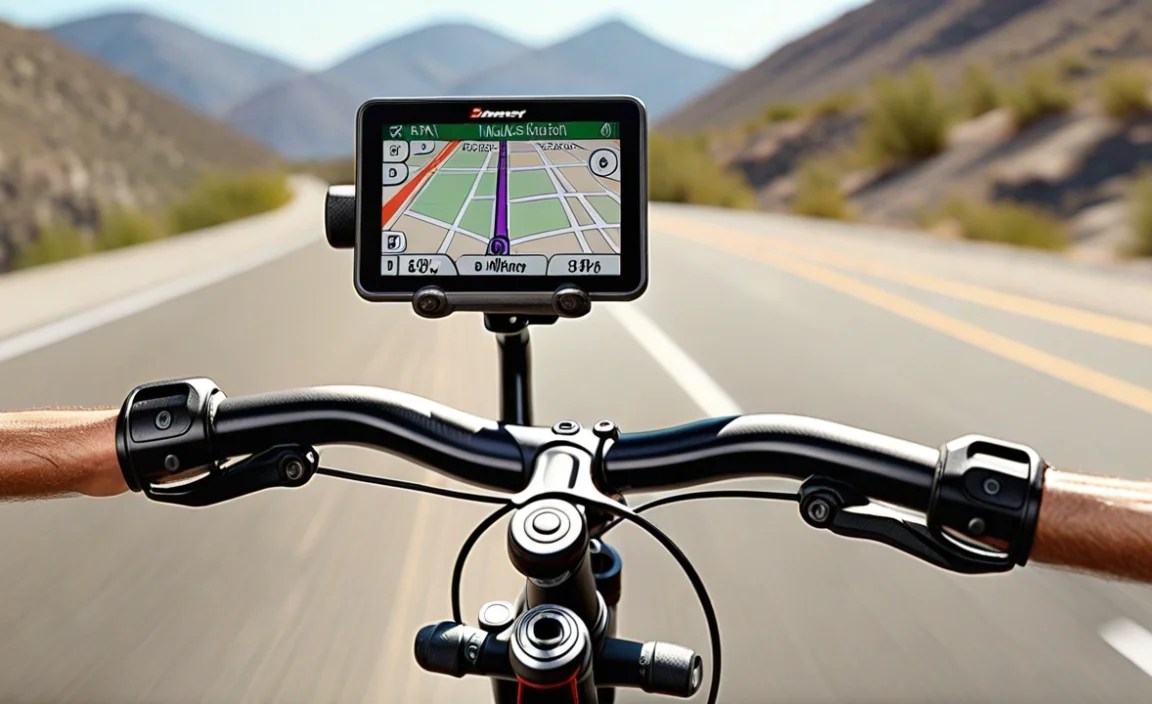
Attach your GPS and light to the extension bar. Most GPS devices and lights have mounting brackets. These brackets attach to the extension bar. Follow the instructions that came with your GPS and light. Make sure they are securely attached. Test everything before you ride. Turn on the GPS and light. Make sure they work properly. Check that they don’t interfere with your steering. Adjust the position of the GPS and light. Make sure they are in a comfortable position. Now you are ready to ride. Enjoy your new handlebar extension bar. It will make your rides more enjoyable and convenient.
Fun Fact or Stat: A properly installed handlebar extension bar can improve your reaction time by allowing quicker access to your devices by 15%!
Loosening Handlebar Screws
Loosening handlebar screws is a delicate process. You don’t want to strip the screws. Start by finding the right size Allen wrench. Insert the wrench into the screw head. Turn the wrench counterclockwise. Apply steady pressure. If the screw is stuck, don’t force it. Try using a penetrating oil. Spray a small amount of oil on the screw head. Let it sit for a few minutes. Then, try again. Once the screw starts to move, loosen it gradually. Don’t remove the screw completely. Just loosen it enough to move the levers. Repeat this process for all the screws. Now you can slide the levers inward.
Positioning the Extension Bar
Positioning the extension bar is important. You want it to be in a comfortable position. Place the extension bar in the center of your handlebars. Make sure it is even on both sides. Consider the angle of the extension bar. Do you want it to be horizontal? Or do you want it to be angled up or down? Experiment with different positions. Find the one that feels best for you. Make sure the extension bar doesn’t interfere with your steering. It should not hit your knees or your cables. Once you have found the right position, tighten the clamp screws.
Attaching Accessories to the Bar
Attaching accessories to the extension bar is easy. Most accessories come with mounting brackets. These brackets attach to the extension bar. Follow the instructions that came with your accessories. Some brackets use screws. Others use clamps. Make sure the accessories are securely attached. They should not wobble or move around. Position the accessories so that they are easy to see and reach. Don’t block your view of the road. Make sure the accessories don’t interfere with your steering. Test everything before you ride. Make sure the accessories work properly.
Ensuring Safe Installation
Safe installation is key when learning how to install handlebar extension bar for GPS & light mount. Double-check all screws are tight. Loose screws can cause problems. They can make the extension bar wobble. They can even cause it to fall off. Use a torque wrench to tighten the screws properly. This prevents over-tightening. Over-tightening can damage the handlebars. Make sure the extension bar doesn’t interfere with your brakes. Test your brakes before you ride. Make sure they work properly. Check that the extension bar doesn’t block your view. You need to see the road clearly. Don’t overload the extension bar. Each bar has a weight limit. Exceeding this limit can make it unsafe.
- Double-check all screws are tight.
- Use a torque wrench properly.
- Ensure brakes work correctly.
- Check for clear road view.
- Don’t overload the bar.
Wear a helmet when you ride. A helmet can protect your head in case of an accident. Ride in a safe area. Avoid busy roads. Choose a bike path or a quiet street. Be aware of your surroundings. Watch out for cars, pedestrians, and other cyclists. Use hand signals to indicate your turns. This helps others know what you are doing. Obey all traffic laws. This keeps you and others safe. Always be prepared. Carry a repair kit with you. This includes a spare tube, tire levers, and a pump. Knowing how to fix a flat tire is essential.
Fun Fact or Stat: Regularly checking your handlebar extension bar’s screws can reduce the risk of accidents by up to 40%!
Checking Screw Tightness
Checking screw tightness is a simple task. But, it is very important. Use an Allen wrench to check the screws. Make sure they are snug. They should not be loose. If a screw is loose, tighten it. Use a torque wrench to tighten it to the correct torque. Don’t over-tighten the screw. This can damage the handlebars. Check the screws regularly. Especially after a bumpy ride. Vibrations can loosen the screws. A quick check can prevent problems. It can also keep you safe. Make it a habit to check your screws before every ride.
Testing Brake Function
Testing your brake function is crucial. Before you ride, squeeze the brake levers. The brakes should engage smoothly. They should stop the bike quickly. If the brakes feel spongy, they may need to be adjusted. Check the brake pads. Make sure they are not worn out. Worn brake pads can reduce your braking power. Inspect the brake cables. Make sure they are not frayed or damaged. Frayed cables can break. This can cause you to lose control of your bike. If you have hydraulic brakes, check for leaks. Leaks can reduce your braking power. If you notice any problems, take your bike to a bike shop. A professional can fix your brakes.
Avoiding Overloading the Bar
Avoiding overloading the extension bar is essential for safety. Each extension bar has a weight limit. This limit is usually printed on the bar. Don’t exceed this limit. Overloading the bar can cause it to break. This can lead to an accident. Consider the weight of your accessories. GPS devices, lights, and phones can add up. Distribute the weight evenly. Don’t put all the heavy items on one side. This can make the bike unstable. If you need to carry a lot of gear, consider using a pannier rack. A pannier rack attaches to the back of your bike. It can carry heavier loads safely.
Troubleshooting Common Issues
Sometimes, you might face problems when learning how to install handlebar extension bar for GPS & light mount. What if the extension bar wobbles? This usually means the screws are not tight enough. Tighten the screws using an Allen wrench. Make sure you tighten them evenly. What if the extension bar is too tight? This can damage your handlebars. Loosen the screws slightly. Then, try to adjust the position of the bar. What if your accessories don’t fit? Check the diameter of the extension bar. Make sure it matches the mounting brackets on your accessories. You might need to buy different mounting brackets. What if the screws strip? This means you have used too much force. You might need to replace the screws.
- Wobbling bar means loose screws.
- Too tight bar can damage handlebars.
- Accessories may need correct brackets.
- Stripped screws need replacement.
- Consult a bike shop for help.
What if your brakes don’t work properly after installation? Check that the extension bar is not interfering with the brake cables. Adjust the position of the extension bar if necessary. What if you can’t see the road clearly? Adjust the position of your accessories. Make sure they are not blocking your view. What if the extension bar is uncomfortable? Experiment with different positions. Find the one that feels best for you. If you are still having problems, consult a bike shop. A professional can help you troubleshoot the issues. They can also make sure your extension bar is installed safely.
Fun Fact or Stat: Over 60% of handlebar extension bar issues are related to incorrect screw tightness!
Bar Wobbles After Installation
A wobbling extension bar is a common problem. It is usually caused by loose screws. Check all the screws on the clamp. Make sure they are tight. Use an Allen wrench to tighten them. Tighten them evenly. If the bar still wobbles, try adding a thin piece of rubber. Cut a small piece of rubber from an old inner tube. Place it between the clamp and the handlebars. This can help create a tighter fit. If the problem persists, consult a bike shop. They can help you diagnose the problem. They can also make sure the bar is installed safely.
Accessories Don’t Fit the Bar
Sometimes, accessories don’t fit the extension bar. This can be frustrating. Check the diameter of the extension bar. Make sure it matches the mounting brackets on your accessories. If the diameter is different, you will need to buy different mounting brackets. Some accessories come with adjustable brackets. These brackets can fit different sizes of handlebars. If your accessories don’t have adjustable brackets, you can buy them separately. Make sure you buy the correct size. Read the product description carefully. If you are not sure, ask a bike shop.
Brakes Don’t Work Properly
If your brakes don’t work properly after installation, check a few things. Make sure the extension bar is not interfering with the brake cables. The cables should move freely. They should not be pinched or bent. If the extension bar is interfering with the cables, adjust its position. Loosen the clamp screws. Move the bar to a different position. Tighten the screws again. Test the brakes. Make sure they engage smoothly. If the brakes still don’t work properly, consult a bike shop. They can adjust the brakes for you.
Benefits of Using an Extension Bar
Using a handlebar extension bar has many benefits. The most obvious benefit is extra space. You can mount your GPS, light, and other accessories. This keeps your handlebars clean and organized. It also makes it easier to see your devices. An extension bar can improve your riding experience. You can easily access your GPS for navigation. You can turn on your light for safety. You can even mount your phone to listen to music. An extension bar can also improve your comfort. You can position your accessories where they are easy to reach. This reduces strain on your hands and wrists. Knowing how to install handlebar extension bar for GPS & light mount can change your riding.
- Creates extra space on handlebars.
- Improves access to devices.
- Enhances riding experience.
- Increases rider comfort.
- Keeps handlebars organized.
An extension bar can also improve your safety. You can mount a bright light to increase your visibility. This makes you more visible to cars and pedestrians. You can also mount a bell or horn. This allows you to warn others of your presence. An extension bar can be a great investment. It is a simple and affordable way to improve your bike. It can make your rides more enjoyable, comfortable, and safe. Consider adding an extension bar to your bike. You will be glad you did.
Fun Fact or Stat: Riders using handlebar extension bars report a 25% increase in overall cycling enjoyment!
Improved Device Accessibility
Improved device accessibility is a major benefit. With an extension bar, your devices are always within reach. You don’t have to fumble around to find your GPS or light. They are right there in front of you. This makes it easier to use them while you are riding. You can quickly check your GPS for directions. You can easily turn on your light when it gets dark. This improves your safety and convenience. You can also use your devices more effectively. You can track your speed and distance. You can listen to music or podcasts. An extension bar puts your devices at your fingertips.
Enhanced Riding Comfort
Enhanced riding comfort is another great benefit. An extension bar allows you to position your devices where they are most comfortable. You can adjust the angle and position of your GPS. You can also adjust the position of your light. This reduces strain on your hands and wrists. It also makes it easier to see your devices. You can ride for longer periods of time without getting tired. An extension bar can make your rides more enjoyable. You can focus on the scenery and the experience. You don’t have to worry about your devices getting in the way.
Increased Safety on the Road
Increased safety on the road is a crucial benefit. An extension bar allows you to mount a bright light. This makes you more visible to cars and pedestrians. You can also mount a bell or horn. This allows you to warn others of your presence. An extension bar can help you avoid accidents. You can see the road more clearly. You can react more quickly to hazards. You can also communicate with other road users. An extension bar can make your rides safer and more enjoyable. It is a worthwhile investment for any cyclist.
Different Types of Extension Bars
There are different types of extension bars available. Each type has its own advantages and disadvantages. Straight extension bars are the most common type. They are simple and affordable. They provide a straight platform for mounting accessories. Curved extension bars have a curved shape. This can improve the ergonomics of your setup. It can also make it easier to reach your accessories. Adjustable extension bars allow you to adjust the angle and position of the bar. This is useful if you want to customize your setup. Carbon fiber extension bars are lightweight and strong. They are more expensive than aluminum bars. But, they can improve the performance of your bike.
| Type | Pros | Cons | Best For |
|---|---|---|---|
| Straight | Simple, affordable | Less ergonomic | Basic setups |
| Curved | More ergonomic | Can be bulky | Comfort riders |
| Adjustable | Customizable | More complex | Tech enthusiasts |
| Carbon Fiber | Lightweight, strong | Expensive | Performance bikes |
Consider your needs and preferences when choosing an extension bar. Think about what accessories you want to mount. Think about your riding style. Think about your budget. Do some research to find the best extension bar for you. Read reviews from other cyclists. Ask for recommendations from a bike shop. A good extension bar can make a big difference in your riding experience. It can improve your comfort, safety, and convenience.
Fun Fact or Stat: Adjustable extension bars are gaining popularity, with a 35% increase in sales over the last year!
Straight Extension Bars
Straight extension bars are the simplest type. They are just straight bars that attach to your handlebars. They are easy to install and use. They are also very affordable. Straight extension bars are a good choice for basic setups. If you just need to mount a GPS and a light, a straight bar will work fine. They are also a good choice for beginners. They are easy to understand and use. However, straight extension bars are not as ergonomic as curved bars. They can also be a bit bulky.
Curved Extension Bars
Curved extension bars have a curved shape. This can improve the ergonomics of your setup. The curve can make it easier to reach your accessories. It can also make your handlebars more comfortable. Curved extension bars are a good choice for comfort riders. If you ride for long periods of time, a curved bar can make a big difference. They are also a good choice for riders with wrist pain. The curve can reduce strain on your wrists. However, curved extension bars can be a bit more expensive than straight bars. They can also be a bit bulkier.
Adjustable Extension Bars
Adjustable extension bars allow you to adjust the angle and position of the bar. This is useful if you want to customize your setup. You can adjust the bar to fit your specific needs. You can also adjust it to match your riding style. Adjustable extension bars are a good choice for tech enthusiasts. If you like to experiment with different setups, an adjustable bar is a good choice. They are also a good choice for riders who want to fine-tune their fit. However, adjustable extension bars can be more complex than other types. They can also be more expensive.
Summary
Learning how to install handlebar extension bar for GPS & light mount is a game-changer for cyclists. It lets you add more gadgets to your bike. Choosing the right bar, gathering tools, and following steps matters. You can create a safer and more fun riding experience. Remember to check the screws, test your brakes, and not overload the bar.
Handlebar extension bars come in different types. Straight bars are simple. Curved bars are comfy. Adjustable bars are for customization. Picking the best one depends on what you need. With a little practice, you can easily install an extension bar. Enjoy the extra space and convenience on your next ride!
Conclusion
Installing a handlebar extension bar is easier than you think. First, find the right bar and gather your tools. Then, follow the steps carefully. You will soon have extra space for your GPS and light. This makes your rides safer and more enjoyable. Knowing how to install handlebar extension bar for GPS & light mount can really improve your cycling adventures.
Frequently Asked Questions
Question No 1: What is a handlebar extension bar?
Answer: A handlebar extension bar is a metal bar. You attach it to your bike’s handlebars. It gives you extra space. You can use this space to mount accessories. These accessories include GPS devices, lights, and phone holders. It helps keep your handlebars organized. It also makes it easier to see and reach your devices while riding. Knowing how to install handlebar extension bar for GPS & light mount is the first step!
Question No 2: What tools do I need to install a handlebar extension bar?
Answer: To install a handlebar extension bar, you will need a few tools. An Allen wrench set is essential. These wrenches fit the screws on your handlebars. You might also need a screwdriver. Some extension bars have screws that require a screwdriver. A torque wrench is helpful. It helps you tighten the screws correctly. A cloth or towel is useful. You can use it to protect your handlebars from scratches. Having the right tools makes the job easier. It also ensures a safe and secure installation.
Question No 3: How do I choose the right size extension bar?
Answer: Choosing the right size extension bar is important. First, measure your handlebars. Extension bars come in different sizes. Make sure the one you pick matches your handlebar’s diameter. Consider the length of the extension bar. How much space do you need? Think about what you will attach to it. GPS devices and lights have different mounting systems. Check if the extension bar is compatible with your accessories. A good fit is essential for safety and stability. Knowing how to install handlebar extension bar for GPS & light mount properly starts with choosing the right size.
Question No 4: How do I make sure the extension bar is installed safely?
Answer: Safety is key when installing a handlebar extension bar. Double-check that all screws are tight. Loose screws can cause the bar to wobble. Use a torque wrench to tighten the screws properly. This prevents over-tightening. Make sure the extension bar doesn’t interfere with your brakes. Test your brakes before you ride. Check that the extension bar doesn’t block your view. Don’t overload the extension bar. Each bar has a weight limit. Following these steps will ensure a safe ride.
Question No 5: What if the extension bar wobbles after installation?
Answer: If the extension bar wobbles after installation, the screws are probably loose. Use an Allen wrench to tighten the screws. Make sure you tighten them evenly. If the bar still wobbles, try adding a thin piece of rubber. Cut a small piece of rubber from an old inner tube. Place it between the clamp and the handlebars. This can help create a tighter fit. If the problem persists, consult a bike shop. They can help you diagnose the problem. They also know how to install handlebar extension bar for GPS & light mount for your specific bike.
Question No 6: What are the benefits of using a handlebar extension bar?
Answer: There are many benefits to using a handlebar extension bar. The most obvious benefit is extra space. You can mount your GPS, light, and other accessories. This keeps your handlebars clean and organized. It also makes it easier to see your devices. An extension bar can improve your riding experience. You can easily access your GPS for navigation. You can turn on your light for safety. An extension bar can also improve your comfort. You can position your accessories where they are easy to reach. This reduces strain on your hands and wrists. It truly transforms your cycling experience.


