
How to Mount GoPro and Helmet Camera at Same Time: Easy!
Do you love action cameras? Do you also need a helmet camera? Some people like to record everything. They want different views at the same time. Is it possible to get two camera angles? Let’s learn how to mount GoPro and helmet camera at same time!
Key Takeaways
- You can capture more action by using two cameras at once.
- Combining camera views makes your videos look more exciting.
- Learn about different mounts to secure your cameras safely.
- Consider camera angles for the best footage while recording.
- Explore how to mount GoPro and helmet camera at same time easily.
Understanding Camera Mounting Options
Mounting cameras can be tricky. You need to know what choices you have. There are many types of mounts. Some stick on. Some clamp on. Some use straps. Each type works best in certain places. Knowing this helps you choose right. Consider where you want each camera. Think about the angles you need. Also, think about safety. Make sure each camera is secure. You don’t want them falling off during action. Good mounts keep cameras steady. Steady cameras make better videos. Think about vibration, too. Some mounts reduce vibration. This makes your video clearer. Look for mounts that are strong and reliable. A good mount is worth the money. It protects your camera. It also gives you better footage.
- Suction cup mounts stick to smooth surfaces.
- Clamp mounts attach to bars or edges.
- Strap mounts wrap around objects.
- Adhesive mounts use sticky pads.
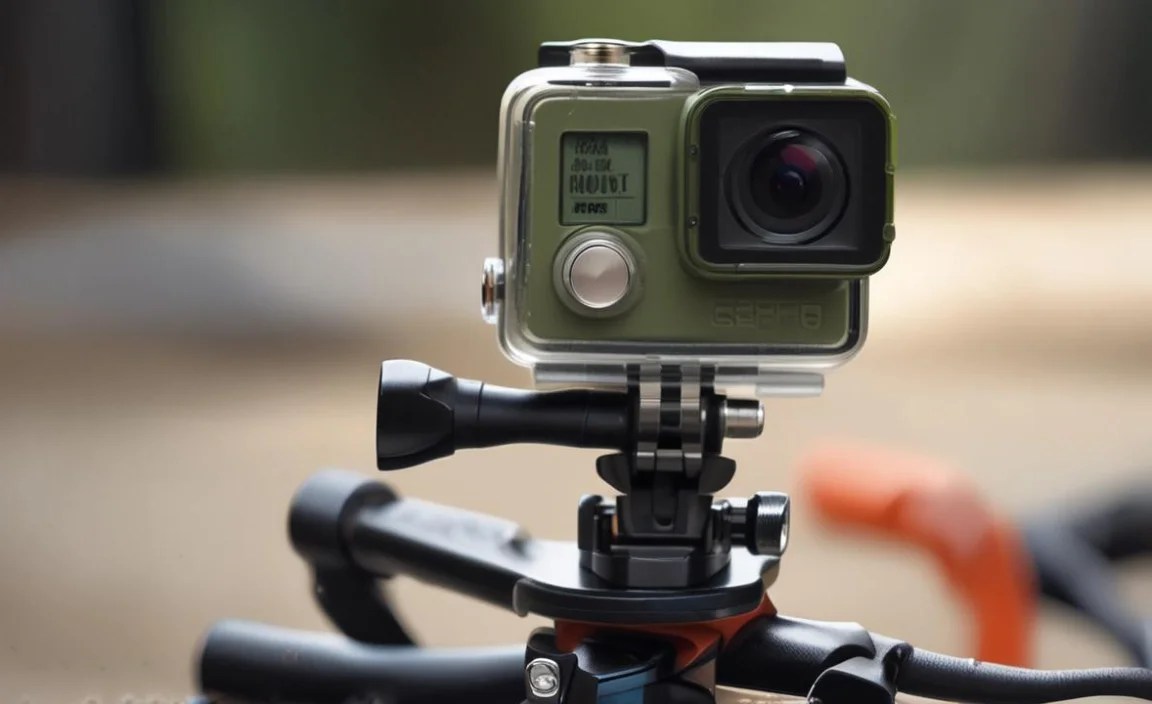
- Handlebar mounts are for bikes.
- Chest mounts go on your body.
Choosing the right mount is very important. Think about what you will be doing. Are you biking? Are you skiing? Are you just walking? Each activity needs a different mount. For biking, use a handlebar mount. For skiing, use a helmet mount. For walking, use a chest mount. Make sure the mount is compatible with your camera. Not all mounts work with all cameras. Read the instructions carefully. Test the mount before you go out. Make sure it is secure. A good mount will help you get great footage. It will also keep your camera safe. Taking the time to choose the right mount is worth it.
What is the Best Mount for a Helmet?
Helmets need special mounts. Safety is very important. You don’t want the camera to fall off. You also don’t want it to hurt you. Look for mounts that are made for helmets. These mounts are usually curved. They fit the shape of the helmet. Some mounts stick on. Some use straps. Make sure the mount is strong. Test it before you use it. Move your head around. See if the camera stays in place. A good helmet mount will keep your camera safe. It will also give you a good view. Think about where you want the camera on your helmet. Do you want it on the top? Do you want it on the side? Each place gives a different view. Choose the place that works best for you.
How Do You Secure a Camera to a Bike?
Bikes need strong mounts. The camera will shake a lot. You need a mount that can handle it. Handlebar mounts are very popular. They clamp onto the handlebars. Make sure the mount is tight. You don’t want it to slip. Some mounts have vibration dampeners. These help reduce shaking. This makes your video clearer. You can also use a chest mount. This will give you a different view. Test the mount before you go for a ride. Make sure it is secure. Ride around a little bit. See if the camera stays in place. A good bike mount will help you get great footage. It will also keep your camera safe.
Are Adhesive Mounts Reliable?
Adhesive mounts are sticky. They stick to smooth surfaces. They can be very strong. But, they are not always the best choice. They can come off if they get wet. They can also come off if it is too hot or too cold. Make sure the surface is clean before you stick the mount on. Use alcohol to clean it. This will help the mount stick better. Test the mount before you use it. See if it stays in place. If you are going to be doing something risky, use a different mount. An adhesive mount might not be strong enough. Always think about safety first.
Fun Fact or Stat: The first action camera was the GoPro, released in 2004. It changed how people record their adventures!
Planning Your Camera Setup
Before you start, plan your camera setup. Think about what you want to record. What is most important to capture? Decide which camera will be the main camera. Decide which camera will be the second camera. Consider the angles. Where will each camera point? Do you want one camera to show your face? Do you want the other camera to show what you see? Think about how the cameras will work together. Will they both record all the time? Will you only use one camera sometimes? Planning ahead will help you get better footage. It will also make it easier to edit the video later. Don’t forget to check the batteries. Make sure both cameras are charged. You don’t want them to die in the middle of your adventure.
- Decide on the main camera angle.
- Choose a secondary camera view.
- Plan when each camera will record.
- Check the battery life of each camera.
- Ensure both cameras are securely mounted.
- Test the setup before you start.
Think about the weather. If it is going to be raining, you need waterproof cases. This will protect your cameras. If it is going to be sunny, you need to adjust the exposure. This will prevent the video from being too bright. Consider the sound. Will you need external microphones? If you are going to be talking, you will need a microphone. This will make sure people can hear you clearly. Think about the lighting. If it is going to be dark, you will need lights. This will help you see better. Planning ahead will help you get the best possible footage. It will also make your adventure more enjoyable.
What is the Best Angle for a Helmet Camera?
Helmet camera angles are important. You want to see what you are doing. You also want to see your face. The best angle depends on what you are doing. If you are biking, you want to see the road. If you are skiing, you want to see the snow. Try different angles. See what works best for you. Some people like to point the camera down a little bit. This shows more of the ground. Some people like to point the camera straight ahead. This shows more of what they are looking at. Experiment with different angles. Find the one that you like the best. A good angle will make your video more interesting.
How Do You Frame a Shot with Two Cameras?
Framing a shot with two cameras is tricky. You need to think about how the cameras will work together. Do you want them to show the same thing? Do you want them to show different things? If you want them to show the same thing, you need to position them carefully. Make sure they are both pointing in the same direction. If you want them to show different things, you need to position them differently. One camera could show your face. The other camera could show what you are looking at. Experiment with different positions. See what works best for you. Good framing will make your video more interesting.
Should Both Cameras Record Sound?
Recording sound with two cameras can be tricky. If both cameras record sound, you might get echo. You also might get different sound levels. It is usually better to only record sound with one camera. Choose the camera that has the best microphone. If you are using an external microphone, connect it to one camera. This will make sure you get the best possible sound. If you are going to be talking, make sure the microphone is close to your mouth. This will help people hear you clearly. Good sound is very important for a good video.
Fun Fact or Stat: Many professional filmmakers use multiple cameras to capture different angles and perspectives simultaneously!
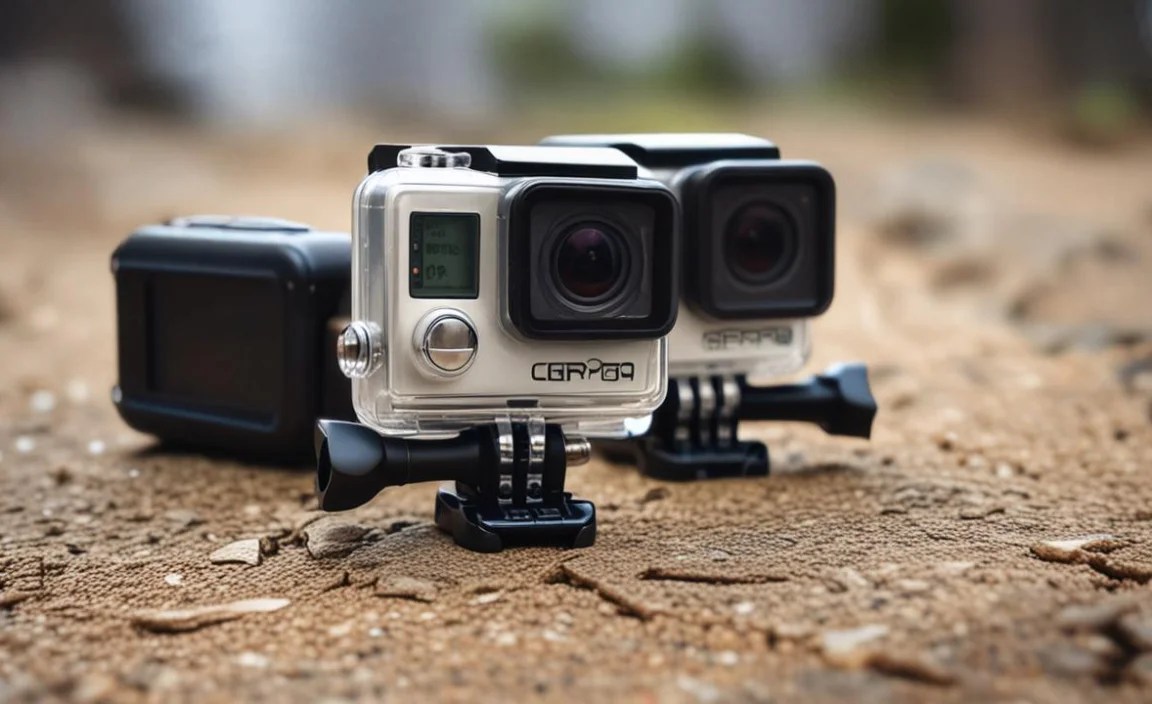
Choosing the Right Cameras
Picking the right cameras matters. Not all cameras are the same. Some are better for action. Some are better for low light. Some are smaller and lighter. Think about what you need. Do you need a camera that is waterproof? Do you need a camera that has good image stabilization? Do you need a camera that can record in 4K? Consider the cost. Some cameras are very expensive. Some are more affordable. Read reviews. See what other people say about the cameras. Choose cameras that will work well together. This will make it easier to edit the video later. Make sure both cameras use the same type of memory card. This will make it easier to transfer the files.
- Consider video resolution (4K, 1080p).
- Check the frame rate options.
- Look for good image stabilization.
- Ensure the camera is waterproof.
- Consider the low-light performance.
- Check the battery life.
Think about the size and weight of the cameras. If you are going to be wearing the cameras, you want them to be light. Heavy cameras can be uncomfortable. They can also make it harder to move. Consider the accessories. Do you need extra batteries? Do you need a remote control? Do you need a waterproof case? Make sure you have everything you need before you start. This will make your adventure more enjoyable. Don’t forget to practice with the cameras. Get used to using them. Learn how to change the settings. This will help you get better footage. Choosing the right cameras is very important.
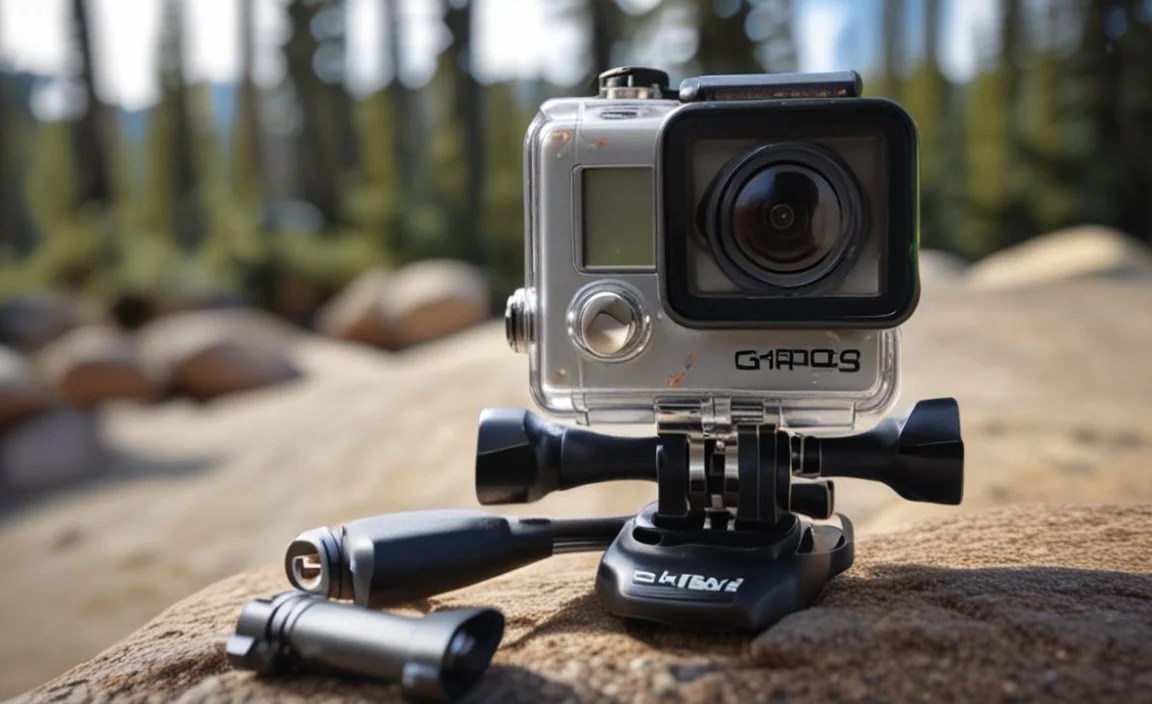
What Makes a Good Action Camera?
Action cameras need to be tough. They need to be able to handle bumps and drops. They also need to be waterproof. Look for cameras that are designed for action. These cameras usually have rugged housings. They also have good image stabilization. This will help reduce shaking. A good action camera should also have a wide-angle lens. This will allow you to capture more of the scene. It should also have good battery life. You don’t want the camera to die in the middle of your adventure. Choose an action camera that meets your needs.
Do I Need a 4K Camera?
4K cameras record video in very high resolution. This means the video will look very clear. But, 4K video files are very large. They take up a lot of space on your memory card. They also take a lot of processing power to edit. If you don’t need the highest possible quality, you don’t need a 4K camera. 1080p video is still very good. It is also easier to work with. Think about what you will be using the video for. If you are just going to be posting it online, 1080p is probably good enough. If you are going to be showing it on a big screen, you might want to consider a 4K camera.
How Important Is Image Stabilization?
Image stabilization is very important. It helps reduce shaking. This makes your video clearer. If you are going to be doing a lot of moving, you need good image stabilization. Look for cameras that have electronic image stabilization (EIS). This technology helps to smooth out the video. Some cameras also have optical image stabilization (OIS). This technology uses physical movements to stabilize the image. OIS is usually better than EIS. But, it is also more expensive. Choose a camera that has good image stabilization for your needs.
Fun Fact or Stat: GoPro cameras are named after the founder’s passion for surfing. He wanted a way to film himself while surfing!
Synchronizing Your Footage
Syncing your footage is important. It makes editing easier. When you have two cameras, you need to line up the videos. This means making sure they start at the same time. You can do this by using a clap. Clap your hands in front of both cameras. This will create a spike in the audio. You can use this spike to line up the videos in your editing software. You can also use timecode. Timecode is a special code that records the time. If both cameras record timecode, you can use it to sync the videos. Some cameras have a built-in sync feature. This makes it even easier to sync the videos. Good syncing will save you time and make editing easier.
- Use a clap to create an audio sync point.
- Check if your cameras support timecode.
- Use editing software to align footage.
- Consider cameras with built-in sync features.
- Label your footage clearly.
- Organize your video files.
Think about how you will organize your files. Create separate folders for each camera. This will make it easier to find the footage you need. Label your files clearly. Use descriptive names. This will help you remember what is in each file. Back up your footage. Make sure you have a copy of your footage on a separate hard drive. This will protect you in case something happens to your computer. Good organization is very important. It will save you time and make editing easier. Don’t forget to practice syncing your footage. The more you practice, the better you will get at it.
How Do You Use a Clap to Sync Footage?
A clap is a simple way to sync footage. Stand in front of both cameras. Clap your hands loudly. This will create a spike in the audio. When you import the footage into your editing software, look for the spike. Line up the spikes from both cameras. This will sync the footage. Make sure the clap is loud enough to be picked up by both cameras. You can also use a slate. A slate is a board that you write information on. Write the date and time on the slate. Then, clap the slate in front of both cameras. This will give you a visual and audio sync point.
What is Timecode and How Does It Help?
Timecode is a special code that records the time. It is usually displayed as hours, minutes, seconds, and frames. If both cameras record timecode, you can use it to sync the videos. Import the footage into your editing software. Look for the timecode. Line up the timecode from both cameras. This will sync the footage. Timecode is very accurate. It is more accurate than using a clap. But, not all cameras record timecode. Check your camera’s manual to see if it supports timecode. If it does, learn how to use it. It will make syncing your footage much easier.
What Software Can I Use to Sync Footage?
Many different software programs can sync footage. Adobe Premiere Pro is a popular choice. It has a built-in sync feature. It can automatically sync footage based on audio. Final Cut Pro is another popular choice. It also has a sync feature. DaVinci Resolve is a free program. It also has a sync feature. Experiment with different programs. See which one you like the best. Most editing software programs have tutorials. Watch the tutorials to learn how to use the sync feature. Good software can make syncing your footage much easier.
Fun Fact or Stat: Professional video editors often use dedicated timecode generators to ensure perfect synchronization between multiple cameras!
Creative Camera Angles and Perspectives
Using different camera angles is fun. It can make your videos more interesting. Think about where you place your cameras. One camera could show your face. The other camera could show what you are looking at. You can also use different types of shots. A wide shot shows the whole scene. A close-up shot shows a detail. Experiment with different angles and shots. See what works best for you. Try using a low angle. This can make things look bigger. Try using a high angle. This can make things look smaller. Don’t be afraid to get creative. The more you experiment, the better you will get at it. Good camera angles can make your videos more engaging.
- Use a wide shot to show the scene.
- Use a close-up to highlight details.
- Try a low angle for a dramatic effect.
- Use a high angle for a different perspective.
- Experiment with different viewpoints.
- Think about the story you want to tell.
Think about the story you want to tell. What are you trying to show? Use your camera angles to help tell the story. If you are trying to show how fast you are going, use a low angle. This will make you look faster. If you are trying to show how high you are, use a high angle. This will show the view from above. Consider the lighting. How will the light affect the way the scene looks? Use the light to your advantage. If you are shooting in bright sunlight, use a lens filter. This will help reduce glare. If you are shooting in low light, use a faster lens. This will allow more light to enter the camera. Good camera angles and perspectives can make your videos more professional.
How Can I Make My Videos More Dynamic?
Dynamic videos are exciting to watch. Use different camera angles. Move the camera around. Try using a gimbal. A gimbal is a device that stabilizes the camera. This will allow you to get smooth shots even when you are moving. Use transitions. Transitions are special effects that connect two different shots. Experiment with different transitions. See which ones you like the best. Use music. Music can help set the mood of your video. Choose music that matches the tone of your video. Good camera angles, movement, and music can make your videos more dynamic.
What is the Rule of Thirds?
The rule of thirds is a guideline for composing a shot. Imagine that your screen is divided into nine equal parts. The lines that divide the screen are called the rule of thirds lines. Place important elements of your shot along these lines. This will make your shot more balanced and visually appealing. For example, if you are shooting a landscape, place the horizon along one of the rule of thirds lines. If you are shooting a person, place their eyes along one of the rule of thirds lines. The rule of thirds is a guideline, not a rule. You don’t have to follow it all the time. But, it is a good place to start.
How Can I Use Color to Enhance My Videos?
Color can be a powerful tool. It can help set the mood of your video. It can also help draw attention to certain elements. Think about the colors in your shot. Are they bright and vibrant? Or are they muted and subdued? Use color to create a certain feeling. If you want to create a happy feeling, use bright colors. If you want to create a sad feeling, use muted colors. You can also use color to highlight certain elements. For example, if you want to draw attention to a red object, make sure it stands out from the background. Good use of color can make your videos more visually appealing.
Fun Fact or Stat: The human eye can distinguish about 10 million different colors!
Editing Tips for Dual Camera Footage
Editing dual camera footage can be tricky. But, it can also be very rewarding. The first step is to import your footage into your editing software. Then, you need to sync the footage. Once the footage is synced, you can start editing. Think about how you want to use the footage from each camera. Do you want to switch back and forth between the cameras? Do you want to use one camera for wide shots and the other camera for close-ups? Experiment with different editing techniques. See what works best for you. Don’t be afraid to cut and trim the footage. You don’t need to use every single second of footage. Good editing can make your videos more engaging.
- Import footage into editing software.
- Sync the footage using audio or timecode.
- Decide when to switch between cameras.
- Use different cameras for different shots.
- Trim unnecessary footage.
- Add music and sound effects.
Think about the pacing of your video. How quickly do you want the shots to change? If you want to create a fast-paced video, use short shots. If you want to create a slow-paced video, use longer shots. Add music and sound effects. These can help set the mood of your video. Choose music and sound effects that match the tone of your video. Export your video in the correct format. Choose a format that is compatible with the platform where you will be sharing your video. Good editing takes time. Don’t be afraid to experiment. The more you practice, the better you will get at it.
How Do I Switch Between Cameras Smoothly?
Switching between cameras smoothly is important. You don’t want the transitions to be jarring. Use transitions to connect the shots. There are many different types of transitions. Some transitions are simple, like a cut. Other transitions are more complex, like a dissolve. Experiment with different transitions. See which ones you like the best. Make sure the transitions match the tone of your video. If you are creating a fast-paced video, use quick transitions. If you are creating a slow-paced video, use slow transitions. Good transitions can make your video more professional.
What Are Some Common Editing Mistakes to Avoid?
There are many common editing mistakes. Avoid using too many transitions. Too many transitions can be distracting. Avoid using shaky footage. Use a gimbal or image stabilization to smooth out the footage. Avoid using footage that is too dark or too bright. Adjust the exposure to make sure the footage is properly lit. Avoid using footage that is out of focus. Make sure the footage is sharp and clear. Avoid using footage that is poorly framed. Use the rule of thirds to compose your shots. Avoiding these mistakes will make your videos look more professional.
How Can I Add Music to My Videos?
Adding music to your videos is easy. Most editing software programs have a music library. You can also find free music online. Choose music that matches the tone of your video. If you are creating a happy video, use upbeat music. If you are creating a sad video, use mellow music. Make sure the music is not too loud. Adjust the volume of the music so that it does not drown out the dialogue. You can also add sound effects. Sound effects can help to create a more immersive experience. Good music and sound effects can make your videos more engaging.
Fun Fact or Stat: The average person spends about 6 hours per week watching videos online!
Safety Considerations for Camera Mounting
Safety is very important. When mounting cameras, you need to be careful. Make sure the mounts are secure. You don’t want the cameras to fall off. This could damage the cameras. It could also hurt someone. Check the mounts regularly. Make sure they are still tight. Use safety straps. These will prevent the cameras from falling if the mounts fail. Be aware of your surroundings. Don’t mount the cameras in a way that could obstruct your vision. Don’t mount the cameras in a way that could create a hazard for others. Always think about safety first. A little bit of caution can go a long way.
Here’s a table comparing safety aspects of different mounting options:
| Mount Type | Pros | Cons | Safety Tips |
|---|---|---|---|
| Adhesive Mount | Low profile, sticks to smooth surfaces | Can fail in extreme conditions, may damage surfaces | Clean surface well, test before use, use safety tether |
| Strap Mount | Versatile, adjustable | Can loosen over time, may slip | Check tightness regularly, use non-slip material |
| Clamp Mount | Secure grip, good for bars and rails | Can damage surfaces if overtightened, limited use | Use protective padding, check tightness, avoid overtightening |
| Helmet Mount | Provides good POV, keeps hands free | Can add weight to helmet, potential snag hazard | Use lightweight cameras, secure mount properly, avoid dangling wires |
| Chest Mount | Comfortable, stable footage | Can restrict movement, may not be suitable for all activities | Adjust straps for secure fit, avoid loose straps, use lightweight camera |
Think about the weight of the cameras. Heavy cameras can be dangerous. They can put strain on the mounts. They can also make it harder to balance. Use lightweight cameras. This will reduce the risk of injury. Wear a helmet. This will protect your head in case of a fall. Be careful when you are mounting the cameras. Don’t rush. Take your time. Make sure everything is secure. Safety is always the most important thing. Don’t take risks. A little bit of planning can help prevent accidents.
What Are the Risks of Mounting Cameras on a Helmet?
Mounting cameras on a helmet can be risky. The camera can add weight to the helmet. This can make it harder to balance. The camera can also create a snag hazard. It could catch on something and cause you to fall. Make sure the camera is securely mounted. Use a lightweight camera. This will reduce the weight on your helmet. Be aware of your surroundings. Watch out for branches and other obstacles. Always wear a helmet. This will protect your head in case of a fall. Helmet camera safety is very important.
How Can I Prevent Cameras from Falling Off?
Preventing cameras from falling off is important. Use high-quality mounts. Cheap mounts are more likely to fail. Check the mounts regularly. Make sure they are still tight. Use safety straps. These will prevent the cameras from falling if the mounts fail. Clean the mounting surfaces. This will help the mounts adhere better. Avoid mounting the cameras in areas that are exposed to extreme temperatures or moisture. These conditions can weaken the mounts. Always take your time when mounting the cameras. Make sure everything is secure. Camera security is key.
What Should I Do If a Camera Falls Off?
If a camera falls off, stop what you are doing. Retrieve the camera. Check the camera for damage. If the camera is damaged, take it to a repair shop. If the camera is not damaged, re-mount it. Make sure the mount is secure. Use a new mount if necessary. Check the surrounding area for hazards. Make sure there is nothing that could cause the camera to fall off again. Learn from your mistakes. Figure out why the camera fell off. Take steps to prevent it from happening again. Camera safety is an ongoing process.
Fun Fact or Stat: Studies show that wearing a helmet reduces the risk of head injury by 85%!
Summary
Learning how to mount GoPro and helmet camera at same time lets you capture more. You can record different views. This makes your videos look better. Choose the right mounts. Plan your camera setup. Sync your footage carefully. Use creative camera angles. Edit your videos well. Most importantly, be safe. Always think about safety when mounting cameras. By following these tips, you can create amazing videos. You can also stay safe while doing it. Now you can record all your adventures with two cameras!
Conclusion
Using two cameras can make videos more exciting. It lets you show different views. Choosing the right mounts is key. Good planning makes editing easier. Safety is always important. Now you know how to mount GoPro and helmet camera at same time. Go out and start recording!
Frequently Asked Questions
Question No 1: Can I really use two cameras at once?
Answer: Yes, you absolutely can use two cameras at the same time! Many people do this to capture different angles of the same action. For example, you might want one camera to show your face and the other to show what you are seeing. This creates a more immersive and engaging video for your viewers. Knowing how to mount GoPro and helmet camera at same time opens up exciting creative possibilities. Just make sure you plan your setup carefully and use the right equipment. This will ensure both cameras are secure and recording properly.
Question No 2: What kind of mounts do I need?
Answer: The type of mounts you need depends on where you want to put the cameras. For a helmet camera, you’ll need a helmet mount. These mounts are designed to attach securely to your helmet. For a GoPro, you might use a chest mount, a handlebar mount, or an adhesive mount. Consider what activity you are recording. Pick mounts that are strong and reliable. Test the mounts before you go out. Make sure the cameras are secure. You don’t want them falling off during your adventure. Good mounts are essential for getting great footage.
Question No 3: How do I keep the cameras from shaking?
Answer: Shaky footage can be annoying. To prevent it, use cameras with good image stabilization. This technology helps to smooth out the video. You can also use a gimbal. A gimbal is a device that holds the camera steady. It will help you get smooth shots even when you are moving. Make sure your mounts are tight. Loose mounts can cause the cameras to shake. If you are using a helmet mount, make sure the helmet fits snugly. A loose helmet can also cause shaking. By taking these steps, you can minimize shaking and get clearer footage.
Question No 4: Is it hard to edit footage from two cameras?
Answer: Editing footage from two cameras can be a little tricky at first. But, with the right tools and techniques, it becomes easier. The first step is to sync the footage. This means lining up the videos from both cameras. You can do this by using a clap or by using timecode. Once the footage is synced, you can start editing. Choose which camera angle you want to use at different points in the video. You can switch back and forth between the cameras to create a more dynamic and engaging video. Knowing how to mount GoPro and helmet camera at same time means you will want to edit them together.
Question No 5: What if my cameras are different brands?
Answer: Using cameras from different brands is fine. As long as they both record good quality video, you can use them together. You might need to adjust the settings on each camera to get similar colors and brightness. This will make the footage look more consistent. You will also need to make sure the cameras use compatible memory cards. This will make it easier to transfer the files to your computer. Don’t worry about using different brands. Focus on getting good footage from both cameras.
Question No 6: How do I make sure the cameras don’t fall off?
Answer: Making sure the cameras don’t fall off is very important. Use high-quality mounts. Check the mounts regularly. Make sure they are still tight. Use safety straps. These will prevent the cameras from falling if the mounts fail. Clean the mounting surfaces. This will help the mounts adhere better. Don’t mount the cameras in areas that are exposed to extreme conditions. Always take your time when mounting the cameras. Double-check everything. Understanding how to mount GoPro and helmet camera at same time securely is paramount. Safety is the top priority!


