
How to Use Hand Pump Without Pressure Gauge: Easy!
Quick Summary: Using a hand pump without a pressure gauge requires relying on feel and observation. Pump until the tire feels firm when pressed, but still has some give. Check the tire sidewall for the recommended pressure range and use that as a guide. Regular practice will help you develop a sense for the correct pressure.
Ever tried inflating your bike tires with a hand pump, only to realize it doesn’t have a pressure gauge? It’s a common situation that can leave you guessing if you’ve added enough air. Overinflating can lead to uncomfortable rides and even tire blowouts, while underinflating can cause sluggish performance and increase the risk of pinch flats.
Don’t worry! You can still get your tires to the right pressure by using simple techniques that rely on feel and observation. This guide will walk you through the steps to confidently inflate your tires, even without a gauge. Let’s get started and get you back on the road!
Understanding Tire Pressure

Before diving into the “how-to,” it’s essential to understand the basics of tire pressure. Knowing what to look for will make it easier to inflate your tires accurately, even without a gauge.
Why Tire Pressure Matters
Proper tire pressure is crucial for several reasons:
- Rolling Resistance: Correctly inflated tires roll more efficiently, making your ride faster and easier.
- Grip: Proper pressure ensures optimal contact with the road or trail, providing better grip and control.
- Comfort: The right pressure absorbs bumps and vibrations, enhancing your riding comfort.
- Puncture Resistance: Adequate pressure reduces the risk of pinch flats, which occur when the tire is compressed against the rim, causing a puncture.
Understanding PSI and Bar
Tire pressure is typically measured in PSI (pounds per square inch) or BAR (a metric unit roughly equivalent to atmospheric pressure). Most tires have a recommended pressure range printed on the sidewall. For example, you might see “50-70 PSI” or “3.5-4.8 BAR.”
PSI: Pounds per square inch, the most common unit in the US.
BAR: A metric unit close to atmospheric pressure, often used in Europe and other parts of the world.
Finding the Recommended Pressure
Look for the recommended pressure range on the sidewall of your tire. It’s usually printed clearly and will look something like this: “Inflate to 50-70 PSI (3.5-4.8 BAR).” This range provides a guideline for optimal performance. Keep in mind that this is just a guideline; personal preference and riding conditions can influence the ideal pressure.
Tools You’ll Need
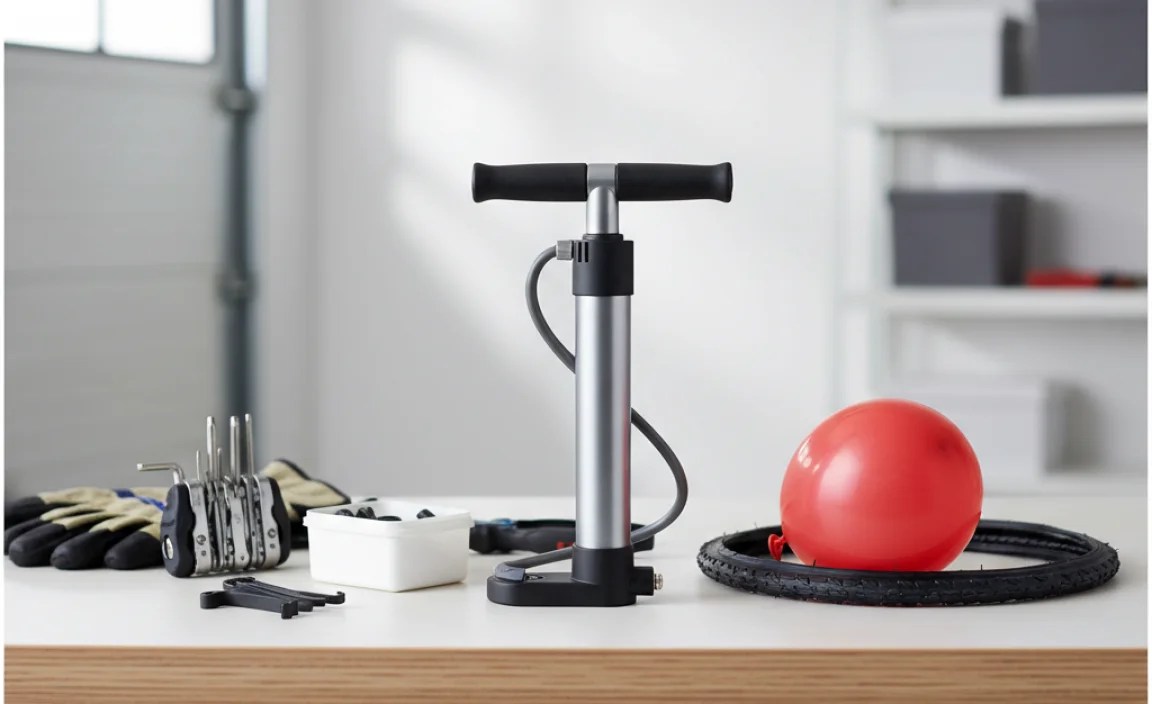
Fortunately, you don’t need much to inflate a tire without a pressure gauge. Here’s a short list:
- Hand Pump: A reliable hand pump is essential. Look for one with a durable construction and a head that securely attaches to your valve.
- Your Hands: Your sense of touch is your primary tool for gauging pressure.
- Tire Levers (Optional): Useful for removing the tire if needed.
- Rag or Cloth: To wipe off any dirt or debris.
Step-by-Step Guide: Inflating Your Tires Without a Gauge

Here’s how to inflate your bike tires effectively using a hand pump, even without a pressure gauge:
Step 1: Prepare Your Bike and Pump
First, ensure your bike is stable. You can lean it against a wall or use a bike stand. Make sure the pump is in good working condition and the head is compatible with your tire’s valve type (Presta or Schrader). If you have a dual-head pump, select the correct opening.
Step 2: Attach the Pump Head to the Valve
Remove the valve cap from your tire. If you have a Presta valve, loosen the valve nut. Firmly press the pump head onto the valve. Make sure it’s securely attached to prevent air leakage. Some pumps have a lever to lock the head onto the valve; engage it if necessary.
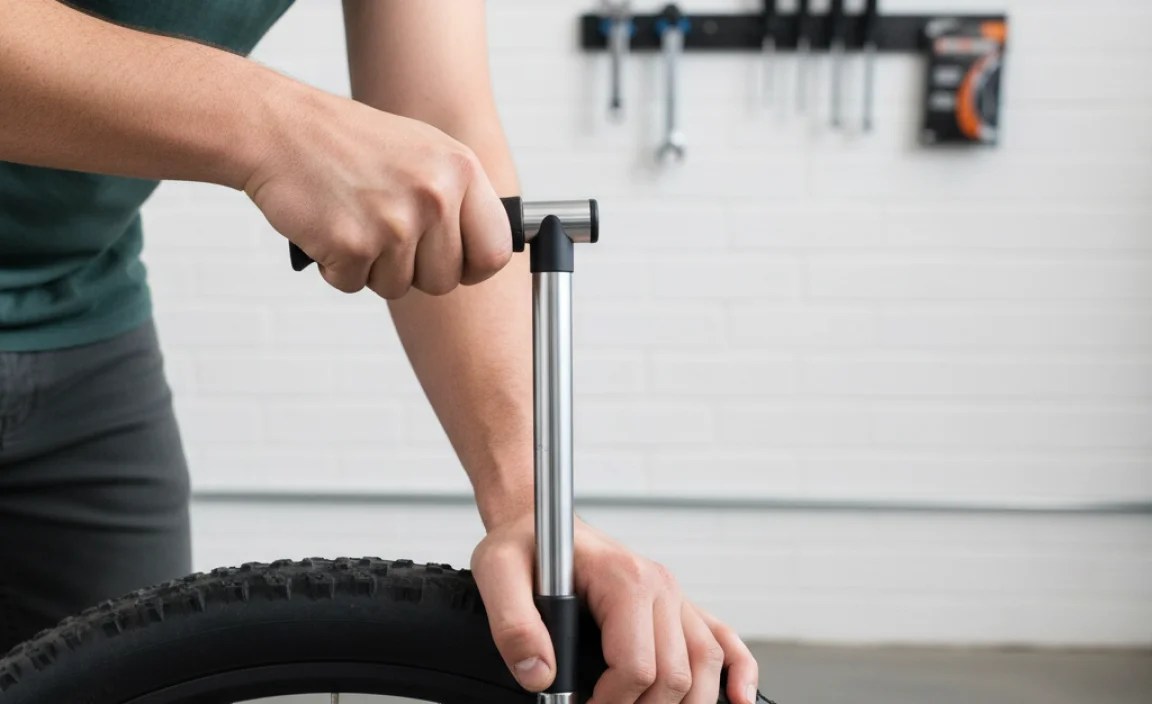
Step 3: Begin Pumping
Start pumping in a steady, consistent motion. Use your body weight to help push down on the pump handle. Listen for the sound of air entering the tire. If you hear air escaping, readjust the pump head to ensure a tight seal.
Step 4: Check the Tire Firmness
After several pumps, stop and check the tire’s firmness. Use your thumb and fingers to squeeze the tire. You’re aiming for a firm feel, but with some give. The tire should not feel rock solid, nor should it feel soft and squishy.
Step 5: Continue Pumping and Checking
Continue pumping in short bursts, checking the tire firmness after each burst. Gradually increase the pressure until it feels right. Remember to refer to the recommended pressure range on the tire sidewall as a guide.
Step 6: Fine-Tune Based on Feel
This is where your experience comes in. Consider these factors:
- Your Weight: Heavier riders generally need higher tire pressures.
- Road Conditions: Rough roads might benefit from slightly lower pressure for added comfort and grip.
- Tire Width: Wider tires can handle lower pressures.
Adjust the pressure based on these factors. If you’re unsure, it’s better to err on the side of slightly lower pressure than overinflating.
Step 7: Detach the Pump Head
Once you’re satisfied with the tire pressure, detach the pump head from the valve. If you have a Presta valve, tighten the valve nut. Replace the valve cap to protect the valve from dirt and debris.
Step 8: Repeat for the Other Tire
Repeat the process for the other tire, aiming for the same firmness. It’s helpful to compare the feel of both tires to ensure they’re evenly inflated.
Tips for Accurate Inflation Without a Gauge

Here are some extra tips to help you get the most accurate inflation possible when you don’t have a gauge:
- Listen to the Sound: Pay attention to the sound of the pump. A change in sound can indicate a change in pressure.
- Feel the Resistance: As the tire pressure increases, you’ll notice more resistance in the pump. This can help you gauge how much air you’re adding.
- Use the Squeeze Test: The squeeze test is your best friend. Press down on the tire with your thumb. It should feel firm but still have some give.
- Ride and Adjust: After your first ride, pay attention to how the bike feels. If the ride is harsh, try slightly lower pressure. If it feels sluggish, add a bit more air.
- Practice Makes Perfect: The more you practice, the better you’ll become at judging tire pressure by feel.
Troubleshooting Common Issues
Even with the best techniques, you might encounter some problems. Here’s how to troubleshoot common issues:
- Air Leakage: If you hear air leaking while pumping, make sure the pump head is securely attached to the valve. Try readjusting it or using a different pump head.
- Pump Not Engaging: Ensure the pump head is compatible with your valve type. For Presta valves, make sure the valve nut is loosened.
- Tire Feels Too Soft: Continue pumping until the tire feels firmer. Remember to check the recommended pressure range on the tire sidewall.
- Tire Feels Too Hard: Release some air by pressing on the valve core (for Schrader valves) or briefly loosening the valve nut (for Presta valves).
The “Squeeze Test” Explained
The “squeeze test” is a simple yet effective way to gauge tire pressure by feel. Here’s a more detailed look at how to perform this test:
- Position Your Hands: Place your thumb on the tire tread and your fingers on the sidewall.
- Apply Pressure: Squeeze the tire, applying moderate pressure.
- Assess the Give: Pay attention to how much the tire yields under your pressure.
- Too Soft: If the tire feels very soft and easily compresses, it’s underinflated.
- Just Right: If the tire feels firm but still has some give, it’s likely within the correct pressure range.
- Too Hard: If the tire feels rock solid with almost no give, it’s overinflated.
- Compare Tires: Check both tires and compare the feel to ensure they are evenly inflated.
Using Body Weight to Estimate Pressure
Your body weight can be a useful reference point for estimating tire pressure. Here’s how to use it:
- Heavier Riders: If you’re a heavier rider, you’ll generally need higher tire pressures to prevent pinch flats and maintain efficient rolling. Add a few extra pumps to compensate.
- Lighter Riders: If you’re a lighter rider, you can get away with slightly lower pressures for added comfort and grip. Reduce the pressure accordingly.
- Load Considerations: If you’re carrying extra weight (e.g., a loaded backpack or panniers), increase the tire pressure to compensate.
Here’s a simple table to illustrate how body weight can influence tire pressure:
| Rider Weight | Recommended Adjustment | Reason |
|---|---|---|
| Less than 150 lbs | Slightly lower pressure | Increased comfort and grip |
| 150-200 lbs | Standard pressure | Optimal balance of performance and comfort |
| Over 200 lbs | Slightly higher pressure | Reduced risk of pinch flats |
Adjusting for Different Riding Conditions
The type of terrain you’re riding on can also influence your ideal tire pressure:
- Smooth Pavement: For smooth roads, higher pressures can reduce rolling resistance and increase speed.
- Rough Roads: For rough or uneven roads, lower pressures can improve comfort and grip by allowing the tire to absorb bumps and vibrations.
- Off-Road: For off-road riding, lower pressures provide better traction and prevent the tire from bouncing.
Here’s a table showing how riding conditions can affect tire pressure:
| Riding Condition | Recommended Adjustment | Reason |
|---|---|---|
| Smooth Pavement | Slightly higher pressure | Reduced rolling resistance |
| Rough Roads | Slightly lower pressure | Increased comfort and grip |
| Off-Road | Lower pressure | Improved traction and bump absorption |
Valve Types: Presta vs. Schrader
Understanding the difference between Presta and Schrader valves is essential for proper inflation. Here’s a quick overview:
- Presta Valves: These are narrower and typically found on high-performance bikes. They have a valve nut that needs to be loosened before inflation.
- Schrader Valves: These are wider and similar to those found on car tires. They have a spring-loaded pin in the center.
Here’s a table summarizing the key differences:
| Feature | Presta Valve | Schrader Valve |
|---|---|---|
| Width | Narrower | Wider |
| Typical Use | High-performance bikes | Standard bikes, cars |
| Operation | Loosen valve nut before inflation | No need to loosen anything |
| Pressure Retention | Generally better | Slightly less reliable |
Digital Pressure Gauges: An Alternative
While this article focuses on using a hand pump without a gauge, it’s worth mentioning digital pressure gauges as an alternative. These devices provide accurate pressure readings and can be a useful tool for cyclists who want precise control over their tire pressure. They are relatively inexpensive and easy to use.
Hand Pump Recommendations
If you’re in the market for a new hand pump, here are a few recommendations:
- Lezyne Micro Floor Drive HP: Compact and efficient with a footpad for easy pumping.
- Topeak Road Morph G: Converts to a mini floor pump for added leverage.
- Blackburn Mammoth 2FL: High-volume pump for quickly inflating larger tires.
FAQ: Inflating Tires Without a Pressure Gauge
Here are some frequently asked questions about inflating tires without a pressure gauge:
How do I know if my tires are properly inflated without a gauge?
Use the “squeeze test.” The tire should feel firm but still have some give when you press on it with your thumb.
Can I overinflate my tires using a hand pump without a gauge?
Yes, it’s possible. Pump in short bursts and frequently check the firmness to avoid overinflation.
What happens if I overinflate my tires?
Overinflating can lead to a harsh ride, reduced grip, and an increased risk of tire blowouts.
What happens if I underinflate my tires?
Underinflating can cause sluggish performance, increase the risk of pinch flats, and damage your rims.
Is it okay to use a car tire gauge on my bike tires?
Yes, you can use a car tire gauge on Schrader valves, but not on Presta valves without an adapter.
How often should I check my tire pressure?
Ideally, check your tire pressure before every ride, especially if you’re riding frequently.
Does temperature affect tire pressure?
Yes, temperature can affect tire pressure. Pressure decreases in cold weather and increases in warm weather. Adjust accordingly.
Conclusion
Inflating your bike tires without a pressure gauge might seem tricky at first, but with a little practice, it becomes second nature. By relying on feel, observation, and the tips outlined in this guide, you can confidently maintain your tire pressure and enjoy a smooth, efficient ride. Remember to check the recommended pressure range on your tire sidewall, adjust for your weight and riding conditions, and practice the “squeeze test” regularly. Happy cycling!


