
Easy: How to Mount Rear Camera for Road Rides
Do you love riding your bike? Do you want to share your rides with friends? Live streaming is a fun way to do it! But how can you show what’s behind you? This is where knowing how to mount rear camera for live streaming road rides comes in handy.
Imagine your friends watching you cycle through a beautiful park. They see everything you see, and everything behind you, too! It’s like they are right there with you. Let’s learn how to set up your camera.
Key Takeaways
- Properly mounting your rear camera ensures stable and clear live streaming footage.
- Consider camera weight and aerodynamics to maintain balance while riding.
- Choose a camera with good battery life for longer road rides and live streams.
- Using the right mounts and accessories is key to how to mount rear camera for live streaming road rides.
- Test your setup before your ride to ensure the camera angle is correct.
Choosing the Right Camera for Road Rides
Selecting the best camera is the first step. You want a camera that is small and light. A heavy camera can make your bike harder to control. Look for cameras with good image stabilization. This will keep your video smooth, even on bumpy roads. Battery life is also important. You don’t want your camera to die in the middle of your live stream. Consider cameras like GoPro or DJI Osmo Action. These cameras are popular for a reason. They are reliable and offer great features. They also have many mounting options. Remember, the right camera makes all the difference. It ensures your live stream is fun to watch. Think about how viewers will experience your ride. Make it a good one!
- Choose a lightweight camera.
- Ensure good image stabilization.
- Check for long battery life.
- Look for various mounting options.
- Consider weather resistance.
Think about how you plan to use your camera. Will you only use it for live streaming? Or will you also use it for taking photos and videos? Some cameras are better for live streaming than others. Research different models and read reviews. Ask other cyclists what cameras they use. Their experiences can be very helpful. Also, consider the cost of the camera. You don’t need to buy the most expensive camera to get good results. There are many affordable options that work well. Just make sure it meets your basic needs. A little research can save you money and ensure you get the right camera for your road rides.
What Camera Features Matter Most?
What makes a camera great for live streaming on road rides? Some features are more important than others. Image stabilization is key. It keeps your video steady, even when the road is rough. A wide-angle lens can capture more of the scenery. This makes your live stream more interesting to watch. Good battery life is essential. You don’t want your camera to run out of power during your ride. Weather resistance is also important. You never know when it might rain. A waterproof camera will protect your investment. Consider these features when choosing your camera. They can make a big difference in the quality of your live stream. Think about what matters most to you and choose accordingly.
How Does Camera Weight Affect Your Ride?
The weight of your camera can affect your ride. A heavy camera can make your bike feel unbalanced. This can make it harder to control. It can also make you tired faster. Choose a lightweight camera to avoid these problems. Even a few extra ounces can make a difference. Think about where you will mount the camera. A camera mounted high up can affect your balance more. A camera mounted low down will be more stable. Consider the weight distribution of your bike. A balanced bike is easier to ride. So, choose a lightweight camera and mount it carefully. This will help you enjoy your ride more.
Why Is Battery Life So Important?
Imagine you’re halfway through a beautiful ride. You are live streaming to your friends. Suddenly, your camera dies! All that beautiful scenery is lost. This is why battery life is so important. Choose a camera with a long battery life. Or, consider bringing a power bank. A power bank can recharge your camera on the go. This will ensure you never miss a moment. Also, you can adjust the camera settings to save battery. Lowering the resolution can help. Turning off features you don’t need can also save power. Plan ahead and make sure your camera is ready for the long haul. You will be glad you did!
Fun Fact or Stat: GoPro cameras are used by over 80% of action sports enthusiasts for capturing and sharing their adventures!
Finding the Best Mounting Location
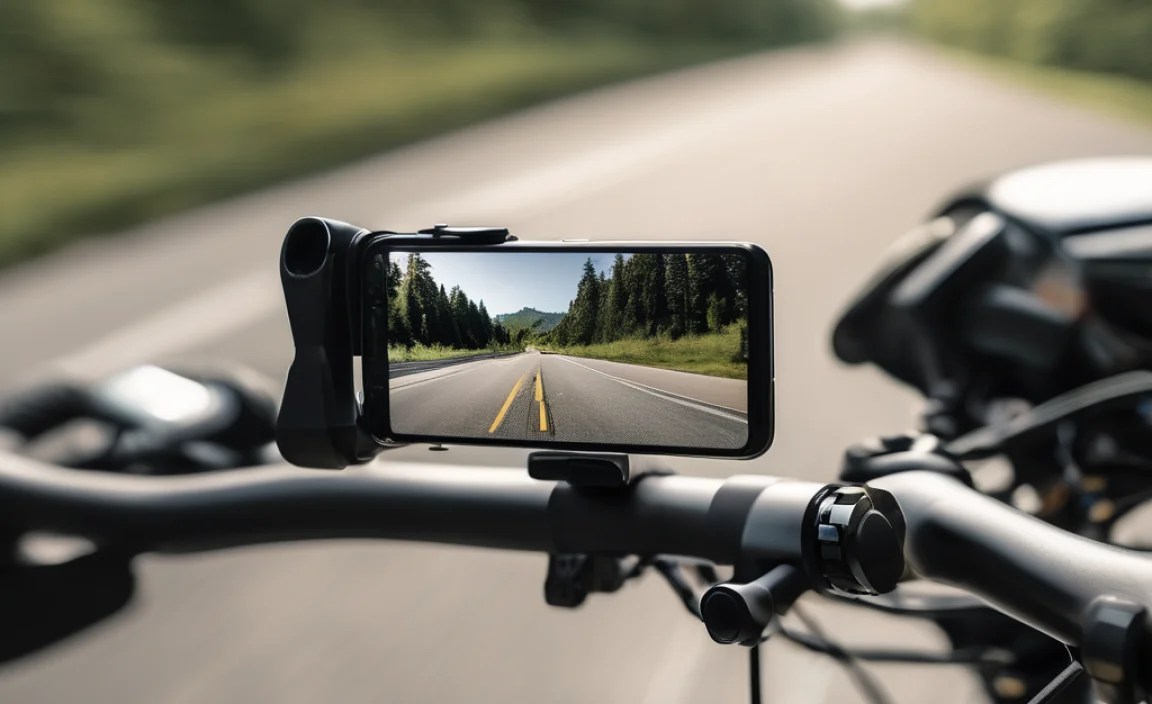
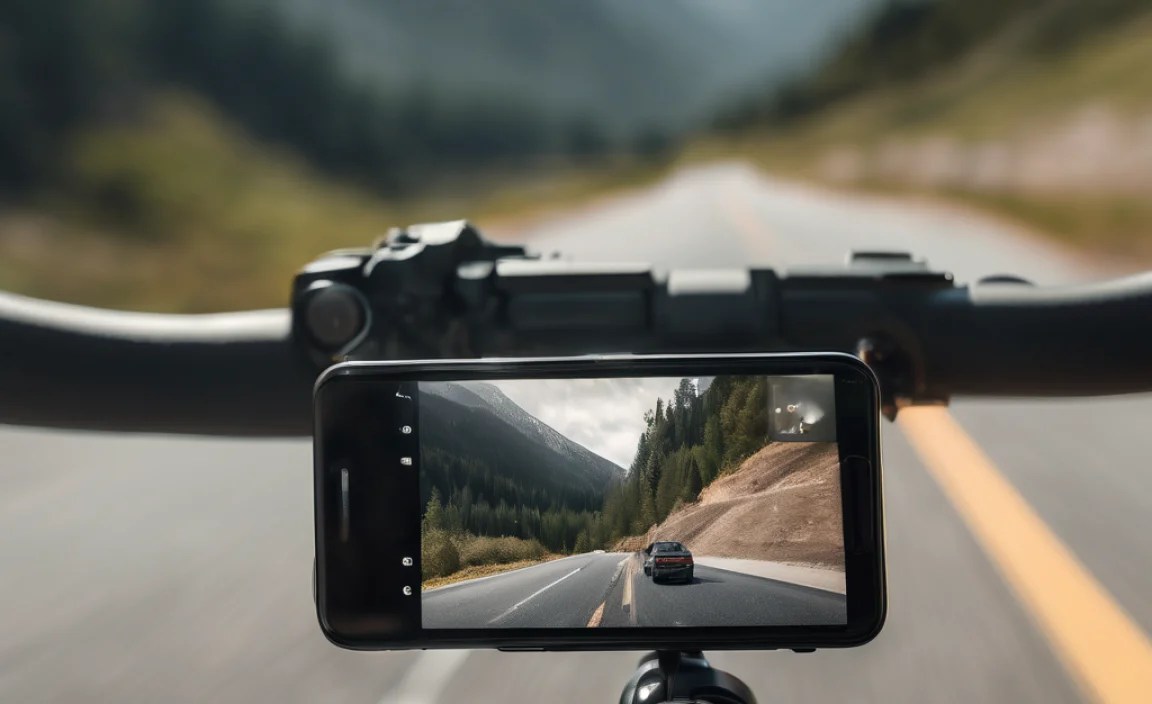
Where you mount your camera matters a lot. The location affects the video quality. It also affects your safety. A good location provides a clear view of the road. It should not block your vision. Some cyclists mount the camera on their seat post. This gives a good view of what’s behind them. Others mount it on their helmet. This provides a view similar to what you see. Consider the angle of the camera. Make sure it captures the important parts of the road. Also, make sure the mount is secure. You don’t want the camera to fall off during your ride. Test the mount before you go on a long ride. This will help you avoid problems later. Finding the right mounting location is key to a successful live stream.
- Seat post mounts offer a clear rear view.
- Helmet mounts provide a rider’s perspective.
- Handlebar mounts can be versatile.
- Frame mounts offer stability.
- Test the mount before a long ride.
- Consider the camera angle.
Think about the weather conditions. Will it be sunny or cloudy? Will it be raining? The weather can affect the video quality. If it’s sunny, you may need to adjust the camera settings. This will prevent the video from being too bright. If it’s cloudy, you may need to increase the brightness. If it’s raining, make sure your camera is waterproof. Also, consider the lighting conditions. Will you be riding in the dark? If so, you will need a camera with good low-light performance. You may also need to add a light to your bike. Planning for different conditions will help you get the best video quality. It will also keep you safe.
Seat Post Mounts: Are They Right for You?
Seat post mounts are a popular choice. They offer a clear view of what’s behind you. This can be helpful for live streaming road rides. They are easy to install and adjust. However, they may not be suitable for all bikes. Some bikes have seat posts that are too thick or too thin. Make sure the mount fits your seat post. Also, consider the angle of the camera. A seat post mount may not provide the best angle for some riders. Experiment with different positions to find the best view. If you have a compatible bike, a seat post mount can be a great option. It provides a stable and clear view of the road behind you.
Helmet Mounts: Pros and Cons
Helmet mounts offer a unique perspective. They show what you see as you ride. This can make your live stream more engaging. However, there are also some downsides. A helmet mount can add weight to your helmet. This can make it uncomfortable to wear for long periods. It can also affect your balance. The camera may also shake more on your helmet. This can result in shaky video. If you choose a helmet mount, make sure it is secure. Choose a lightweight camera to minimize the weight. Practice riding with the camera before your live stream. This will help you get used to the feel of it.
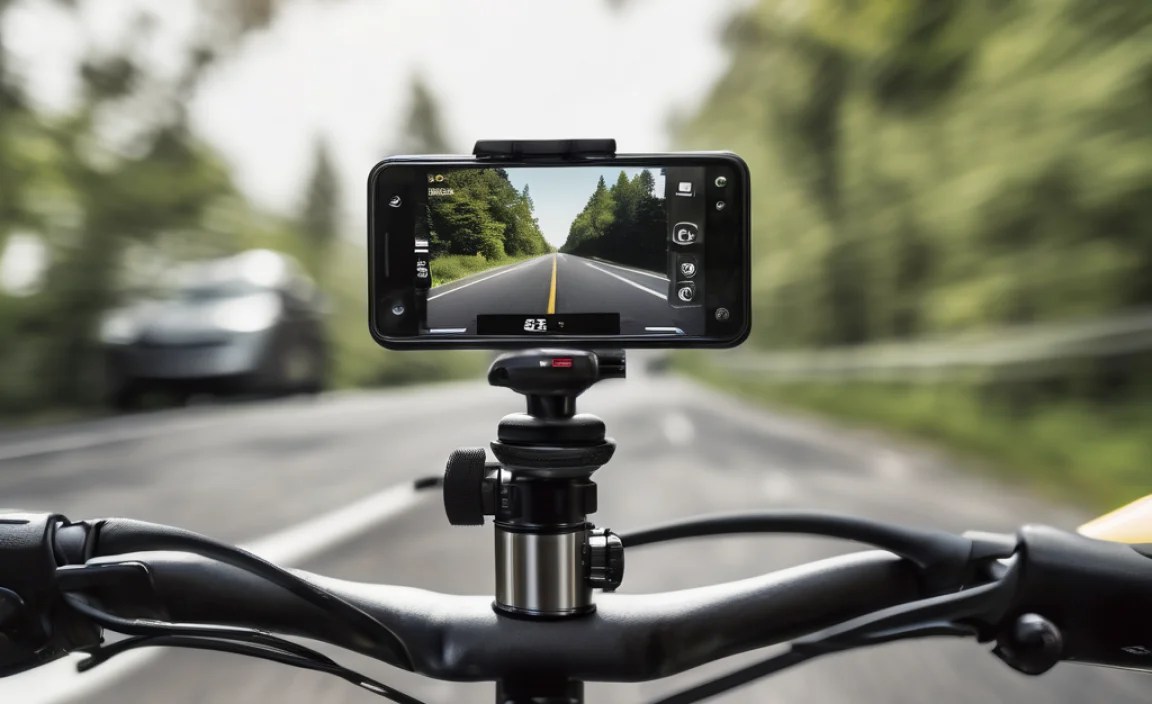
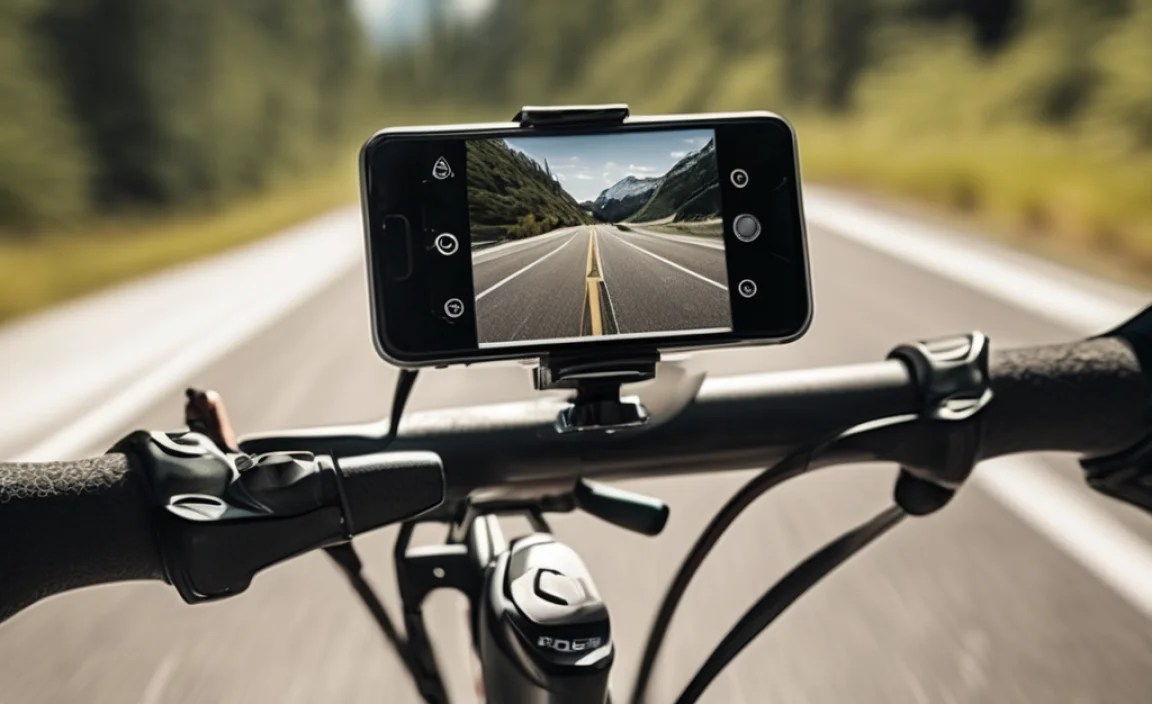
Exploring Handlebar Mounting Options
Handlebar mounts are another option. They are easy to install and adjust. They can provide a stable view of the road. However, they may block your view of the road ahead. Make sure the camera is not in your way. Also, consider the vibration. The handlebars can vibrate a lot, especially on rough roads. This can result in shaky video. Choose a mount that dampens vibration. A rubber mount can help. Also, make sure the mount is secure. You don’t want the camera to fall off during your ride. Experiment with different positions to find the best view. A handlebar mount can be a good option if you choose carefully.
Fun Fact or Stat: Studies show that videos with stable footage are watched 3x longer than videos with shaky footage!
Understanding Different Camera Mount Types
There are many types of camera mounts available. Each type has its own advantages and disadvantages. Some mounts are designed for specific cameras. Others are more universal. Some mounts are made of plastic. Others are made of metal. Metal mounts are usually more durable. Plastic mounts are usually lighter. Consider the type of riding you will be doing. If you will be riding on rough roads, you will need a durable mount. If you will be riding on smooth roads, a lighter mount may be sufficient. Research different types of mounts before you buy one. Read reviews and compare prices. The right mount will keep your camera secure and your video stable.
- Adhesive mounts are good for smooth surfaces.
- Clamp mounts attach to tubes and bars.
- Suction cup mounts offer temporary attachment.
- Tripod mounts provide stability.
- Consider the material of the mount.
- Check compatibility with your camera.
Think about how easy the mount is to install and remove. Some mounts are easy to install and remove. Others are more difficult. If you plan to move the camera frequently, choose an easy-to-use mount. Also, consider the adjustability of the mount. Can you adjust the angle of the camera? Can you rotate the camera? A more adjustable mount will give you more flexibility. This will allow you to get the perfect shot. Also, consider the price of the mount. Some mounts are very expensive. Others are more affordable. Choose a mount that fits your budget and meets your needs. A little research can save you money and ensure you get the right mount.
Adhesive Mounts: When to Use Them?
Adhesive mounts use sticky pads to attach to surfaces. They are good for smooth, flat surfaces. They are easy to install and remove. However, they may not be suitable for all surfaces. They may not stick well to rough or uneven surfaces. Also, they may not be strong enough to hold a heavy camera. If you use an adhesive mount, make sure the surface is clean. Use alcohol to clean the surface before attaching the mount. Also, let the adhesive set for a few hours before using the camera. This will ensure a strong bond. An adhesive mount can be a good option if you use it correctly.
Clamp Mounts: Versatile and Secure?
Clamp mounts use clamps to attach to tubes and bars. They are versatile and secure. They can be used on handlebars, seat posts, and other parts of your bike. However, they may not fit all tubes and bars. Make sure the clamp fits your bike. Also, consider the size of the clamp. A small clamp may not be strong enough to hold a heavy camera. A large clamp may be too bulky. Choose a clamp that is the right size for your bike and your camera. Also, make sure the clamp is tight. You don’t want the camera to fall off during your ride. A clamp mount can be a great option if you choose the right one.
Suction Cup Mounts: A Temporary Solution?
Suction cup mounts use suction to attach to surfaces. They are a temporary solution. They are easy to install and remove. However, they may not be as secure as other types of mounts. They can lose suction over time, especially in hot or humid weather. If you use a suction cup mount, make sure the surface is clean. Use a damp cloth to clean the surface before attaching the mount. Also, check the suction regularly. If the suction is weak, reattach the mount. A suction cup mount can be a good option for short rides. But it is not recommended for long or bumpy rides.
Fun Fact or Stat: The global camera mount market is expected to reach $2.5 billion by 2025, driven by the increasing popularity of action cameras!
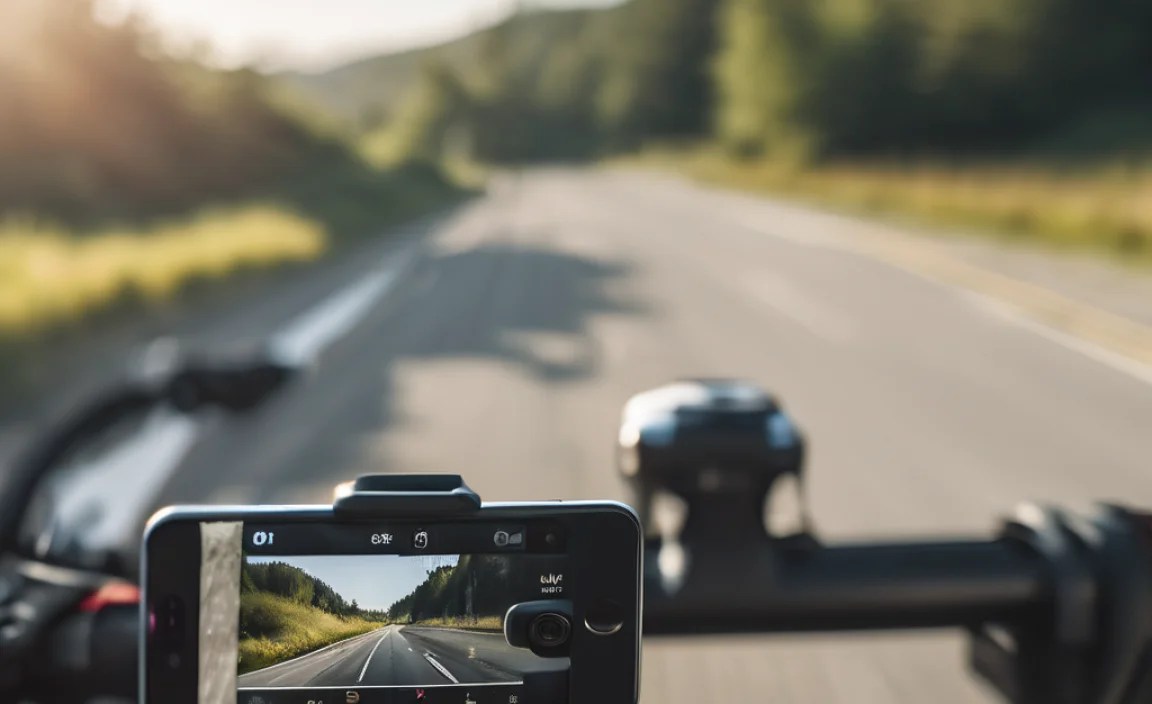
Setting Up Your Live Streaming Equipment
Setting up your live streaming equipment is important. You need more than just a camera and a mount. You also need a way to connect to the internet. A smartphone with a data plan works well. You also need a live streaming app. YouTube, Facebook, and Twitch are popular options. Make sure your phone is fully charged. Or, bring a power bank. Also, consider the audio quality. The built-in microphone on your camera may not be good enough. You may need to use an external microphone. Test your setup before you go on your ride. This will help you identify any problems. A well-prepared setup will ensure a smooth and enjoyable live streaming experience.
- Ensure a strong internet connection.
- Choose a reliable live streaming app.
- Check your microphone quality.
- Use a stable camera mount.
- Monitor battery life.
Think about the data usage of your live stream. Live streaming can use a lot of data. If you have a limited data plan, you may need to adjust the video quality. Lowering the resolution can reduce data usage. Also, consider the privacy settings of your live stream. Do you want everyone to be able to see your live stream? Or do you want to limit it to your friends? Adjust the privacy settings accordingly. Also, be aware of your surroundings. Avoid live streaming in areas where it is not allowed. Respect the privacy of others. A responsible live streamer is a good live streamer.
Choosing the Right Live Streaming App
Many live streaming apps are available. YouTube, Facebook, and Twitch are popular choices. Each app has its own features and benefits. YouTube is great for sharing videos with a wide audience. Facebook is good for connecting with friends and family. Twitch is popular for gaming and esports. Consider your goals when choosing a live streaming app. Do you want to reach a large audience? Or do you want to connect with a small group of friends? Choose an app that meets your needs. Also, consider the ease of use. Some apps are easier to use than others. Choose an app that you are comfortable with. The right app will make live streaming easier and more enjoyable.
Managing Data Usage While Live Streaming
Live streaming can use a lot of data. This can be a problem if you have a limited data plan. There are several ways to manage data usage. Lowering the resolution of your video can help. This will reduce the amount of data used per second. You can also turn off features that you don’t need. For example, you can turn off the microphone if you are not talking. You can also use Wi-Fi whenever possible. This will avoid using your mobile data. Monitor your data usage regularly. This will help you avoid exceeding your data limit. Managing data usage is important for a smooth live streaming experience.
External Microphones: Improving Audio Quality
The built-in microphone on your camera may not be good enough. It may pick up wind noise or other background noise. An external microphone can improve the audio quality. There are many types of external microphones available. Some microphones are designed for use with smartphones. Others are designed for use with cameras. Choose a microphone that is compatible with your equipment. Also, consider the type of microphone. A lavalier microphone can be clipped to your clothing. This will keep it close to your mouth. A shotgun microphone can be mounted on your camera. This will pick up sound from a distance. An external microphone can make a big difference in the quality of your live stream.
Fun Fact or Stat: Live streaming is growing at a rate of 20% per year, with mobile live streaming accounting for over 60% of all live streams!
Ensuring a Stable and Clear Video Feed
A stable and clear video feed is essential for a good live stream. Image stabilization is key. It keeps your video steady, even on bumpy roads. A good internet connection is also important. A weak internet connection can cause your video to buffer or freeze. Make sure you have a strong signal. Also, consider the lighting conditions. Poor lighting can make your video look dark and grainy. Ride during the day if possible. Or, use a light to illuminate the road ahead. A clean camera lens is also important. A dirty lens can cause your video to look blurry. Clean your lens before each ride. A stable and clear video feed will make your live stream more enjoyable to watch.
- Use image stabilization.
- Maintain a strong internet connection.
- Ensure good lighting.
- Clean your camera lens regularly.
- Adjust camera settings for optimal quality.
Think about the angle of your camera. Is it capturing the important parts of the road? Is it too high or too low? Adjust the angle as needed. Also, consider the composition of your shot. Are there any distractions in the background? Try to frame your shot in a way that is visually appealing. Also, be aware of your surroundings. Avoid pointing your camera at private property. Respect the privacy of others. A well-composed shot will make your live stream more engaging to watch. Also, it will help you avoid any problems.
Understanding Image Stabilization Techniques
Image stabilization helps keep your video steady. There are two main types of image stabilization: digital and optical. Digital image stabilization uses software to correct for camera shake. It can be effective, but it can also reduce the video quality. Optical image stabilization uses hardware to correct for camera shake. It is more effective than digital image stabilization, but it is also more expensive. Many cameras offer both digital and optical image stabilization. Experiment with different settings to find what works best for you. Image stabilization is essential for a smooth and enjoyable live stream.
Optimizing Internet Connection for Live Streaming
A strong internet connection is essential for live streaming. A weak internet connection can cause your video to buffer or freeze. There are several ways to optimize your internet connection. Close any apps that are using bandwidth. This will free up bandwidth for your live stream. Move closer to your Wi-Fi router. This will improve the signal strength. Use a wired connection if possible. This will provide a more stable connection than Wi-Fi. Test your internet speed before you start live streaming. This will help you identify any problems. A strong internet connection will ensure a smooth and reliable live stream.
Adjusting Camera Settings for Best Results
Adjusting your camera settings can improve the video quality. Experiment with different settings to find what works best for you. Adjust the resolution to balance video quality and data usage. Adjust the frame rate for smoother motion. Adjust the exposure for optimal brightness. Adjust the white balance for accurate colors. Also, consider the lighting conditions. If it’s sunny, you may need to reduce the exposure. If it’s cloudy, you may need to increase the exposure. Adjusting your camera settings can make a big difference in the quality of your live stream. Take the time to learn about your camera’s settings.
Fun Fact or Stat: 70% of viewers consider video quality to be the most important factor when watching a live stream!
Testing Your Setup Before the Ride
Testing your setup is very important. You don’t want to find out that something is not working during your ride. Before you leave, make sure your camera is fully charged. Check that your mount is secure. Test your internet connection. Start a short live stream to make sure everything is working. Check the audio and video quality. Adjust the camera angle as needed. Also, make sure you have all the necessary accessories. Bring a power bank, extra batteries, and a cleaning cloth. A well-tested setup will help you avoid problems and enjoy your ride.
| Test Item | Action | Why |
|---|---|---|
| Camera Battery | Charge fully | Avoid running out of power |
| Mount Security | Check tightness | Prevent camera from falling |
| Internet Connection | Test speed | Ensure smooth live streaming |
| Audio Quality | Record a test clip | Verify microphone is working |
- Charge your camera fully.
- Secure the camera mount tightly.
- Test your internet connection.
- Record a test video clip.
- Check audio levels.
Think about what could go wrong. What if it starts to rain? Do you have a waterproof camera or a cover? What if your battery dies? Do you have a power bank or extra batteries? What if your internet connection fails? Do you have a backup plan? Prepare for the unexpected. This will help you stay calm and deal with any problems that arise. A little preparation can go a long way. It can turn a potentially stressful situation into a minor inconvenience. Be prepared for anything, and you will be ready for anything.
Checking Battery Life and Power Options
Battery life is very important for live streaming. Make sure your camera is fully charged before you start your ride. Also, consider bringing a power bank. A power bank can recharge your camera on the go. This will ensure you don’t run out of power. There are many power banks available. Choose one that is compatible with your camera. Also, consider the capacity of the power bank. A higher capacity power bank will provide more power. Test your power bank before you use it. Make sure it is working properly. Battery life is essential for a successful live stream.
Securing the Camera Mount: A Safety Check
Securing the camera mount is very important for safety. You don’t want your camera to fall off during your ride. This could damage the camera or cause an accident. Before you start your ride, check the camera mount. Make sure it is tight and secure. Use the appropriate tools to tighten the mount. Don’t overtighten the mount, as this could damage it. Also, check the mount regularly during your ride. If you notice any looseness, stop and tighten the mount. A secure camera mount will keep your camera safe and prevent accidents.
Performing a Test Live Stream: Identifying Issues
Performing a test live stream is a great way to identify any issues before your ride. Start a short live stream and check the audio and video quality. Make sure the camera angle is correct. Check the internet connection. Look for any problems. Are there any glitches in the video? Is the audio clear? Is the internet connection stable? If you find any problems, fix them before you start your ride. A test live stream can save you a lot of headaches later. It will help you ensure a smooth and enjoyable live streaming experience.
Fun Fact or Stat: Cyclists who test their equipment before a ride report 50% fewer technical issues during their actual rides!
Summary
Live streaming your road rides can be a fun and rewarding experience. Choosing the right camera, finding the best mounting location, and setting up your equipment correctly are important steps. Securing a stable video feed and testing your setup before you ride will ensure a smooth and enjoyable live stream. Knowing how to mount rear camera for live streaming road rides allows you to share your adventures with friends and family. You can show them the beautiful scenery and exciting moments of your ride. With a little planning and preparation, you can create a memorable live streaming experience.
Conclusion
Live streaming your road rides is easier than you think. By following these simple steps, you can share your adventures with the world. Remember to choose the right camera, find a secure mount, and test your setup before you go. Now that you know how to mount rear camera for live streaming road rides, you are ready to hit the road and start live streaming! Have fun and be safe!
Frequently Asked Questions
Question No 1: What type of camera is best for live streaming road rides?
Answer: Action cameras like GoPros or DJI Osmo Action are popular choices. These cameras are small, lightweight, and durable. They also have good image stabilization. Image stabilization is very important for live streaming on bumpy roads. Look for a camera with long battery life. You don’t want your camera to die in the middle of your ride. Also, consider the mounting options. Make sure the camera has a variety of mounting options available. This will allow you to find the best mounting location for your bike. Choose a camera that meets your needs and fits your budget.
Question No 2: Where is the best place to mount a rear camera for live streaming?
Answer: The best mounting location depends on your bike and your preferences. A seat post mount is a popular choice. It provides a clear view of what’s behind you. A helmet mount is another option. It provides a view similar to what you see. However, it can add weight to your helmet. A handlebar mount is also an option. But it may block your view of the road ahead. Experiment with different locations to find what works best for you. Make sure the mount is secure and does not interfere with your riding.
Question No 3: What kind of internet connection do I need for live streaming?
Answer: You need a strong and stable internet connection for live streaming. A 4G or 5G connection is usually sufficient. However, the signal strength can vary depending on your location. If possible, use a Wi-Fi connection. This will provide a more stable and reliable connection. Close any apps that are using bandwidth. This will free up bandwidth for your live stream. Test your internet speed before you start live streaming. This will help you identify any problems. A good internet connection is essential for a smooth live streaming experience.
Question No 4: How do I manage data usage while live streaming?
Answer: Live streaming can use a lot of data. To manage data usage, lower the resolution of your video. This will reduce the amount of data used per second. You can also turn off features that you don’t need. For example, you can turn off the microphone if you are not talking. Use Wi-Fi whenever possible. This will avoid using your mobile data. Monitor your data usage regularly. This will help you avoid exceeding your data limit. Check with your mobile carrier about data plans and overage charges. Being mindful of data is key to how to mount rear camera for live streaming road rides without extra costs.
Question No 5: How do I improve the audio quality of my live stream?
Answer: The built-in microphone on your camera may not be good enough. It may pick up wind noise or other background noise. An external microphone can improve the audio quality. There are many types of external microphones available. Choose one that is compatible with your equipment. A lavalier microphone can be clipped to your clothing. A shotgun microphone can be mounted on your camera. Experiment with different microphones to find what works best for you. Good audio quality will make your live stream more enjoyable to watch.
Question No 6: What accessories do I need for live streaming road rides?
Answer: In addition to a camera and a mount, you may need some other accessories. A power bank can recharge your camera on the go. Extra batteries will ensure you don’t run out of power. A cleaning cloth will keep your camera lens clean. A waterproof case will protect your camera from the rain. An external microphone will improve the audio quality. A helmet or a bike computer can also be helpful. Choose accessories that meet your needs and fit your budget. Having the right accessories can make how to mount rear camera for live streaming road rides easier and more successful.


