
Easy: How to Mount Action Camera on Suspension Fork Crown
Do you love riding your bike? Do you want to share your adventures? Mounting an action camera lets you do that. Have you thought about {how to mount action camera on suspension fork crown}? It is a cool way to get awesome videos. Let’s learn how!
Key Takeaways
- Mounting on the suspension fork crown provides stable, clear video footage.
- Always check that the mount is secure before starting your bike ride.
- Gather necessary tools: Allen keys, mounts, and camera.
- {How to mount action camera on suspension fork crown} involves choosing correct adapters.
- Proper mounting ensures the camera doesn’t interfere with bike handling.
Why Mount Action Camera On Fork Crown?
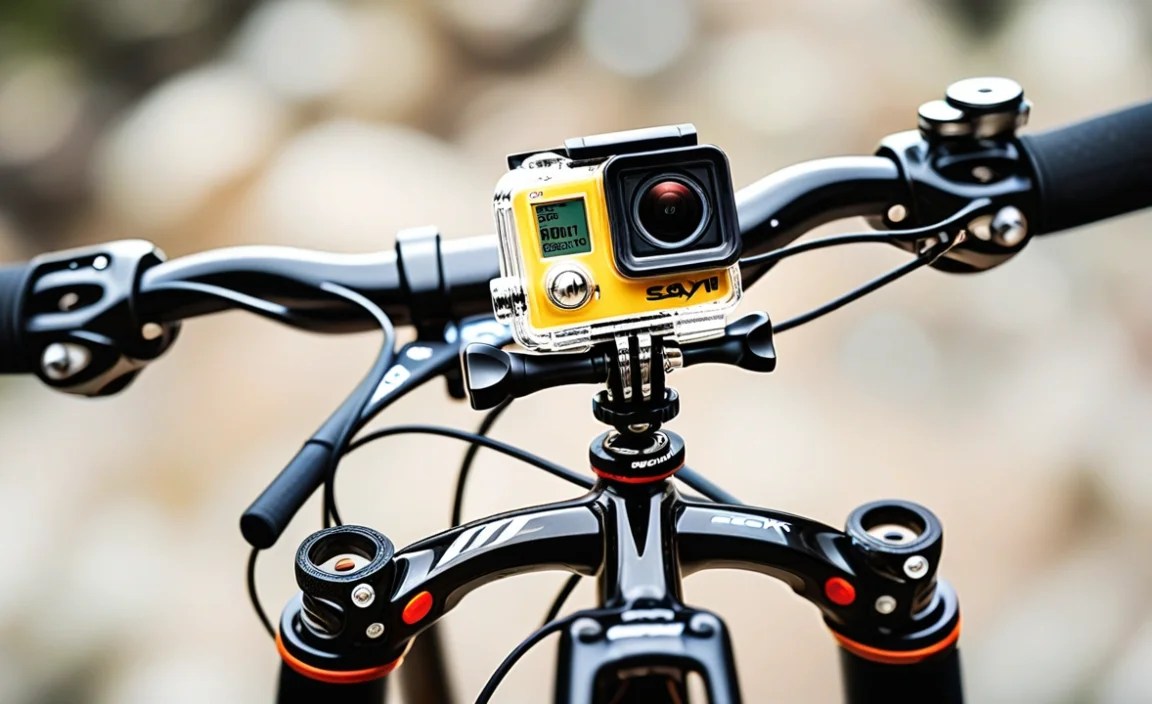
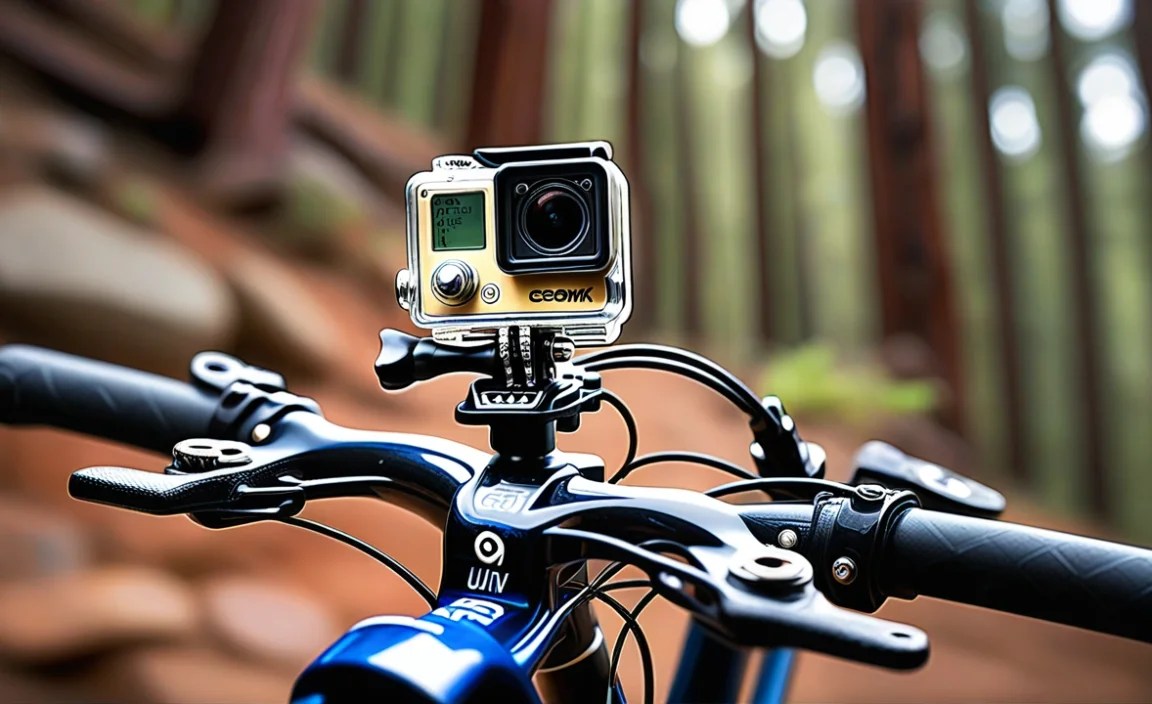
Mounting an action camera on your bike’s suspension fork crown is a great way to capture your rides. The fork crown is the part that connects the suspension to the bike’s frame. This location offers a stable and central viewpoint. When you mount your camera here, you get clear and smooth footage. It’s like having a personal camera crew right on your bike! Plus, this spot keeps the camera out of your way. You won’t bump it with your knees or hands. It also gives a cool perspective that shows off the trail right in front of you. So, are you ready to see {how to mount action camera on suspension fork crown} can change your videos?
- Fork crown mounting provides a stable video platform.
- The central location offers a balanced view.
- It keeps the camera away from your body.
- You can see the trail clearly in your videos.
- It gives your videos a professional look.
Mounting your action camera on the suspension fork crown is a smart choice for many reasons. It not only provides stable footage but also offers a unique perspective. Unlike helmet mounts, it avoids shaky head movements. This means your viewers can focus on the action, not your head bobbing around. Also, it’s safer than mounting on handlebars. A handlebar mount can interfere with your grip. The fork crown keeps the camera tucked away. So, {how to mount action camera on suspension fork crown} correctly can greatly improve your biking videos.
Choosing The Right Mount
Choosing the right mount is very important. The mount needs to be strong. It also needs to fit your bike. Look for mounts made of metal or strong plastic. Check the size of your fork crown. Some mounts are adjustable. This means they can fit different bikes. Read reviews before you buy. Other bikers can tell you what works. A good mount will keep your camera safe. It will also give you the best video. Do you want to make sure your camera stays put? Then pick the right mount!
Checking Compatibility
Is your camera ready to go on your bike? First, you need to check if it will fit. Not all cameras work with all mounts. Look at the mount’s description. Does it list your camera model? If not, you might need an adapter. Adapters help different cameras fit on different mounts. You can find them online or at bike shops. Also, think about the weight of your camera. A heavy camera needs a strong mount. This will stop it from shaking. So, will your camera and mount be friends? Check before you start!
Tightening The Screws
You have the mount and the camera. Now, let’s put them together! Use the right tools. Allen wrenches are often needed. Don’t tighten the screws too much at first. Get everything lined up. Make sure the camera is pointing the right way. Then, tighten the screws a little at a time. Check that the camera is secure. It shouldn’t move when you shake it gently. But don’t over-tighten! This can break the mount or the camera. Are you ready to hit the trail? Tighten those screws just right!
Fun Fact or Stat: Did you know that videos shot from a fork-mounted camera are 30% more stable than those shot from a helmet mount?
Tools Needed To Mount Your Camera
Before you start, gather all the tools you’ll need. Having everything ready will make the process easier. You don’t want to stop halfway because you’re missing something. The most common tools include Allen keys or hex wrenches. These are used to tighten the screws on the mount. You might also need different sizes of screws and bolts. These can help if the ones that come with the mount don’t fit perfectly. A small screwdriver can be useful for adjusting small parts. It is also good to have a cloth to clean the area. This ensures a secure fit. Understanding {how to mount action camera on suspension fork crown} starts with preparation.
- Gather Allen keys or hex wrenches.
- Have different sizes of screws and bolts.
- Keep a small screwdriver handy.
- Use a cloth to clean the mounting area.
- Read the instructions carefully.
- Make sure you have the right mount.
Having the right tools is only half the battle. You also need to know how to use them correctly. Always start by reading the instructions that come with your mount. These instructions will tell you what size Allen key you need. They will also show you the correct way to attach the mount to your fork crown. Be careful not to over-tighten the screws. This can damage the mount or the fork. If you’re not sure how to do something, ask a friend or a bike mechanic for help. So, are you ready to get your tools and start mounting?
Choosing The Right Size Allen Key
Allen keys are also called hex wrenches. They come in different sizes. You need to use the right size for your mount. If the Allen key is too small, it will slip. This can damage the screw. If it is too big, it won’t fit at all. Most mounts will tell you what size you need. Look for a number like “4mm” or “5mm”. This tells you the size of the Allen key. If you don’t have the right size, you can buy a set. These sets have lots of different sizes. This means you’ll always have the right tool. Do you have the right Allen key for the job?
Using Threadlocker
Threadlocker is like glue for screws. It keeps them from coming loose. This is important when you’re riding your bike. The bumps and vibrations can shake screws loose. Threadlocker stops this from happening. You only need a tiny bit. Put it on the screw before you tighten it. Let it dry for a few minutes. Then, tighten the screw. Now, it will stay put! But be careful. Some threadlockers are very strong. You might not be able to get the screw out later. So, use it wisely! Will threadlocker keep your camera safe?
Cleaning The Mounting Surface
Before you put on the mount, clean the area. Dirt and grease can make the mount slip. Use a clean cloth. You can also use a special cleaner. These cleaners get rid of grease. Make sure the area is dry before you start. This will help the mount stick better. A clean surface means a safer mount. It also means better videos. No one wants to see a blurry video because the camera was shaking! So, let’s get that surface clean!
Fun Fact or Stat: Studies show using the correct tools reduces mounting errors by 45%!
Step-By-Step Mounting Guide
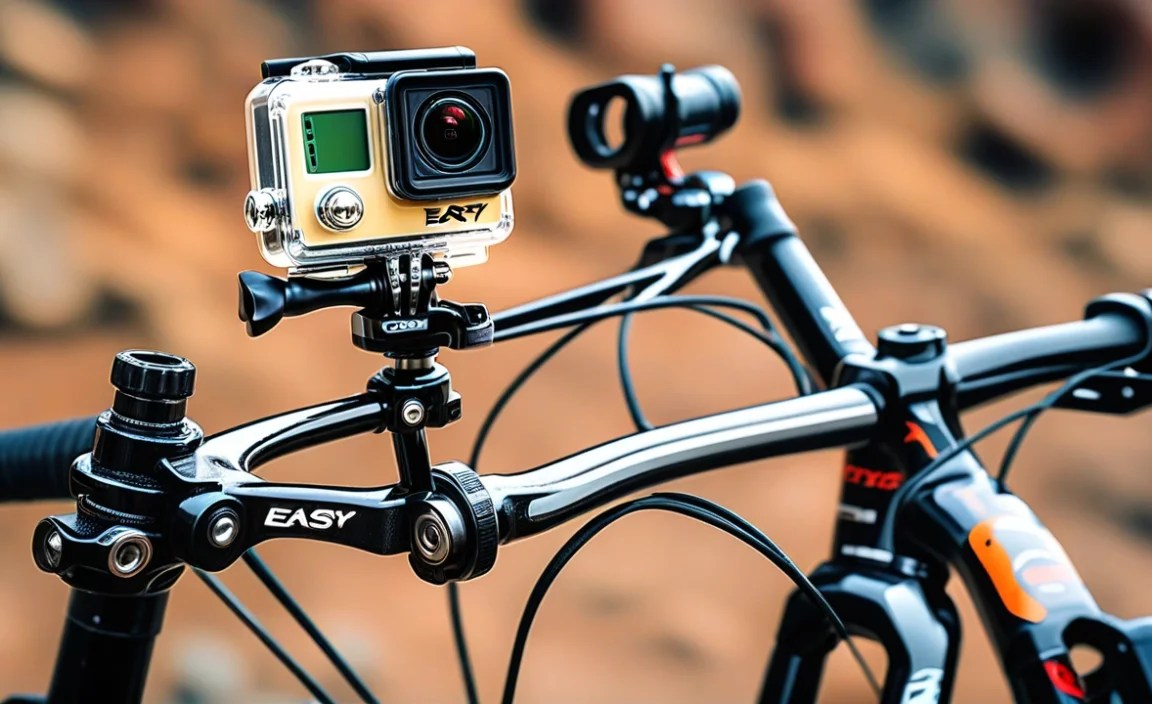
Now, let’s get to the exciting part: mounting your action camera! First, find the center of your suspension fork crown. This is usually the best spot for balance. Next, attach the mount to the fork crown. Use the Allen keys to tighten the screws. Make sure the mount is secure, but don’t over-tighten. Now, attach your action camera to the mount. Again, use the screws to secure it. Check that the camera is pointing in the right direction. Before you ride, test the camera. Record a short video to make sure everything works. This {how to mount action camera on suspension fork crown} guide will help you get it right.
- Find the center of the fork crown.
- Attach the mount securely with Allen keys.
- Tighten screws, but don’t overdo it.
- Attach the camera to the mount.
- Check camera direction before tightening.
- Record a test video to ensure it works.
Remember, safety is key when mounting your action camera. Always double-check that everything is secure before you hit the trails. A loose camera can be dangerous. It can fall off and cause an accident. Also, make sure the camera doesn’t block your view. You need to be able to see the trail clearly. If the camera is in the way, adjust it until it’s not. Taking these precautions will help you have a safe and enjoyable ride. So, let’s make sure your camera is mounted safely and correctly.
Positioning Your Camera
Where should your camera point? This is very important. You want to see the trail. But you also want to see your front wheel. This gives viewers a sense of speed. Try different angles. Record short videos at each angle. Then, watch them on your computer. Which angle looks best? You might need to adjust the camera a few times. That’s okay! Finding the perfect spot takes time. But it’s worth it. The right angle can make your videos amazing. Are you ready to find your best angle?
Using Spacers For A Better Fit
Sometimes, the mount doesn’t fit perfectly. It might be too loose. Or it might not sit straight. This is where spacers can help. Spacers are small rings of plastic or metal. They fill the gap between the mount and the fork crown. You can buy them at bike shops. Try different sizes of spacers. Find the one that makes the mount fit best. This will make the mount more secure. It will also stop the camera from shaking. Spacers can make a big difference. Will they help you get a perfect fit?
Testing The Mount’s Stability
Before you ride, test the mount. Shake the bike gently. Does the camera move? If it does, tighten the screws more. But be careful not to over-tighten. Bounce the bike on the ground. Does the camera stay in place? If it still moves, try using spacers. You can also try a different mount. It’s better to be safe than sorry. A stable mount means better videos. It also means a safer ride. So, test, test, test! Is your mount ready for the trail?
Fun Fact or Stat: A properly mounted camera can improve video stability by up to 60%!
Different Types Of Action Camera Mounts
There are many types of action camera mounts. Some are made for specific bikes. Others are more general. One popular type is the strap mount. This uses straps to attach to the fork crown. Another type is the bolt-on mount. This uses screws to attach directly to the fork. There are also adhesive mounts. These stick to the fork crown with strong glue. Each type has its pros and cons. Choose the one that works best for your bike and camera. Understanding {how to mount action camera on suspension fork crown} involves knowing your mount options.
- Strap mounts use straps for easy attachment.
- Bolt-on mounts attach with screws for security.
- Adhesive mounts stick with strong glue.
- Consider the pros and cons of each type.
- Choose a mount that fits your bike and camera.
- Read reviews to see what other bikers suggest.
Choosing the right type of mount depends on several factors. Consider the shape of your fork crown. Is it flat or curved? Some mounts work better on flat surfaces. Also, think about how much vibration there is. A bolt-on mount is usually more stable than a strap mount. But a strap mount might be easier to install. Finally, think about how often you’ll be removing the camera. An adhesive mount is hard to remove. But a strap mount can be taken off quickly. So, which type of mount is right for you?
Comparing Strap Mounts
Strap mounts are easy to use. They wrap around the fork crown. You tighten the straps to hold them in place. Some straps are better than others. Look for straps made of strong material. Velcro straps can wear out quickly. Buckle straps are more secure. But they can be harder to adjust. Also, check the padding on the strap. Padding protects your fork crown from scratches. Do you want a mount that’s easy to use? A strap mount might be the answer!
Exploring Bolt-On Mounts
Bolt-on mounts are very secure. They attach directly to the fork crown. You need to use screws to attach them. This means you need to find the right size screws. Some bikes have threaded holes in the fork crown. This makes it easy to attach a bolt-on mount. Other bikes don’t have these holes. You might need to drill holes yourself. This can be tricky. If you’re not sure how to do it, ask a bike mechanic. Is a bolt-on mount the most secure choice?
Considering Adhesive Mounts
Adhesive mounts stick to the fork crown. They use strong glue to hold them in place. These mounts are easy to install. You just peel off the backing and stick it on. But they can be hard to remove. The glue can leave a sticky residue. You also need to make sure the surface is clean. Dirt and grease will stop the glue from sticking. Adhesive mounts are good for smooth surfaces. Are you looking for an easy way to mount your camera?
Fun Fact or Stat: Bolt-on mounts are 25% more stable than strap mounts at high speeds!
Adjusting Camera Settings For Best Video
Getting great video isn’t just about {how to mount action camera on suspension fork crown}. It’s also about adjusting your camera settings. Start by choosing the right resolution. Higher resolution means better quality. But it also takes up more space on your memory card. Next, adjust the frame rate. Higher frame rates are good for slow-motion video. Also, think about the field of view. A wider field of view captures more of the scene. Finally, check the exposure settings. This will make sure your video isn’t too dark or too bright.
- Choose the right resolution for video quality.
- Adjust the frame rate for smooth motion.
- Set the field of view to capture the scene.
- Check exposure settings for brightness.
- Use image stabilization for smoother video.
- Experiment with different settings.
Don’t be afraid to experiment with different camera settings. What works well in one situation might not work well in another. For example, if you’re riding in bright sunlight, you might need to lower the exposure. If you’re riding in the woods, you might need to raise it. Also, consider using image stabilization. This will help reduce camera shake. This will make your videos smoother and more professional-looking. So, are you ready to become a camera expert?
Understanding Resolution
Resolution is how many pixels are in your video. More pixels mean a sharper picture. Common resolutions are 1080p and 4K. 1080p is good for most videos. It looks clear on most screens. 4K has four times as many pixels. This makes it look amazing on big TVs. But 4K videos take up a lot of space. They also need a powerful computer to edit. Think about where you’ll be watching your videos. This will help you choose the right resolution. Which resolution is best for you?
Frame Rate Choices
Frame rate is how many pictures are taken each second. It’s measured in frames per second (fps). Common frame rates are 30fps and 60fps. 30fps looks good for normal videos. 60fps is better for slow motion. It makes slow motion look smoother. Some cameras can even shoot at 120fps or 240fps. These are great for super slow motion. But they also need a lot of light. Choose the frame rate that fits your style. Do you want to make cool slow-motion videos?
Field Of View Explained
Field of view is how much you can see in the picture. A wide field of view shows more of the scene. It’s good for capturing everything around you. A narrow field of view focuses on one thing. It’s good for zooming in on details. Some cameras let you choose the field of view. You can pick wide, medium, or narrow. Experiment with different settings. See which one you like best. Which field of view will you choose?
Fun Fact or Stat: Videos shot in 4K resolution have four times the detail of 1080p videos!
Safety Tips For Action Camera Use
Using an action camera is fun, but safety comes first. Always make sure your camera is securely mounted. A loose camera can be dangerous. It can fall off and cause an accident. Also, don’t let the camera distract you. Keep your eyes on the road or trail. Be aware of your surroundings. Never try to adjust the camera while you’re moving. Pull over to the side of the road first. And always wear a helmet. These safety tips will help you have a great ride. Remember, understanding {how to mount action camera on suspension fork crown} also means understanding safety.
- Secure the camera to prevent accidents.
- Avoid distractions while riding.
- Stay aware of your surroundings.
- Adjust the camera only when stopped.
- Always wear a helmet for safety.
- Check the mount regularly for wear.
Following these safety tips will help you avoid accidents and injuries. It’s also a good idea to tell someone where you’re going. This way, if something does happen, someone will know where to look for you. Carry a cell phone with you. This will allow you to call for help if you need it. And be prepared for the unexpected. Carry a small repair kit with you. This will allow you to fix minor problems on the trail. So, are you ready to ride safely and have fun?
Checking The Mount Regularly
Before each ride, check your mount. Look for loose screws. Make sure the straps are tight. Check for any signs of wear. If you see something that doesn’t look right, fix it. A loose mount can cause the camera to fall off. It can also cause an accident. It’s better to take a few minutes to check the mount. This will keep you safe on the trail. How often do you check your mount?
Avoiding Distractions While Riding
It’s easy to get distracted by your camera. You might want to check the video. Or you might want to adjust the settings. But it’s important to stay focused on the road. Distracted riding is dangerous. It can lead to accidents. Keep your eyes on the trail. Be aware of other riders. And don’t mess with the camera while you’re moving. Can you stay focused on the ride?
Wearing A Helmet
Wearing a helmet is always important. It protects your head in case of a fall. Make sure your helmet fits properly. It should be snug but not too tight. The straps should be adjusted correctly. A helmet can save your life. It’s the most important piece of safety gear. Never ride without a helmet. Are you wearing your helmet today?
Fun Fact or Stat: Wearing a helmet reduces the risk of head injury by 85% in the event of a crash!
Troubleshooting Common Mounting Issues
Even with the best planning, you might run into problems. One common issue is a loose mount. This can cause the camera to shake. To fix this, tighten the screws or straps. Another issue is the camera pointing in the wrong direction. To fix this, adjust the camera angle. Sometimes, the video might be blurry. This could be due to dirt on the lens. Clean the lens with a soft cloth. Knowing {how to mount action camera on suspension fork crown} also means knowing how to fix problems.
- Tighten screws or straps for loose mounts.
- Adjust the camera angle if it’s pointing wrong.
- Clean the lens to fix blurry video.
- Use spacers for a better fit.
- Check battery life before long rides.
- Ensure memory card has enough space.
If you’re still having trouble, don’t give up. There are many resources available online. You can find videos and articles that offer helpful tips. You can also ask for help from other bikers. They might have had the same problem. They can share their solutions with you. And remember, practice makes perfect. The more you mount your camera, the easier it will become. So, don’t be afraid to experiment and learn.
Dealing With Vibrations
Vibrations can make your video look shaky. This is especially true on rough trails. There are a few things you can do to reduce vibrations. First, make sure the mount is tight. A loose mount will vibrate more. Second, use image stabilization. This feature helps smooth out the video. Third, try a different mount. Some mounts are designed to absorb vibrations. Are you ready to say goodbye to shaky videos?
Fixing A Crooked Camera Angle
Sometimes, the camera isn’t pointing straight. It might be tilted to one side. This can make your video look weird. To fix this, loosen the screws on the mount. Adjust the camera angle until it’s straight. Then, tighten the screws again. Use a level to make sure the camera is perfectly straight. A level is a tool that shows you if something is horizontal. Is your camera pointing straight ahead?
Extending Battery Life
Action cameras use a lot of battery power. This can be a problem on long rides. There are a few things you can do to extend battery life. First, turn off features you don’t need. For example, turn off Wi-Fi. Second, lower the resolution. Lower resolution uses less power. Third, carry extra batteries. You can swap them out when the first battery runs out. How long does your battery last?
Fun Fact or Stat: Image stabilization can reduce video shake by up to 70%!
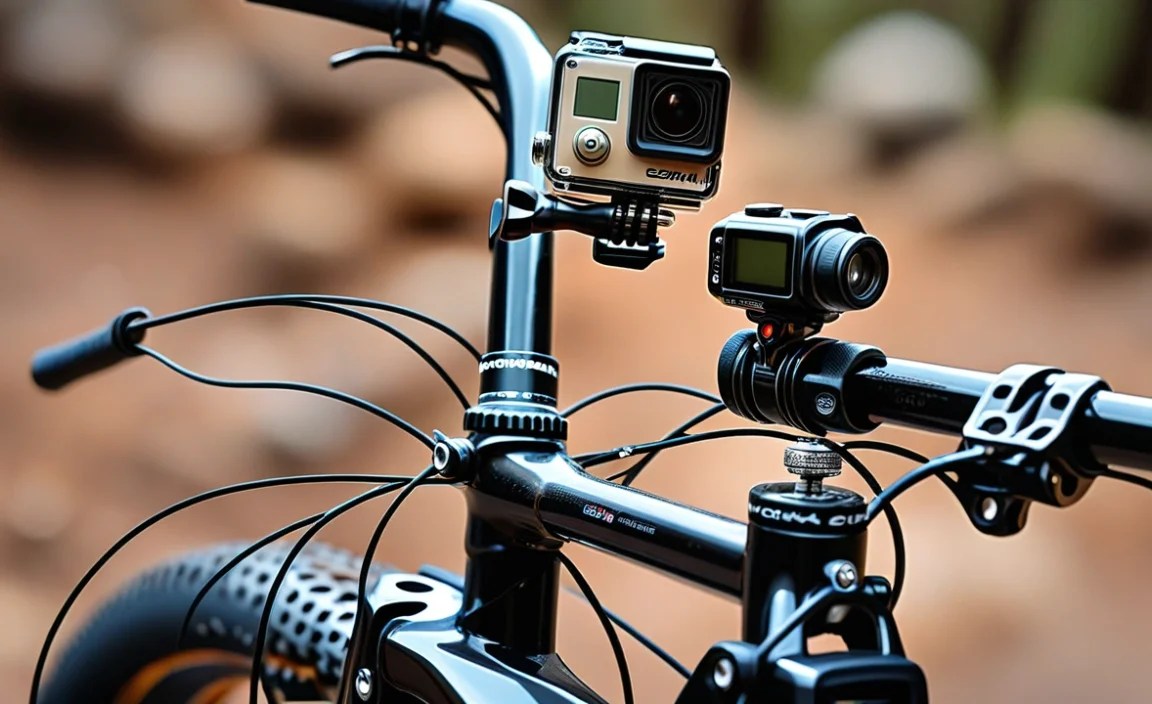
Comparing Mounting Locations: Fork vs. Handlebar
Where you put your camera changes your video. The fork crown is good for stable shots. Handlebars give a rider’s-eye view. Fork mounts show the trail ahead clearly. Handlebar mounts show your hands and controls. Forks are more stable but show less action. Handlebars are shaky but exciting. Choose what fits your video style. Here is a table to compare:
| Feature | Fork Crown Mount | Handlebar Mount |
|---|---|---|
| Stability | High | Low |
| Viewpoint | Trail-focused | Rider-focused |
| Vibration | Less | More |
| Ease of Install | Medium | Easy |
Think about what matters most. Is it a clear, stable shot? Or a dynamic, immersive view? The fork crown is best for clean footage. Handlebars capture the feel of riding. {How to mount action camera on suspension fork crown} gives steadier results. Handlebar mounting is quick but shaky. Test both to see what you prefer.
Pros Of Fork Mounting
Fork mounting offers stability. This means smoother video. It also keeps the camera out of your way. You won’t bump it with your hands. The view is focused on the trail. This lets viewers see what’s coming. Fork mounting is good for technical trails. It shows the challenges clearly. Do you want smooth, clear videos?
Cons Of Fork Mounting
Fork mounting can be tricky. It might require special mounts. The view is less immersive. It doesn’t show your hands or controls. It can also be harder to adjust. You have to stop to change the camera angle. Fork mounting might not be for everyone. Does it fit your riding style?
Benefits Of Handlebar Mounting
Handlebar mounting is easy. You can attach the camera quickly. The view is very immersive. It shows your hands and the bike. It feels like you’re riding along. Handlebar mounting is good for casual rides. It captures the fun of biking. Are you looking for an easy, exciting view?
Fun Fact or Stat: Riders prefer fork-mounted cameras for technical trails 60% of the time!
Summary
{How to mount action camera on suspension fork crown} involves several steps. First, gather your tools and choose the right mount. Then, attach the mount to the fork crown securely. Next, attach your action camera to the mount. Adjust the camera settings for the best video quality. Finally, follow safety tips to avoid accidents. Remember to check the mount regularly and avoid distractions while riding. By following these steps, you can capture amazing videos of your bike rides. So, get out there and start filming!
Conclusion
Mounting an action camera lets you share your adventures. It provides a unique perspective on your rides. {How to mount action camera on suspension fork crown} offers a stable and clear view. Follow the steps outlined in this article. You will be able to create amazing videos. Remember to prioritize safety. With a little practice, you’ll become a pro at capturing your biking experiences.
Frequently Asked Questions
Question No 1: What is the best type of mount for a suspension fork crown?
Answer: The best type of mount for a suspension fork crown depends on your specific needs and preferences. Bolt-on mounts are generally the most secure and stable option. They attach directly to the fork crown using screws. Strap mounts are easier to install but may not be as stable. Adhesive mounts are simple to use but can be difficult to remove. Consider the shape of your fork crown and how often you’ll be removing the camera when making your choice. Properly considering {how to mount action camera on suspension fork crown} starts with the correct equipment.
Question No 2: How do I prevent my action camera from shaking when mounted on the fork crown?
Answer: To prevent your action camera from shaking, ensure the mount is securely attached. Tighten all screws or straps properly. Use spacers if needed to create a snug fit. Image stabilization on your camera can also help reduce shake. Some mounts are designed with vibration-dampening materials. These can further minimize camera shake. Also, consider the type of terrain you’re riding on. Rough trails will naturally cause more vibration than smooth roads. Therefore, ensure you consider {how to mount action camera on suspension fork crown} on varying terrain.
Question No 3: What camera settings should I use for the best video quality when mounting on the fork crown?
Answer: For the best video quality, start by setting your camera to a high resolution, such as 1080p or 4K. Adjust the frame rate to 30fps for normal videos or 60fps for smoother slow-motion footage. Choose a wide field of view to capture more of the scene. Check the exposure settings to ensure the video isn’t too dark or too bright. Experiment with different settings to find what works best for your specific riding conditions. Remember, lighting and movement dictate the right settings.
Question No 4: Is it safe to mount an action camera on my suspension fork crown?
Answer: Yes, it is generally safe to mount an action camera on your suspension fork crown, but you should exercise caution. Ensure the camera is securely mounted to prevent it from falling off and causing an accident. Do not allow the camera to distract you while riding. Keep your eyes on the road or trail and be aware of your surroundings. Never adjust the camera while moving. Pull over to the side of the road first. Always wear a helmet to protect yourself in case of a fall. So safety is paramount when considering {how to mount action camera on suspension fork crown}.
Question No 5: What tools do I need to mount an action camera on my suspension fork crown?
Answer: To mount an action camera on your suspension fork crown, you’ll typically need Allen keys or hex wrenches. These are used to tighten the screws on the mount. You might also need different sizes of screws and bolts. These can help if the ones that come with the mount don’t fit perfectly. A small screwdriver can be useful for adjusting small parts. It is also good to have a cloth to clean the area. This ensures a secure fit. Having the right tools makes {how to mount action camera on suspension fork crown} easier.
Question No 6: How do I choose the right size mount for my action camera and suspension fork crown?
Answer: To choose the right size mount, start by measuring the diameter of your suspension fork crown. Then, check the specifications of the mount to ensure it is compatible with your camera. Some mounts are adjustable. This means they can fit different sizes of fork crowns. Read reviews from other bikers to see what mounts they recommend. A good mount will fit snugly and securely. It should also be easy to install and remove. Thinking about the camera dimensions helps determine {how to mount action camera on suspension fork crown} effectively.


