
How to Mount Cycling Computer on MTB Bar Conversion
Have you ever seen a cool bike with a screen on the handlebars? That screen is likely a cycling computer. It tells you how fast you are going. It can also show how far you have ridden. But what if you change your bike’s handlebars? What if you want to know how to mount cycling computer on MTB bar with drop bar conversion?
It can be tricky to attach a computer to different handlebars. Some bikes have flat handlebars. Others have curved ones. This article will help you learn how to put your computer on any bike. Let’s get started and make your bike even more awesome!
Key Takeaways
- Proper mounting ensures you can easily see your cycling data while riding.
- Different mounts exist for various handlebar types and cycling computer models.
- Consider stem mounts and out-front mounts for better visibility and aerodynamics.
- Knowing how to mount cycling computer on MTB bar with drop bar conversion is essential.
- Always ensure the mount is secure to prevent the computer from falling off.
Understanding MTB and Drop Bar Differences
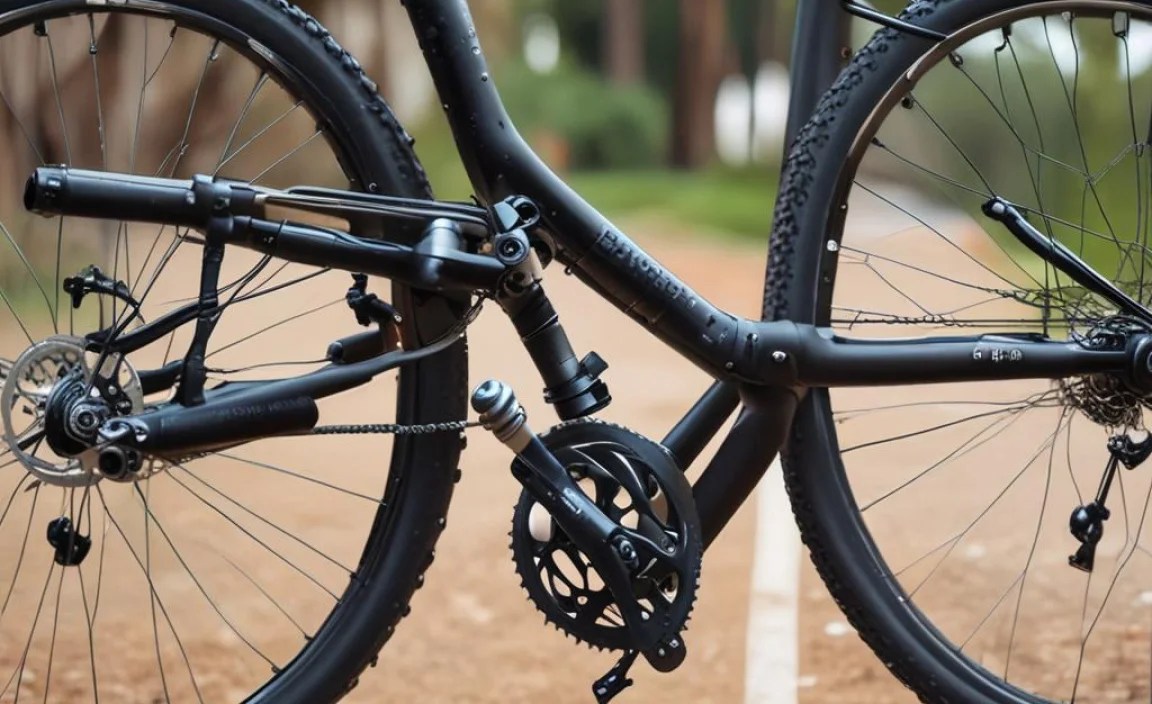
Mountain bikes (MTB) and bikes with drop bars are very different. Mountain bikes have flat, wide handlebars. These bars give you good control on trails. Drop bars are curved and found on road bikes. They offer different hand positions. This can make riding long distances more comfortable. When you put drop bars on a mountain bike, it changes the handlebar space. This means you need to think about where to put your cycling computer. You want to see the screen easily while you ride. You also want it to be safe and secure. The handlebar shape affects what kind of mount you can use. Knowing the difference between these bars helps you choose the right way to attach your computer. This makes your rides more fun and easier.
- MTB bars are flat and wide.
- Drop bars are curved and offer multiple hand positions.
- Bar shape affects computer mount options.
- Consider visibility when choosing a mount.
- Safety is important for computer placement.
Think about where you want to see your computer. Do you want it in front of the bars? Or on the stem? Maybe you want it off to the side. Each spot has good and bad things about it. Also, think about how easy it is to reach the buttons. Some mounts let you adjust the angle of the screen. This can help if the sun is shining on it. It is important to take your time and find the mount that works best for you. Getting it right will make every ride better. Now you can pay attention to your speed, distance, and have fun!
Why Bar Type Matters
Have you ever tried to put a square peg in a round hole? It does not work, right? The same thing happens with bike mounts. MTB bars are usually thicker than drop bars. This means that some mounts might not fit well. Also, the shape is different. Flat bars need mounts that can clamp around a straight tube. Drop bars need mounts that can fit on a curve. If you try to use the wrong mount, it might be wobbly. It could even fall off! So, always check to make sure the mount is made for the kind of bar you have. Using the right mount will keep your computer safe. It will also make it easier to see while you are riding. This way, you can focus on the road or trail ahead.
Handlebar Space Considerations
Imagine your handlebars are like a desk. You need space for your hands, brakes, and shifters. Adding a cycling computer mount takes up even more room. If you have a lot of stuff on your bars, it can get crowded. This is especially true if you have drop bars on an MTB. You need to plan where everything will go. Think about how much space each mount needs. Some mounts are small and fit close to the bars. Others stick out further. Make sure you still have enough room to hold the bars comfortably. You do not want your computer getting in the way of your hands or brakes. Good planning keeps your bike safe and fun to ride.
Mounting System Compatibility
Not all cycling computers are the same. Some are big, and some are small. Each one has a different way to attach to a mount. Some use a twist-lock system. Others use screws or clips. Make sure the mount you choose works with your computer. Read the instructions carefully. Check that the mount is strong enough to hold your computer. You do not want it to fall off while you are riding! If you are not sure, ask someone at a bike shop for help. They can show you the right mount for your computer. They can also help you install it correctly. This way, you can ride with confidence.
Fun Fact or Stat: Did you know that the first cycling computer was invented in the late 1800s? It was a simple mechanical device that measured distance!
Choosing the Right Mount Type

Picking the right mount for your cycling computer is important. Different mounts work best for different bikes. Some popular types include out-front mounts, stem mounts, and bar mounts. Out-front mounts put the computer in front of your handlebars. This can make it easier to see while you ride. Stem mounts attach to the stem of your bike. This keeps the computer close to the center. Bar mounts clamp directly onto the handlebars. Each type has good and bad things about it. Think about what is most important to you. Do you want the computer close to your eyes? Or do you want it out of the way? Consider how easy it is to reach the buttons. Choosing the right mount makes riding more enjoyable and safe.
- Out-front mounts improve visibility.
- Stem mounts keep the computer centered.
- Bar mounts offer flexible placement options.
- Consider reach and ease of use.
- Think about safety and stability.
- Match the mount to your riding style.
When picking a mount, think about the size of your computer. Some mounts are made for small computers. Others are made for bigger ones. Make sure the mount can hold your computer securely. Read reviews from other riders. See what they say about different mounts. Ask your friends what they use. It is also a good idea to visit a bike shop. You can see the mounts in person. You can also ask the staff for advice. They can help you find the perfect mount for your bike and computer. This will make your rides safer and more fun.
| Mount Type | Pros | Cons | Best For |
|---|---|---|---|
| Out-Front Mount | Easy to see, aerodynamic | Can be expensive, might not fit all bars | Road biking, racing |
| Stem Mount | Keeps computer centered, compact | Can be harder to see | Mountain biking, commuting |
| Bar Mount | Flexible placement, affordable | Can take up handlebar space | General use |
| Universal Mount | Works with many computers, adjustable | May not be as secure | Multiple devices |
Out-Front Mount Advantages
Imagine you are driving a car. Would you rather have the speedometer right in front of you? Or off to the side? Most people want it right in front. An out-front mount does the same thing for your cycling computer. It puts the screen right where you can see it. This means you do not have to look down as far. It is safer because you can keep your eyes on the road. Out-front mounts can also be more aerodynamic. This means they help you go faster. But, they might cost more than other kinds of mounts. They also might not fit on every kind of handlebar. If you want the best view of your computer, an out-front mount is a great choice.
Stem Mount Benefits
A stem mount puts your cycling computer close to your bike’s stem. The stem is the part that connects the handlebars to the frame. This keeps the computer in the middle. Stem mounts are good for mountain biking. They keep the computer out of the way of branches. They also protect it if you fall. Stem mounts can be harder to see than out-front mounts. You have to look down more to see the screen. But, they are strong and stable. If you want a mount that is tough and keeps your computer safe, a stem mount is a good pick.
Bar Mount Flexibility
Need to move your cycling computer around? A bar mount gives you lots of choices. You can put it on the left, the right, or even in the middle. Bar mounts clamp onto your handlebars. This makes them easy to adjust. You can change the angle of the screen. You can also move the computer closer or further away. Bar mounts are good if you have other things on your handlebars. They let you find the perfect spot for your computer. They might not be as aerodynamic as out-front mounts. But, they are very useful and easy to use.
Fun Fact or Stat: Some professional cyclists use out-front mounts to improve their aerodynamic efficiency by a fraction of a second per kilometer!
Installing a Cycling Computer on Drop Bars
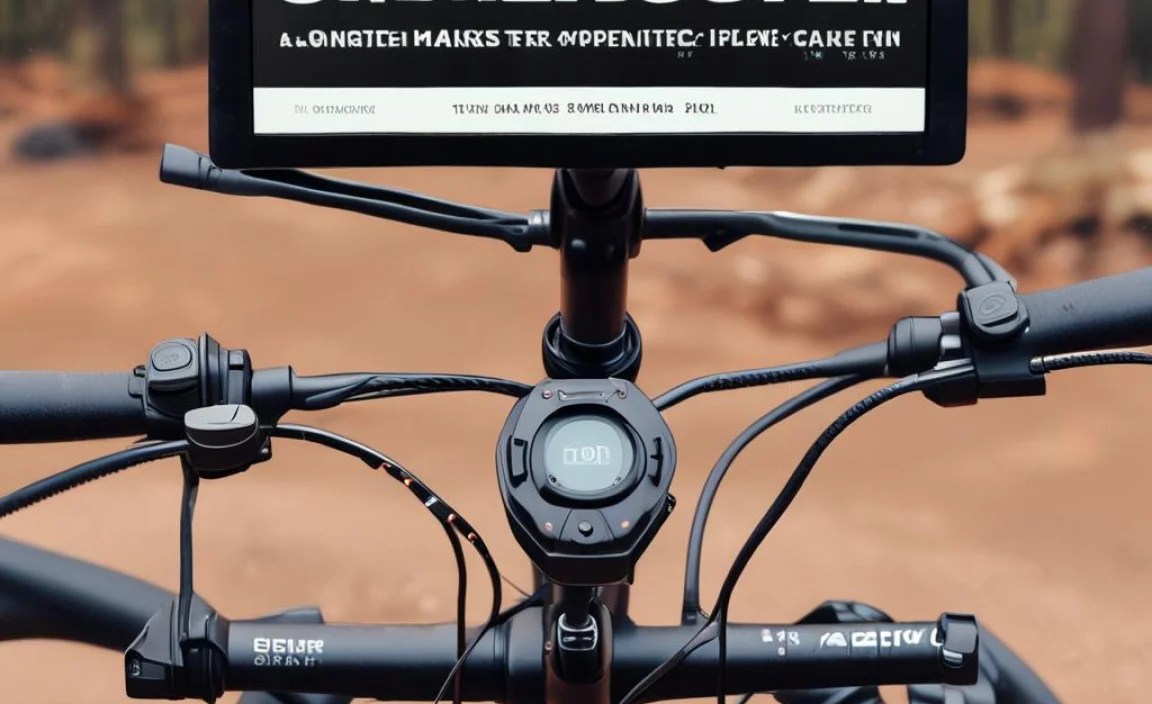
Putting a cycling computer on drop bars can be a little tricky. Drop bars have curved shapes. This means you need a mount that can fit around the curves. Start by picking the right mount. An out-front mount or a bar mount often works well. Clean the handlebars where you want to put the mount. This helps it stick better. Follow the instructions that come with the mount. Usually, you need to tighten some screws. Make sure the mount is tight enough. You do not want it to move while you are riding. Then, attach your computer to the mount. Check that it clicks in or screws on securely. Now you are ready to ride!
- Clean the handlebars before installing.
- Follow the mount’s instructions carefully.
- Tighten screws to secure the mount.
- Ensure the computer attaches firmly.
- Test the setup before riding.
- Adjust the angle for best viewing.
Think about where you put the mount on the drop bars. Do you want it on the top part? Or on the curved part? Maybe you want it on the straight part near the stem. Each spot has its own good and bad points. The top part is easy to see. But it might be in the way of your hands. The curved part can be harder to reach. But it keeps the computer out of the way. The straight part is a good middle ground. Try different spots to see what works best for you. This way, you can have a safe and comfortable ride.
Finding the Right Spot
Where should you put your cycling computer on drop bars? It is like finding the perfect spot for your TV in your room. You want to see it easily, but it should not be in the way. The top of the drop bars is a popular place. It is easy to see while you are riding. But, it might block your hands when you are holding the bars. The curved part of the bars keeps the computer out of the way. But, you might have to look down more to see it. Experiment with different spots. See which one feels the most natural. This will help you stay safe and enjoy your ride.
Mounting on Curved Sections
Mounting on the curved sections of drop bars can be tricky. The curves make it hard for some mounts to fit. You might need a special mount that is made for curved bars. These mounts have flexible parts. They can bend to fit the shape of the bars. When you tighten the mount, make sure it is even. You do not want it to be tighter on one side than the other. This can make the mount slip. Also, check that the computer is facing the right way. You want to see the screen clearly. Taking your time will help you get it right.
Securing the Mount Firmly
Imagine you are building a tower of blocks. You want to make sure each block is stable. You do not want the tower to fall down! Securing your cycling computer mount is the same thing. You need to make sure it is tight enough. Use the right tools to tighten the screws. Do not over-tighten them. This can damage the mount or the handlebars. Check the mount after your first few rides. Make sure it is still tight. If it is loose, tighten it again. A secure mount keeps your computer safe. It also helps you focus on your ride.
Fun Fact or Stat: Drop bars were first used in the late 1800s to help cyclists ride faster in windy conditions!
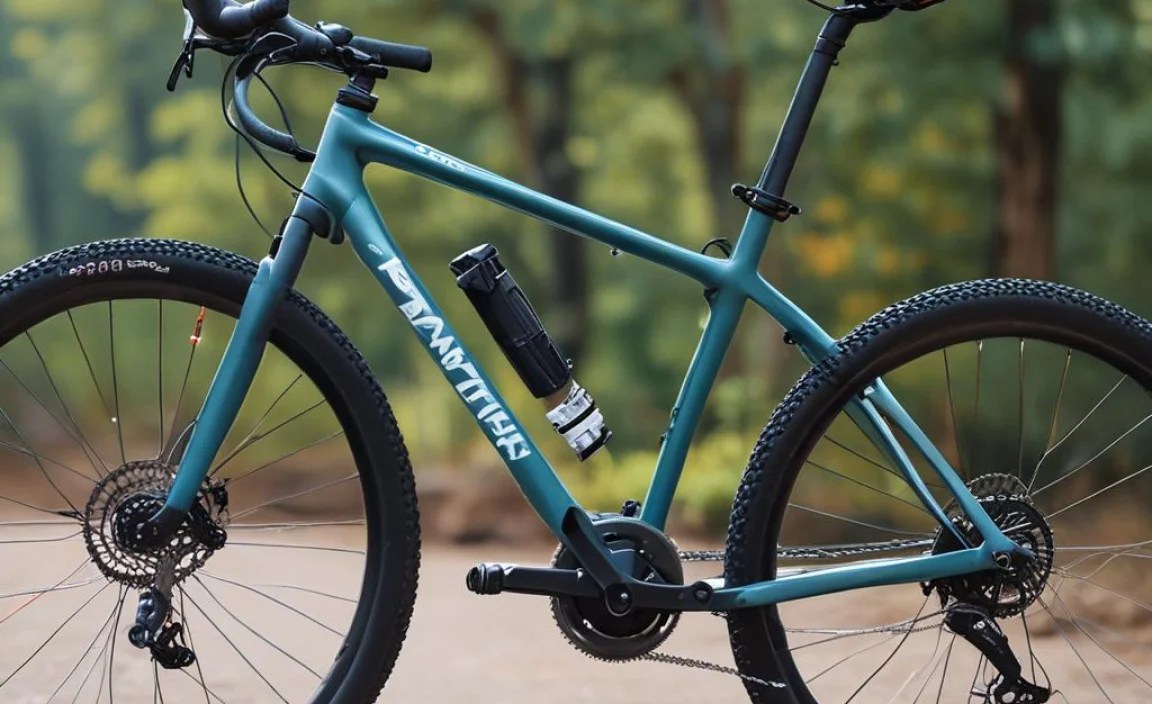
Adapting MTB Bars for Computer Mounts
MTB bars are usually straight and wide. This makes it easy to find a spot for your cycling computer. But, what if you have changed your MTB to have drop bars? Now you need to think differently. You might need to use an adapter. An adapter is a small piece that helps the mount fit better. Some adapters clamp onto the bars. Others stick on with tape. Pick an adapter that is strong and fits well. Clean the bars before you put on the adapter. This helps it stick better. Then, attach the computer mount to the adapter. Make sure everything is tight and secure. Now you can enjoy your ride!
- Consider using an adapter for better fit.
- Clean the bars before applying the adapter.
- Choose a strong and reliable adapter.
- Attach the computer mount securely.
- Test the setup before heading out.
- Adjust as needed for optimal viewing.
Think about where you want to put the adapter on the MTB bars. Do you want it close to the stem? Or further out? Maybe you want it on the curved part of the drop bars. Each spot has its own good and bad points. Close to the stem is good for stability. Further out is good for seeing the screen. The curved part can be tricky to mount on. Try different spots to see what works best. Also, think about how the adapter looks. You want it to match your bike. This will make your bike look even cooler!
Using Adapters Effectively
Adapters are like puzzle pieces. They help two things fit together that normally do not. When using an adapter for your cycling computer, make sure it is the right size. Some adapters are too big, and some are too small. Also, make sure it is made of strong stuff. You do not want it to break while you are riding. Follow the instructions that come with the adapter. Usually, you need to tighten some screws or use some tape. Check the adapter after your first few rides. Make sure it is still secure. If it is loose, tighten it again. A good adapter makes mounting your computer much easier.
Placement Strategies on MTB Bars
Where you put your cycling computer on MTB bars matters. It is like decorating your room. You want everything to look good and be easy to use. Think about how you hold the bars. Do you usually hold them in the middle? Or on the ends? Put the computer where you can see it easily. But, make sure it is not in the way of your hands. Some riders like to put the computer close to the stem. Others like to put it further out. Try different spots to see what feels best. This will help you have a comfortable and safe ride.
Ensuring a Secure Fit on Wider Bars
MTB bars can be wider than other kinds of bars. This means you need a mount that can open wide enough. Some mounts are too small to fit on MTB bars. Look for mounts that say they are made for wider bars. These mounts have longer screws or bigger clamps. When you tighten the mount, make sure it is even on both sides. You do not want it to be tighter on one side than the other. This can make the mount slip. Also, check that the computer is facing the right way. You want to see the screen clearly. Taking your time will help you get it right.
Fun Fact or Stat: The width of MTB handlebars has increased over the years to provide better control and stability on challenging trails!
Considering Stem Length and Angle
The stem is the part of your bike that connects the handlebars to the frame. It comes in different lengths and angles. The length and angle of the stem affect how far away the handlebars are from you. This can change how easy it is to see your cycling computer. If the stem is too short, the computer might be too close to your face. If the stem is too long, you might have to reach too far to see the screen. Try different stem lengths and angles to see what works best for you. This will help you find the perfect spot for your computer.
- Stem length affects reach to the computer.
- Stem angle can improve viewing angle.
- Experiment with different stem options.
- Consider comfort and safety.
- Adjust stem before final mount placement.
- Ensure proper fit for optimal riding.
Think about how you sit on your bike. Do you sit up straight? Or do you lean forward? If you sit up straight, you might want a shorter stem. This will bring the computer closer to you. If you lean forward, you might want a longer stem. This will give you more room to see the screen. You can also adjust the angle of the stem. A steeper angle will raise the handlebars. This can make it easier to see the computer. A flatter angle will lower the handlebars. This can make you more aerodynamic. Choose a stem that makes you feel comfortable and safe.
Impact of Stem Length on Visibility
Imagine you are trying to read a book. If you hold it too close to your eyes, it is blurry. If you hold it too far away, it is hard to see the words. The same thing happens with your cycling computer. The stem length controls how far away the computer is from your eyes. A shorter stem brings the computer closer. This can be good if you have trouble seeing things far away. A longer stem moves the computer further away. This can be good if you want more room to stretch out. Experiment with different stem lengths. See which one gives you the best view of the screen.
Adjusting Stem Angle for Comfort
The angle of your bike’s stem can make a big difference in how comfortable you feel. A steeper angle raises the handlebars. This lets you sit up straighter. It can be good if you have back problems. A flatter angle lowers the handlebars. This makes you lean forward more. It can be good if you want to go faster. Try different stem angles to see what feels best. You can also ask someone at a bike shop for help. They can help you find the right stem for your body and your riding style. This will make your rides more enjoyable.
Balancing Reach and Viewing Angle
Finding the right balance between reach and viewing angle is important. Reach is how far you have to stretch to hold the handlebars. Viewing angle is how easy it is to see the cycling computer screen. If you have to stretch too far, your arms might get tired. If you cannot see the screen easily, you might get frustrated. Try moving the computer closer or further away. Also, try tilting the screen up or down. See what combination feels the most natural. This will help you stay comfortable and focused on your ride.
Fun Fact or Stat: Some professional cyclists use adjustable stems to fine-tune their riding position for optimal performance!
Ensuring Stability and Security
Making sure your cycling computer is stable and secure is very important. You do not want it to fall off while you are riding! Check the mount regularly. Make sure the screws are tight. If the mount is loose, tighten it right away. Use a strong mount that is made for your computer. Some mounts are made of plastic. Others are made of metal. Metal mounts are usually stronger. Also, think about where you ride. If you ride on bumpy roads, you need a very secure mount. This will help your computer stay in place, no matter what.
- Regularly check mount tightness.
- Use a strong and durable mount.
- Consider riding conditions when choosing a mount.
- Use safety straps for extra security.
- Avoid over-tightening screws.
- Inspect the mount for wear and tear.
Think about using a safety strap. A safety strap is a small piece of rope or wire. It connects the computer to the handlebars. If the mount breaks, the strap will keep the computer from falling. Some mounts come with safety straps. If yours does not, you can buy one separately. Attach the strap to a strong part of the handlebars. Make sure it is not too tight. You want it to have some slack. This will let the computer move a little bit. But, if the mount breaks, the strap will catch it. This can save your computer from getting damaged.
Checking Mount Tightness Regularly
Checking your cycling computer mount is like checking the air in your tires. You should do it before every ride. Use a small wrench or screwdriver to tighten the screws. Do not over-tighten them. This can damage the mount or the handlebars. If the screws are stripped, replace them. Stripped screws will not hold the mount securely. Also, check the mount for cracks or breaks. If you see any damage, replace the mount. A little bit of checking can prevent a big problem later.
Using Safety Straps as Backup
Safety straps are like seatbelts for your cycling computer. They keep it safe if something goes wrong. Attach one end of the strap to the computer. Attach the other end to the handlebars. Make sure the strap is not too tight. You want it to have some slack. This will let the computer move a little bit. But, if the mount breaks, the strap will catch it. Use a strong strap that will not break easily. You can find safety straps at most bike shops. They are a cheap way to protect your computer.
Choosing Durable Mounting Materials
The stuff your cycling computer mount is made of matters. Some mounts are made of plastic. Plastic mounts are light and cheap. But, they can break easily. Other mounts are made of metal. Metal mounts are heavier and more expensive. But, they are much stronger. If you ride on rough roads or trails, choose a metal mount. It will last longer and keep your computer safer. Look for mounts made of aluminum or steel. These metals are strong and will not rust easily. Investing in a good mount is worth it in the long run.
Fun Fact or Stat: A study found that using a safety strap reduces the risk of losing your cycling computer by over 90%!
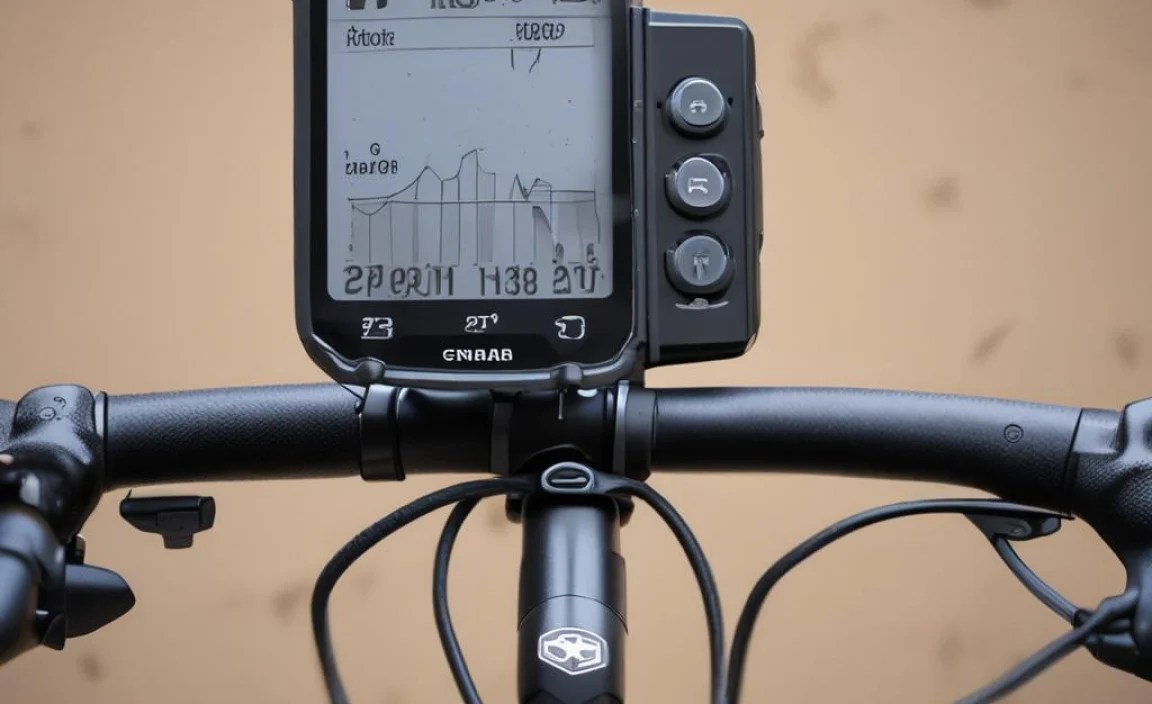
Adjusting for Optimal Viewing Angle
Seeing your cycling computer screen clearly is very important. You do not want to have to squint or strain your eyes. Adjust the angle of the screen so you can see it easily. Some mounts let you tilt the screen up or down. Others let you rotate it from side to side. Experiment with different angles to see what works best. Think about where the sun is. If the sun is shining on the screen, it might be hard to see. Try tilting the screen away from the sun. This will reduce glare and make the screen easier to read.
- Tilt the screen for better visibility.
- Rotate the screen to avoid glare.
- Consider sun position when adjusting.
- Adjust for your riding posture.
- Test adjustments on a short ride.
- Fine-tune for optimal viewing.
Think about how you sit on your bike. Do you sit up straight? Or do you lean forward? If you sit up straight, you might want to tilt the screen up. This will make it easier to see. If you lean forward, you might want to tilt the screen down. This will keep it from getting in the way. You can also adjust the screen while you are riding. Just be careful not to take your eyes off the road. Small adjustments can make a big difference in how easy it is to see the screen. This will help you have a safer and more enjoyable ride.
Dealing with Sun Glare
Sun glare can make it hard to see your cycling computer screen. It is like trying to watch TV in a bright room. The light washes out the picture. To deal with glare, try tilting the screen away from the sun. You can also use a screen protector. Some screen protectors are made to reduce glare. They have a special coating that blocks the sun’s rays. Another trick is to wear sunglasses. Sunglasses will darken the screen and make it easier to read. Experiment with different solutions to see what works best for you.
Adjusting Tilt for Riding Posture
How you sit on your bike affects how you see your cycling computer. If you sit up straight, the screen should be tilted up. This will put it in your line of sight. If you lean forward, the screen should be tilted down. This will keep it from being blocked by your body. Adjust the tilt of the screen until you can see it clearly without straining your neck. You can also ask a friend to help you. Have them watch you ride and tell you if the screen is easy to see. This will help you find the perfect angle.
Fine-Tuning for Optimal Visibility
Finding the perfect viewing angle takes time. It is like tuning a musical instrument. You have to make small adjustments until it sounds just right. Ride your bike for a few minutes. Pay attention to how easy it is to see the screen. If it is too hard, stop and make a small adjustment. Try tilting the screen a little bit. Or try rotating it a little bit. Keep making small adjustments until you can see the screen clearly without any effort. This will help you stay focused on your ride and avoid accidents.
Fun Fact or Stat: Studies show that cyclists who can easily see their computer screen react faster to changes in terrain and traffic conditions!
Summary
Learning how to mount cycling computer on MTB bar with drop bar conversion involves understanding different handlebar types. You must choose the right mount. Options include out-front, stem, and bar mounts. Adapters can help fit mounts on MTB bars converted to drop bars. Consider stem length and angle for better visibility. Always ensure the mount is stable and secure. Adjust the viewing angle to reduce glare. Regular checks and safety straps add extra protection. These steps help you enjoy your ride safely.
Conclusion
Mounting a cycling computer on your bike might seem hard. But, with the right steps, it is easy. Choose the right mount for your handlebars. Make sure it is strong and secure. Adjust the screen so you can see it clearly. Regular checks will keep your computer safe. Knowing how to mount cycling computer on MTB bar with drop bar conversion will improve your ride. You can see your speed, distance, and more. Have fun riding your bike!
Frequently Asked Questions
Question No 1: What is a cycling computer, and why do I need one?
Answer: A cycling computer is a small device that attaches to your bike. It shows you important information while you ride. This can include your speed, distance, and time. Some computers also show your heart rate and how many calories you have burned. You might want one to track your progress. It helps you see how far you have ridden and how fast you are going. This can motivate you to ride more. Also, it can help you train for races or events. Knowing how to mount cycling computer on MTB bar with drop bar conversion will allow you to track your rides.
Question No 2: What types of cycling computer mounts are available?
Answer: There are many different types of cycling computer mounts. Out-front mounts put the computer in front of your handlebars. This makes it easy to see while you ride. Stem mounts attach to the stem of your bike. This keeps the computer close to the center. Bar mounts clamp directly onto the handlebars. This gives you lots of choices for placement. You can also find mounts that are made for specific kinds of handlebars. Some are made for flat bars, and others are made for drop bars. Knowing what kind of bars you have will help you pick the right mount. Some mounts may even help with how to mount cycling computer on MTB bar with drop bar conversion.
Question No 3: How do I choose the right mount for my MTB with drop bars?
Answer: Choosing the right mount for your MTB with drop bars can be tricky. Drop bars have curved shapes. This means you need a mount that can fit around the curves. Out-front mounts and bar mounts often work well. You might also need to use an adapter. An adapter is a small piece that helps the mount fit better. Make sure the mount is strong and secure. You do not want it to move while you are riding. Also, think about where you want to put the computer. You want to see it easily, but it should not be in the way of your hands. This will help you figure out how to mount cycling computer on MTB bar with drop bar conversion effectively.
Question No 4: What tools do I need to install a cycling computer mount?
Answer: You usually do not need many tools to install a cycling computer mount. Most mounts come with the tools you need. This might include a small wrench or screwdriver. You might also need some tape or glue. If you are using an adapter, you might need some extra screws. Make sure you have all the tools before you start. Read the instructions carefully. This will tell you what tools you need and how to use them. If you are not sure, ask someone at a bike shop for help. They can show you how to install the mount correctly.
Question No 5: How can I ensure my cycling computer is securely mounted?
Answer: Making sure your cycling computer is securely mounted is very important. You do not want it to fall off while you are riding! Check the mount regularly. Make sure the screws are tight. If the mount is loose, tighten it right away. Use a strong mount that is made for your computer. You can also use a safety strap. A safety strap is a small piece of rope or wire. It connects the computer to the handlebars. If the mount breaks, the strap will keep the computer from falling. Knowing how to secure your computer mount will help you learn how to mount cycling computer on MTB bar with drop bar conversion safely.
Question No 6: What should I do if my cycling computer mount keeps slipping?
Answer: If your cycling computer mount keeps slipping, there are a few things you can try. First, make sure the screws are tight. Use a wrench or screwdriver to tighten them. Do not over-tighten them. This can damage the mount or the handlebars. Second, clean the handlebars where the mount attaches. Dirt and grime can make the mount slip. Use a clean cloth and some soap and water. Third, try using a rubber shim. A shim is a small piece of rubber that goes between the mount and the handlebars. This can help the mount grip better. Finally, if nothing else works, you might need to buy a new mount. This may be necessary for proper how to mount cycling computer on MTB bar with drop bar conversion.


