
How to Easily Mount Navigation Device on Mountain Bike Bar
Have you ever been lost in the woods on your bike? It can be scary. A navigation device can help you find your way. But how to mount navigation device on mountain bike bar safely? Let’s find out.
Riding your mountain bike is fun. New places are exciting to explore. Getting lost is not fun. A good navigation system makes all the difference.
You need a way to see where you are going. You also need to keep your hands on the bars. This article will show you how to mount navigation device on mountain bike bar the right way. Keep reading to learn more.
Key Takeaways
- Knowing how to mount navigation device on mountain bike bar ensures safer rides.
- Choose a mount that fits your bars and navigation device well.
- Always check the mount’s stability before each ride for safety.
- Consider using a stem mount for a centered view of your device.
- Proper installation prevents damage to your bike and your device.
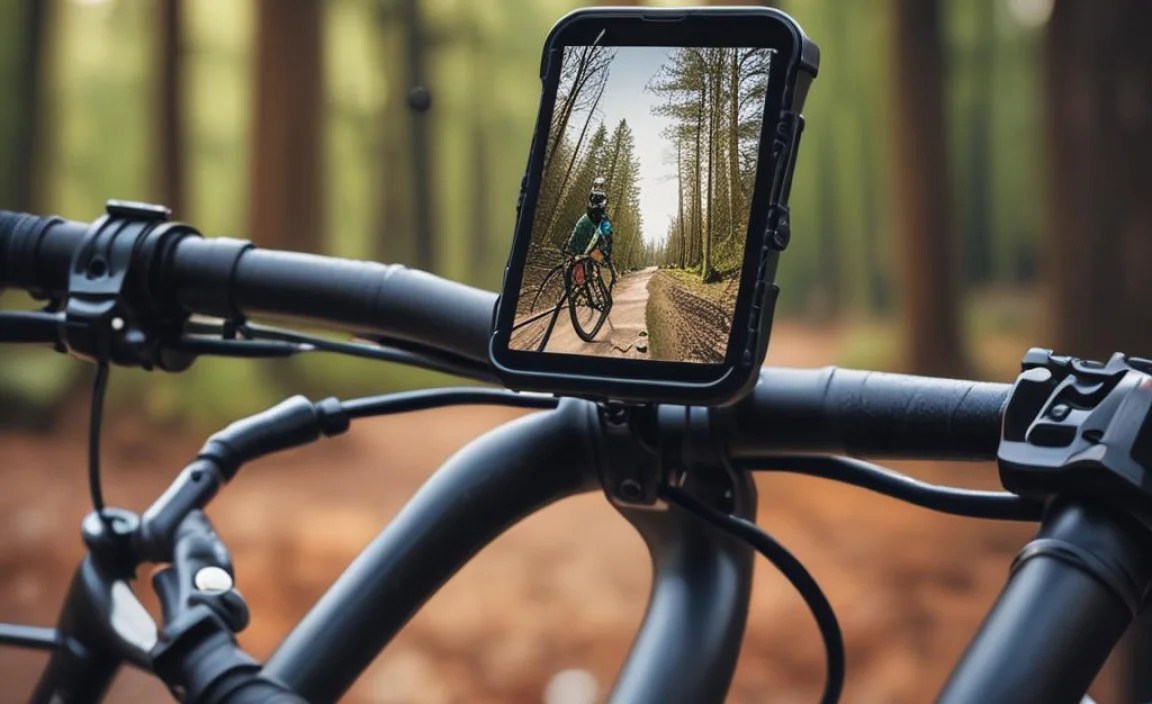
Choosing the Right Mount for Your Bike

Picking the right mount is super important. It keeps your navigation device safe. It also lets you see the screen easily. There are many types of mounts. Some attach to your bike’s stem. Others fit on the handlebars. Think about where you want to see the screen. Also, think about how rough your rides are. A stronger mount is better for bumpy trails. Look for mounts made of strong stuff. Metal or tough plastic works well. Make sure the mount fits your navigation device. Some mounts are made for specific devices. Read reviews to see what other riders think. This will help you choose the best mount for your needs. Don’t forget to check if the mount is easy to adjust. You might want to change the angle while riding.
- Check the size of your handlebars.
- Read reviews from other mountain bikers.
- Consider a stem mount for a clean look.
- Think about how easy it is to take the device off.
- Make sure the mount is strong and won’t break easily.
- Choose a mount that is easy to adjust on the trail.
Think about how you will use your navigation device. Do you need to see it all the time? Or just now and then? This will help you pick the best spot on your bike. Some riders like the stem because it’s in the middle. Others like the handlebars because they are easy to reach. No matter where you put it, make sure it’s safe. You don’t want it to fall off during a ride. A good mount and a good spot make a big difference. You will have a better time on the trail. You will also stay safer.
Fun Fact or Stat: Did you know that some professional mountain bikers use two navigation devices? One shows the trail, and the other tracks their performance!
What Type of Handlebars Do You Have?
Do you know what kind of handlebars you have? There are different types. Some are thicker than others. This matters when you pick a mount. Most mounts fit standard sizes. But some handlebars need special mounts. Check the size before you buy anything. Using the wrong mount can damage your handlebars. It can also make the navigation device wobbly. This is not safe when you are riding on rough trails. Take a look at your handlebars. Measure them if you need to. Then, find a mount that fits just right. This will keep everything secure. It will also make your rides more fun.
How Easy is the Mount to Install?
How good are you at fixing things? Some mounts are easy to put on. Others are harder. Look for a mount that you can install yourself. You don’t want to spend hours trying to figure it out. Read the instructions before you buy. See if they make sense. Some mounts need special tools. If you don’t have the tools, pick a different mount. It’s better to choose something simple. This way, you can get back to riding faster. Ask a friend for help if you get stuck. Or watch a video online. But start with an easy mount. It will save you time and trouble.
Does the Mount Allow for Adjustments?
Can you move the navigation device around? Some mounts let you change the angle. This is helpful when the sun is shining. You can tilt the screen to see it better. Other mounts don’t move at all. Think about how important this is to you. If you ride in different kinds of light, adjustable mount is good. It helps you see the screen clearly. This keeps you safe. You don’t have to squint or struggle to read the map. Look for mounts with easy-to-use adjustments. That way, you can change them while you are riding.
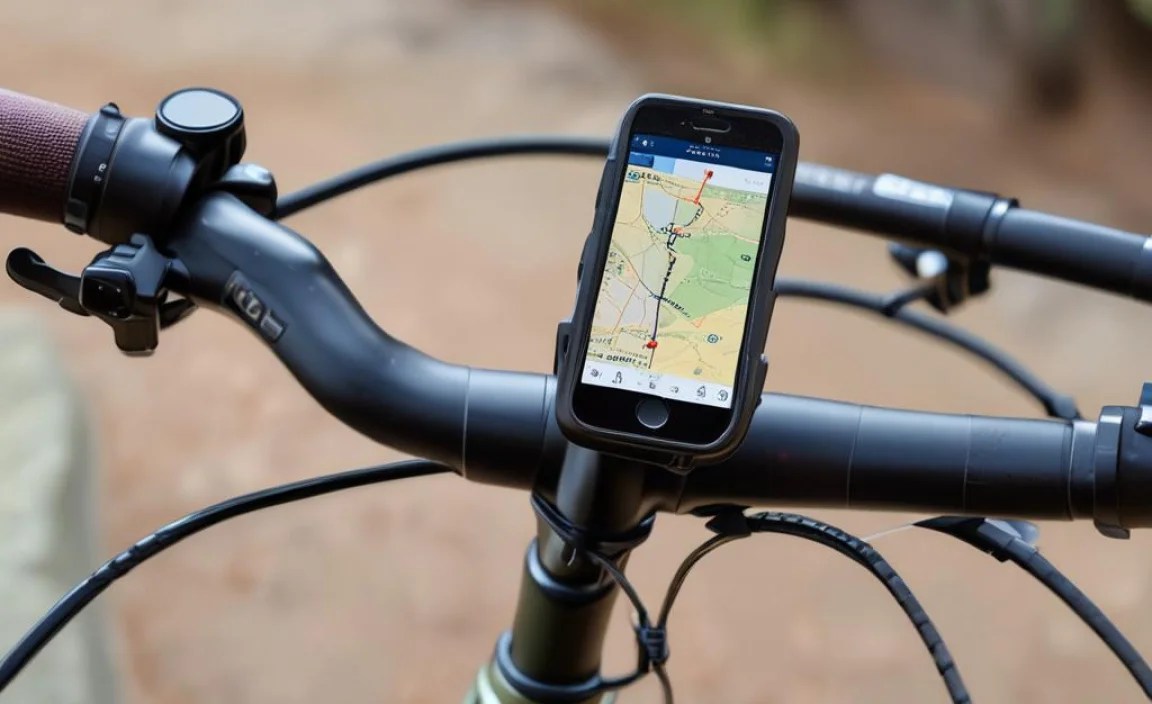
Installing the Mount on Your Mountain Bike

Now it is time to put the mount on your bike. First, read the instructions carefully. Every mount is a little different. Make sure you know what to do before you start. Find the right spot on your handlebars or stem. Clean the area with a cloth. This helps the mount stick better. Use the right tools to tighten the screws. Don’t make them too tight. You could damage the mount or your bike. Check that the mount is secure. Try to move it with your hands. It should not wiggle or slide around. If it does, tighten the screws a bit more. Once the mount is on, attach your navigation device. Make sure it clicks in place. You don’t want it falling off on the trail.
- Read the instructions carefully before starting.
- Clean the area on your handlebars first.
- Use the correct tools for tightening screws.
- Don’t overtighten the screws; be gentle.
- Check the mount for stability before each ride.
- Attach your navigation device securely.
Take your bike for a short ride. See how the mount feels. Does it get in the way? Can you see the screen easily? If not, adjust the mount until it’s perfect. You might need to move it a little to the left or right. Or tilt it up or down. Keep testing until you are happy. A good mount should feel like it’s part of your bike. You shouldn’t even notice it when you are riding. But you should be able to see your navigation device with a quick glance. This will help you stay on track and enjoy your ride.
Fun Fact or Stat: Some mountain bikers use special tape to protect their handlebars before installing a mount. This prevents scratches!
What Tools Do You Need?
Do you have the right tools? Most mounts need a screwdriver or an Allen wrench. Check the instructions to see what you need. Using the wrong tool can strip the screws. This makes it hard to tighten them. It can also damage the mount. Keep your tools handy. You might need to adjust the mount later. A small multi-tool is great for bike rides. It has all the tools you need in one place. This way, you can fix things on the trail if you need to. Always be prepared with the right tools.
How Tight Should the Screws Be?
Tighten the screws just enough. Not too much, not too little. If they are too loose, the mount will wiggle. If they are too tight, you could break something. It’s like Goldilocks and the Three Bears. You want it to be just right. Use your fingers to tighten the screws. When they feel snug, stop. You don’t need to use all your strength. Check the mount to see if it’s secure. If it moves, tighten the screws a little more. But be careful not to overdo it. A little practice will help you get it right.
How Do You Protect Your Handlebars?
Do you want to keep your handlebars looking new? A little protection can help. You can use special tape. Or a thin piece of rubber. Put it between the mount and the handlebars. This stops the mount from scratching the paint. It also helps the mount grip better. Some mounts come with rubber pads. These are great for protecting your bike. If your mount doesn’t have them, you can buy them separately. They are cheap and easy to use. Protecting your handlebars keeps your bike looking good for longer.
Ensuring the Mount is Secure and Stable
A wobbly mount is no good. It can be dangerous. Make sure your mount is tight and secure. Check it before every ride. Give it a good wiggle. Does it move at all? If it does, tighten the screws. Look for cracks or damage. If you see anything, replace the mount. It’s better to be safe than sorry. A broken mount can cause your navigation device to fall off. This could ruin your ride. It could also damage your device. Take a few minutes to check your mount. It will give you peace of mind. You can enjoy your ride knowing everything is safe.
- Check the mount before every ride.
- Wiggle the mount to test its stability.
- Tighten screws if the mount moves.
- Look for cracks or damage on the mount.
- Replace the mount if it’s broken.
- Make sure your device is locked in place.
Think about the weather. Rain and mud can loosen the mount. After a wet ride, check it extra carefully. Clean the mount and your handlebars. This stops dirt from getting in the way. Use a damp cloth to wipe everything down. Then, dry it with a clean towel. This will keep your mount working well for longer. A little care goes a long way. You will have fewer problems on the trail. And you will always know that your navigation device is safe and secure.
Fun Fact or Stat: Professional mountain bikers often use special thread-locking compounds on the screws of their mounts. This keeps them from loosening during rough rides!
How Often Should You Check the Mount?
Check your mount often. Before every ride is best. But at least once a week. Things can loosen over time. Especially if you ride on bumpy trails. A quick check takes just a few seconds. It can save you a lot of trouble. Make it part of your routine. Before you put on your helmet, check the mount. Before you fill your water bottle, check the mount. It’s a small thing that makes a big difference. Regular checks keep you safe.
What Do You Do if the Mount is Loose?
If the mount is loose, tighten it. Use the right tool. Don’t overtighten. Check it again after tightening. If it’s still loose, something might be wrong. The screws could be stripped. Or the mount could be damaged. In that case, you need to replace it. Don’t risk riding with a loose mount. It’s not worth it. A new mount is cheap. An accident is not.
How Does Weather Affect the Mount?
Weather can be hard on your mount. Rain can cause rust. Mud can get in the screws. Heat can make the plastic weak. After riding in bad weather, clean your mount. Dry it well. Use a special spray to protect it from rust. Store your bike indoors. This keeps it out of the sun and rain. Taking care of your mount in all kinds of weather will help it last longer.
Positioning the Navigation Device for Optimal Viewing
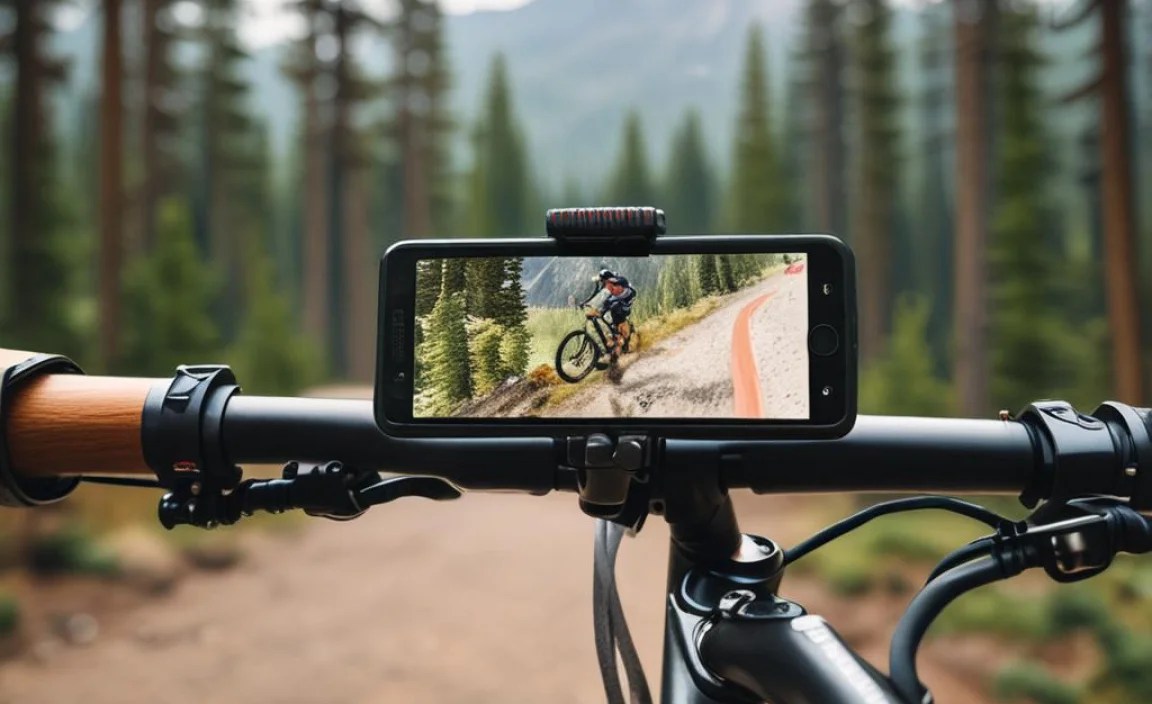
Where you put your navigation device matters. You want to see it easily. But you don’t want it to block your view. The best spot is usually in the middle of your handlebars. Or on the stem. This keeps it in your line of sight. You don’t have to turn your head too much. Adjust the angle of the screen. Make sure it’s easy to read. Even in bright sunlight. Some riders like the device higher up. Others like it lower down. Try different positions until you find what works best for you. Remember, safety comes first. Don’t put the device where it will distract you.
| Position | Pros | Cons |
|---|---|---|
| Center of Handlebars | Easy to see, balanced view. | Can block other accessories. |
| Stem Mount | Clean look, centered position. | May be too low for some riders. |
| Left Handlebar Side | Easy to reach with left hand. | Can be distracting, unbalanced view. |
| Right Handlebar Side | Easy to reach with right hand. | Can be distracting, unbalanced view. |
- Place the device where it’s easy to see.
- Don’t let it block your view of the trail.
- Adjust the angle for best visibility.
- Try different positions to find what works.
- Make sure you can reach the buttons easily.
- Consider a stem mount for a centered view.
Think about how you use your navigation device. Do you need to change the map often? If so, put it where you can reach it easily. Do you mostly just want to see the route? Then, a higher position might be better. It’s all about what works best for you. There is no right or wrong answer. Experiment with different positions. Ask other riders for advice. But always put safety first. A good position will help you stay on track. It will also help you enjoy your ride more.
Fun Fact or Stat: Studies show that riders who can easily see their navigation devices have fewer accidents!
Can You See the Screen in Sunlight?
Sunlight can make it hard to see the screen. Some navigation devices have bright screens. Others don’t. If you ride in sunny places, get a bright screen. Or find a way to shade the screen. You can buy special sunshades for navigation devices. Or you can make your own. A piece of cardboard will work in a pinch. Adjust the angle of the screen. This can help reduce glare. Test the screen in sunlight before you ride. Make sure you can see it clearly.
Is the Device Easy to Reach While Riding?
Can you reach the buttons easily? You don’t want to take your hands off the handlebars for too long. This is dangerous. Put the device where you can touch it quickly. Without looking down. Practice reaching for the buttons before you ride. Get used to where they are. Some navigation devices have remote controls. These are great for changing the map without taking your hands off the bars. Consider getting one if you ride a lot.
Does the Position Affect Your Balance?
A heavy navigation device can affect your balance. Especially if it’s on one side of the handlebars. Try to put it in the middle. This keeps your bike balanced. If you have to put it on one side, try to balance it with something else. Like a water bottle. Be aware of how the weight feels. Adjust your riding style if you need to. A balanced bike is easier to control. It’s also safer to ride.
Protecting Your Navigation Device from Damage
Your navigation device is important. It helps you find your way. You need to protect it from damage. The first step is a good case. Look for a waterproof and shockproof case. This will keep it safe from rain and bumps. Be careful when you attach the device to the mount. Make sure it clicks in place. You don’t want it falling off on the trail. If you crash, check the device for damage. Even if it looks okay, it might be broken inside. Consider getting insurance for your navigation device. This will cover the cost of repairs or replacement.
- Use a waterproof and shockproof case.
- Attach the device securely to the mount.
- Check the device after a crash.
- Consider insurance for your device.
- Clean the device regularly.
- Store the device in a safe place.
Think about where you store your navigation device when you are not riding. Don’t leave it in your car. The heat can damage it. Keep it in a cool, dry place. Away from direct sunlight. Clean the screen with a soft cloth. Don’t use harsh chemicals. They can scratch the screen. A little care will keep your navigation device working well for years. It will also save you money in the long run. A well-protected device is a happy device.
Fun Fact or Stat: Some navigation devices have screens made of Gorilla Glass. This is the same stuff used in smartphones. It’s super strong!
Is Your Device Waterproof?
Is your navigation device waterproof? If not, you need to protect it from rain. You can buy waterproof covers. Or you can use a plastic bag. Make sure the bag is sealed tight. Water can ruin your device. Even a little bit of water can cause problems. If your device gets wet, turn it off right away. Dry it with a towel. Let it dry completely before you use it again. Waterproofing your device is important if you ride in wet weather.
What Happens if You Crash?
Crashing is part of mountain biking. But it can damage your navigation device. If you crash, check the device right away. Look for cracks or dents. Make sure the screen still works. If you see any damage, stop using the device. Take it to a repair shop. Or replace it. It’s not worth risking a broken device. A new navigation device is better than getting lost.
How Do You Clean the Screen?
Keep your screen clean. A dirty screen is hard to see. Use a soft cloth to wipe the screen. Don’t use paper towels. They can scratch the screen. You can use special screen cleaners. But don’t spray the cleaner directly on the screen. Spray it on the cloth first. Then, wipe the screen. Be gentle. A clean screen makes a big difference. You will be able to see the map clearly. Even in bright sunlight.
Considering Alternative Mounting Locations
The handlebars and stem are not the only places to put your navigation device. You can also use a forearm mount. This attaches the device to your arm. It’s good for riders who want to keep their handlebars clear. Another option is a backpack mount. This attaches the device to your backpack strap. It’s good for riders who don’t want anything on their bike. Think about what works best for you. Try different locations. See what feels most comfortable and safe. The most important thing is to be able to see the screen easily.
- Consider a forearm mount for clear handlebars.
- Try a backpack mount for hands-free viewing.
- Think about what feels most comfortable.
- Make sure you can see the screen easily.
- Test different locations before a long ride.
- Ask other riders for their opinions.
Some riders like to keep their handlebars clean. They don’t want anything cluttering them up. If this is you, a forearm mount or backpack mount might be a good choice. These mounts keep the device out of the way. But they still let you see the screen. They are also good for riders who use other accessories on their handlebars. Like lights or bells. Experiment with different options. Find what works best for your style of riding. A good mount makes a big difference in how much you enjoy your ride.
Fun Fact or Stat: Some companies are working on navigation devices that project the map onto your sunglasses! This would be super cool!
What is a Forearm Mount?
A forearm mount attaches the navigation device to your arm. It’s like wearing a watch. The screen is right there on your wrist. You can see it without taking your hands off the handlebars. This is good for safety. It’s also good for riders who want a clean look on their bike. Forearm mounts are usually adjustable. So you can find the right angle for viewing. They are also lightweight. So they don’t weigh you down.
What is a Backpack Mount?
A backpack mount attaches the navigation device to your backpack. The screen is on your shoulder strap. You can see it by glancing to the side. This is good for long rides. It keeps the device out of the way. It also keeps your handlebars clear. Backpack mounts are easy to install. They clip onto your backpack strap. They are also adjustable. So you can find the right height and angle.
Are These Mounts as Stable as Handlebar Mounts?
Forearm mounts and backpack mounts are not as stable as handlebar mounts. They can move around more. This can make it harder to see the screen. But they are still a good option for some riders. If you choose one of these mounts, make sure it’s tight. And check it often. You don’t want the device to fall off. Or to move around too much. Stability is important for safety.
Maintaining Your Navigation Device and Mount
Taking care of your navigation device and mount is important. It keeps them working well. Clean them regularly. Use a soft cloth and mild soap. Don’t use harsh chemicals. They can damage the plastic. Check the screws on the mount. Make sure they are tight. If they are loose, tighten them. Store your navigation device in a safe place. Away from direct sunlight and extreme temperatures. Replace the mount if it’s damaged. A broken mount is not safe. A little maintenance goes a long way. It will keep your device and mount working for years.
- Clean the device and mount regularly.
- Check the screws on the mount.
- Store the device in a safe place.
- Replace the mount if it’s damaged.
- Keep the software on your device up to date.
- Charge the device before every ride.
Think about the battery life of your navigation device. Make sure it’s fully charged before you go for a ride. If you are going on a long ride, bring a portable charger. This will keep your device running all day. Also, keep the software on your device up to date. This will fix bugs and improve performance. A well-maintained navigation device is a reliable tool. It will help you stay on track and enjoy your ride.
Fun Fact or Stat: Some navigation devices have a battery life of over 20 hours! That’s enough for a really long ride!
How Do You Clean the Mount?
Clean the mount with a damp cloth. Use mild soap if needed. Don’t use harsh chemicals. They can damage the plastic or metal. Wipe the mount dry after cleaning. This prevents rust. Check the mount for cracks or damage. Replace it if it’s broken. A clean and well-maintained mount is a safe mount.
How Do You Update the Software?
Updating the software is easy. Most navigation devices have a Wi-Fi connection. You can connect to your home network. And download the latest updates. Or you can connect the device to your computer. And use the manufacturer’s software to update it. Check for updates regularly. New updates often fix bugs and improve performance. Keeping your software up to date is important.
How Do You Store the Device When Not in Use?
Store your navigation device in a safe place. Away from direct sunlight and extreme temperatures. A drawer or a cupboard is a good choice. Don’t leave it in your car. The heat can damage the battery. Also, protect the screen from scratches. Use a screen protector or a soft cloth. Storing your device properly will help it last longer.
Summary
How to mount navigation device on mountain bike bar is important for safe and fun rides. Choose the right mount for your bike and device. Install it securely. Position the device for optimal viewing. Protect it from damage. Consider alternative mounting locations. Maintain your device and mount. By following these tips, you can enjoy your mountain bike rides. You will always know where you are going.
Conclusion
Learning how to mount navigation device on mountain bike bar makes your rides safer and more enjoyable. A good mount, proper installation, and regular maintenance are key. Now you can explore new trails with confidence. Have fun on your next mountain bike adventure!
Frequently Asked Questions
Question No 1: What is the best type of mount for a mountain bike?
Answer: The best mount depends on your bike and your preferences. Handlebar mounts are common and easy to use. Stem mounts offer a centered view. Forearm mounts and backpack mounts keep your handlebars clear. Consider what is most comfortable and safe for you. Think about how to mount navigation device on mountain bike bar so it is safe and easy to see while riding.
Question No 2: How do I make sure my navigation device stays secure on bumpy trails?
Answer: Choose a strong and stable mount. Metal mounts are often more durable than plastic ones. Tighten the screws securely. Check the mount before every ride. Look for cracks or damage. If the mount is loose, tighten it or replace it. A secure mount keeps your device safe. It also helps you focus on the trail. Knowing how to mount navigation device on mountain bike bar properly is key for rough terrain.
Question No 3: What should I do if my navigation device gets wet?
Answer: Turn off the device right away. Remove the battery if possible. Dry the device with a towel. Let it dry completely before you use it again. You can also put it in a bag of rice. The rice will absorb the moisture. If the device doesn’t work after drying, take it to a repair shop. Preventing water damage is always best. Consider how to mount navigation device on mountain bike bar so it is protected.
Question No 4: How often should I update the software on my navigation device?
Answer: Check for updates regularly. Most navigation devices will notify you when updates are available. Install the updates as soon as possible. New updates often fix bugs and improve performance. They can also add new features. Keeping your software up to date is important. It helps your device work its best. Understanding how to mount navigation device on mountain bike bar includes keeping its software current.
Question No 5: Can I use a phone mount for my navigation device?
Answer: Maybe, but it depends on the size of your navigation device. Some phone mounts are adjustable. They can fit different sizes of devices. But make sure the mount is strong enough. And that it holds the device securely. A dedicated navigation device mount is often a better choice. It is designed specifically for that purpose. When considering how to mount navigation device on mountain bike bar, safety should be your top priority.
Question No 6: What is the best way to protect my handlebars from scratches when installing a mount?
Answer: Use tape or rubber pads between the mount and the handlebars. This will prevent scratches. You can buy special handlebar tape. Or you can use a thin piece of rubber. Cut it to fit the mount. This will protect your handlebars. It will also help the mount grip better. Taking care when you how to mount navigation device on mountain bike bar keeps your bike looking new.


