
How to Choose Mount Size for Bike Light on Drop Bar? Easy!
Have you ever ridden your bike at night? It can be super fun! But it’s also important to see where you’re going. Bike lights help you see. They also help cars see you. Do you know how to choose mount size for bike light on drop bar? It’s easier than you think!
Finding the right size mount is important. The mount holds the light on your bike. A good mount keeps your light steady. Let’s learn how to pick the best one.
Bike lights make riding safer. A wobbly light can be distracting. A mount that is too big or small won’t work well. We want a mount that fits just right. Ready to learn more?
Key Takeaways
- Choosing the correct mount size ensures your bike light stays secure on drop bars.
- Measure your drop bar’s diameter to match it with the mount’s size range.
- Consider the material of the mount; durable materials last longer and handle vibrations.
- A proper mount improves visibility, making your night rides safer and more enjoyable.
- How to choose mount size for bike light on drop bar is crucial for optimal light performance.
Understanding Drop Bar Bike Light Mounts
Bike lights are important for safe riding. They help you see and be seen. But how to choose mount size for bike light on drop bar? Drop bars are the curved handlebars on some bikes. These bars give you different hand positions. This can make riding more comfortable. But it also means you need a special mount for your light. The mount needs to fit the bar’s shape and size. It also needs to hold the light steady. There are many different types of mounts. Some use screws to tighten. Others use rubber straps. Some are made of plastic, and others are metal. The best mount will depend on your bike and your light. Think about how often you ride at night. Consider the type of roads you use. All these things can help you pick the right mount. A good mount will make your rides safer and more fun.
- Drop bars have different diameters.
- Mounts come in various sizes.
- Choose a mount that matches your bar’s diameter.
- Consider the mount’s material and durability.
- Check if the mount is easy to install and remove.
- Make sure the mount holds the light securely.
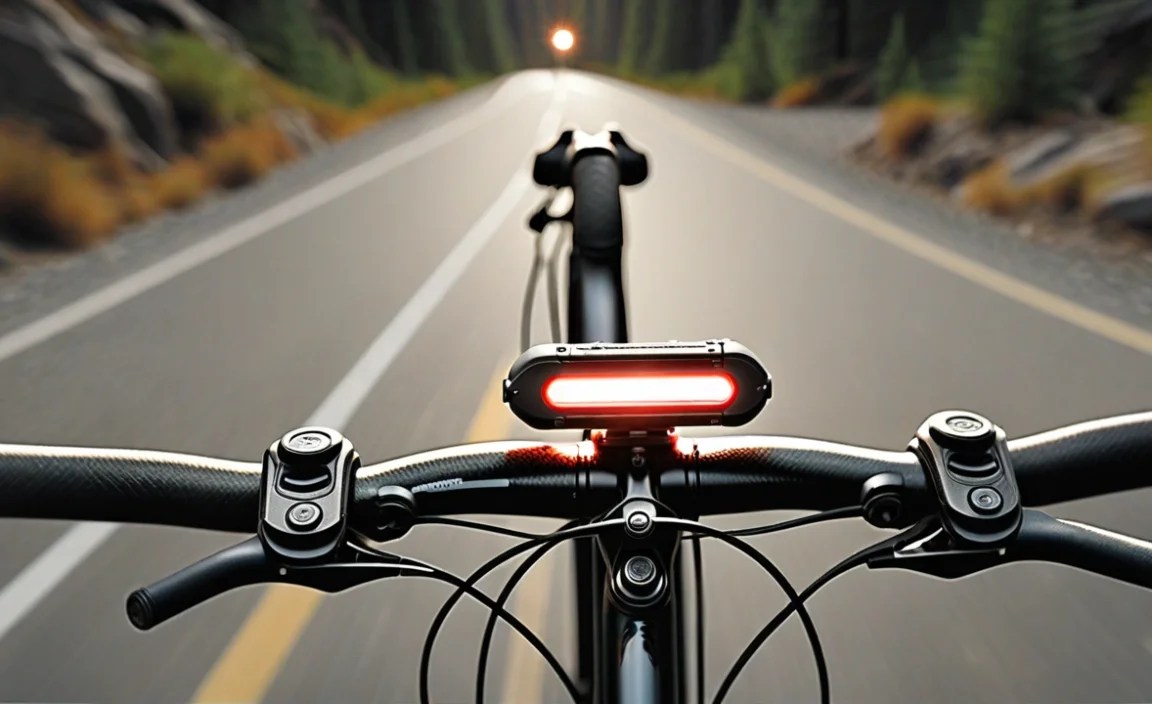
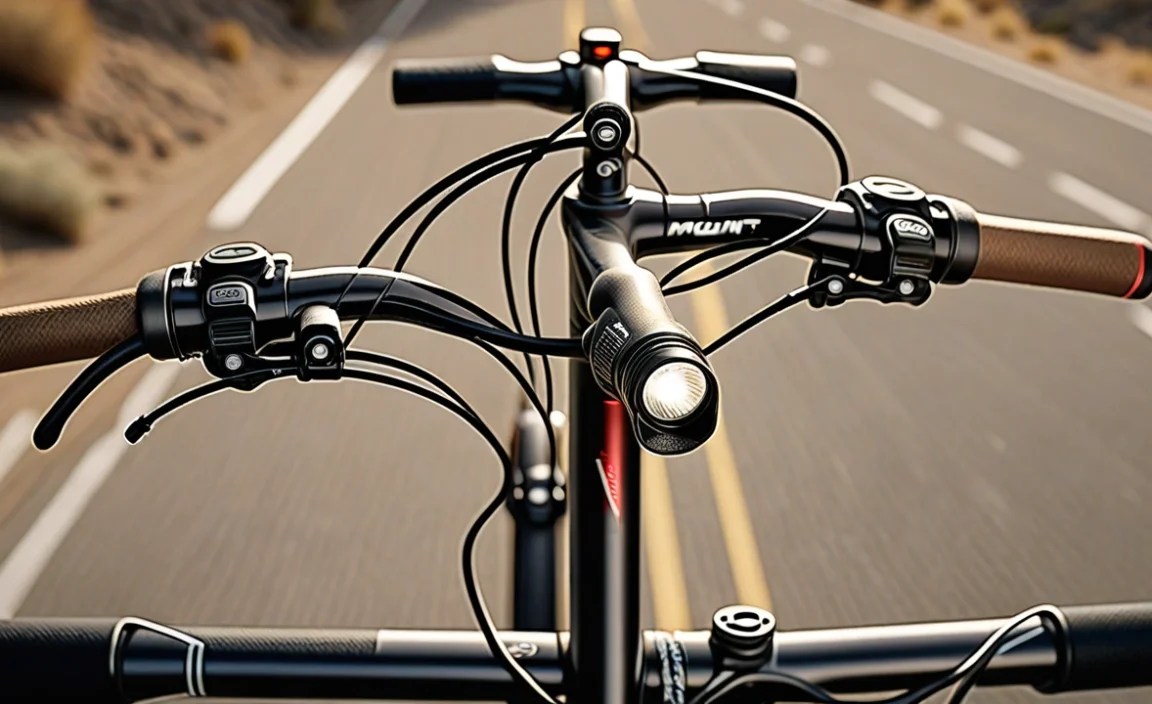
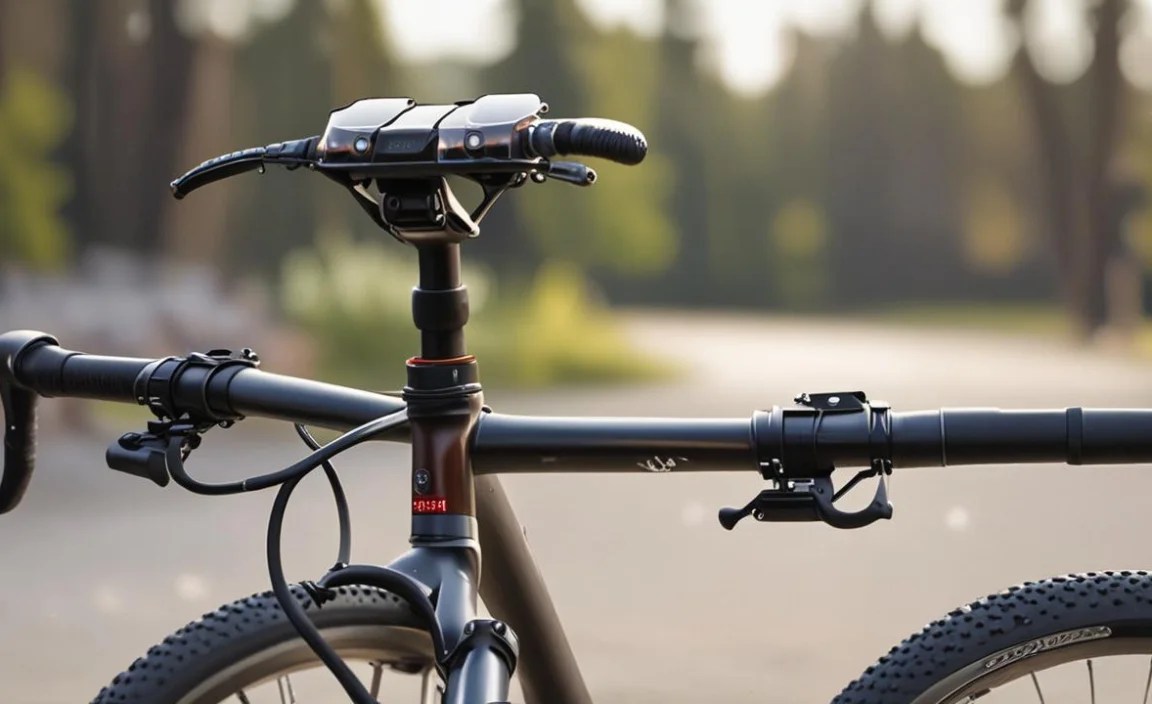
Think about where you want to put your light. Some people like it on the top of the bar. Others prefer it on the side. The location can affect how well you see and how well others see you. A higher light is usually easier to see. But it can also be more in your way. A light on the side might be less noticeable. But it could keep the handlebars clear. Test out different spots to see what works best for you. Always make sure the light is pointing forward. You want to light up the road ahead. A properly mounted light can make a big difference. It can help you avoid bumps and holes. It also helps cars see you from far away. Taking the time to pick the right mount is a smart move.
Fun Fact or Stat: Studies show that cyclists using bike lights at night are 19% less likely to be involved in accidents.
Why Mount Size Matters
Have you ever tried to wear shoes that are too big or too small? It’s not very comfortable! The same is true for bike light mounts. If the mount is too big, the light will wobble. It might even fall off. If the mount is too small, you won’t be able to attach it at all. That’s why it’s so important to get the right size. How to choose mount size for bike light on drop bar? Think of it like finding the perfect puzzle piece. You need to find the mount that fits your handlebars just right. When the mount fits well, the light will stay secure. This means you can focus on riding. You won’t have to worry about your light falling off. A good fit also helps the light shine in the right direction. This makes you more visible to others on the road.
Measuring Your Drop Bar
Imagine you are building a treehouse. You need to measure the wood before you cut it. Measuring your drop bar is similar. You need to know the diameter of the bar. Diameter is the distance across the circle. This measurement will help you find the right mount size. You can use a ruler or measuring tape. Wrap it around the bar to get the circumference. Then, divide the circumference by 3.14 (pi) to get the diameter. Or, you can use a caliper. A caliper is a tool that measures the diameter directly. Some bike shops will measure your bars for you. Knowing the diameter is the first step. This ensures you get a mount that fits snugly. It will keep your light secure on every ride. This helps you answer how to choose mount size for bike light on drop bar.
Types of Mount Materials
Mounts can be made from different materials. Plastic mounts are often cheaper. But they might not be as strong. Metal mounts are usually more durable. They can handle more wear and tear. Some mounts are made of aluminum. Aluminum is light and strong. Rubber mounts can absorb vibrations. This can help keep the light steady. Think about how often you will use the light. If you ride a lot, a metal mount might be best. If you only ride sometimes, a plastic mount might be okay. The material affects how long the mount will last. It also affects how well it holds the light. Consider the weather where you live. Some materials do better in the rain or sun. Choosing the right material is important for a safe ride. This is one way you can think about how to choose mount size for bike light on drop bar.
Different Types of Bike Light Mounts for Drop Bars
There are many kinds of mounts for bike lights. Each one works a little differently. Some mounts use screws to hold tight. These are often very secure. Other mounts use rubber straps. These are easy to adjust. Some mounts attach to the handlebars. Others attach to the stem. The stem is the part that connects the handlebars to the bike. Some mounts are universal. This means they can fit many different sizes of bars. Others are made for specific bar sizes. Think about what kind of light you have. Some lights come with their own mounts. If not, you’ll need to buy one separately. Consider how easy the mount is to install. Some mounts are very simple. Others take more time and effort. How to choose mount size for bike light on drop bar depends on the mount type.
- Strap mounts are easy to adjust.
- Screw mounts offer more security.
- Universal mounts fit various bar sizes.
- Stem mounts position the light differently.
- Some lights include their own mounts.
- Consider ease of installation.
Different mounts work best in different situations. If you often switch your light between bikes, a strap mount might be best. It’s easy to move from one bike to another. If you want a super secure mount, a screw mount is a good choice. It will stay in place even on bumpy roads. Think about the weight of your light. A heavier light might need a stronger mount. A lighter light can work with a simpler mount. Read reviews of different mounts. See what other riders say about them. This can help you make a good choice. Remember, the goal is to keep your light secure. A wobbly or loose light is dangerous. Take your time and pick the right mount for your needs. This ensures safe rides at night.
Fun Fact or Stat: Over 60% of night-time bike accidents happen because cyclists are not visible enough.
Strap Mounts
Have you ever used a rubber band to hold something together? Strap mounts work in a similar way. They use a rubber or silicone strap to attach the light to the handlebars. Strap mounts are very easy to use. You just wrap the strap around the bar and hook it onto the mount. They are also adjustable. You can tighten or loosen the strap to fit different bar sizes. This makes them a good choice if you have multiple bikes. Or if you want to move the light around. However, strap mounts might not be as secure as other types. They can sometimes slip or move, especially on bumpy roads. It is important to check the strap regularly. Make sure it is tight and in good condition. How to choose mount size for bike light on drop bar can be easy with a strap mount.
Screw Mounts
Imagine building a model airplane. You use screws to hold the pieces together tightly. Screw mounts for bike lights work the same way. They use screws to attach the mount to the handlebars. This makes them very secure. Screw mounts are less likely to slip or move than strap mounts. They are a good choice if you ride on rough roads. Or if you want a very stable light. However, screw mounts can be more difficult to install. You need to use a screwdriver to tighten the screws. You also need to be careful not to overtighten them. Overtightening can damage the handlebars. Screw mounts are often made for specific bar sizes. Make sure you get the right size for your bike. Thinking about how to choose mount size for bike light on drop bar is important here.
Universal Mounts
Have you ever used a universal remote control? It can control many different TVs. Universal bike light mounts are similar. They are designed to fit a wide range of handlebar sizes. This makes them a good choice if you’re not sure what size you need. Or if you want to use the mount on different bikes. Universal mounts often use adjustable straps or clamps. This allows them to fit different bars. However, universal mounts might not be as secure as mounts made for specific sizes. They can sometimes be a bit wobbly. It is important to make sure the mount is properly tightened. Check it regularly to make sure it is still secure. They can be a good starting point when thinking about how to choose mount size for bike light on drop bar.
Measuring Your Drop Bars Accurately
Getting the right measurement is key. It’s like measuring ingredients for a cake. If you don’t measure correctly, the cake won’t turn out right. The same is true for bike light mounts. If you don’t measure your drop bars correctly, the mount won’t fit. You can use a few different tools to measure. A ruler or measuring tape can work. Wrap the tape around the bar and measure the circumference. Then divide by 3.14 (pi) to get the diameter. A caliper is another tool you can use. It measures the diameter directly. Some bike shops will measure your bars for you. If you’re not sure how to do it yourself, ask for help. Accurate measurements are important for safety. A properly fitted mount keeps your light secure. It helps you see and be seen on the road. This is crucial for thinking about how to choose mount size for bike light on drop bar.
- Use a ruler, measuring tape, or caliper.
- Wrap the measuring tape around the bar.
- Divide the circumference by 3.14 (pi).
- A caliper measures diameter directly.
- Ask a bike shop for help if needed.
- Double-check your measurements.
Make sure you measure the part of the bar where you want to mount the light. The diameter can vary along the bar. Measure in millimeters for the most accurate result. Many mounts are sized in millimeters. Write down your measurements. This will help you when you shop for a mount. Look for mounts that fit your bar’s diameter. Some mounts have a range of sizes they can fit. Choose one that includes your measurement. It’s better to have a mount that is slightly too big than too small. You can always use shims to make a mount fit tighter. Shims are small pieces of rubber or plastic. They fill the gap between the mount and the bar. Taking the time to measure accurately will pay off. You’ll get a mount that fits well and keeps your light secure. This ensures safer and more enjoyable rides.
Fun Fact or Stat: The average diameter of a drop bar is between 25.4mm and 31.8mm.
Using a Measuring Tape
Imagine you’re wrapping a gift. You need to measure the ribbon to make sure it’s long enough. Using a measuring tape to measure your drop bar is similar. Wrap the tape snugly around the bar where you want to attach the light. Make sure the tape is straight and doesn’t have any kinks. Mark the point where the tape overlaps. This is the circumference of the bar. Write down the circumference. Then, divide it by 3.14 (pi) to get the diameter. This will give you a good estimate of the bar’s size. Remember to measure in millimeters for the most accurate result. Double-check your measurements to be sure they are correct. With the right measurement, how to choose mount size for bike light on drop bar becomes easier.
Using Calipers
Have you ever seen a scientist use calipers to measure something very precisely? Calipers are tools that measure the distance between two points. They are very accurate and easy to use. To use calipers to measure your drop bar, open the jaws of the calipers. Place them around the bar where you want to attach the light. Gently close the jaws until they touch the bar. Read the measurement on the calipers. This is the diameter of the bar. Calipers usually measure in millimeters. This makes them very precise. Double-check your measurement to be sure it is correct. Calipers are a great way to get an accurate measurement of your drop bar. This measurement will help you choose the right size mount for your bike light. You can think about how to choose mount size for bike light on drop bar with precision.
Asking a Bike Shop for Help
Imagine you’re trying to fix your bike, but you don’t know how. Asking a bike shop for help is a great idea! The people who work there are experts. They can help you with all kinds of bike problems. They can also help you measure your drop bars. Just bring your bike to the shop. Ask them to measure the diameter of your handlebars. They will have the right tools and know-how to get an accurate measurement. They can also recommend the right size mount for your bike light. Getting help from a bike shop is a good way to make sure you get the right fit. Plus, they can answer any other questions you have about your bike. It’s a good way to learn more about how to choose mount size for bike light on drop bar.
Factors to Consider When Selecting a Mount
Picking a mount is not just about size. It’s like choosing the right ingredients for a sandwich. You need to think about more than just the bread. The material of the mount matters. Plastic mounts are cheaper but less durable. Metal mounts are stronger but can be heavier. Consider the weight of your light. A heavy light needs a stronger mount. Think about how easy the mount is to install. Some mounts are simple to put on. Others take more time and effort. Where do you want to position the light? Some mounts attach to the handlebars. Others attach to the stem. Think about how the mount will affect your visibility. Make sure the light shines in the right direction. How to choose mount size for bike light on drop bar also involves these factors.
- Mount material affects durability.
- Light weight impacts mount choice.
- Installation ease is important.
- Light position affects visibility.
- Consider handlebar or stem mounting.
- Think about aerodynamics.
Consider the type of riding you do. If you ride on rough roads, you need a strong, secure mount. If you ride mostly on smooth roads, a lighter mount might be okay. Think about the weather conditions. Some materials do better in the rain or sun. Read reviews of different mounts. See what other riders say about them. This can help you make a good choice. A good mount will keep your light secure and steady. It will help you see and be seen on the road. This makes your rides safer and more enjoyable. Taking the time to choose the right mount is worth it. It’s an important part of bike safety. This will help you learn how to choose mount size for bike light on drop bar.
Fun Fact or Stat: A high-quality bike light mount can improve light stability by up to 50%.
Durability and Material
Imagine building a house. You want to use strong materials that will last a long time. The same is true for bike light mounts. You want a mount that is durable and can withstand wear and tear. Plastic mounts are often less expensive. But they can break more easily. Metal mounts, like aluminum, are stronger and more durable. They can handle more vibrations and impacts. Consider the type of riding you do. If you ride on rough roads, a metal mount is a better choice. If you ride mostly on smooth roads, a plastic mount might be okay. Think about the weather conditions. Some materials do better in the rain or sun. Choosing a durable mount will save you money in the long run. It will also keep your light secure and steady. This helps when thinking about how to choose mount size for bike light on drop bar.
Weight Considerations
Have you ever tried to carry a heavy backpack while riding your bike? It can make it harder to steer and balance. The same is true for bike light mounts. A heavy mount can add extra weight to your handlebars. This can affect your bike’s handling. Lighter mounts are often made of plastic or aluminum. They won’t weigh down your bike as much. If you’re concerned about weight, choose a lighter mount. However, make sure it is still strong enough to hold your light securely. A lightweight mount that breaks easily is not a good choice. Balance weight with durability. This is important for a comfortable and safe ride. You want a mount that is strong but not too heavy. It helps you think about how to choose mount size for bike light on drop bar in a balanced way.
Ease of Installation
Imagine you’re trying to put together a toy, but the instructions are confusing. It can be very frustrating! The same is true for bike light mounts. Some mounts are easy to install. You can put them on in just a few minutes. Others are more complicated. They might require special tools or a lot of time. Consider how comfortable you are with bike repairs. If you’re not very handy, choose a mount that is easy to install. Strap mounts are often the easiest to put on. Screw mounts can be more difficult. Read reviews to see what other riders say about the installation process. Choose a mount that you feel confident you can install correctly. This will save you time and frustration. It’s an important thing to consider when you’re thinking about how to choose mount size for bike light on drop bar.
Installing Your Bike Light Mount Correctly
Putting the mount on right is important. It’s like putting the lid on a jar. If you don’t put it on tight, the contents will spill. The same is true for bike light mounts. If you don’t install the mount correctly, the light will wobble or fall off. Read the instructions carefully. Make sure you understand how to attach the mount to your handlebars. Use the right tools. Don’t overtighten the screws. This can damage the handlebars. Position the light so it shines in the right direction. Check the mount regularly to make sure it is still secure. A properly installed mount will keep your light steady. It will help you see and be seen on the road. This is a key part of how to choose mount size for bike light on drop bar.
- Read the instructions carefully.
- Use the right tools for installation.
- Don’t overtighten screws.
- Position the light correctly.
- Check the mount regularly.
- Ensure the light beam is aligned.
Before you ride, test the light to make sure it is working. Shine it on a wall to check the beam. Make sure the beam is aimed correctly. If the light is too high, it will blind oncoming traffic. If it is too low, you won’t be able to see far enough ahead. Adjust the light as needed. Take a short ride to test the mount. See if it stays secure on bumpy roads. If the mount is slipping, tighten it more. If it still slips, you might need a different mount. Remember, safety is the most important thing. A properly installed light can help you avoid accidents. It can make your rides safer and more enjoyable. This is why understanding how to choose mount size for bike light on drop bar is important.
Fun Fact or Stat: About 25% of cyclists admit to not checking their bike lights before riding at night.
Following the Instructions
Imagine you’re building a LEGO set. The instructions are very important. They tell you how to put all the pieces together correctly. The same is true for bike light mounts. The instructions will tell you how to install the mount properly. Read the instructions carefully before you start. Make sure you understand each step. If you’re not sure about something, ask for help. Don’t just guess! Following the instructions will help you avoid mistakes. It will also ensure that the mount is installed correctly. A properly installed mount is safer and more secure. It is an important aspect of how to choose mount size for bike light on drop bar.
Using the Right Tools
Have you ever tried to hammer a nail with a screwdriver? It doesn’t work very well! Using the right tools is important for any job. The same is true for installing a bike light mount. You might need a screwdriver, an Allen wrench, or other tools. Make sure you have the right tools before you start. Using the wrong tools can damage the mount or your handlebars. It can also make the installation more difficult. If you’re not sure what tools you need, ask a bike shop for help. They can tell you what tools to use and how to use them properly. This is a simple step that can help with the process of understanding how to choose mount size for bike light on drop bar.
Checking for Stability
Imagine you’re building a tower out of blocks. You want to make sure it’s stable so it doesn’t fall over. The same is true for a bike light mount. After you install the mount, check to make sure it’s stable. Try to wiggle the light. If it moves around a lot, the mount is not secure enough. Tighten the screws or straps until the mount is stable. Take a short ride to test it out. If the light still wobbles, you might need a different mount. A stable mount is important for safety. It keeps your light shining in the right direction. This is a critical part of knowing how to choose mount size for bike light on drop bar.
Maintenance Tips for Bike Light Mounts
Taking care of your mount makes it last longer. It’s like taking care of your shoes. If you clean them and polish them, they’ll look better and last longer. Check the mount regularly for damage. Look for cracks, rust, or loose screws. Tighten any loose screws. Clean the mount with a damp cloth. Don’t use harsh chemicals. Store your bike in a dry place. This will help prevent rust. If the mount is damaged, replace it. A broken mount is not safe. A little maintenance can go a long way. It will keep your mount working properly. This is important for bike safety. It ensures you know how to choose mount size for bike light on drop bar for the long term.
- Check for damage regularly.
- Tighten loose screws.
- Clean the mount with a damp cloth.
- Store your bike in a dry place.
- Replace damaged mounts.
- Lubricate moving parts if applicable.
Consider the material of your mount. Some materials need more maintenance than others. Plastic mounts might crack in cold weather. Metal mounts might rust in wet weather. Protect your mount from the elements. Use a cover when your bike is stored outside. Apply a rust inhibitor to metal mounts. Check the straps on strap mounts. Make sure they are not worn or stretched. Replace them if needed. A little bit of care can keep your mount in good condition. This will keep your light secure and steady. This ensures safe and enjoyable rides. It makes the process of how to choose mount size for bike light on drop bar worthwhile.
Fun Fact or Stat: Regular maintenance can extend the life of a bike light mount by up to two years.
Checking for Loose Screws
Imagine you’re riding your bike and you hear a rattling noise. It could be a loose screw! Loose screws can cause problems on your bike. They can also cause problems with your bike light mount. Check the screws on your mount regularly. Make sure they are tight. If you find any loose screws, tighten them with a screwdriver or Allen wrench. Be careful not to overtighten them. Overtightening can damage the screws or the mount. Checking for loose screws is a simple way to keep your mount in good condition. It can also prevent accidents. This helps with the process of how to choose mount size for bike light on drop bar.
Cleaning the Mount
Have you ever washed your bike? Cleaning your bike is important for keeping it in good condition. Cleaning your bike light mount is also important. Dirt and grime can build up on the mount. This can make it difficult to adjust or tighten. Clean the mount with a damp cloth. You can use a mild soap if needed. Avoid using harsh chemicals. They can damage the mount. Dry the mount thoroughly after cleaning. This will help prevent rust. Cleaning your mount regularly will keep it working properly. This helps you understand how to choose mount size for bike light on drop bar and keep it in good condition.
Storing Your Bike Properly
Imagine you leave your bike outside in the rain all the time. It will probably get rusty and damaged. Storing your bike properly is important for protecting it from the elements. Store your bike in a dry place, like a garage or shed. This will help prevent rust and corrosion. If you have to store your bike outside, cover it with a tarp. This will protect it from the rain and sun. Storing your bike properly will also protect your bike light mount. It will help keep it in good condition. This is an important final step in the process of thinking about how to choose mount size for bike light on drop bar.
Troubleshooting Common Mounting Problems
Sometimes, things don’t go as planned. It’s like when you’re baking a cake and it doesn’t rise. You need to figure out what went wrong. The same is true for bike light mounts. Sometimes, you might have problems installing or using the mount. The mount might be too loose. The light might wobble. The mount might break. Don’t give up! There are solutions to these problems. Check the size of the mount. Make sure it matches your handlebars. Tighten the screws or straps. Use shims to make the mount fit tighter. If the mount is broken, replace it. How to choose mount size for bike light on drop bar includes knowing how to fix these problems.
- Mount is too loose.
- Light wobbles during rides.
- Mount breaks easily.
- Screws strip or won’t tighten.
- Straps stretch or snap.
- Light beam is misaligned.
If you’re not sure how to fix a problem, ask a bike shop for help. They can diagnose the problem and recommend a solution. They can also install a new mount for you. Remember, safety is the most important thing. Don’t ride with a broken or loose light. It’s better to take the time to fix the problem. This will help you avoid accidents. Troubleshooting mounting problems is part of being a responsible cyclist. This helps you understand how to choose mount size for bike light on drop bar and maintain it.
Fun Fact or Stat: Over 40% of cyclists experience a bike light mounting issue at some point.
Dealing with a Loose Mount
Imagine you’re trying to tighten a screw, but it just keeps spinning. That’s frustrating! A loose mount can be just as frustrating. If your bike light mount is loose, try tightening the screws or straps. Make sure you’re using the right size screwdriver or Allen wrench. If the screws are stripped, you might need to replace them. You can also try using shims to make the mount fit tighter. Shims are small pieces of rubber or plastic that fill the gap between the mount and the handlebars. A tight mount is important for safety. It keeps your light secure and steady. It’s important to think about how to choose mount size for bike light on drop bar but also how to maintain it.
Fixing a Wobbling Light
Have you ever seen a wobbly table? It’s annoying and unstable. A wobbling bike light can be just as annoying and dangerous. If your bike light is wobbling, try tightening the mount. Make sure the light is properly attached to the mount. If the light is still wobbling, you might need a different mount. A mount that is too big or too small can cause the light to wobble. Choose a mount that fits your handlebars and your light properly. A stable light is important for visibility. It helps you see and be seen on the road. This is a key part of thinking about how to choose mount size for bike light on drop bar.
Replacing a Broken Mount
Imagine you break your favorite toy. It’s sad, but sometimes you just need to replace it. The same is true for a bike light mount. If your mount is broken, it’s important to replace it. A broken mount is not safe. It can cause your light to fall off while you’re riding. Choose a new mount that is the right size for your handlebars and your light. Install the new mount properly. Make sure it’s tight and stable. A new mount will keep your light secure and steady. This will help you stay safe on the road. It’s an important part of the process of how to choose mount size for bike light on drop bar.
Summary
Choosing the right size mount for your bike light is important for safety. It ensures the light stays secure on your drop bars. This keeps you visible to others. Measure your drop bars accurately. Use a ruler, measuring tape, or calipers. Consider the material of the mount. Plastic is cheaper, but metal is more durable. Think about how easy the mount is to install. Strap mounts are easy, but screw mounts are more secure. Check the mount regularly for damage. Tighten any loose screws. Store your bike in a dry place. This helps prevent rust. Knowing how to choose mount size for bike light on drop bar will make your night rides safer.
A well-chosen mount improves your visibility. It makes night riding safer and more enjoyable. Consider the type of riding you do. If you ride on rough roads, you need a stronger mount. If you ride mostly on smooth roads, a lighter mount might be okay. Follow the installation instructions carefully. Don’t overtighten the screws. This can damage the handlebars. A properly installed mount will keep your light steady. It will help you see and be seen on the road. This is crucial for safe cycling.
Conclusion
Picking the right bike light mount might seem tricky. But it’s worth the effort. A good mount keeps your light secure. This helps you see and be seen. Measure your handlebars carefully. Choose a durable mount. Install it properly. Check it regularly. With the right mount, you can enjoy safe and fun night rides. Learning how to choose mount size for bike light on drop bar is a smart move for any cyclist.
Frequently Asked Questions
Question No 1: How do I measure my drop bars to choose the correct mount size?
Answer: Measuring your drop bars is easy. You can use a measuring tape. Wrap it around the bar where you want to mount the light. Mark where the tape overlaps. This is the circumference. Divide the circumference by 3.14 (pi) to get the diameter. You can also use calipers. Calipers measure the diameter directly. Some bike shops will measure your bars for you. Knowing the diameter helps you choose the right mount size. This helps with how to choose mount size for bike light on drop bar and makes it easy.
Question No 2: What type of mount is best for drop bars: strap, screw, or universal?
Answer: The best type of mount depends on your needs. Strap mounts are easy to adjust and move between bikes. Screw mounts are more secure and stable. Universal mounts fit a range of bar sizes. Consider how often you will move the light. Think about the type of riding you do. If you ride on rough roads, a screw mount is best. If you switch bikes often, a strap mount is good. For versatility, a universal mount is a good choice. Considering these factors helps you to choose how to choose mount size for bike light on drop bar.
Question No 3: Can I use shims if my bike light mount is slightly too big for my drop bars?
Answer: Yes, you can use shims. Shims are small pieces of rubber or plastic. They fill the gap between the mount and the handlebars. This makes the mount fit tighter. Shims are a good solution if your mount is slightly too big. You can buy shims at most bike shops. You can also make your own shims. Cut small pieces of rubber from an old inner tube. Place the shims between the mount and the handlebars. Tighten the mount. Check to make sure it is secure. Using shims is a good way to adjust how to choose mount size for bike light on drop bar for a perfect fit.
Question No 4: How often should I check my bike light mount to ensure it is secure?
Answer: You should check your bike light mount before every ride. This is especially important if you ride at night. Make sure the mount is tight. Check for any loose screws or straps. Wiggle the light to see if it moves. If the mount is loose, tighten it. If the light wobbles, adjust the mount. Regular checks will help you avoid accidents. They will also keep your light working properly. This helps you know how to choose mount size for bike light on drop bar and maintain it.
Question No 5: What materials are best for bike light mounts in different weather conditions?
Answer: The best materials depend on the weather. Plastic mounts are okay for dry weather. But they can crack in cold weather. Metal mounts are more durable. They can handle more wear and tear. Aluminum mounts are light and strong. They are a good choice for all weather conditions. If you ride in wet weather, choose a mount that


