
Easy: How to Use High-Pressure Hose for MTB Shocks
Quick Summary: Using a high-pressure hose (shock pump) on your mountain bike shocks is simple! Connect the pump head to the shock’s valve, tighten until snug, and pump to your desired pressure, using the gauge as a guide. Bleed any excess air with the release valve, disconnect carefully, and you’re ready to ride! Always check your bike manufacturer’s recommended pressure for the best performance.
Maintaining your mountain bike’s shocks is essential for a smooth and controlled ride. One of the most critical tools for this task is a high-pressure hose, also known as a shock pump. It might seem intimidating at first, but using a shock pump is actually quite straightforward. Don’t worry; you don’t need to be a pro mechanic to do this.
In this guide, I’ll walk you through each step, making the process easy to understand and follow. We’ll cover everything from connecting the pump to setting the correct pressure and fine-tuning your suspension. By the end, you’ll be able to confidently adjust your MTB shocks, improving your bike’s performance and your riding experience. Let’s dive in!
Understanding Your MTB Shocks and High-Pressure Hose

Before we get started, let’s cover some basics. This will ensure we’re all on the same page and help you understand why each step is important.
What Are MTB Shocks?
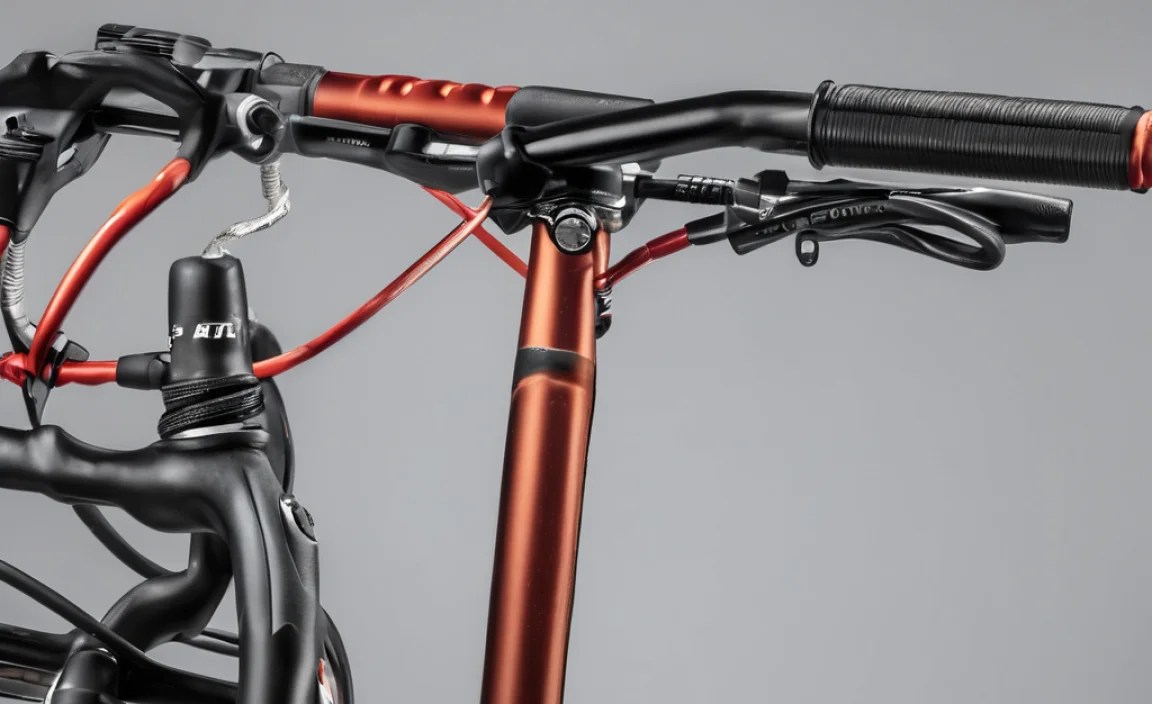
Mountain bike shocks, or suspension systems, are designed to absorb bumps and impacts on the trail. They provide a smoother, more controlled ride, improving traction and reducing rider fatigue. There are two main types of shocks:
- Front Shocks (Forks): Located on the front of the bike, they absorb impacts from the front wheel.
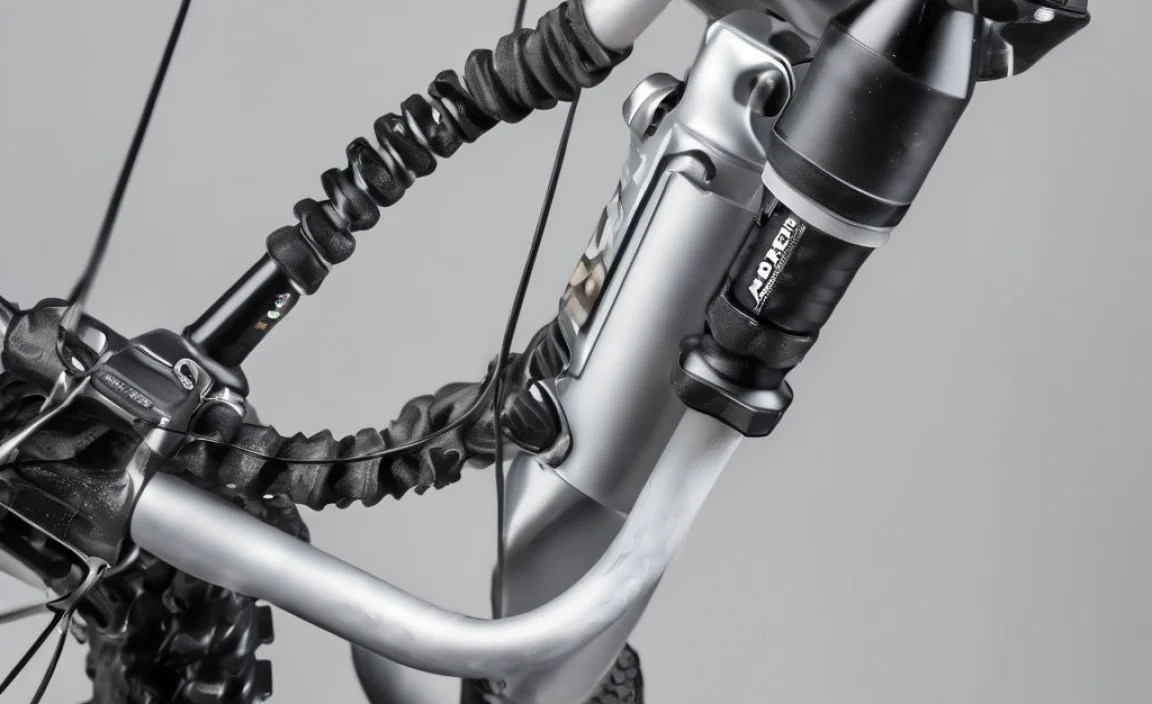
- Rear Shocks: Positioned between the frame and the rear swingarm, they handle impacts from the rear wheel.
Why Use a High-Pressure Hose?
A high-pressure hose (shock pump) is specifically designed to inflate these shocks to the correct pressure. Regular tire pumps don’t work because they can’t reach the high pressures required. Here’s why a shock pump is essential:
- Precision: Shock pumps have gauges that allow you to add air in small increments.
- High Pressure: They can reach pressures of 300+ PSI, necessary for proper shock function.
- Low Volume: They deliver small volumes of air per pump, preventing over-inflation.
Anatomy of a High-Pressure Hose
Let’s break down the parts of a typical high-pressure hose:
- Pump Handle: The part you grip and pump.
- Hose: Connects the pump to the shock valve.
- Pump Head: Attaches to the shock’s Schrader valve.
- Gauge: Displays the current pressure in PSI or Bar.
- Bleed Valve: A small button or screw to release air for fine-tuning.
Essential Tools and Preparation
Before you start adjusting your MTB shocks, gather the necessary tools and prepare your workspace. Having everything ready will make the process smoother and more efficient.
Tools You’ll Need
- High-Pressure Hose (Shock Pump): A reliable pump with an accurate gauge is crucial.
- Rag or Shop Towel: For cleaning the shock valve and pump head.
- Bike Stand (Optional): Elevating your bike can make the process easier.
- Manufacturers Manual: For your bike/shock.
Preparing Your Bike and Workspace
- Clean the Shock Valves: Use a rag to wipe away any dirt or debris from the Schrader valves on your shocks. This prevents contaminants from entering the system.
- Position Your Bike: If you have a bike stand, mount your bike for easier access. Otherwise, ensure your bike is stable on a level surface.
- Consult Your Manual: Check your bike or shock manufacturer’s manual for recommended pressure settings. These values are a starting point for your adjustments.
Step-by-Step Guide: Using a High-Pressure Hose on MTB Shocks

Now that you’re prepared, let’s move on to the actual process of using the high-pressure hose. Follow these steps carefully to ensure proper inflation and adjustment of your MTB shocks.
Step 1: Connecting the Pump
- Remove the Valve Cap: Unscrew the small cap covering the Schrader valve on your shock. Keep it in a safe place.
- Attach the Pump Head: Align the pump head with the valve and push it on firmly. Some pump heads have a lever to lock them in place; if yours does, engage it.
- Ensure a Secure Connection: Make sure the pump head is securely attached to the valve. A loose connection will result in air leakage and an inaccurate reading.
Step 2: Inflating the Shock
- Start Pumping: Begin pumping the handle of the high-pressure hose. Watch the gauge to monitor the pressure.
- Reach the Target Pressure: Pump until the gauge reads the desired pressure, based on your manufacturer’s recommendations and your personal preferences.
- Monitor the Gauge: Keep an eye on the gauge as you pump. It may take several pumps to reach the correct pressure, especially at higher PSI levels.
Step 3: Fine-Tuning and Bleeding Air
- Check the Pressure: After reaching your target pressure, double-check the gauge to ensure it’s accurate.
- Bleed Excess Air (If Needed): If you’ve over-inflated the shock, use the bleed valve to release small amounts of air. Press the valve gently and briefly to avoid releasing too much air.
- Repeat as Necessary: Continue to check and adjust the pressure until you achieve the exact desired level.
Step 4: Disconnecting the Pump
- Release the Lever (If Applicable): If your pump head has a locking lever, disengage it.
- Carefully Remove the Pump Head: Pull the pump head straight off the valve. Be prepared for a small amount of air to escape – this is normal.
- Replace the Valve Cap: Screw the valve cap back onto the Schrader valve to protect it from dirt and debris.
Step 5: Repeat for the Other Shock
If you’re adjusting both front and rear shocks, repeat steps 1-4 for the other shock. Remember to consult your manual for the recommended pressure settings for each shock.
Advanced Tips and Considerations
Once you’re comfortable with the basic process, here are some advanced tips and considerations to help you fine-tune your MTB shocks even further.
Understanding Sag
“Sag” refers to the amount the suspension compresses when you’re sitting on the bike. Setting the correct sag is crucial for optimal performance. Here’s how to measure and adjust it:
- Set the O-Ring: Most shocks have an O-ring on the stanchion (the shiny part that slides into the shock body). Push it up against the seal.
- Get on Your Bike: Sit on your bike in a normal riding position.
- Get Off Carefully: Without bouncing, carefully dismount the bike.
- Measure the Sag: Measure the distance the O-ring has moved. This is your sag.
- Adjust as Needed: Add or release air to achieve the recommended sag for your bike and riding style. Typically, this is around 20-30% of the total shock travel.
Adjusting Rebound
Rebound controls how quickly the shock returns to its original position after compression. Adjusting rebound can significantly impact your bike’s handling. Here’s what to consider:
- Too Slow: If the rebound is too slow, the suspension may not return quickly enough to absorb subsequent bumps, leading to a harsh ride.
- Too Fast: If the rebound is too fast, the bike may feel bouncy and unstable.
Most shocks have a rebound adjustment knob. Experiment with different settings to find what works best for you.
Volume Spacers
Volume spacers are small plastic pieces that can be added or removed from the air chamber of your shock. They affect the shock’s progressivity – how much force it takes to compress the shock as it moves through its travel.
- More Spacers: Make the shock more progressive, meaning it will resist bottoming out on big hits.
- Fewer Spacers: Make the shock more linear, providing a plusher feel throughout the travel.
Consult your shock manufacturer’s guide for instructions on installing and removing volume spacers.
Monitoring and Maintaining Your Shocks
Regular maintenance is essential for keeping your MTB shocks in good condition. Here are some tips:
- Check Pressure Regularly: Check the pressure in your shocks before each ride, especially if you notice a change in performance.
- Clean and Lubricate: Clean the stanchions regularly with a soft cloth and apply a small amount of suspension-specific lubricant.
- Inspect for Damage: Check for any signs of damage, such as scratches, leaks, or worn seals.
- Service Your Shocks: Have your shocks professionally serviced at the recommended intervals (usually every 50-100 hours of riding).
Troubleshooting Common Issues
Even with careful attention, you may encounter some common issues when using a high-pressure hose on your MTB shocks. Here are some troubleshooting tips:
Air Leaks
If you notice air leaking from the valve when attaching or detaching the pump, try these solutions:
- Check the Pump Head: Ensure the pump head is securely attached to the valve.
- Replace the O-Ring: The O-ring on the pump head may be worn or damaged. Replace it with a new one.
- Clean the Valve: Clean the Schrader valve with a rag to remove any dirt or debris.
Inaccurate Readings
If the pressure readings on your gauge seem inaccurate, consider the following:
- Calibrate the Pump: Some shock pumps can be calibrated. Check your pump’s manual for instructions.
- Use a Different Pump: Try using a different high-pressure hose to see if the issue persists.
- Check the Gauge: The gauge itself may be faulty. Consider replacing the pump if the gauge is consistently inaccurate.
Difficulty Attaching the Pump
If you’re having trouble attaching the pump head to the valve, try these tips:
- Align the Pump Head: Ensure the pump head is properly aligned with the valve.
- Apply Gentle Pressure: Push the pump head onto the valve with gentle, even pressure.
- Check for Damage: Inspect the valve and pump head for any signs of damage or wear.
Recommended High-Pressure Hoses
Choosing the right high-pressure hose can make a big difference in your shock maintenance routine. Here are a few highly recommended options:
| Brand and Model | Key Features | Approximate Price |
|---|---|---|
| RockShox High Pressure Shock Pump | Precise gauge, durable construction, bleed valve | $50 |
| Fox Racing Shox Digital Pressure Pump | Digital gauge for accurate readings, swivel head, bleed button | $70 |
| Topeak PocketShock DXG | Compact design, rotating hose, pressure release button | $40 |
FAQ: Using High-Pressure Hose for MTB Shocks
Here are some frequently asked questions about using high-pressure hoses on MTB shocks:
- Q: Can I use a regular tire pump for my MTB shocks?
- A: No, regular tire pumps cannot reach the high pressures required for MTB shocks. A high-pressure hose (shock pump) is specifically designed for this purpose.
- Q: How often should I check the pressure in my shocks?
- A: It’s a good idea to check the pressure before each ride, especially if you notice a change in performance. At a minimum, check it once a week.
- Q: What is sag, and why is it important?
- A: Sag is the amount the suspension compresses when you’re sitting on the bike. Setting the correct sag is crucial for optimal performance, as it ensures the suspension is working within its intended range.
- Q: How do I know what pressure to put in my shocks?
- A: Consult your bike or shock manufacturer’s manual for recommended pressure settings. These values are a starting point, and you can adjust them based on your personal preferences and riding style.
- Q: What does the bleed valve do?
- A: The bleed valve allows you to release small amounts of air from the shock, enabling you to fine-tune the pressure and achieve the exact desired level.
- Q: Can I over-inflate my shocks?
- A: Yes, over-inflating your shocks can damage them and affect their performance. Always follow the manufacturer’s recommended pressure limits.
- Q: Why does air escape when I disconnect the pump?
- A: A small amount of air escaping when you disconnect the pump is normal. However, if a large amount of air escapes, there may be a leak or an issue with the pump head.
Conclusion
Using a high-pressure hose to adjust your MTB shocks might seem complicated initially, but with a little practice, it becomes a straightforward and essential part of bike maintenance. By following this guide, you can confidently adjust your shocks, fine-tune your suspension, and enhance your riding experience. Remember to always consult your manufacturer’s recommendations, maintain your equipment, and experiment with different settings to find what works best for you. Happy trails!


