
How to Set an Accumulator for Least Pump Cycles
Quick Summary: To minimize pump cycles, adjust your accumulator’s pre-charge pressure to roughly 10% below the pump’s cut-in pressure. Then, fine-tune the upper pressure limit to the minimum required for your system’s needs. This maximizes the water volume stored between pump cycles, reducing wear and energy consumption. Always consult your pump and accumulator’s specific manuals for precise settings.
Are you tired of your water pump constantly turning on and off? It’s a common problem that can be annoying and waste energy. Plus, all those starts and stops wear out your pump faster. The good news is, an accumulator tank can help! By storing water under pressure, it reduces how often your pump needs to kick in. But to get the most out of your accumulator, you need to set it up correctly. Don’t worry, it’s easier than you think! This guide will walk you through the steps to set your accumulator for the least pump cycles, saving you energy and extending the life of your pump.
What is an Accumulator Tank and Why Do You Need One?

An accumulator tank, also known as a pressure tank, is a container that stores water under pressure. It’s connected to your water pump and plumbing system. Inside the tank is a bladder or diaphragm that separates the water from compressed air. When you use water, the air pressure pushes the water out of the tank. When the pressure drops to a certain point, the pump turns on to refill the tank.
Here’s why an accumulator tank is a great idea:
- Reduces pump cycling: The main benefit! By storing water, the pump doesn’t have to turn on every time you use a small amount of water.
- Extends pump life: Fewer starts and stops mean less wear and tear on your pump.
- Provides consistent water pressure: The tank helps to smooth out pressure fluctuations, giving you a more even flow of water.
- Saves energy: Reducing pump cycles saves electricity.
- Prevents water hammer: The tank cushions the shock of sudden pressure changes, protecting your pipes.
Understanding the Key Settings
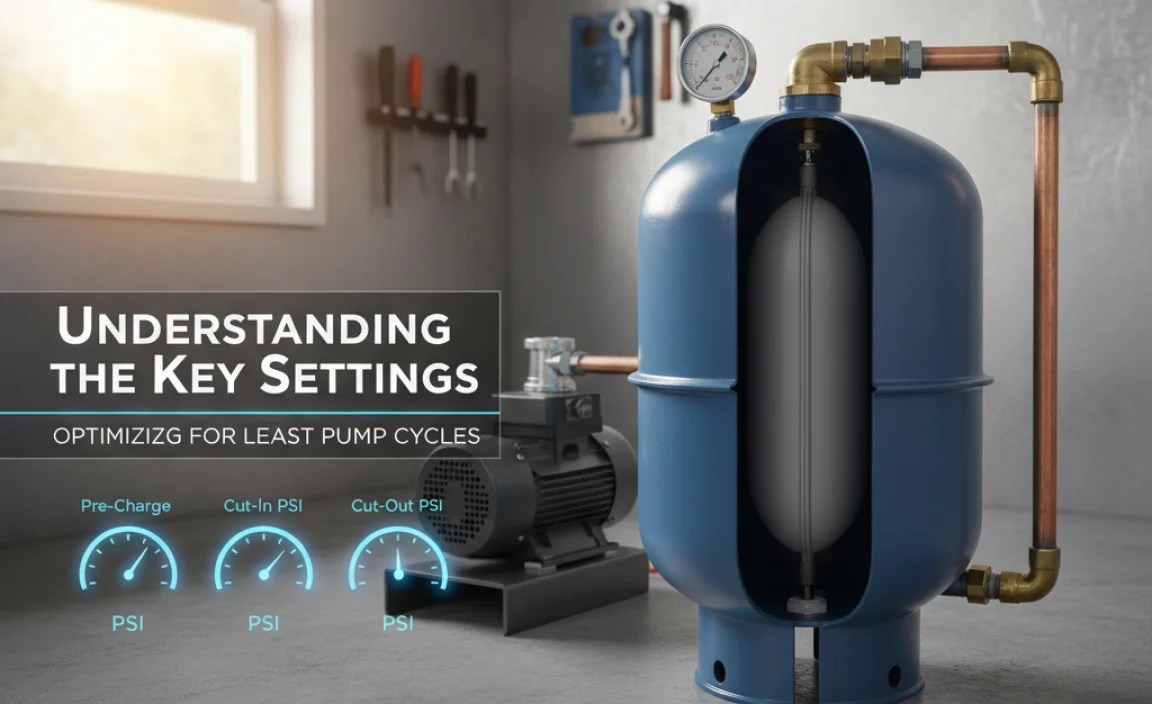
To properly set your accumulator for the least pump cycles, you need to understand these key settings:
- Pre-charge pressure: This is the air pressure inside the tank *before* the pump starts filling it with water. It’s crucial for optimal performance.
- Pump cut-in pressure: This is the pressure at which your water pump turns *on* to refill the tank.
- Pump cut-out pressure: This is the pressure at which your water pump turns *off*, indicating the tank is full.
- Pressure differential: The difference between the cut-in and cut-out pressure.
These settings work together to determine how much water the accumulator stores and how often the pump cycles. Getting them right is the key to minimizing those cycles.
Step-by-Step Guide: Setting Your Accumulator for Minimal Pump Cycles

Here’s a step-by-step guide to setting your accumulator for the least pump cycles. Before you start, make sure you have the following tools:
- Pressure gauge
- Air compressor (or bicycle pump with a pressure gauge)
- Wrench (to access the Schrader valve)
- Your pump and accumulator manuals
Step 1: Turn Off the Pump and Depressurize the System
Safety first! Turn off the power to your water pump at the circuit breaker. Then, open a faucet or valve downstream from the accumulator tank to relieve any pressure in the system. Let the water run until it stops completely.
Step 2: Locate the Schrader Valve and Check the Pre-charge Pressure
The Schrader valve looks just like the valve on your car or bicycle tire. It’s usually located on the top or side of the accumulator tank, often covered by a small cap. Remove the cap and use a pressure gauge to check the pre-charge pressure. Note this reading.
Step 3: Adjust the Pre-charge Pressure
This is the most important step! The ideal pre-charge pressure is typically set 2 PSI below the pump’s cut-in pressure. Here’s how to determine the correct setting:
- Find your pump’s cut-in pressure: This information is usually found in your pump’s manual or on a label on the pump itself. For example, it might say “Cut-in: 40 PSI.”
- Calculate the ideal pre-charge pressure: Subtract 2 PSI from the cut-in pressure. In our example, 40 PSI – 2 PSI = 38 PSI.
- Adjust the pre-charge:
- If the pre-charge is too high: Depress the Schrader valve core (like letting air out of a tire) to release air until you reach the target pressure.
- If the pre-charge is too low: Use an air compressor or bicycle pump to add air until you reach the target pressure.
Important Note: Always refer to your accumulator tank’s manual for specific pre-charge recommendations. Some manufacturers may have slightly different guidelines.
Pressure Conversion Chart
Step 4: Turn On the Pump and Observe the Pressure
Now, turn the power back on to your water pump. Watch the pressure gauge on the pump or the accumulator tank as the pump fills the tank. Note the cut-in and cut-out pressures. They should be close to the manufacturer’s specifications.
Step 5: Adjust the Pump’s Pressure Switch (If Necessary)
If the cut-in and cut-out pressures are not correct, you may need to adjust the pressure switch on your water pump. This switch controls when the pump turns on and off. The adjustment procedure varies depending on the type of switch. Consult your pump’s manual for detailed instructions. Generally, you’ll find two adjustment screws:
- Range screw: Adjusts both the cut-in and cut-out pressures together. Turning it clockwise increases both pressures, while turning it counter-clockwise decreases them.
- Differential screw: Adjusts the difference between the cut-in and cut-out pressures. Turning it clockwise increases the differential, while turning it counter-clockwise decreases it.
Make small adjustments and observe the pressure after each adjustment. The goal is to set the cut-in and cut-out pressures to the desired values while maintaining the correct pressure differential.
Step 6: Fine-Tune for Minimal Cycling
Once the pre-charge and pump pressures are set, observe how often the pump cycles during normal water usage. If the pump is still cycling too frequently, you can try slightly increasing the pre-charge pressure (but never above the cut-in pressure). This will reduce the amount of water stored in the tank but may further reduce pump cycles. It’s a balancing act, so experiment to find the optimal setting for your system.
Step 7: Regular Maintenance
Check the pre-charge pressure every few months, especially if you notice the pump cycling more frequently. Over time, the air in the tank can leak out, reducing its effectiveness. Re-adjust the pre-charge as needed to maintain optimal performance.
Troubleshooting Common Issues

Here are some common issues you might encounter and how to troubleshoot them:
- Pump cycles too frequently:
- Check the pre-charge pressure and adjust as needed.
- Make sure the accumulator tank is properly sized for your system.
- Look for leaks in the plumbing system.
- The bladder may be damaged, requiring tank replacement.
- Low water pressure:
- Check the pre-charge pressure and adjust as needed.
- Make sure the pump is working properly.
- Check for clogs in the pipes or filters.
- Waterlogged tank (no air pressure):
- The bladder may be ruptured. Replace the tank.
Sizing Your Accumulator Tank

Choosing the right size accumulator tank is crucial for minimizing pump cycles. A tank that’s too small won’t store enough water, and the pump will cycle frequently. A tank that’s too large may be more expensive and take up unnecessary space.
Here’s a general guideline for sizing your accumulator tank:
- Determine your pump’s flow rate: This is the amount of water the pump can deliver per minute (GPM). You can find this information in your pump’s manual.
- Determine your desired drawdown: This is the amount of water you want to be able to use between pump cycles. A larger drawdown means fewer pump cycles.
- Use a sizing chart or formula: Many accumulator tank manufacturers provide sizing charts or formulas to help you choose the right size tank. These charts take into account the pump’s flow rate, the desired drawdown, and the pump’s cut-in and cut-out pressures.
Here’s an example of a sizing table:
| Pump Flow Rate (GPM) | Desired Drawdown (Gallons) | Recommended Tank Size (Gallons) |
|---|---|---|
| 5 | 2 | 20 |
| 5 | 3 | 30 |
| 10 | 3 | 40 |
| 10 | 4 | 50 |
Note: This is just a general guideline. Always consult with a plumbing professional or the accumulator tank manufacturer for specific sizing recommendations.
Why Correct Pre-Charge Pressure Matters
The pre-charge pressure is the foundation of efficient accumulator tank operation. It’s the air pressure pushing against the water bladder inside the tank *before* the pump starts filling it. Here’s why getting it right is so important:
- Maximizes Drawdown: Correct pre-charge ensures you use the largest possible volume of stored water before the pump kicks on. This extends the resting periods for your pump motor.
- Reduces Pump Wear: Fewer starts and stops dramatically reduce the strain on the pump’s motor and internal components, extending its lifespan.
- Prevents Bladder Damage: Incorrect pre-charge can overstretch or compress the bladder, leading to premature failure and costly replacements.
- Optimizes Energy Use: By reducing how often the pump runs, you decrease electricity consumption, leading to lower energy bills.
Advanced Tips for Fine-Tuning
Once you have the basics down, here are some advanced tips for fine-tuning your accumulator tank system:
- Use a digital pressure gauge: Digital gauges provide more accurate readings than analog gauges, making it easier to set the pre-charge pressure precisely.
- Consider a variable frequency drive (VFD): A VFD can control the speed of your water pump, reducing pressure fluctuations and further minimizing pump cycles.
- Insulate the accumulator tank: Insulating the tank can help to prevent condensation and maintain a more stable temperature, which can improve its performance.
Common Mistakes to Avoid
Here are some common mistakes people make when setting up an accumulator tank:
- Ignoring the manufacturer’s instructions: Always read and follow the instructions provided by the pump and accumulator tank manufacturers.
- Setting the pre-charge pressure too high: This will reduce the amount of water stored in the tank and cause the pump to cycle more frequently.
- Setting the pre-charge pressure too low: This can overstress the bladder and shorten its lifespan.
- Not checking the pre-charge pressure regularly: The pre-charge pressure can change over time, so it’s important to check it every few months.
- Using the wrong size accumulator tank: Using a tank that’s too small or too large can reduce its effectiveness.
FAQ: Accumulator Tank Settings
Here are some frequently asked questions about setting accumulator tanks for minimal pump cycles:
- What happens if my accumulator tank is too small?
- If your accumulator tank is too small, your pump will cycle on and off more frequently, leading to increased wear and tear and higher energy consumption.
- How often should I check the pre-charge pressure in my accumulator tank?
- You should check the pre-charge pressure every 3-6 months, or more frequently if you notice your pump cycling more often than usual.
- Can I use a regular tire pump to adjust the pre-charge pressure?
- Yes, you can use a regular tire pump or even a bicycle pump with a pressure gauge to adjust the pre-charge pressure in your accumulator tank.
- What is the ideal pressure differential for my pump?
- The ideal pressure differential depends on your pump and system requirements. Consult your pump’s manual for the recommended pressure differential.
- How do I know if my accumulator tank bladder is damaged?
- If your accumulator tank is waterlogged (full of water with no air pressure), the bladder is likely damaged and needs to be replaced.
- Do I need to drain the accumulator tank before adjusting the pre-charge pressure?
- Yes, you need to turn off the pump and drain the tank by opening a faucet until the water stops flowing before checking or adjusting the pre-charge pressure.
- What is “water hammer” and how does an accumulator tank prevent it?
- Water hammer is a pressure surge that occurs when water flow suddenly stops. An accumulator tank cushions these surges by absorbing the excess pressure, protecting your pipes from damage.
Conclusion
Setting your accumulator tank correctly for minimal pump cycles is an easy way to save energy, extend the life of your water pump, and enjoy more consistent water pressure. By following these steps and understanding the key settings, you can optimize your system for peak performance. Remember to always consult your manuals and check the pre-charge pressure regularly. With a little bit of effort, you can keep your water flowing smoothly and your pump running efficiently for years to come!
“`


