
Easy: How to Repair Hose Connector With Kit Now!
Repairing a hose connector with a kit is easy! First, cut the damaged section of the hose. Then, slide hose clamps over both ends of the hose. Insert the connector into the hose ends and tighten the clamps with a screwdriver. That’s it! You’ve got a leak-free connection and your hose is ready to use again.
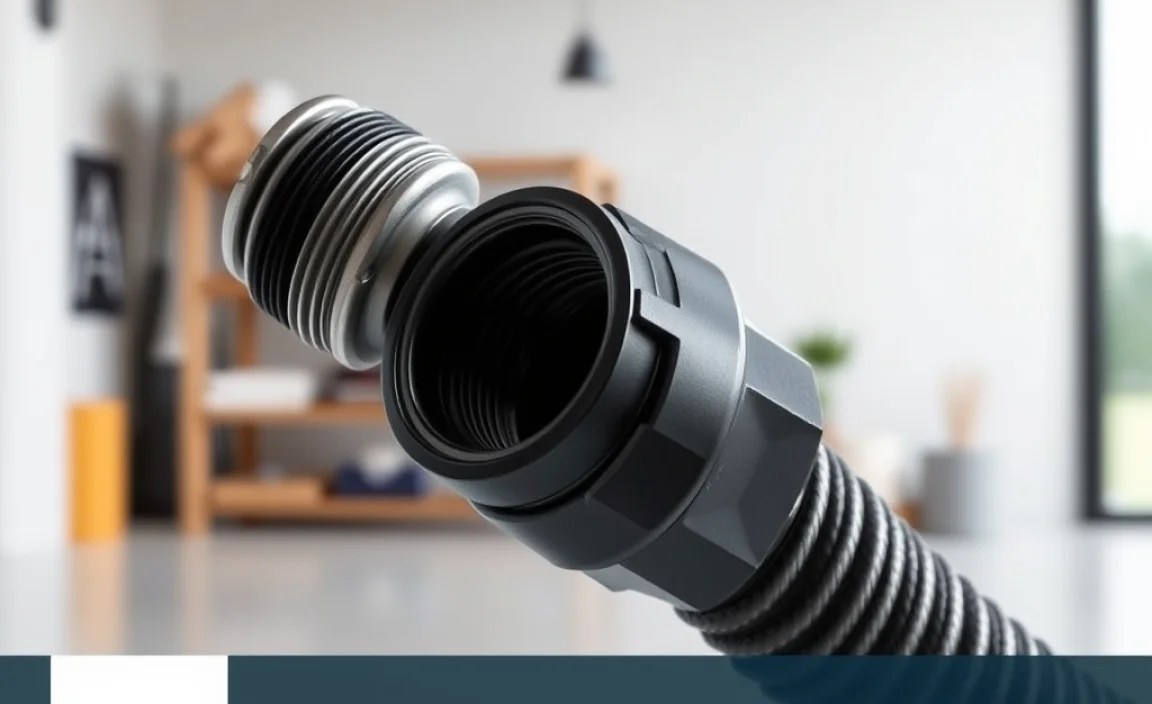
Garden hoses are essential for watering plants, washing cars, and countless other outdoor tasks. But those plastic or metal connectors at the ends? They’re often the first things to break. Cracks, leaks, and stripped threads can turn a simple watering job into a frustrating, soggy mess. Don’t toss that hose! With a simple repair kit, you can fix it yourself in just a few minutes.
This guide will walk you through the process of repairing a hose connector using a readily available repair kit. We’ll cover everything from gathering your tools to ensuring a leak-free seal, so you can get back to enjoying your garden without the hassle of a new hose.
What You’ll Need
Before you start, gather these essential items. Having everything on hand will make the repair process smooth and efficient.
- Hose Repair Kit: These kits typically include a replacement connector (male or female), hose clamps, and sometimes a cutting tool.
- Screwdriver: A standard flathead or Phillips head screwdriver, depending on the type of hose clamps in your kit.
- Utility Knife or Hose Cutter: For making a clean, straight cut on the hose. A sharp utility knife works well.
- Gloves (Optional): To protect your hands from dirt and debris.
- Work Surface: A flat, stable surface to work on.
Step-by-Step Guide to Repairing a Hose Connector

Follow these steps to repair your hose connector quickly and effectively.
Step 1: Assess the Damage
Take a close look at the hose and connector to identify the exact location and extent of the damage.
- Check the Connector: Look for cracks, breaks, stripped threads, or any other visible damage.
- Inspect the Hose: Examine the hose near the connector for kinks, cuts, or weak spots. Sometimes, the hose itself is damaged, which contributed to the connector failure.
- Determine the Repair Type: Decide whether you need to replace the entire connector or just tighten a loose connection. If the connector is severely damaged, replacement is the best option.
Step 2: Prepare the Hose
Cut the hose to remove the damaged section and create a clean surface for the new connector.
- Measure and Cut: Use a utility knife or hose cutter to cut the hose a few inches behind the damaged area. Make sure the cut is straight and clean for a secure fit.
- Remove Old Connector: If the old connector is still attached, carefully remove it. You may need to use pliers or a screwdriver to loosen any remaining pieces.
- Clean the Hose End: Remove any dirt, debris, or rough edges from the cut end of the hose. A clean surface will ensure a tight seal.
Step 3: Install the New Connector
Attach the new connector from your repair kit to the prepared hose end.
- Slide on Hose Clamps: Before inserting the connector, slide the hose clamps onto the hose. Make sure the clamps are oriented correctly, with the screw mechanism accessible.
- Insert the Connector: Push the connector firmly into the hose end. Ensure it is inserted all the way to the stop or marked line on the connector.
- Position the Clamps: Slide the hose clamps into position over the connector, placing them evenly around the hose.
Step 4: Secure the Clamps
Tighten the hose clamps to create a secure and leak-proof connection.
- Tighten the Screws: Use a screwdriver to tighten the screws on the hose clamps. Tighten them evenly, alternating between the clamps to ensure a balanced grip.
- Check for Tightness: Make sure the clamps are snug but not overly tight. Overtightening can damage the hose or connector.
- Inspect the Connection: Visually inspect the connection to ensure the hose is securely attached to the connector.
Step 5: Test for Leaks
Test the repaired connection to ensure it is leak-free.
- Turn on the Water: Connect the hose to a water source and turn on the water slowly.
- Check for Leaks: Examine the connection point for any signs of leaks. If you see leaks, tighten the hose clamps further.
- Adjust as Needed: If leaks persist, you may need to reposition the clamps or replace the connector. Ensure the hose is properly seated on the connector.
Choosing the Right Hose Repair Kit

Selecting the appropriate hose repair kit is crucial for a successful and long-lasting repair. Consider these factors when choosing a kit:
- Hose Size: Ensure the kit is compatible with the diameter of your hose. Most kits specify the hose sizes they are designed for (e.g., 1/2 inch, 5/8 inch, or 3/4 inch).
- Connector Type: Determine whether you need a male or female connector. Male connectors have external threads, while female connectors have internal threads.
- Material: Look for kits with durable materials, such as brass or heavy-duty plastic. Brass connectors are more resistant to corrosion and wear.
- Clamp Type: Consider the type of hose clamps included in the kit. Worm-drive clamps are common and easy to use.
- Kit Contents: Check what is included in the kit. Some kits come with extra clamps or connectors, which can be useful for future repairs.
Types of Hose Repair Kits

There are various types of hose repair kits available, each designed for specific repair needs. Here’s a comparison of the most common types:
| Type of Kit | Description | Pros | Cons | Best For |
|---|---|---|---|---|
| Standard Connector Repair Kit | Includes a replacement connector (male or female) and hose clamps. | Simple to use, widely available, cost-effective. | May not be suitable for all hose sizes or types. | Basic connector replacement. |
| Hose Mender Kit | Includes a barbed fitting and clamps to repair cuts or breaks in the middle of the hose. | Allows you to repair the hose without replacing the entire section. | Requires precise cutting and fitting. | Repairing mid-hose damage. |
| Universal Repair Kit | Includes a variety of connectors, clamps, and fittings to accommodate different hose sizes and repair needs. | Versatile, can be used for multiple repairs. | May be more expensive than specialized kits. | General hose repair needs. |
| Quick Connector Kit | Features quick-connect fittings that allow you to easily attach and detach the hose from the water source or accessories. | Convenient, easy to use, time-saving. | May be less durable than traditional connectors. | Frequent hose connection and disconnection. |
Tips for a Successful Hose Repair

Follow these tips to ensure a successful and long-lasting hose repair:
- Use the Right Tools: Using the correct tools, such as a sharp utility knife or hose cutter, will make the job easier and more precise.
- Clean the Hose: Always clean the hose end before installing the new connector. This will ensure a tight and secure seal.
- Tighten Clamps Evenly: Tighten the hose clamps evenly to prevent leaks. Avoid overtightening, which can damage the hose or connector.
- Test the Connection: Always test the repaired connection for leaks before using the hose. This will save you time and water in the long run.
- Store Hoses Properly: To prevent future damage, store hoses properly by coiling them neatly and avoiding kinks or sharp bends.
Maintaining Your Garden Hose
Proper maintenance can extend the life of your garden hose and prevent the need for frequent repairs. Here are some tips for maintaining your hose:
- Avoid Kinks: Kinks can weaken the hose and cause it to crack or leak. Avoid creating kinks by coiling the hose properly.
- Protect from Sun: Prolonged exposure to sunlight can degrade the hose material. Store the hose in a shaded area or use a hose reel to protect it from the sun.
- Drain After Use: Always drain the hose after use to prevent water from freezing inside during cold weather. Freezing water can cause the hose to burst.
- Store Properly: Store the hose in a cool, dry place during the off-season. This will prevent it from deteriorating.
- Inspect Regularly: Regularly inspect the hose for signs of wear and tear, such as cracks, leaks, or kinks. Address any issues promptly to prevent further damage.
Common Problems and Solutions
Even with careful repair and maintenance, you may encounter some common problems with your garden hose. Here are some solutions:
| Problem | Possible Cause | Solution |
|---|---|---|
| Leaking Connection | Loose hose clamps, damaged connector, or improperly seated hose. | Tighten hose clamps, replace damaged connector, or reseat the hose on the connector. |
| Low Water Pressure | Kinks in the hose, clogs in the nozzle, or a damaged hose. | Remove kinks, clean the nozzle, or repair/replace the damaged hose. |
| Hose Bursting | Excessive water pressure, freezing temperatures, or weakened hose material. | Reduce water pressure, protect hose from freezing, or replace the hose. |
| Connector Stripping | Overtightening, cross-threading, or using incompatible connectors. | Avoid overtightening, ensure proper threading, or use compatible connectors. |
When to Replace vs. Repair
Deciding whether to repair or replace your garden hose depends on the extent of the damage and the age of the hose.
- Repair: If the damage is minor, such as a small leak or a damaged connector, repairing the hose is a cost-effective solution.
- Replace: If the hose is severely damaged, such as multiple leaks, large cuts, or a burst section, it may be more practical to replace the entire hose.
- Age: If the hose is old and showing signs of wear and tear, such as brittleness or discoloration, it may be time to replace it, even if the current damage is minor.
Cost Considerations
The cost of repairing a hose connector is typically much lower than replacing the entire hose. Here’s a general cost breakdown:
- Hose Repair Kit: $5 – $20 (depending on the type and quality of the kit)
- New Garden Hose: $20 – $100+ (depending on the length, material, and features)
Repairing a hose connector can save you money and reduce waste, making it a worthwhile DIY project.
Safety Precautions
While repairing a hose connector is a simple task, it’s important to take a few safety precautions:
- Wear Gloves: Protect your hands from dirt, debris, and sharp edges by wearing gloves.
- Use Sharp Tools Carefully: When using a utility knife or hose cutter, be careful to avoid cutting yourself.
- Turn Off Water Supply: Before making any repairs, turn off the water supply to prevent water from spraying.
- Avoid Overtightening: Overtightening hose clamps can damage the hose or connector. Tighten them snugly but not excessively.
FAQ: Repairing Hose Connectors
Here are some frequently asked questions about repairing hose connectors:
Q: Can I use any hose repair kit for my garden hose?
A: No, you should choose a kit that is compatible with the size and type of your hose. Check the kit’s specifications to ensure it matches your hose’s diameter and connector type (male or female).
Q: How do I know if I need to replace the entire hose or just the connector?
A: If the hose has multiple leaks, large cuts, or is very old and brittle, it’s best to replace the entire hose. If the damage is limited to the connector, you can repair it.
Q: What type of screwdriver should I use for tightening hose clamps?
A: It depends on the type of hose clamps in your kit. Most kits use worm-drive clamps, which require a standard flathead or Phillips head screwdriver.
Q: Can I use pliers instead of a utility knife to cut the hose?
A: While pliers can cut the hose, they may not provide a clean, straight cut. A utility knife or hose cutter is recommended for a more precise cut.
Q: How tight should I tighten the hose clamps?
A: Tighten the hose clamps snugly but not excessively. Overtightening can damage the hose or connector. The clamps should be tight enough to prevent leaks but not so tight that they deform the hose.
Q: What if I still have leaks after repairing the connector?
A: Check the hose clamps to ensure they are properly positioned and tightened. You may need to reposition the clamps or tighten them further. If leaks persist, inspect the connector and hose for any damage.
Q: How can I prevent hose connectors from breaking in the future?
A: To prevent future damage, avoid kinking the hose, protect it from sunlight, drain it after use, and store it properly in a cool, dry place. Regularly inspect the hose and connectors for signs of wear and tear.
Conclusion
Repairing a hose connector with a kit is a simple and cost-effective way to extend the life of your garden hose. By following these step-by-step instructions, you can quickly fix a damaged connector and get back to your gardening tasks. Remember to choose the right repair kit, use the appropriate tools, and take necessary safety precautions. With proper maintenance and timely repairs, your garden hose will continue to serve you well for years to come.


