
How to Make DIY Hose Extension: Easy Upgrade!
Making a DIY hose extension is easy! You can extend your garden hose by cutting it and joining the cut ends using hose connectors and clamps. You’ll need a sharp utility knife, hose connectors, and stainless steel clamps. This saves money and lets you customize the length of your hose exactly as you need it.
Is your garden hose too short to reach your plants or car? It’s a common problem! Buying a new, longer hose can be expensive. But don’t worry, there’s a simple solution: making your own hose extension. It’s easier than you might think, and you can customize the length to fit your exact needs.
In this guide, I’ll show you how to create a DIY hose extension step-by-step. You’ll learn what tools you need, how to connect the hoses securely, and how to avoid leaks. Let’s get started and make your gardening tasks much easier!
What You’ll Need to Make a Hose Extension

Before you start, gather these materials and tools. Having everything ready will make the job go smoothly. Here’s what you’ll need:
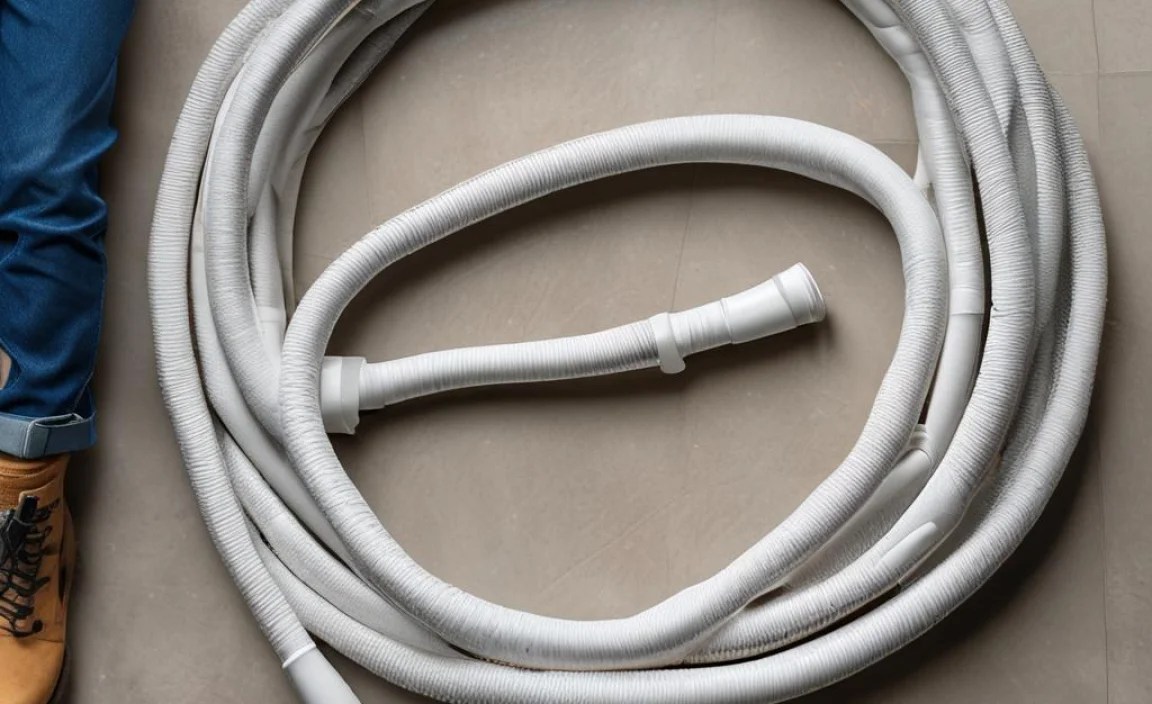
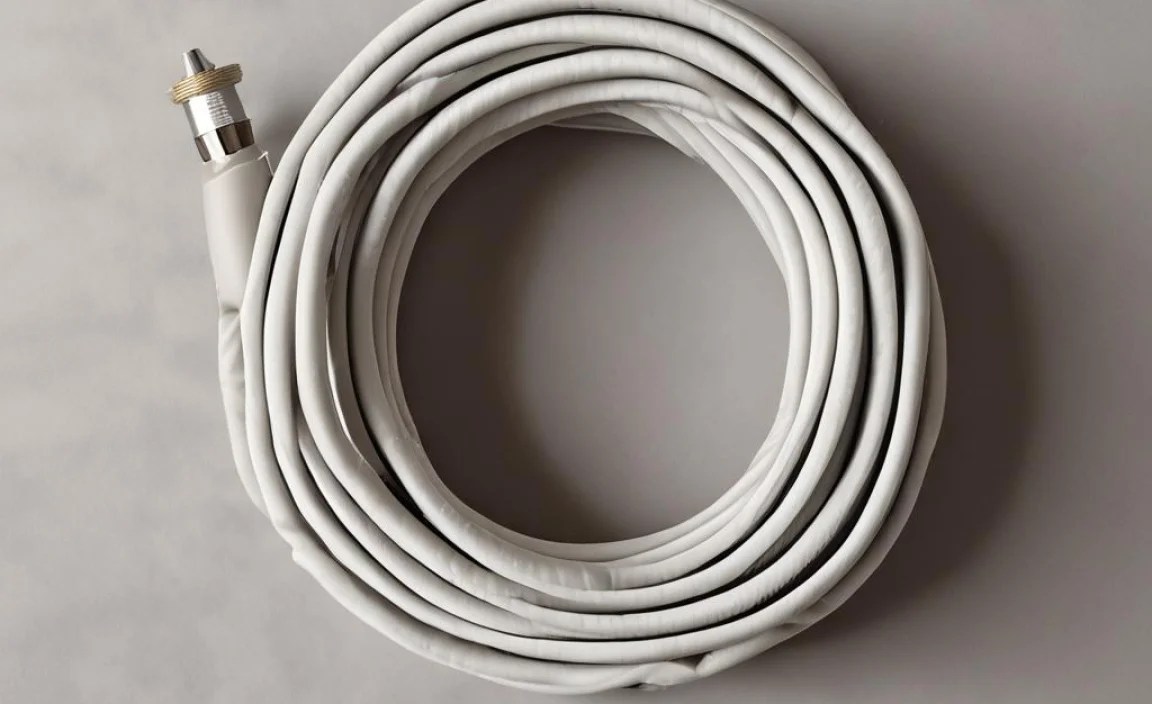
- Garden Hose: An old hose or a length of new hose for the extension.
- Hose Connectors: These join the two hose pieces together. You’ll need one male and one female connector.
- Stainless Steel Clamps: These secure the hose to the connectors. Get clamps that fit your hose size.
- Utility Knife or Hose Cutter: For cutting the hose cleanly.
- Screwdriver or Nut Driver: To tighten the clamps.
Step-by-Step Guide to Making a DIY Hose Extension

Follow these steps to create your own hose extension. Take your time and double-check each connection to avoid leaks.
Step 1: Measure and Cut the Hose
First, decide how long you want your hose extension to be. Use a measuring tape to measure the required length. Then, use a sharp utility knife or hose cutter to cut the hose. Make sure the cut is clean and straight. A clean cut ensures a tight seal with the connectors.
Safety Tip: Always use gloves when using a utility knife to protect your hands.
Step 2: Attach the Hose Connectors
Now, attach the hose connectors to the cut ends of the hose. Push the male connector into one end and the female connector into the other end. Make sure the connectors are inserted far enough for a secure fit. The connectors should fit snugly, but not so tightly that you damage the hose.
Step 3: Secure the Connectors with Clamps
Place a stainless steel clamp over the hose where it meets the connector. Use a screwdriver or nut driver to tighten the clamp. Make sure the clamp is tight enough to hold the hose firmly, but not so tight that it damages the hose. Repeat this step for the other end of the hose.
Pro Tip: Position the clamps about 1/2 inch from the end of the hose for the best grip.
Step 4: Test for Leaks
After attaching the connectors and clamps, it’s time to test for leaks. Connect the extended hose to a water source and turn on the water. Check the connection points for any leaks. If you see a leak, tighten the clamps a little more. If the leak persists, you may need to reposition the clamp or check the connectors.
Step 5: Make Adjustments as Needed
If you find any leaks, make adjustments to the clamps or connectors. Sometimes, repositioning the clamp slightly can solve the problem. If the hose is old and worn, consider replacing that section. A small adjustment can make a big difference in preventing leaks.
Choosing the Right Materials
Selecting the right materials is crucial for a durable and leak-free hose extension. Here’s what to consider when choosing your hose, connectors, and clamps.
Hose Quality
The quality of your hose affects its durability and resistance to leaks. Look for hoses made from durable materials like rubber or reinforced vinyl. Avoid cheap, thin hoses that are prone to cracking and splitting. A good quality hose will last longer and save you money in the long run.
Connector Types
There are different types of hose connectors available. Brass connectors are durable and corrosion-resistant, making them a great choice for outdoor use. Plastic connectors are less expensive but may not be as durable. Choose connectors that are compatible with your hose size and material. Here’s a comparison:
| Connector Type | Pros | Cons |
|---|---|---|
| Brass | Durable, corrosion-resistant | More expensive |
| Plastic | Less expensive, lightweight | Less durable, prone to cracking |
Clamp Materials
Stainless steel clamps are the best choice for securing your hose connectors. They are rust-resistant and provide a strong, reliable grip. Avoid using galvanized or other types of clamps that can rust and corrode over time. Stainless steel clamps will ensure a long-lasting, leak-free connection.
Tips for Preventing Leaks
Preventing leaks is essential for a successful hose extension. Here are some tips to help you avoid leaks and keep your hose working properly.
- Use the Right Size Clamps: Make sure the clamps you use are the correct size for your hose. Clamps that are too small won’t provide enough grip, while clamps that are too large won’t tighten properly.
- Tighten Clamps Evenly: When tightening the clamps, do it evenly to ensure a secure connection. Over-tightening one side can damage the hose and cause leaks.
- Check for Cracks and Wear: Before making the extension, inspect the hose for any cracks or signs of wear. If the hose is damaged, replace that section to prevent leaks.
- Use Teflon Tape: Wrap Teflon tape around the threads of the connectors before attaching them to the hose. This can help create a tighter seal and prevent leaks.
Troubleshooting Common Problems
Even with careful preparation, you might encounter some problems when making your hose extension. Here are some common issues and how to fix them.
Leaks at the Connection Points
If you see leaks at the connection points, first try tightening the clamps. If that doesn’t work, try repositioning the clamps or adding Teflon tape to the connectors. If the hose is old and worn, you may need to replace that section. Leaks can often be fixed with a simple adjustment or replacement.
Hose Kinks or Bends
Kinks and bends can restrict water flow and damage the hose. Use a hose reel or hanger to store the hose properly and prevent kinks. If you have a kink, try straightening it out by hand. For stubborn kinks, you can try using a heat gun to soften the hose and make it easier to straighten.
Low Water Pressure
If you notice low water pressure after making the extension, check for kinks or obstructions in the hose. Make sure the connectors are not blocking the water flow. If the problem persists, check your water source to ensure there are no issues with your water pressure. Low water pressure can be frustrating, but it’s often easy to fix.
Advantages of Making Your Own Hose Extension
Making your own hose extension has several advantages over buying a new hose. Here are some of the benefits:
- Cost Savings: Making your own extension is much cheaper than buying a new, longer hose.
- Custom Length: You can customize the length of the extension to fit your exact needs.
- Reduce Waste: You can reuse old hoses that would otherwise be thrown away.
- Easy to Repair: If the extension gets damaged, it’s easy to repair or replace the damaged section.
Alternative Methods for Extending Your Hose
While making a DIY hose extension with connectors and clamps is a reliable method, there are a couple of alternative approaches you might consider. Each has its own set of pros and cons.
Using a Quick-Connect System
Quick-connect systems are easy to use and allow you to quickly attach and detach hose sections. These systems typically consist of a set of connectors that snap together. While they are convenient, they may not be as durable as traditional connectors and clamps. Here’s a comparison:
| Method | Pros | Cons |
|---|---|---|
| Connectors and Clamps | Durable, reliable, cost-effective | Requires more effort to assemble |
| Quick-Connect System | Easy to use, quick to connect | Less durable, can be more expensive |
Combining Multiple Hoses with a Coupler
Another option is to use a hose coupler to join two existing hoses together. This is a simple solution if you already have multiple hoses and just need to add a bit of extra length. However, using too many couplers can reduce water pressure and increase the risk of leaks. It’s best to use this method sparingly.
Maintaining Your Hose Extension
Proper maintenance will help extend the life of your hose extension and keep it working properly. Here are some tips for maintaining your hose.
- Store the Hose Properly: When not in use, store the hose on a hose reel or hanger to prevent kinks and bends.
- Protect from Sunlight: Sunlight can damage the hose over time. Store the hose in a shaded area or cover it with a tarp.
- Drain After Use: After each use, drain the hose to prevent water from freezing inside during cold weather.
- Inspect Regularly: Regularly inspect the hose for any signs of wear or damage. Replace any damaged sections to prevent leaks.
Safety Precautions
When working with tools and water, it’s important to take safety precautions to protect yourself and others. Here are some safety tips to keep in mind.
- Wear Gloves: Wear gloves when using a utility knife or working with hose connectors to protect your hands.
- Use Eye Protection: Wear safety glasses to protect your eyes from debris when cutting the hose.
- Turn Off Water Supply: Always turn off the water supply before making any repairs or adjustments to the hose.
- Avoid Sharp Objects: Be careful when working with sharp objects like utility knives and screwdrivers.
<Frequently Asked Questions
1. Can I use any type of hose for the extension?
It’s best to use a hose that’s similar in material and diameter to your existing garden hose. This ensures a consistent water flow and a secure connection.
2. What size clamps should I use?
Choose clamps that match the outer diameter of your hose. The packaging of the clamps should indicate the size range they fit. Make sure the hose fits comfortably within that range when the clamp is open.
3. How do I know if the connectors are properly installed?
The connectors should be inserted far enough into the hose that they create a snug fit. The hose should also cover any barbs or ridges on the connector designed to grip the hose.
4. What if the hose is too stiff to easily attach the connectors?
Try warming the end of the hose with a hairdryer or by soaking it in warm water for a few minutes. This will make the hose more pliable and easier to work with.
5. Can I use this method to repair a damaged hose?
Yes, this method works well for repairing a damaged hose. Simply cut out the damaged section and use connectors and clamps to join the two good ends together.
6. How often should I check the hose extension for leaks?
It’s a good idea to check the hose extension for leaks every few weeks, especially if you use it frequently. This will help you catch any problems early and prevent water waste.
7. What’s the best way to store the hose extension during the winter?
Before winter, drain all the water from the hose extension and store it in a garage or shed where it won’t be exposed to freezing temperatures. This will prevent the hose from cracking or splitting.
Conclusion
Creating your own DIY hose extension is a simple and cost-effective way to solve the problem of a short garden hose. By following the steps outlined in this guide, you can easily customize the length of your hose and avoid the expense of buying a new one. Remember to choose the right materials, take precautions to prevent leaks, and maintain your hose properly to ensure it lasts for years to come. Happy gardening!


