
How to Install New Hose on Floor Pump: Easy Guide
Quick Summary: Replacing a worn-out hose on your floor pump is easier than you think! First, detach the old hose by unscrewing it or removing any clips. Then, connect the new hose, ensuring a tight seal. Test the pump to confirm proper inflation. This simple fix saves you money and keeps your tires properly inflated!
Is your floor pump struggling to inflate tires? Does the hose leak or have cracks? Don’t toss the whole pump! Often, the issue is just the hose. Replacing it is a simple, budget-friendly fix that anyone can do.
In this guide, I’ll walk you through each step, from identifying the right hose to getting your pump working like new. No need to be a bike mechanic – just follow along, and you’ll be back on the road in no time!
Why Replace Your Floor Pump Hose?
Floor pump hoses endure a lot of wear and tear. Over time, they can crack, leak, or become completely detached. Here’s why replacing the hose is a smart move:
- Cost-Effective: A new hose is far cheaper than a new pump.
- Performance: A damaged hose reduces pumping efficiency, making it harder to inflate tires.
- Convenience: A working pump saves time and frustration before each ride.
- Sustainability: Repairing instead of replacing reduces waste.
Tools and Materials You’ll Need

Before you start, gather these essentials:
- New Floor Pump Hose: Make sure it’s compatible with your pump model.
- Wrench or Adjustable Spanner: For loosening and tightening connections.
- Screwdrivers: Possibly a flathead or Phillips head, depending on your pump.
- Pliers: For removing stubborn clips or fasteners.
- Hose Clamps (if needed): To secure the hose to the pump and chuck.
- Teflon Tape (Plumber’s Tape): To ensure a tight, airtight seal.
- Soapy Water or Lubricant: To help slide the hose onto fittings.
- Safety Glasses: To protect your eyes.
Step-by-Step Guide to Installing a New Floor Pump Hose

Follow these steps to replace your floor pump hose:
Step 1: Gather Information About Your Pump
Before you order a new hose, you need to know the specifications for your current floor pump.
- Brand and Model: Look for the manufacturer and model number on the pump body or base. This helps ensure you get a compatible replacement hose.
- Hose Length: Measure the length of your current hose. You’ll want a replacement that’s the same length or slightly longer. Too short, and it won’t reach your tires; too long, and it can get in the way.
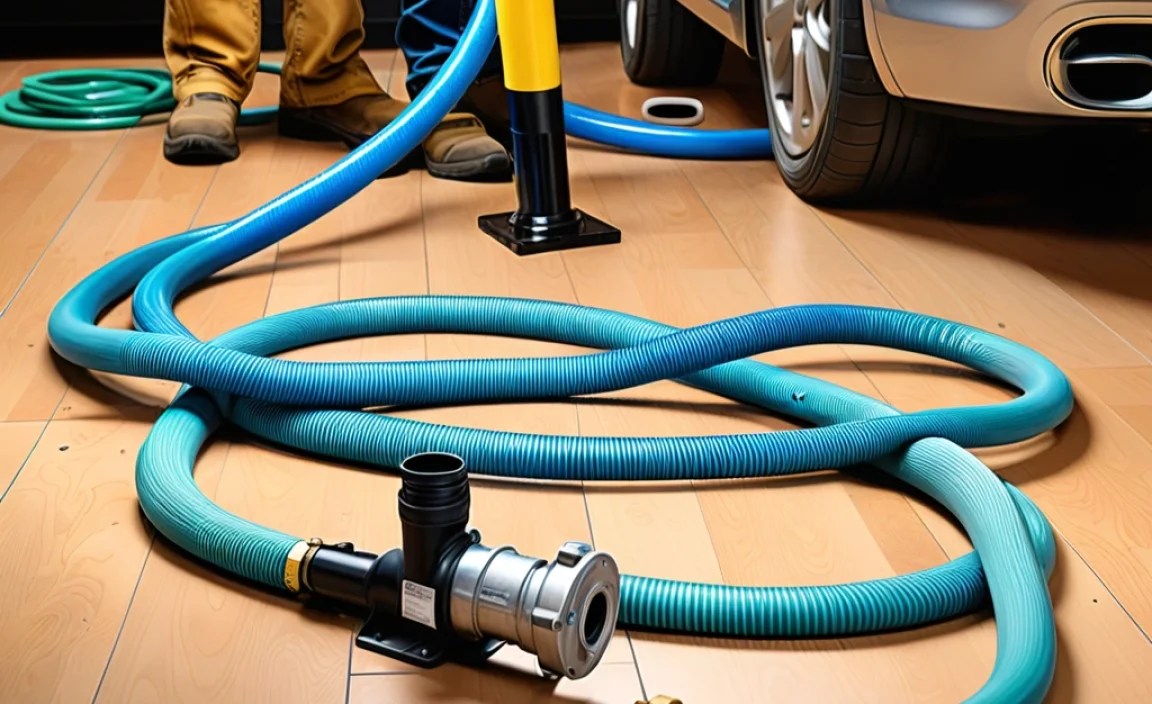
- Connector Type: Check how the hose connects to the pump body and the chuck (the part that attaches to the tire valve). Some hoses screw on, while others use clamps or quick-release fittings.
Step 2: Remove the Old Hose
Start by disconnecting the old hose from both the pump and the chuck.
- Disconnect from the Chuck:
- If the hose is screwed onto the chuck, use a wrench to loosen and unscrew it.
- If it’s held by a clamp, use pliers to loosen the clamp and slide the hose off.
- Disconnect from the Pump:
- Locate where the hose connects to the pump body. This is usually at the base of the pump.
- If it’s screwed on, use a wrench to loosen and unscrew it.
- If it’s clamped, use pliers to remove the clamp and detach the hose.
- Some pumps may have a retaining clip or pin that needs to be removed first.
- Inspect the Fittings:
- Check the fittings on both the pump and the chuck for any damage or corrosion. Clean them if necessary.
Step 3: Prepare the New Hose
Before installing the new hose, prep it to ensure a good fit and seal.
- Check the Hose:
- Inspect the new hose for any defects or damage. Make sure it’s the correct length and has the right connectors.
- Apply Teflon Tape:
- If the hose screws onto the pump or chuck, wrap the threads with Teflon tape. This helps create a tight, airtight seal and prevents leaks.
- Wrap the tape in the direction of the threads, usually clockwise.
- Lubricate the Hose:
- Apply a small amount of soapy water or lubricant to the ends of the hose. This makes it easier to slide the hose onto the fittings.
Step 4: Install the New Hose
Now it’s time to connect the new hose to the pump and chuck.
- Connect to the Pump:
- Attach one end of the new hose to the pump body.
- If it screws on, tighten it securely with a wrench. Be careful not to overtighten, which could damage the threads.
- If it’s clamped, slide the hose onto the fitting and secure it with a hose clamp. Make sure the clamp is tight enough to hold the hose firmly in place.
- Connect to the Chuck:
- Attach the other end of the new hose to the chuck.
- If it screws on, tighten it with a wrench.
- If it’s clamped, slide the hose onto the fitting and secure it with a hose clamp.
- Check the Connections:
- Ensure that all connections are tight and secure. There should be no gaps or loose fittings.
Step 5: Test the Pump
After installing the new hose, test the pump to make sure it’s working correctly.
- Attach the Chuck:
- Connect the chuck to a tire valve. Make sure it’s securely attached and not leaking air.
- Pump the Tire:
- Start pumping the tire and watch the pressure gauge. The gauge should move smoothly and accurately.
- Check for Leaks:
- Listen for any air leaks around the hose connections. If you hear or feel air escaping, tighten the connections or reapply Teflon tape.
- Adjust as Needed:
- If the pump isn’t working correctly, double-check all connections and fittings. Make sure the hose is securely attached and there are no leaks.
Troubleshooting Common Issues
Even with careful installation, you might encounter some issues. Here’s how to troubleshoot them:
| Issue | Possible Cause | Solution |
|---|---|---|
| Air Leaks | Loose connections, damaged fittings, or missing Teflon tape. | Tighten connections, replace damaged fittings, or apply Teflon tape. |
| Low Pumping Pressure | Hose not fully attached, damaged hose, or faulty check valve. | Ensure hose is securely attached, replace damaged hose, or clean/replace check valve. |
| Difficulty Attaching Chuck | Incorrect chuck type, damaged valve, or debris in chuck. | Use correct chuck type, clean or replace valve, or clean chuck. |
| Hose Kinking | Hose too long or not flexible enough. | Use shorter hose or a more flexible hose. |
Choosing the Right Replacement Hose

Selecting the correct replacement hose is crucial for optimal performance and compatibility. Here are some factors to consider:
- Compatibility:
- Ensure the hose is compatible with your specific pump model. Check the manufacturer’s specifications or consult your local bike shop.
- Material:
- Hoses are typically made of rubber, plastic, or braided steel. Rubber hoses are flexible and affordable. Plastic hoses are lightweight and durable. Braided steel hoses offer maximum durability and resistance to kinking.
- Length:
- Choose a hose length that matches your original hose. Too short, and it won’t reach your tires; too long, and it can get in the way.
- Connectors:
- Make sure the hose has the correct connectors for your pump and chuck. Some hoses screw on, while others use clamps or quick-release fittings.
- Brand Reputation:
- Opt for hoses from reputable brands known for quality and durability. Reading online reviews and seeking recommendations from other cyclists can help.
Hose Materials and Their Benefits
The material of your floor pump hose affects its durability, flexibility, and overall performance. Here’s a comparison of common hose materials:
| Material | Pros | Cons | Best For |
|---|---|---|---|
| Rubber |
|
|
Casual riders and those on a budget |
| Plastic |
|
|
Regular riders who need a balance of durability and weight |
| Braided Steel |
|
|
Serious cyclists and professionals who demand maximum durability |
Maintaining Your Floor Pump Hose
Proper maintenance extends the life of your floor pump hose and ensures reliable performance. Here are some tips:
- Regular Inspection:
- Check the hose regularly for cracks, leaks, or damage. Replace the hose immediately if you notice any issues.
- Proper Storage:
- Store the pump in a cool, dry place away from direct sunlight. This prevents the hose from drying out and cracking.
- Avoid Kinking:
- Avoid kinking or bending the hose excessively. This can weaken the hose and cause it to fail prematurely.
- Clean Regularly:
- Clean the hose periodically with a damp cloth to remove dirt and debris. This prevents buildup that can damage the hose.
- Lubricate Fittings:
- Lubricate the fittings with a silicone-based lubricant to keep them working smoothly. This prevents corrosion and ensures a tight seal.
Floor Pump Safety Tips
Using a floor pump safely is essential to prevent injuries and ensure your pump lasts longer. Keep these tips in mind:
- Wear Safety Glasses:
- Always wear safety glasses when using a floor pump to protect your eyes from debris or sudden air bursts.
- Secure Footing:
- Place the pump on a stable, level surface to prevent it from tipping over during use.
- Proper Grip:
- Maintain a firm grip on the pump handle to prevent slippage and ensure efficient pumping.
- Avoid Over-Inflation:
- Never exceed the maximum pressure rating of your tires. Over-inflation can cause the tire to explode, leading to injury.
- Check Valve Compatibility:
- Ensure the pump chuck is compatible with your tire valve (Presta or Schrader). Using the wrong chuck can damage the valve.
- Inspect the Hose:
- Regularly inspect the hose for wear and tear. Replace it if you notice any cracks, leaks, or damage.
Recommended Floor Pump Brands
Choosing a reliable floor pump can make tire inflation easier and more efficient. Here are some top brands known for their quality and durability:
- Topeak: Known for innovative designs and high-quality materials.
- Lezyne: Offers stylish and durable pumps with accurate gauges.
- Park Tool: A trusted brand among professional mechanics, known for rugged and reliable tools. Park Tool Pumps
- Serfas: Provides a range of pumps for various needs and budgets.
- Specialized: Offers pumps designed for performance and ease of use.
FAQ: Installing a New Hose on Your Floor Pump
1. How do I know if my floor pump hose needs replacing?
If you see cracks, leaks, or the hose feels brittle, it’s time for a replacement. Also, if you’re struggling to reach the correct tire pressure, a damaged hose could be the culprit.
2. Can I use any hose as a replacement?
No, you need a hose specifically designed for floor pumps. Ensure it’s compatible with your pump model and has the correct connectors.
3. What tools do I need to replace a floor pump hose?
Typically, you’ll need a wrench or adjustable spanner, screwdrivers (flathead or Phillips), pliers, hose clamps (if needed), and Teflon tape.
4. How do I remove the old hose from my floor pump?
First, disconnect it from the chuck. Then, locate where it connects to the pump body (usually at the base) and unscrew it or remove any clamps holding it in place.
5. How do I ensure a tight seal when installing the new hose?
Wrap the threads with Teflon tape before screwing on the hose. Make sure all connections are tight and secure to prevent air leaks.
6. What if I still have air leaks after replacing the hose?
Double-check all connections. Tighten them further or reapply Teflon tape. If the fittings are damaged, consider replacing them.
7. Where can I buy a replacement floor pump hose?
You can find replacement hoses at most local bike shops or online retailers specializing in cycling equipment. Amazon is also a good source.
Conclusion
Replacing your floor pump hose is a simple and cost-effective way to keep your bike tires properly inflated. By following these step-by-step instructions, you can easily perform this maintenance task yourself, saving time and money. Remember to choose the right hose, maintain it properly, and always prioritize safety. With a little care, your floor pump will continue to serve you well for years to come!


