
How to Install Replacement Hose on Mini Pump: Easy Guide
Quick Summary: Replacing a hose on your mini pump is straightforward. First, unscrew the old hose. Then, remove any retaining rings or clips. Next, attach the new hose, ensuring a snug fit. Finally, secure it with the retaining rings or clips. This quick fix can save you from buying a new pump!
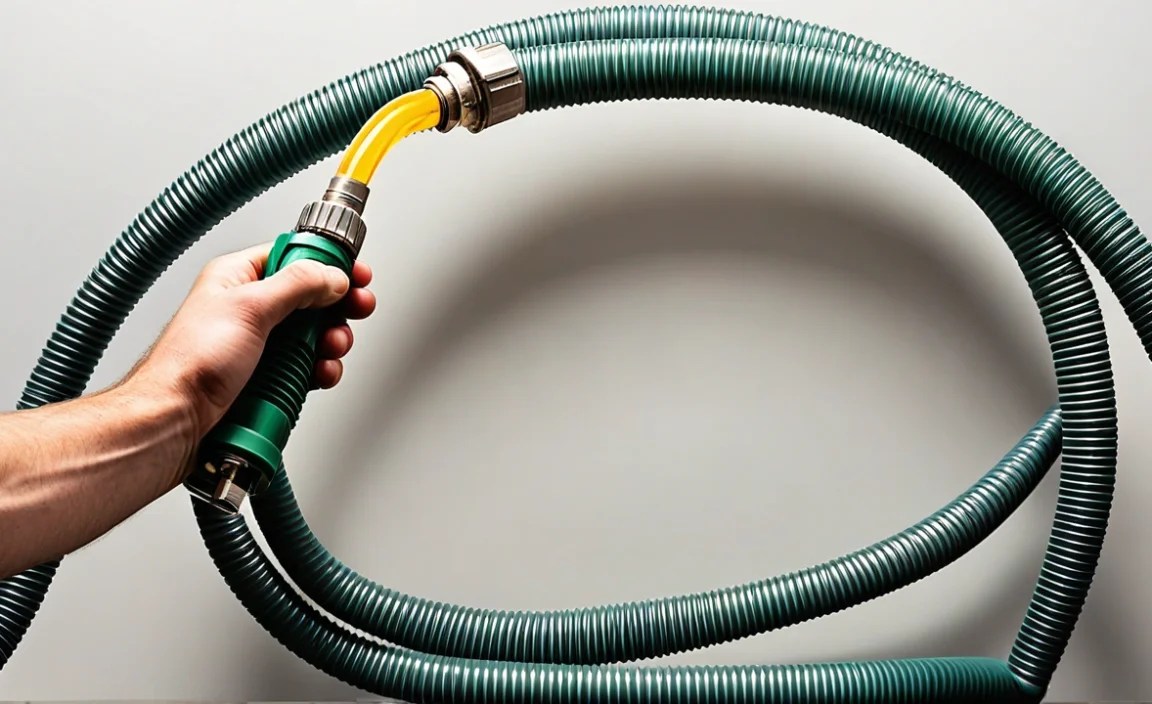
Ever been stuck with a flat tire and a mini pump that just won’t pump? Often, the culprit is a cracked or damaged hose. Don’t toss that pump! Replacing the hose is easier than you think and can save you money. This guide will walk you through each step, from identifying the right hose to getting your pump back in action. Let’s get started and keep you rolling!
Why Replace Your Mini Pump Hose?
Before we dive into the how-to, let’s understand why hose replacement is so important. A faulty hose can lead to frustrating situations on the road or trail. Here’s why:
- Leaks: Cracks or punctures in the hose cause air to escape, making it impossible to inflate your tire properly.
- Inefficiency: Even small leaks reduce the pump’s efficiency, requiring more effort to reach the desired pressure.
- Breaks: Over time, hoses can become brittle and break completely, rendering your pump useless.
Replacing the hose ensures your mini pump is reliable and efficient, giving you peace of mind on your rides.
Tools and Materials You’ll Need

Gathering the right tools and materials will make the replacement process smooth and efficient. Here’s what you’ll need:
- Replacement Hose: Make sure it’s compatible with your mini pump model.
- Small Screwdriver Set: For removing retaining rings or clips.
- Pliers: Needle-nose pliers can be helpful for gripping small parts.
- Utility Knife or Scissors: For trimming the hose if necessary.
- Lubricant (Silicone Grease): To ease the installation of the new hose.
- Safety Glasses: To protect your eyes from small parts or debris.
Step-by-Step Guide: How to Install a Replacement Hose on a Mini Pump

Follow these steps to replace your mini pump hose quickly and easily.
Step 1: Prepare Your Workspace
Choose a clean, well-lit area to work. This will help you keep track of small parts and make the process more comfortable.
Step 2: Remove the Old Hose
First, unscrew the hose from the pump body and the valve connector (if applicable). Some hoses may be directly attached with retaining rings or clips.
- Unscrew the Hose: If the hose is screwed on, simply twist it counterclockwise until it comes loose.
- Remove Retaining Rings or Clips: Use a small screwdriver or pliers to gently remove any rings or clips securing the hose. Be careful not to damage the pump body or valve connector.
- Detach the Hose: Once the rings or clips are removed, carefully pull the hose away from the pump and valve connector.
Step 3: Inspect the Connection Points
Check the connection points on the pump body and valve connector for any damage or debris. Clean them if necessary.
- Check for Damage: Look for cracks, stripped threads, or other signs of wear and tear.
- Clean the Connections: Use a clean cloth to wipe away any dirt or debris.
Step 4: Prepare the New Hose
Before installing the new hose, make sure it’s the correct length and diameter. If necessary, trim it to the appropriate size using a utility knife or scissors.
- Measure the Hose: Compare the new hose to the old one to ensure it’s the right length.
- Trim if Necessary: Use a sharp utility knife or scissors to trim the hose to the correct length. Make sure the cut is clean and even.
Step 5: Lubricate the Hose Ends
Apply a small amount of silicone grease to the ends of the new hose. This will make it easier to slide onto the pump body and valve connector.
- Apply Silicone Grease: Use a small amount of silicone grease on your finger or a cotton swab to lubricate the hose ends.
- Avoid Over-Lubrication: Use just enough grease to make the hose slide on easily. Too much grease can attract dirt and debris.
Step 6: Attach the New Hose
Carefully slide the new hose onto the pump body and valve connector. Make sure it’s seated properly and securely.
- Slide onto the Pump Body: Push the hose onto the pump body until it’s fully seated.
- Attach to the Valve Connector: Connect the other end of the hose to the valve connector, ensuring a snug fit.
Step 7: Secure the Hose
Reinstall the retaining rings or clips to secure the hose in place. If the hose screws on, tighten it until it’s snug but not overtightened.
- Reinstall Retaining Rings or Clips: Use pliers or a small screwdriver to reinstall the retaining rings or clips. Make sure they are securely in place.
- Tighten the Hose: If the hose screws on, tighten it by hand until it’s snug. Avoid using tools that could overtighten and damage the connection.
Step 8: Test the Pump
Before you hit the road, test the pump to make sure it’s working properly. Inflate a tire to the recommended pressure and check for leaks.
- Inflate a Tire: Connect the pump to a tire valve and inflate the tire to the recommended pressure.
- Check for Leaks: Listen for any hissing sounds or feel for air escaping around the hose connections.
- Adjust if Necessary: If you detect any leaks, double-check the hose connections and tighten or reseat them as needed.
Choosing the Right Replacement Hose
Selecting the correct replacement hose is crucial for a successful repair. Here are some factors to consider:
- Compatibility: Ensure the hose is compatible with your mini pump model. Check the manufacturer’s specifications or consult a bike shop.
- Material: Look for hoses made from durable materials like rubber or reinforced plastic. These materials are less likely to crack or break over time.
- Length: Choose a hose that is the same length as the original. A hose that is too short or too long can be difficult to install and may affect the pump’s performance.
- Diameter: The hose diameter should match the connection points on your pump and valve connector. A hose that is too narrow or too wide will not fit properly.
Common Problems and Solutions
Even with careful installation, you might encounter some common problems. Here’s how to troubleshoot them:
- Leaks at the Connections:
- Problem: Air is escaping from the hose connections.
- Solution: Tighten the retaining rings or clips, or try reseating the hose. Make sure the hose is fully seated on the pump body and valve connector.
- Difficulty Inflating the Tire:
- Problem: The pump is not building pressure.
- Solution: Check for kinks or obstructions in the hose. Make sure the valve connector is properly attached to the tire valve.
- Hose Comes Loose:
- Problem: The hose keeps coming off the pump body or valve connector.
- Solution: Ensure the retaining rings or clips are securely in place. Consider using a stronger adhesive or replacing the retaining rings if they are worn out.
Mini Pump Maintenance Tips
Regular maintenance can extend the life of your mini pump and prevent hose problems. Here are some tips:
- Store the Pump Properly: Keep your mini pump in a clean, dry place to prevent corrosion and damage.
- Inspect the Hose Regularly: Check the hose for cracks, punctures, or wear and tear. Replace it at the first sign of damage.
- Lubricate Moving Parts: Use silicone grease to lubricate the pump’s moving parts, such as the piston and seals. This will keep the pump working smoothly.
- Clean the Valve Connector: Use a clean cloth to wipe away dirt and debris from the valve connector. This will ensure a good seal with the tire valve.
Table: Mini Pump Hose Troubleshooting
| Problem | Possible Cause | Solution |
|---|---|---|
| Leaks at connections | Loose retaining rings, improper seating | Tighten rings, reseat hose |
| Difficulty inflating | Kinks, valve connector issues | Check hose, ensure valve connection |
| Hose comes loose | Worn rings, poor fit | Replace rings, use adhesive |
Table: Recommended Replacement Hoses by Pump Type
| Pump Type | Recommended Hose | Notes |
|---|---|---|
| Road Bike Mini Pump | High-Pressure Hose | Ensures efficient inflation to high PSI |
| Mountain Bike Mini Pump | High-Volume Hose | Fills larger tires quickly |
| Hybrid Mini Pump | Universal Hose | Versatile for various tire sizes |
Upgrading Your Mini Pump
Sometimes, a simple hose replacement isn’t enough. If your pump is old or worn out, consider upgrading to a newer model. Here are some features to look for:
- Higher Pressure Capacity: Look for a pump that can reach the recommended pressure for your tires.
- Ergonomic Design: Choose a pump with a comfortable handle and easy-to-use valve connector.
- Compact Size: Opt for a pump that is small and lightweight, making it easy to carry on your rides.
- Built-in Gauge: A built-in pressure gauge can help you inflate your tires to the correct pressure.
Upgrading your mini pump can improve your riding experience and give you more confidence on the road or trail.
When to Call a Professional
While many mini pump repairs are simple enough to do yourself, there are times when it’s best to call a professional. Consider seeking help from a bike shop if:
- You’re Not Comfortable Working on Your Pump: If you’re unsure about any of the steps in this guide, it’s better to let a professional handle the repair.
- The Pump is Severely Damaged: If the pump body or other critical components are damaged, it may be more cost-effective to replace the entire pump.
- You’ve Tried Everything and It’s Still Not Working: If you’ve followed all the steps in this guide and your pump is still not working properly, it’s time to seek professional help.
FAQ: Mini Pump Hose Replacement
1. How often should I replace my mini pump hose?
Replace your mini pump hose as soon as you notice any cracks, leaks, or signs of wear. Regular inspection can help you catch problems early.
2. Can I use any type of hose as a replacement?
No, you should use a hose specifically designed for mini pumps. Ensure it’s compatible with your pump model and has the correct diameter and pressure rating.
3. What is silicone grease and why is it important?
Silicone grease is a lubricant that helps the hose slide onto the pump and valve connector more easily. It also protects the rubber from drying out and cracking.
4. How do I know if my mini pump hose is leaking?
You’ll usually hear a hissing sound or feel air escaping around the hose connections while pumping. You might also notice it takes more effort to inflate your tire.
5. What tools do I really need for this repair?
At a minimum, you’ll need a replacement hose, a small screwdriver (for removing clips), and possibly pliers. Silicone grease can also be very helpful.
6. Is it worth replacing the hose, or should I just buy a new pump?
If the pump is otherwise in good condition, replacing the hose is a cost-effective solution. However, if the pump is old or has other issues, a new pump might be a better investment. Consider the cost of a new pump versus the hose.
7. Can I prevent my mini pump hose from cracking in the first place?
Yes, store your pump in a cool, dry place away from direct sunlight. Regularly inspect the hose and apply silicone grease to keep it supple.
Conclusion
Replacing the hose on your mini pump is a simple and effective way to keep your bike ready for any ride. By following these steps and taking good care of your pump, you’ll be able to handle flat tires and keep rolling with confidence. So, grab your tools, get that new hose installed, and enjoy the peace of mind that comes with a well-maintained mini pump. Happy cycling!


