
How Many Seconds for a Cycle Pump Action? A Cyclist’s Guide
Quick Summary: The ideal cycle pump action duration is usually 1-3 seconds per pump. Focus on smooth, full strokes to efficiently inflate your tires. Consistent pressure and listening to your pump are key. Overdoing it can damage your pump or tire valve, so take your time and avoid rushing!
Ever found yourself furiously pumping your bike tires, wondering if you’re doing it right? Getting the hang of cycle pump action can be a bit tricky. Are you pumping too fast, too slow, or just right? It’s a common frustration for many cyclists, from beginners to seasoned riders. Pumping too quickly might not inflate the tire properly, while pumping too slowly can waste your energy. Don’t worry, with a little guidance, you’ll master the art of efficient tire inflation. This guide breaks down the ideal timing for each pump, step by step, ensuring you get the most out of every stroke. Let’s get started and make your rides smoother!
Understanding Cycle Pump Action

Before diving into the timing, let’s understand what we mean by “cycle pump action.” It refers to the complete motion of pushing the pump handle down and then allowing it to return to its starting position. Each full motion is one cycle. The goal is to efficiently transfer air from the pump into your tire, increasing the tire pressure to the recommended level.
Types of Bike Pumps
Different bike pumps require slightly different techniques. Here are the most common types:
- Floor Pumps (Track Pumps): These are the most common type for home use. They provide leverage and stability, making it easier to inflate tires to higher pressures.
- Hand Pumps: Compact and portable, hand pumps are great for on-the-go inflation during rides. They require more effort than floor pumps.
- CO2 Inflators: These use compressed CO2 cartridges for rapid inflation. They are convenient for emergencies but don’t offer fine-tuned pressure control.
- Mini Pumps: A smaller version of hand pumps, even more portable but requiring significant effort.
Key Factors Affecting Pump Time
Several factors influence how long each pump cycle should take:
- Tire Size and Type: Wider tires require more air volume, so each pump will take slightly longer.
- Desired Pressure: Inflating to a higher pressure requires more pumps and potentially a slower, more deliberate action.
- Pump Quality: A high-quality pump will generally be more efficient, requiring less time per cycle.
- Valve Type: Presta and Schrader valves have different airflow characteristics.
- Your Strength and Technique: Using proper technique makes the process easier and more efficient.
The Ideal Pump Cycle Duration
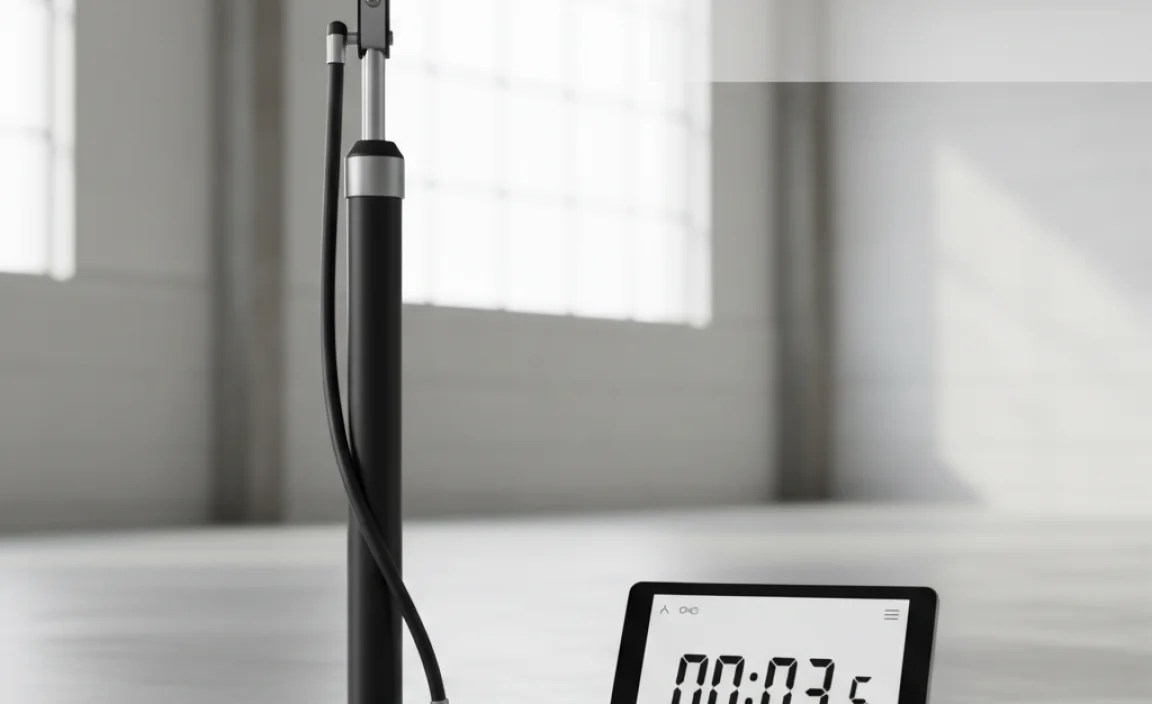
So, how many seconds *should* a cycle pump action take? Generally, aim for 1-3 seconds per pump. This range allows for a smooth, controlled transfer of air without excessive strain on the pump or yourself. Let’s break down why this timing works and how to achieve it.
Why 1-3 Seconds?
- Efficiency: This pace allows the pump to effectively draw in and push out air.
- Control: It gives you better control over the pressure increase in the tire.
- Reduced Strain: Prevents overheating or damage to the pump.
- Accuracy: It allows for more precise pressure adjustments.
Pumping Too Fast
Pumping too quickly can lead to several problems:
- Inefficient Air Transfer: The pump might not have enough time to draw in a full volume of air.
- Overheating: Rapid pumping can cause the pump to overheat, reducing its lifespan.
- Inaccurate Pressure: It becomes difficult to gauge the pressure increase accurately.
- Risk of Damage: You might damage the valve stem or the pump itself.
Pumping Too Slow
While less problematic than pumping too fast, pumping too slowly also has drawbacks:
- Wasted Energy: It takes more time and effort to reach the desired pressure.
- Reduced Efficiency: The air transfer might be less effective.
- Unnecessary Fatigue: Prolonged slow pumping can tire you out.
Step-by-Step Guide to Perfecting Your Pump Action

Here’s a detailed guide to help you achieve the ideal pump cycle duration:
Step 1: Prepare Your Bike and Pump
Before you start, make sure everything is ready:
- Inspect the Tire: Look for any cuts, bulges, or embedded objects.
- Check the Valve: Ensure the valve is clean and undamaged. For Presta valves, loosen the nut at the top.
- Attach the Pump Head: Securely attach the pump head to the valve, ensuring a tight seal.
- Stabilize the Bike: Position the bike so it won’t move during pumping.
Step 2: Start Pumping
Now, let’s get pumping:
- Grip the Pump Handle: Use a firm, comfortable grip.
- Begin the Downstroke: Push the handle down in a smooth, controlled motion. Aim for a consistent speed.
- Time the Stroke: Count “one thousand one” during the downstroke. This should approximate one second.
- Allow the Upstroke: Let the handle return to the top position at a similar pace. Again, aim for about one second.
- Listen to the Pump: Pay attention to the sound of the pump. A smooth, consistent sound indicates efficient air transfer.
Step 3: Monitor the Pressure
Keep an eye on the pressure gauge (if your pump has one) and the feel of the tire:
- Check the Gauge: Monitor the pressure increase with each pump.
- Feel the Tire: Periodically squeeze the tire to gauge its firmness.
- Adjust Your Pace: If the pressure isn’t increasing as expected, slightly adjust your pumping speed or check the pump connection.
Step 4: Reach the Desired Pressure
Continue pumping until you reach the recommended pressure:
- Refer to Tire Sidewall: Check the tire sidewall for the recommended pressure range (usually in PSI or BAR).
- Avoid Overinflation: Do not exceed the maximum pressure. Overinflating can cause the tire to burst.
- Fine-Tune: Make small adjustments as needed to achieve the ideal pressure.
Step 5: Detach the Pump and Secure the Valve
Once you’ve reached the desired pressure, finish up:
- Detach the Pump Head: Carefully remove the pump head from the valve.
- Secure the Valve: For Presta valves, tighten the nut at the top.
- Check for Leaks: Listen for any hissing sounds that might indicate a leak.
Tips for Efficient Pumping
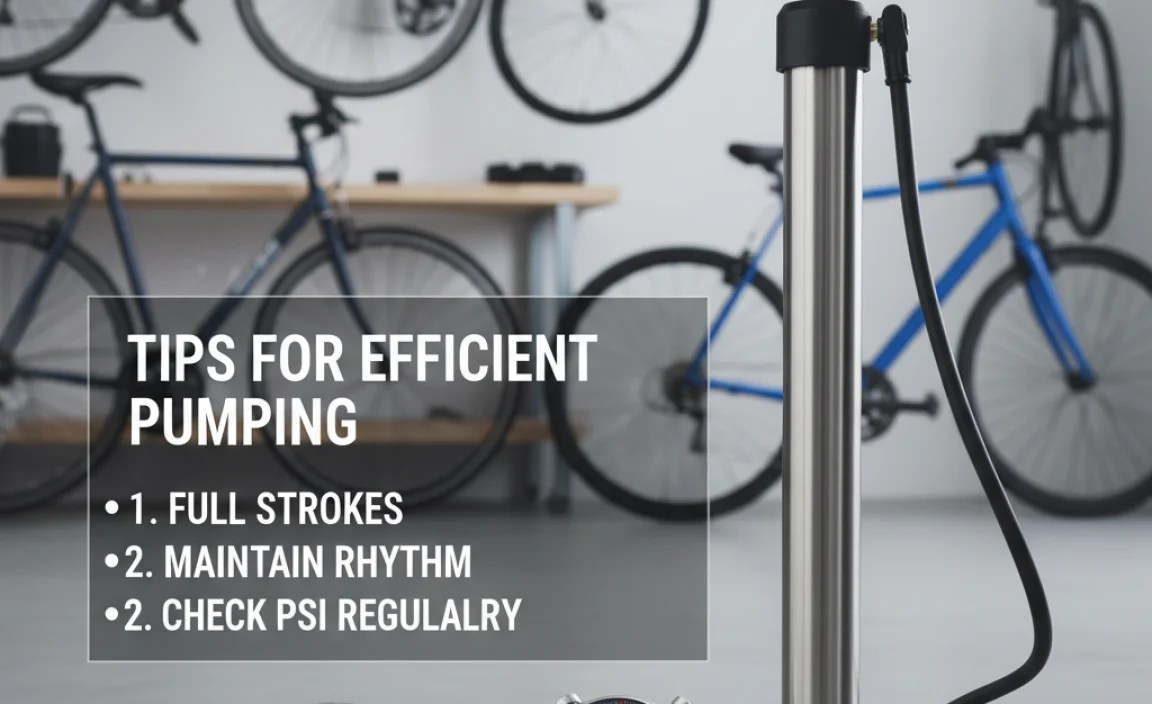
Here are some additional tips to improve your pumping technique:
- Use Your Body Weight: When using a floor pump, use your body weight to assist with the downstroke. This reduces strain on your arms.
- Keep Your Arms Straight: Straight arms provide better leverage and reduce fatigue.
- Maintain a Steady Rhythm: A consistent rhythm ensures efficient air transfer.
- Lubricate the Pump: Periodically lubricate the pump’s internal components to keep it running smoothly.
- Practice: Like any skill, practice makes perfect. The more you pump, the better you’ll become at judging the ideal pace.
Troubleshooting Common Pumping Issues
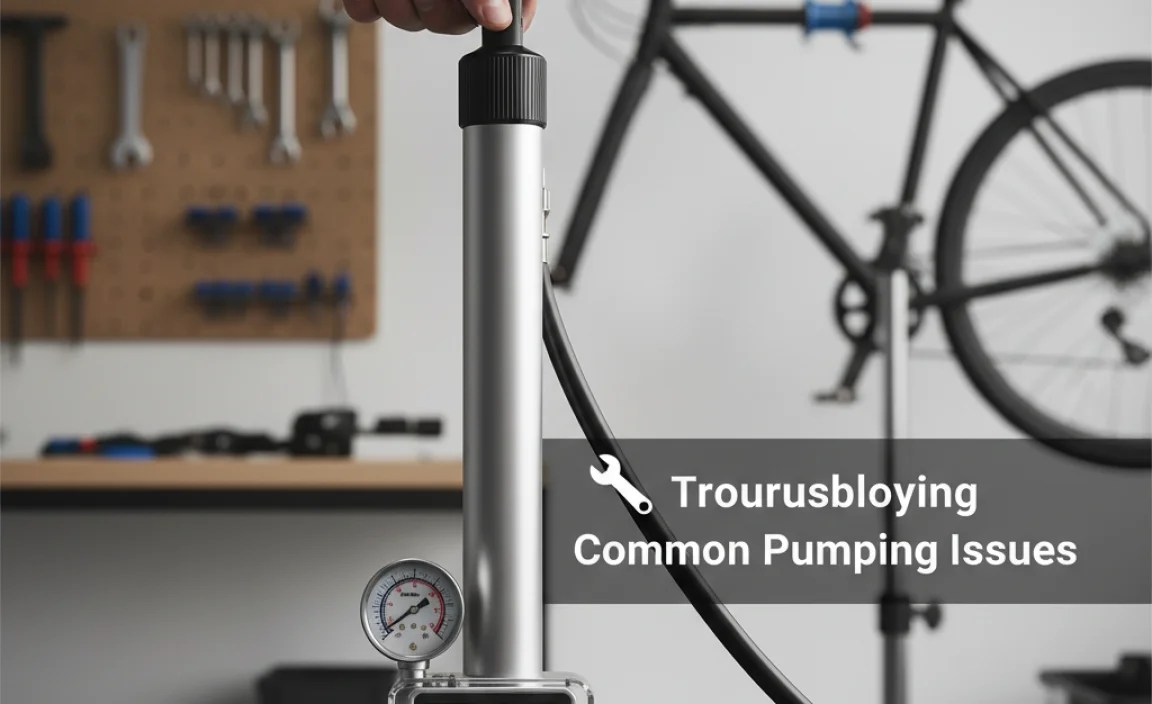
Sometimes, things don’t go as planned. Here are some common issues and how to address them:
- Pump Not Inflating:
- Check the Connection: Ensure the pump head is securely attached to the valve.
- Inspect the Valve: Make sure the valve is open (for Presta valves).
- Check the Pump: Look for any damage or blockages in the pump.
- Air Leaking:
- Tighten the Connection: Ensure the pump head is tightly sealed.
- Inspect the Valve: Check for damage or debris on the valve.
- Replace the Valve Core: If the valve core is damaged, replace it.
- Difficulty Pumping:
- Adjust Your Technique: Use your body weight and maintain a steady rhythm.
- Lubricate the Pump: Lubricate the pump’s internal components.
- Consider a Different Pump: If you consistently struggle, consider upgrading to a higher-quality pump.
Choosing the Right Bike Pump
Selecting the right bike pump can significantly impact your pumping experience. Here’s a comparison of different types:
| Pump Type | Pros | Cons | Best For |
|---|---|---|---|
| Floor Pump | Efficient, stable, accurate pressure readings | Less portable | Home use, achieving high pressures |
| Hand Pump | Portable, lightweight | Requires more effort, less accurate | On-the-go inflation, emergency repairs |
| CO2 Inflator | Rapid inflation, very portable | No pressure control, requires cartridges | Emergency repairs, racing |
| Mini Pump | Extremely portable | Significant effort required | Backpacking, minimalist riders |
Factors to Consider When Buying a Pump
- Valve Compatibility: Ensure the pump is compatible with your bike’s valve type (Presta or Schrader). Some pumps have dual heads.
- Pressure Gauge: A built-in pressure gauge allows for accurate inflation.
- Build Quality: Look for durable materials and a sturdy design.
- Ergonomics: Choose a pump with a comfortable handle and stable base.
- Size and Weight: Consider portability if you plan to carry the pump on rides.
Maintaining Your Bike Pump
Proper maintenance extends the life of your bike pump and ensures it operates efficiently. Here are some tips:
- Clean Regularly: Wipe down the pump with a damp cloth to remove dirt and debris.
- Lubricate Moving Parts: Use a silicone-based lubricant to keep the pump’s internal components moving smoothly.
- Check for Leaks: Inspect the pump for any air leaks and repair them promptly.
- Store Properly: Store the pump in a dry, protected area to prevent corrosion and damage.
Cycle Pump Action: Pressure Charts
Different types of bikes and tires require different pressures. Here’s a general guideline:
| Bike Type | Tire Type | Recommended Pressure (PSI) |
|---|---|---|
| Road Bike | Clincher | 80-130 |
| Road Bike | Tubeless | 70-110 |
| Mountain Bike | Clincher | 25-35 |
| Mountain Bike | Tubeless | 22-32 |
| Hybrid Bike | Clincher | 50-70 |
| Gravel Bike | Clincher | 40-60 |
Note: Always refer to the tire sidewall for the manufacturer’s recommended pressure range.
Advanced Techniques for Experienced Cyclists
For those looking to take their pumping skills to the next level, consider these advanced techniques:
- Using a Pressure Gauge with Precision: Invest in a high-quality digital pressure gauge for precise inflation.
- Optimizing Tire Pressure for Conditions: Adjust tire pressure based on road or trail conditions. Lower pressure provides better grip on rough surfaces, while higher pressure reduces rolling resistance on smooth surfaces.
- Experimenting with Tire Pressure: Test different pressures within the recommended range to find what feels best for your riding style and preferences.
The Science Behind Efficient Pumping
Efficient pumping relies on basic physics principles. Understanding these principles can help you optimize your technique.
- Boyle’s Law: This law states that the pressure and volume of a gas are inversely proportional. By compressing air in the pump, you increase its pressure, allowing it to flow into the tire.
- Airflow Dynamics: A smooth, consistent pumping motion minimizes turbulence and maximizes airflow, resulting in more efficient air transfer.
- Friction: Reducing friction within the pump (through lubrication) minimizes energy loss and makes pumping easier.
Cycle Pump Action: Safety First
Always prioritize safety when inflating your tires:
- Wear Eye Protection: Protect your eyes from potential debris or bursts.
- Inspect Equipment: Regularly inspect your pump and tires for damage.
- Avoid Overinflation: Never exceed the maximum pressure recommended on the tire sidewall.
- Pump in a Safe Area: Choose a well-lit, stable area away from traffic.
FAQ About Cycle Pump Action
Here are some frequently asked questions about cycle pump action:
How do I know if my tire is properly inflated?
Check the tire pressure using a pressure gauge. Compare the reading to the recommended pressure range printed on the tire sidewall. The tire should feel firm but not rock hard.
What’s the difference between PSI and BAR?
PSI (pounds per square inch) and BAR are both units of pressure. 1 BAR is approximately equal to 14.5 PSI. Most pumps and gauges display both units.
Can I use a car tire pump on my bike?
While some car tire pumps can be used on bikes with Schrader valves, they often deliver too much air too quickly, making it difficult to achieve precise pressure. It’s best to use a pump designed specifically for bicycles.
How often should I inflate my tires?
Check and inflate your tires before each ride, especially if you haven’t ridden in a while. Tires lose pressure over time, and proper inflation is crucial for performance and safety.
What do I do if my pump won’t attach to the valve?
Ensure the pump head is compatible with your valve type (Presta or Schrader). Check for any debris or damage on the valve or pump head. Some pumps have adjustable heads for both valve types.
Is it okay to use CO2 inflators regularly?
CO2 inflators are convenient for emergencies but are not ideal for regular use. They can be expensive, and CO2 escapes from tires more quickly than air. Use a floor pump or hand pump for routine inflation.
Why does my tire keep losing air?
Possible reasons include a slow leak in the tire, a damaged valve, or a poor seal between the tire and rim. Inspect the tire and valve for damage, and consider using tire sealant to seal small punctures.
Conclusion
Mastering the art of cycle pump action is a fundamental skill for any cyclist. By understanding the ideal timing, using proper technique, and maintaining your equipment, you can ensure your tires are always properly inflated for a safe and enjoyable ride. Remember, the goal is to achieve a smooth, controlled air transfer, avoiding both over-pumping and under-pumping. With a little practice, you’ll be able to feel and hear when you’re getting it just right. So, grab your pump, check those tires, and get ready to roll with confidence!
“`


