
How to Use a Mini Cycle Pump: A Beginner’s Guide
Quick Summary: Using a mini cycle pump is simple! First, securely attach the pump head to your bike tire’s valve (Presta or Schrader). Lock the pump head lever if needed. Then, place the pump handle on the ground for stability and pump until you reach your desired tire pressure. Check the pressure with a gauge, detach the pump, and you’re ready to ride!
Have you ever been miles from home with a flat tire, only to realize your mini cycle pump feels like it’s working against you? You’re not alone! Many cyclists find these compact pumps a little tricky at first. But don’t worry, with a few simple tips, you can master the mini pump and get back on the road quickly. This guide will walk you through each step, making inflation easy and stress-free.
We’ll cover everything from choosing the right pump to using it effectively, so you can be confident on every ride. Let’s get started!
Why Use a Mini Cycle Pump?
Mini cycle pumps are essential for any cyclist. They are small, lightweight, and easy to carry, making them perfect for on-the-go repairs. Here’s why you should always have one with you:
- Portability: Easily fits in a backpack, saddlebag, or jersey pocket.
- Convenience: Allows you to fix a flat tire quickly, no matter where you are.
- Affordability: A reliable mini pump is a worthwhile investment for any cyclist.
Choosing the Right Mini Cycle Pump

With so many options available, picking the right mini pump can feel overwhelming. Here’s what to consider:
Valve Compatibility
Make sure the pump is compatible with your bike’s valve type. There are two main types:
- Presta: Narrower valve with a locking nut at the tip, common on road bikes.
- Schrader: Wider valve, similar to car tires, often found on mountain and hybrid bikes.
Some pumps are dual-head, meaning they work with both valve types. Others require you to switch internal parts to change compatibility.
Pump Type
There are two basic types of mini pumps:
- Hand Pumps: These rely on manual effort to inflate the tire.
- CO2 Inflators: These use cartridges of compressed CO2 to quickly inflate the tire. While faster, they require you to carry cartridges and can be less reliable in the long run.
For this guide, we’ll focus on hand pumps, as they are the most common and versatile.
Material and Build Quality
Look for pumps made from durable materials like aluminum alloy. A sturdy build will ensure the pump lasts longer and can handle higher pressures.
Pressure Rating
Consider the maximum pressure the pump can deliver, measured in PSI (pounds per square inch). Road bikes typically require higher pressures (80-130 PSI), while mountain bikes use lower pressures (25-40 PSI). Choose a pump that meets the needs of your bike.
Essential Tools and Supplies

Before you start, gather these items:
- Mini Cycle Pump: Choose one that fits your valve type and pressure needs.
- Spare Tube: Always carry a spare tube that matches your tire size.
- Tire Levers: These help remove the tire from the rim.
- Multi-Tool (optional): A multi-tool with a wrench can be useful for tightening valve nuts.
- Rag: For cleaning your hands and the valve area.
Step-by-Step Guide: How to Use a Mini Cycle Pump

Follow these steps to inflate your tire quickly and efficiently:
Step 1: Prepare Your Bike and Tire
First, flip your bike upside down so it rests on the handlebars and seat. This makes it easier to work on the tire.
If you have a flat tire, you’ll need to replace the tube first. Use tire levers to carefully remove one side of the tire from the rim. Take out the old tube and inspect the tire for any sharp objects that caused the flat. Insert the new tube, making sure it’s not twisted, and carefully seat the tire back onto the rim.
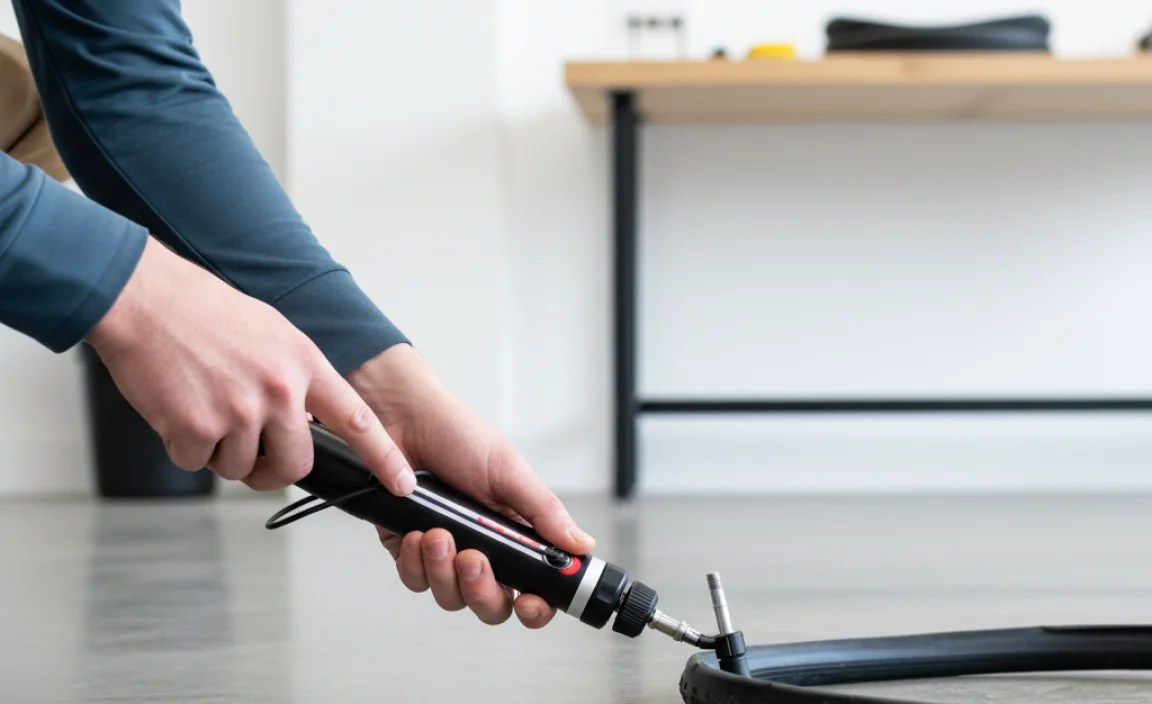
Step 2: Access the Valve
Locate the valve on your tire. Remove the valve cap and set it aside.
For Presta valves, you’ll need to unscrew the small locking nut at the tip before attaching the pump. Make sure not to overtighten it when you’re done inflating.
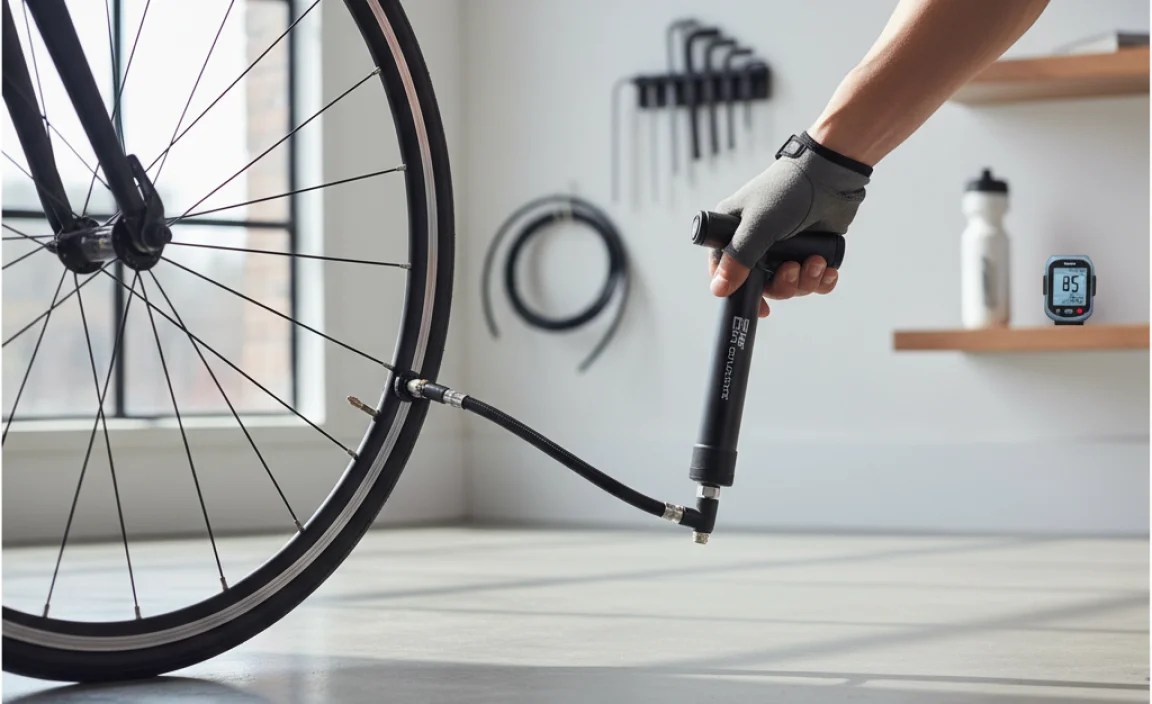
Step 3: Attach the Pump Head
Most mini pumps have a head that fits over the valve. Some have a lever that you need to flip to lock the pump head in place.
- For Presta valves: Push the pump head straight onto the valve. Ensure it’s snug and secure. Flip the locking lever if your pump has one.
- For Schrader valves: Simply push the pump head onto the valve. It should fit snugly without needing a lever.
If the pump head isn’t fitting properly, double-check that it’s compatible with your valve type or that you’ve properly adjusted the pump head for the correct valve.
Step 4: Inflate the Tire
Now comes the pumping. Place the base of the pump on the ground and use your body weight to stabilize it. Grip the handle firmly and start pumping.
Use smooth, consistent strokes. Avoid jerky motions, which can damage the pump or valve.
It’s normal for mini pumps to require more effort than floor pumps. Be patient and keep pumping until you reach the desired pressure.
Step 5: Check the Pressure
Mini pumps often lack a built-in pressure gauge, so it’s a good idea to carry a separate gauge. Alternatively, you can use a pump with an integrated gauge.
Check the recommended pressure range printed on the sidewall of your tire. Inflate to the lower end of the range for a more comfortable ride, or to the higher end for better rolling resistance.
Step 6: Detach the Pump
Once you’ve reached the desired pressure, detach the pump head from the valve. If your pump has a locking lever, flip it to release the pump head.
For Presta valves, remember to tighten the small locking nut on the valve stem. Don’t overtighten it, just make it snug.
Replace the valve cap to keep dirt and debris out of the valve.
Step 7: Test and Fine-Tune
Give the tire a squeeze to check its firmness. It should feel firm but not rock-hard.
If you have a pressure gauge, double-check the pressure to ensure it’s within the recommended range. Adjust as needed.
Troubleshooting Common Issues
Sometimes, things don’t go as planned. Here are some common issues and how to fix them:
Pump Not Attaching Properly
Problem: The pump head won’t fit onto the valve.
Solution: Ensure the pump head is compatible with your valve type (Presta or Schrader). Some pumps have a reversible head; check that it’s set correctly.
Air Leaking While Pumping
Problem: Air is escaping around the valve while you’re pumping.
Solution: Make sure the pump head is securely attached to the valve. If your pump has a locking lever, ensure it’s flipped to the locked position. Also, check the valve itself for damage.
Difficulty Pumping
Problem: The pump is hard to push, and you’re not getting much air into the tire.
Solution: Mini pumps require more effort than floor pumps. Use smooth, consistent strokes and put your body weight behind it. If the pump is still too difficult, it may be damaged or need lubrication.
Valve Stem Bending
Problem: The valve stem is bending or feels loose.
Solution: Be gentle when attaching and detaching the pump. Avoid excessive force, which can damage the valve. If the valve stem is already bent, it may need to be replaced.
Tips for Easier Inflation
Here are some tips to make using a mini cycle pump easier:
- Use Your Body Weight: Place the base of the pump on the ground and use your body weight to stabilize it. This will make pumping more efficient.
- Smooth Strokes: Use smooth, consistent strokes when pumping. Avoid jerky motions, which can waste energy and damage the pump.
- Carry a Gauge: Since most mini pumps don’t have a built-in gauge, carry a separate gauge to check the pressure accurately.
- Practice: Practice using your pump at home before you need it on the road. This will help you become familiar with the process and troubleshoot any issues.
- Lubricate the Pump: A drop of light oil on the pump’s moving parts can keep it working smoothly.
Mini Pump Maintenance
To keep your mini pump in good working condition, follow these maintenance tips:
- Clean Regularly: Wipe down the pump with a damp cloth to remove dirt and grime.
- Lubricate Moving Parts: Apply a drop of light oil to the pump’s moving parts every few months.
- Check for Damage: Inspect the pump for cracks, leaks, or other damage. Replace any worn or damaged parts.
- Store Properly: Store the pump in a dry place to prevent corrosion.
Comparing Mini Pumps vs. Other Inflation Methods
Here’s a comparison of mini pumps with other common inflation methods:
| Method | Pros | Cons | Best For |
|---|---|---|---|
| Mini Pump | Portable, reliable, no consumables required | Requires effort, can be slow | On-the-go repairs, everyday cycling |
| CO2 Inflator | Fast inflation, easy to use | Requires CO2 cartridges, can be wasteful | Racing, quick repairs |
| Floor Pump | Efficient, accurate pressure readings | Not portable | Home use, pre-ride inflation |
Recommended Mini Cycle Pumps
Here are a few highly-rated mini cycle pumps to consider:
- Lezyne Road Drive: Known for its high efficiency and durable construction.
- Topeak RaceRocket HP: Lightweight and compact, with a built-in pressure gauge.
- Crankbrothers Sterling LG: Versatile pump that works with both Presta and Schrader valves.
FAQ: Using a Mini Cycle Pump
Here are some frequently asked questions about using mini cycle pumps:
- Q: How long does it take to inflate a tire with a mini pump?
- A: It depends on the tire size and the pump’s efficiency, but typically it takes 5-10 minutes to reach a usable pressure.
- Q: Can I use a mini pump to inflate car tires?
- A: No, mini cycle pumps are not designed for the high pressures and large volumes of air required for car tires.
- Q: How do I know what pressure to inflate my tires to?
- A: Check the sidewall of your tire for the recommended pressure range. Use a pressure gauge to ensure accurate inflation.
- Q: What’s the difference between Presta and Schrader valves?
- A: Presta valves are narrower and have a locking nut at the tip, while Schrader valves are wider and similar to car tire valves.
- Q: My pump gets really hot when I use it. Is this normal?
- A: Yes, it’s normal for the pump to get warm during use due to friction. However, if it gets excessively hot, it may indicate a problem with the pump.
- Q: What should I do if my mini pump breaks down during a ride?
- A: If your pump breaks down, you may need to use a CO2 inflator or call for assistance. It’s always a good idea to carry a backup plan.
- Q: Can I convert my mini pump to work with both Presta and Schrader valves?
- A: Some mini pumps come with dual heads or adapters that allow you to switch between Presta and Schrader valves. Check your pump’s manual for instructions.
Conclusion
Using a mini cycle pump might seem daunting at first, but with a little practice, it becomes second nature. By following these steps and tips, you’ll be able to quickly and efficiently inflate your tires on the go, ensuring a safe and enjoyable ride. Remember to choose the right pump, carry essential tools, and maintain your equipment for optimal performance. Happy cycling!
“`


