
How to Install Hose Extension: Easy DIY Guide
Quick Summary:
Installing a hose extension is simple! First, figure out what size hose extension you need. Next, connect the extension to your existing hose using a hose clamp or connector. Make sure it’s tight to prevent leaks! That’s it – you’ve extended your hose for more reach.
Having a hose that’s just a bit too short can be super frustrating. Whether you’re watering plants, washing your car, or filling up a pool, that limited reach can turn a simple task into a real struggle. You’re not alone; many folks run into this issue. But don’t worry, there’s an easy fix! Adding a hose extension is a quick and simple solution that can save you a lot of hassle.
In this guide, I’ll walk you through the steps to install a hose extension, so you can say goodbye to those frustrating short-hose situations. We’ll cover everything from choosing the right extension to securely connecting it, so you’ll be all set in no time. Let’s get started!
What You’ll Need
Before you start, gather these materials. Having everything ready will make the process smooth and easy.
- Hose Extension: Choose the right length and diameter.
- Hose Clamps or Connectors: For a secure, leak-proof connection.
- Screwdriver or Wrench: To tighten the clamps.
- Measuring Tape: To measure your existing hose and the area you need to reach.
- Gloves: To protect your hands.
Step-by-Step Guide to Installing a Hose Extension
Follow these steps to install your hose extension correctly and securely.
Step 1: Measure Your Hose and Determine Extension Length
First, you need to know how much extra length you need. Use a measuring tape to measure your existing hose and then measure the additional distance you need to cover. This will help you choose the right size extension.
Example: If your current hose is 25 feet long, and you need to reach a spot that’s 40 feet away from the faucet, you’ll need at least a 15-foot extension.
Step 2: Choose the Right Hose Extension
When choosing a hose extension, think about these things:
- Length: Make sure it’s long enough to reach where you need it to.
- Diameter: It should match the diameter of your existing hose for the best water flow.
- Material: Rubber or reinforced vinyl hoses are durable choices.
Check out resources like the Environmental Protection Agency (EPA) for tips on eco-friendly and durable hose materials.
Step 3: Gather Your Tools
Collect all the tools you’ll need before starting. This includes:
- Hose clamps or connectors
- A screwdriver or wrench that fits the clamps
- Gloves to protect your hands
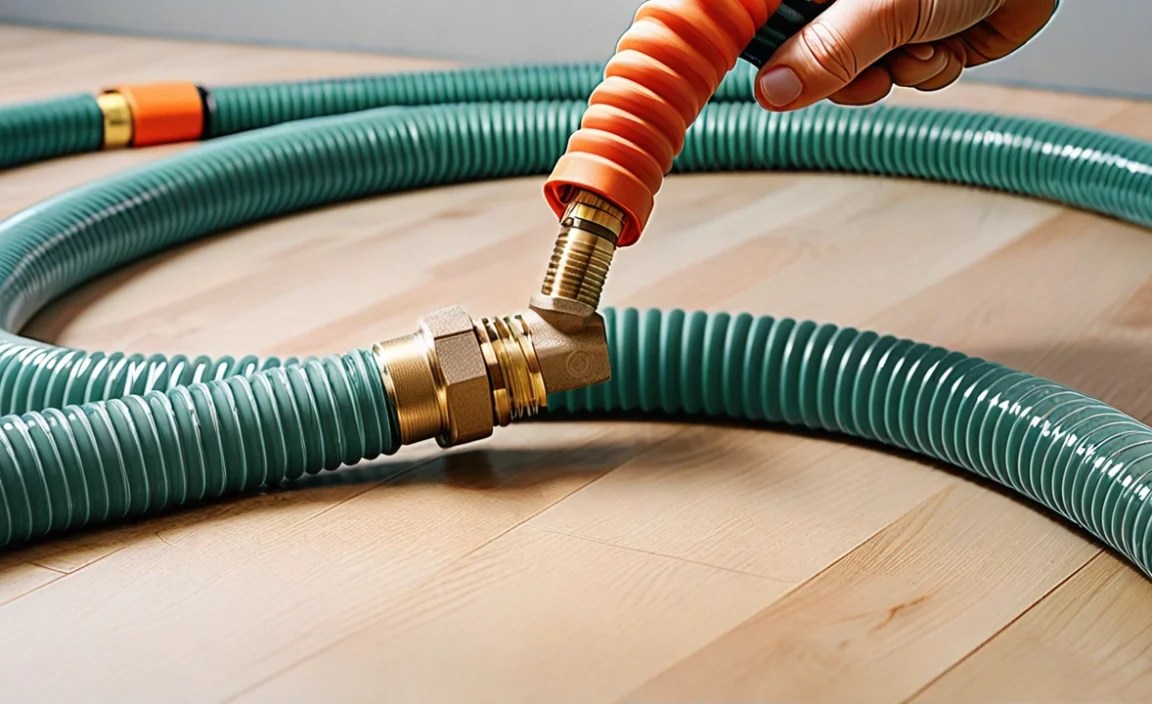
Step 4: Prepare the Hose Ends
Before connecting the extension, make sure the ends of both hoses are clean. Remove any dirt or debris that could interfere with the connection. This will help ensure a tight, leak-proof seal.
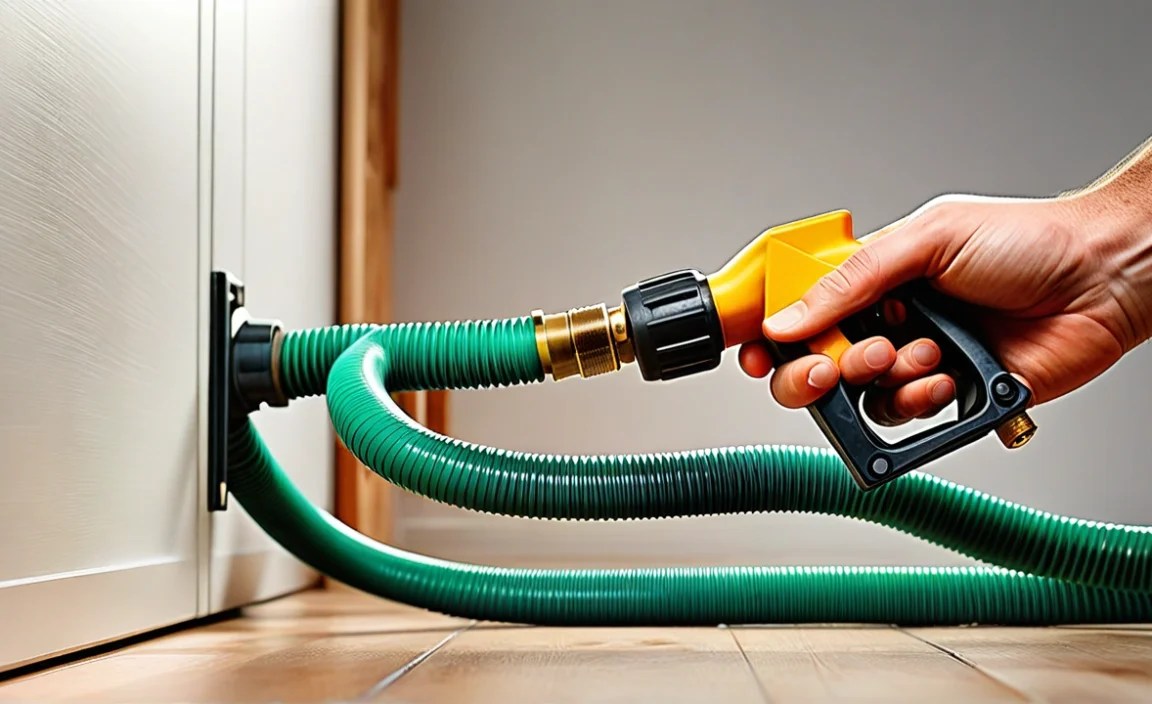
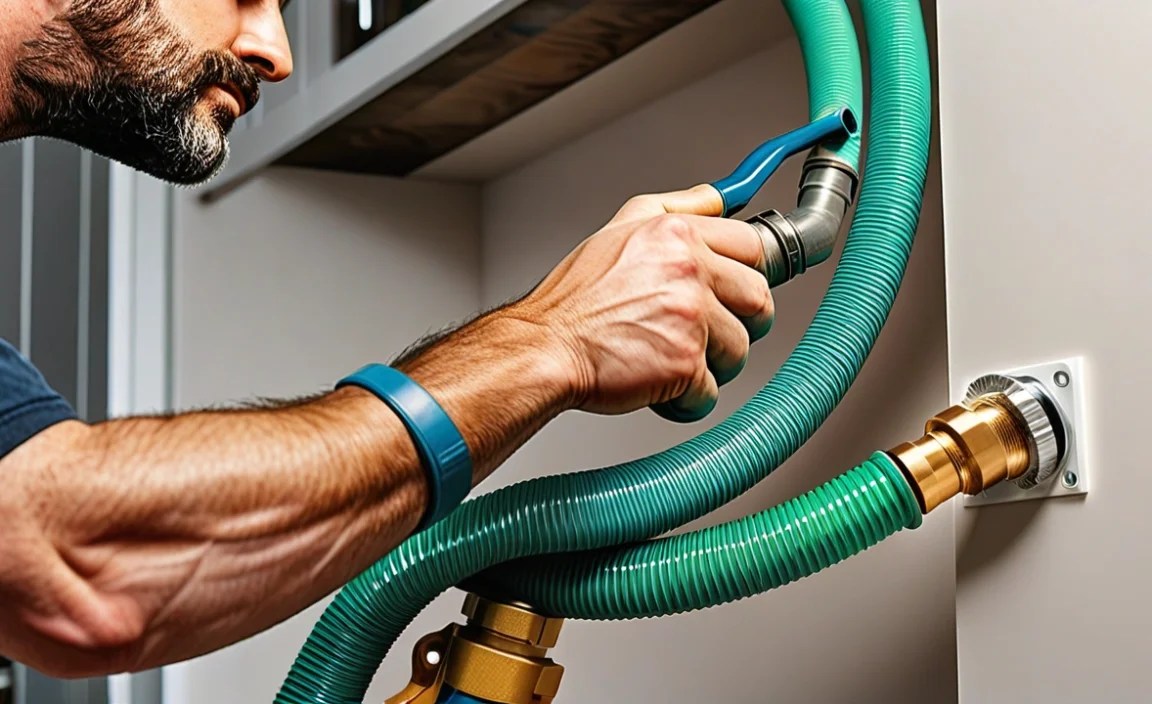
Step 5: Connect the Hose Extension
There are two main ways to connect a hose extension:
Method 1: Using Hose Clamps
- Slide the hose clamp over the end of your existing hose.
- Insert the end of the hose extension into the existing hose.
- Position the hose clamp over the connection point.
- Tighten the clamp using a screwdriver or wrench until it’s snug.
- Repeat on the other end of the extension if needed.
Method 2: Using Hose Connectors
- Attach the connector to the end of your existing hose.
- Secure it with the connector’s built-in mechanism (usually a twist or snap).
- Attach the other end of the connector to the hose extension.
- Make sure both sides are tightly connected.
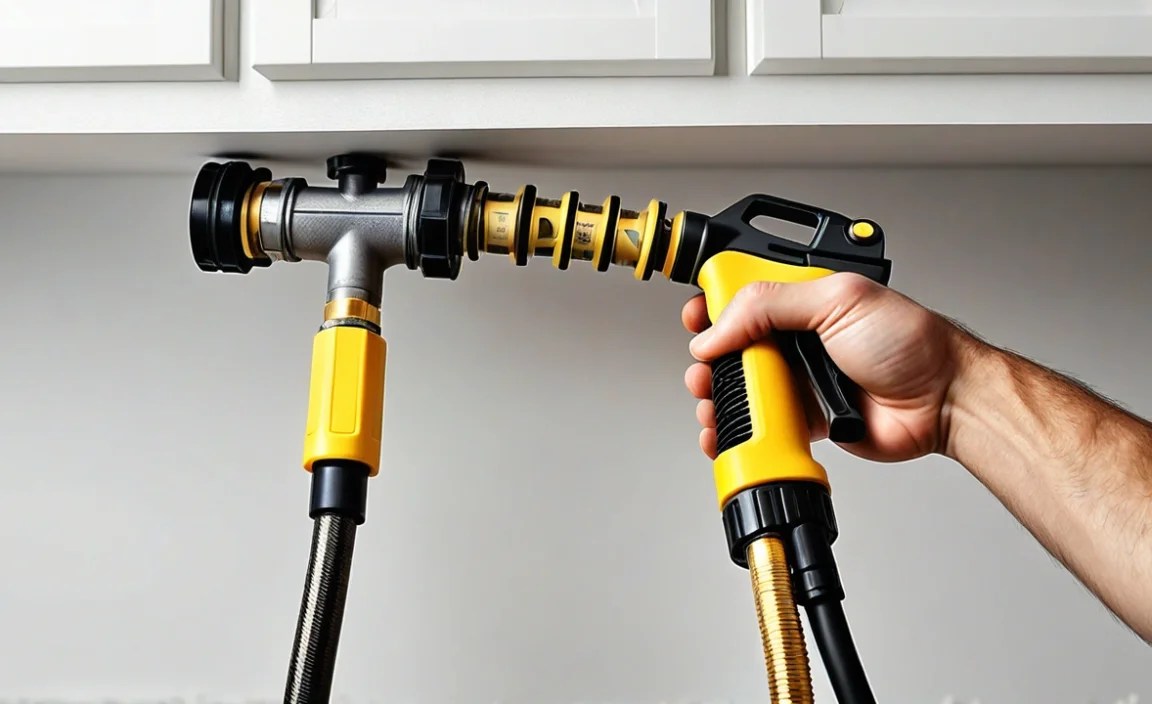
Step 6: Test for Leaks
Once the extension is connected, turn on the water and check for leaks at the connection points. If you see any leaks, tighten the clamps or connectors a bit more.
Troubleshooting: If leaks persist, try repositioning the clamp or connector, or consider using Teflon tape on the threads for a better seal.
Step 7: Secure the Hose
To prevent tripping or damage, secure the hose along its path. You can use hose hangers or stakes to keep it in place.
Safety Tip: Always drain the hose after use to prevent freezing and damage, especially in cold weather. Consider using a hose reel for easy storage and protection.
Choosing the Right Hose Extension
Selecting the right hose extension depends on your specific needs and the type of tasks you’ll be performing. Here’s a breakdown to help you make the best choice.
Hose Material
The material of your hose extension affects its durability, flexibility, and resistance to wear and tear. Here are some common materials:
- Rubber: Known for its durability and flexibility, rubber hoses are a great choice for heavy-duty use. They can withstand high water pressure and extreme temperatures.
- Vinyl: Vinyl hoses are lightweight and more affordable than rubber hoses. They are suitable for general use, such as watering plants.
- Reinforced Vinyl: These hoses have an added layer of reinforcement, making them more resistant to kinks and bursts. They offer a good balance between durability and affordability.
- Polyurethane: Polyurethane hoses are lightweight, flexible, and resistant to abrasion. They are a good option for frequent use and are often found in commercial settings.
Hose Diameter
The diameter of your hose affects the water flow rate. Common hose diameters include 1/2 inch, 5/8 inch, and 3/4 inch. Here’s how to choose the right one:
- 1/2 inch: Suitable for light-duty tasks and smaller gardens. They provide adequate water flow for most residential uses.
- 5/8 inch: The most common size, offering a good balance between water flow and ease of handling. Ideal for general gardening and household tasks.
- 3/4 inch: Best for delivering high water volume over long distances. Suitable for larger gardens, filling pools, and other heavy-duty applications.
Hose Length
Choosing the right length is crucial for convenience and efficiency. Measure the distance from your water source to the farthest point you need to reach, and add a few extra feet for flexibility.
- 25 feet: Good for small yards and gardens.
- 50 feet: Suitable for medium-sized yards and gardens.
- 75-100 feet: Ideal for large properties and commercial use.
Types of Connectors
Connectors are essential for securely joining the hose extension to your existing hose. There are several types of connectors available:
- Hose Clamps: These are simple and reliable, consisting of a metal band that tightens around the hose. They are suitable for most standard connections.
- Quick Connectors: These allow you to quickly attach and detach hoses without tools. They are convenient for frequent changes and offer a secure, leak-proof connection.
- Threaded Connectors: These screw onto the hose and provide a very secure connection. They are often used for high-pressure applications.
Troubleshooting Common Issues
Even with careful installation, you might encounter some common issues. Here’s how to troubleshoot them:
Leaks at the Connection
Problem: Water is leaking from the connection point between the hose and the extension.
Solution:
- Tighten the Clamp: Make sure the hose clamp or connector is properly tightened. Use a screwdriver or wrench to tighten it further, but be careful not to overtighten and damage the hose.
- Check the Hose Condition: Inspect the hose ends for any cracks, splits, or damage. If the hose is damaged, trim the damaged section or replace the hose.
- Use Teflon Tape: Apply Teflon tape to the threads of the connector for a better seal. Wrap the tape around the threads in the direction of tightening.
- Reposition the Clamp: Sometimes, repositioning the clamp slightly can create a better seal. Try moving the clamp a bit forward or backward from its current position.
Low Water Pressure
Problem: The water pressure is significantly lower after adding the hose extension.
Solution:
- Check for Kinks: Ensure the hose and extension are not kinked or twisted, which can restrict water flow.
- Clear Obstructions: Check for any obstructions in the hose or nozzle. Debris can accumulate over time and reduce water pressure.
- Use a Larger Diameter Hose: If you are using a long extension, a larger diameter hose (e.g., 3/4 inch) can help maintain water pressure.
- Check the Water Source: Ensure that the water source itself has adequate pressure. Low pressure at the source will affect the hose’s performance.
Hose Kinks Frequently
Problem: The hose keeps kinking, which interrupts water flow and can be frustrating.
Solution:
- Use a Kink-Resistant Hose: Invest in a hose made from materials that are less prone to kinking, such as reinforced rubber or flexible composite materials.
- Store the Hose Properly: Use a hose reel or hanger to store the hose neatly and prevent kinks from forming.
- Avoid Sharp Bends: When using the hose, avoid making sharp bends or turns. Use a wider turning radius to prevent kinking.
- Use a Swivel Connector: A swivel connector at the faucet can help prevent the hose from twisting and kinking as you move around.
Connector Corrosion
Problem: The metal connectors are corroding, making them difficult to use and potentially causing leaks.
Solution:
- Use Corrosion-Resistant Connectors: Choose connectors made from brass or stainless steel, which are more resistant to corrosion than aluminum or plastic.
- Clean the Connectors Regularly: Clean the connectors periodically with a wire brush and a solution of water and baking soda to remove any corrosion buildup.
- Apply a Protective Coating: Apply a thin layer of silicone grease or WD-40 to the connectors to protect them from moisture and prevent corrosion.
- Store the Hose Properly: Store the hose in a dry place to prevent moisture from accelerating corrosion.
Hose Bursts or Splits
Problem: The hose bursts or splits, resulting in a sudden loss of water pressure and potential water damage.
Solution:
- Replace the Hose: If the hose is old or damaged, replace it with a new one. Choose a hose with a higher burst pressure rating for added durability.
- Avoid Over-Pressurizing: Do not exceed the maximum pressure rating of the hose. Use a pressure regulator if necessary.
- Protect from Extreme Temperatures: Avoid exposing the hose to extreme temperatures, which can weaken the material and make it more prone to bursting.
- Inspect Regularly: Regularly inspect the hose for any signs of wear and tear, such as cracks, bulges, or soft spots. Replace the hose if you notice any damage.
Tips for Maintaining Your Hose Extension
Proper maintenance will extend the life of your hose extension and keep it working efficiently. Here are some tips:
- Store Properly: Store your hose in a cool, dry place, away from direct sunlight. Use a hose reel or hanger to prevent kinks and tangles.
- Drain After Use: Always drain the hose after each use, especially in cold weather, to prevent freezing and cracking.
- Inspect Regularly: Check for leaks, cracks, and wear. Replace damaged sections or the entire hose if necessary.
- Clean Periodically: Clean your hose with mild soap and water to remove dirt and debris. This helps prevent clogs and keeps the hose in good condition.
- Protect from Freezing: In freezing temperatures, disconnect the hose and store it indoors to prevent damage.
Hose Extension: Pros and Cons
Adding a hose extension can be a convenient solution, but it’s essential to consider the advantages and disadvantages.
| Pros | Cons |
|---|---|
| Increased reach and flexibility | Potential for leaks at connection points |
| Cost-effective solution compared to buying a new, longer hose | Reduced water pressure if the extension is too long or narrow |
| Easy to install and remove as needed | Added weight and bulkiness can make the hose harder to handle |
| Allows you to use existing hoses more efficiently | Risk of kinks and tangles if not stored properly |
| Suitable for various tasks like gardening, car washing, and filling pools | May require additional connectors and clamps |
FAQ: Installing Hose Extensions
What size hose extension do I need?
Measure the distance you need to cover and subtract the length of your current hose. Add a few extra feet for flexibility.
Can I connect multiple hose extensions together?
Yes, but it’s best to avoid it. Too many connections can reduce water pressure and increase the risk of leaks. If you need a very long hose, consider buying a single, longer hose.
What if my hose extension keeps leaking?
Make sure the clamps or connectors are tight. Check the hose ends for damage and use Teflon tape on the threads for a better seal.
Will a hose extension reduce my water pressure?
Yes, especially if the extension is long or has a smaller diameter than your main hose. Use the same diameter for the extension to minimize pressure loss.
How do I store my hose extension properly?
Use a hose reel or hanger to prevent kinks and tangles. Store it in a cool, dry place away from direct sunlight.
Can I use any type of connector for my hose extension?
No, choose connectors that match the diameter and material of your hose. Quick connectors and threaded connectors are both good options.
What is the best material for a durable hose extension?
Rubber and reinforced vinyl are excellent choices for durability. Rubber hoses are more flexible and resistant to extreme temperatures, while reinforced vinyl offers a good balance of durability and affordability.
Conclusion
Installing a hose extension is a simple and effective way to increase the reach of your existing hose. By following these steps and tips, you can easily connect an extension, troubleshoot common issues, and maintain your hose for long-lasting use. Whether you’re watering your garden, washing your car, or tackling other outdoor tasks, a hose extension can make your life much easier. So go ahead, extend your reach and enjoy hassle-free watering!


