
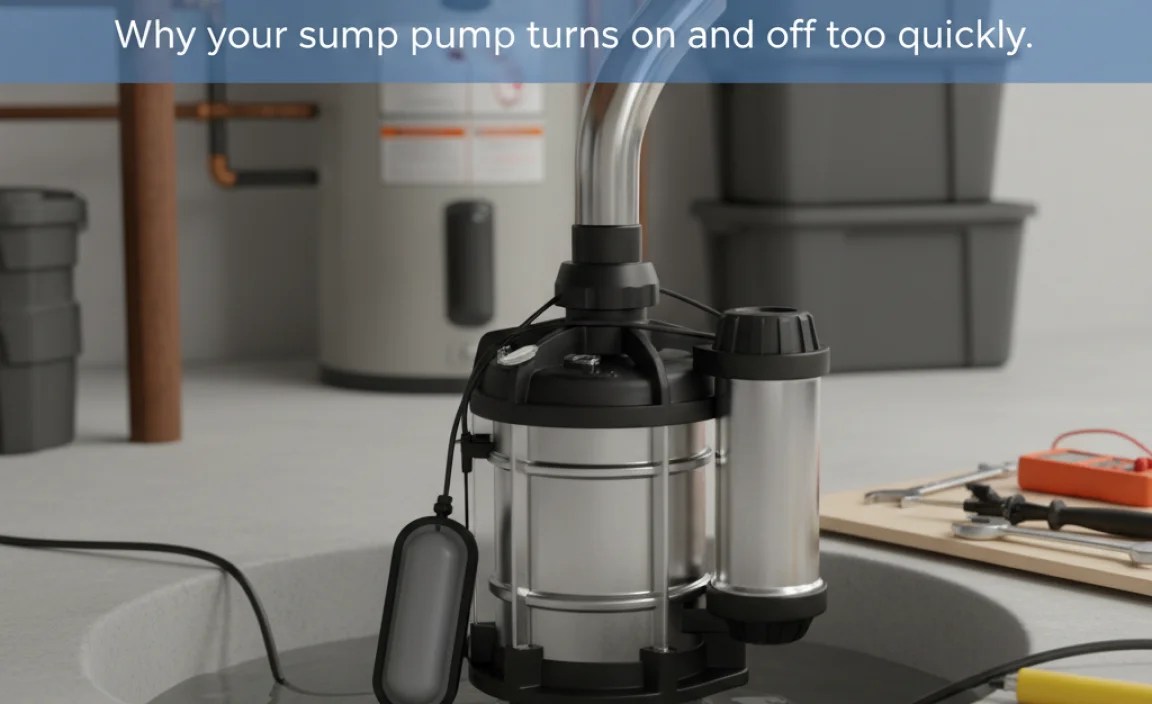
How to Fix a Short Cycling Sump Pump: A Step-by-Step Guide
Quick Summary: Short cycling means your sump pump turns on and off too frequently. To fix it, first, clean the pump and pit. Then, adjust the float switch to ensure a proper range of motion. Check the discharge pipe for obstructions and consider adding a check valve or a larger pit if needed. Regular maintenance prevents future short cycling.
Is your sump pump constantly turning on and off? This is called short cycling, and it’s a common problem that can wear out your pump quickly. It also wastes energy and can lead to flooding if the pump fails. Don’t worry, though! Fixing a short cycling sump pump is often something you can do yourself.
In this guide, we’ll walk you through the steps to diagnose and fix the problem. We’ll cover everything from simple cleaning to adjusting the float switch and checking for obstructions. By the end, you’ll have your sump pump running smoothly and efficiently. Let’s get started!
Understanding Short Cycling
Before we jump into the fix, let’s understand what causes short cycling. A sump pump is designed to remove excess water from around your home’s foundation. When the water level rises, the pump turns on, removes the water, and then turns off. Short cycling happens when the pump turns on and off too rapidly, often within a few seconds or minutes.
Several factors can contribute to this issue, including:
- Float Switch Problems: The float switch tells the pump when to turn on and off. If it’s stuck, obstructed, or improperly adjusted, it can cause short cycling.
- Small Sump Pit: A small pit fills up quickly, causing the pump to activate frequently.
- Check Valve Issues: A faulty or missing check valve allows water to flow back into the pit after the pump shuts off, triggering it to restart.
- Debris in the Pit: Dirt, gravel, or other debris can interfere with the float switch or clog the pump intake.
- Frozen or Blocked Discharge Pipe: If the discharge pipe is blocked, the pump will struggle to remove water, leading to short cycles.
Tools You’ll Need
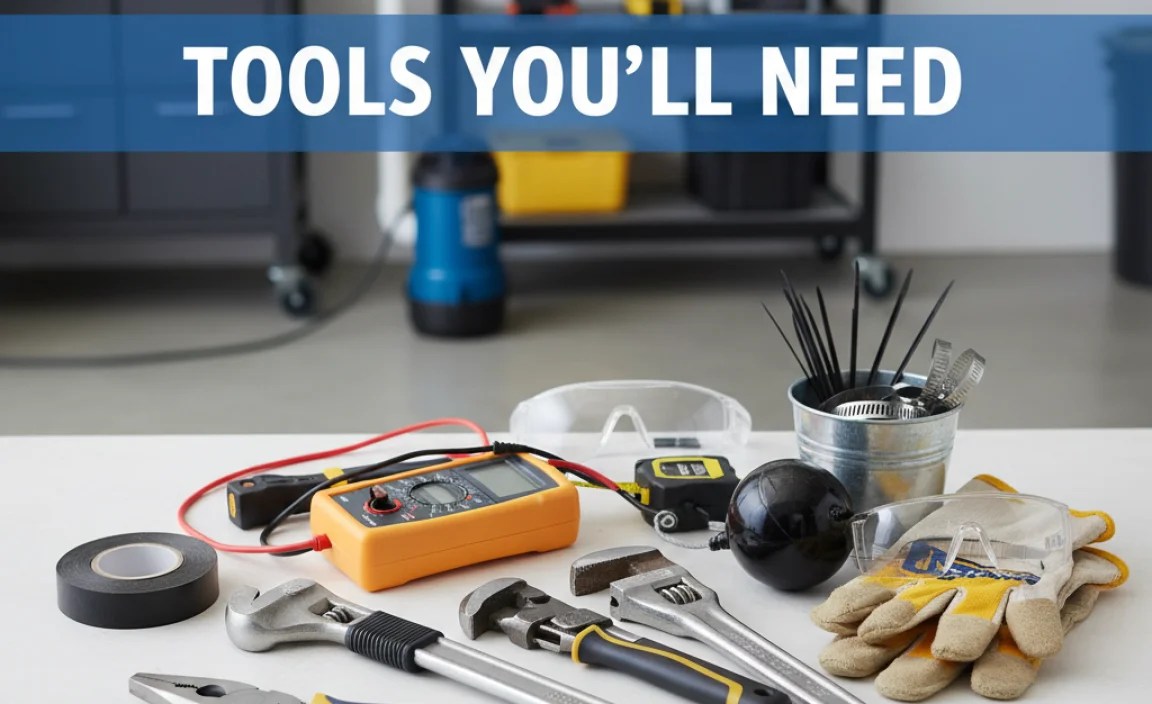
Before you start, gather the following tools:
- Gloves
- Bucket
- Shop Vacuum or Wet/Dry Vacuum
- Screwdriver (Phillips and flathead)
- Adjustable Wrench
- Hose
- Safety Glasses
Step-by-Step Guide to Fixing a Short Cycling Sump Pump

Here’s how to tackle the problem:
Step 1: Disconnect the Power
Safety first! Before you do anything, disconnect the sump pump from the power outlet. This prevents any accidental shocks while you’re working.
Step 2: Inspect and Clean the Sump Pit
A dirty sump pit can cause all sorts of problems. Follow these steps to clean it out:
- Remove Standing Water: Use a bucket or shop vacuum to remove any standing water from the pit.
- Remove Debris: Scoop out any dirt, gravel, leaves, or other debris from the bottom of the pit. A small shovel or your gloved hands can work well.
- Clean the Pump Intake: Check the pump intake for any clogs. Remove any debris blocking the intake screen.
- Inspect the Pit: Look for any cracks or damage to the pit itself. If you find any, consider repairing or replacing the pit.
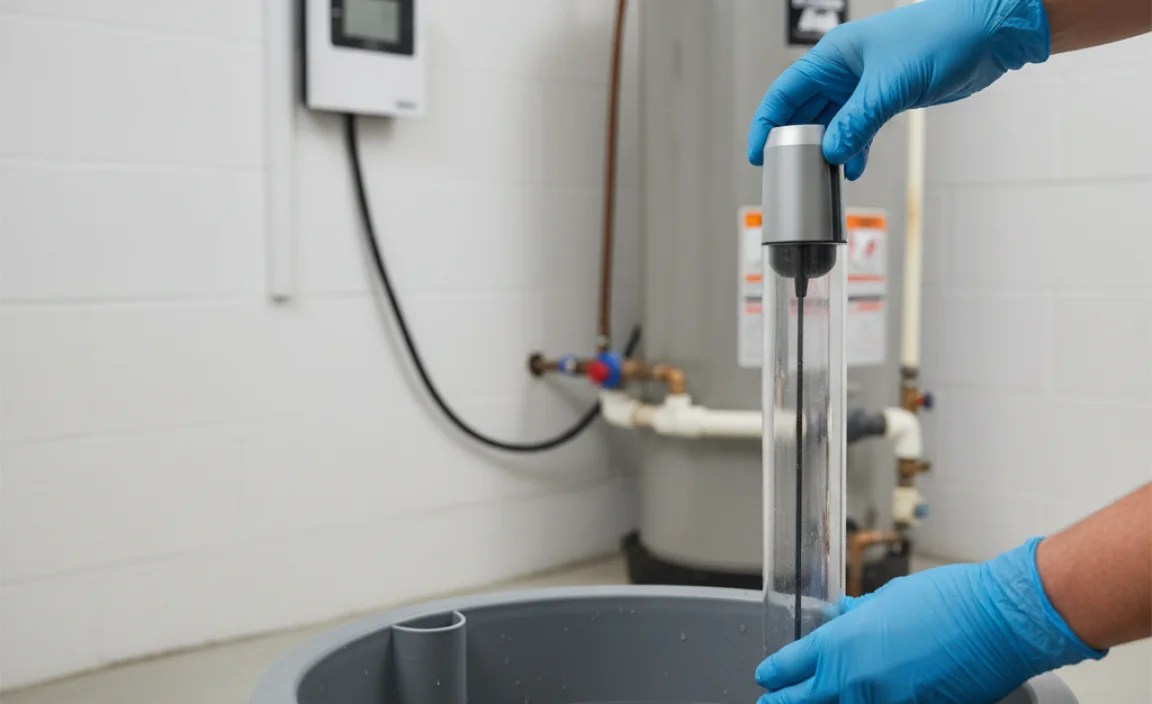
Step 3: Check and Adjust the Float Switch
The float switch is a crucial part of the sump pump. Here’s how to check and adjust it:
- Inspect the Float: Make sure the float moves freely without any obstructions. It should be able to move up and down without getting stuck on the sides of the pit or any pipes.
- Adjust the Tether: Most float switches have an adjustable tether. The length of the tether determines how high the water level needs to rise before the pump turns on. A shorter tether means the pump will turn on more frequently. A longer tether means the pump will turn on less frequently. Adjust the tether to allow for a larger water level range.
- Test the Switch: Manually lift the float switch to see if the pump turns on. Lower the float to see if the pump turns off. If the pump doesn’t respond, the switch may need to be replaced.
Here’s a table summarizing common float switch issues and their solutions:
| Problem | Possible Solution |
|---|---|
| Float switch is stuck | Clean the pit and remove any obstructions around the float. |
| Float switch tether is too short | Adjust the tether to allow for a wider range of motion. |
| Float switch is damaged | Replace the float switch. |
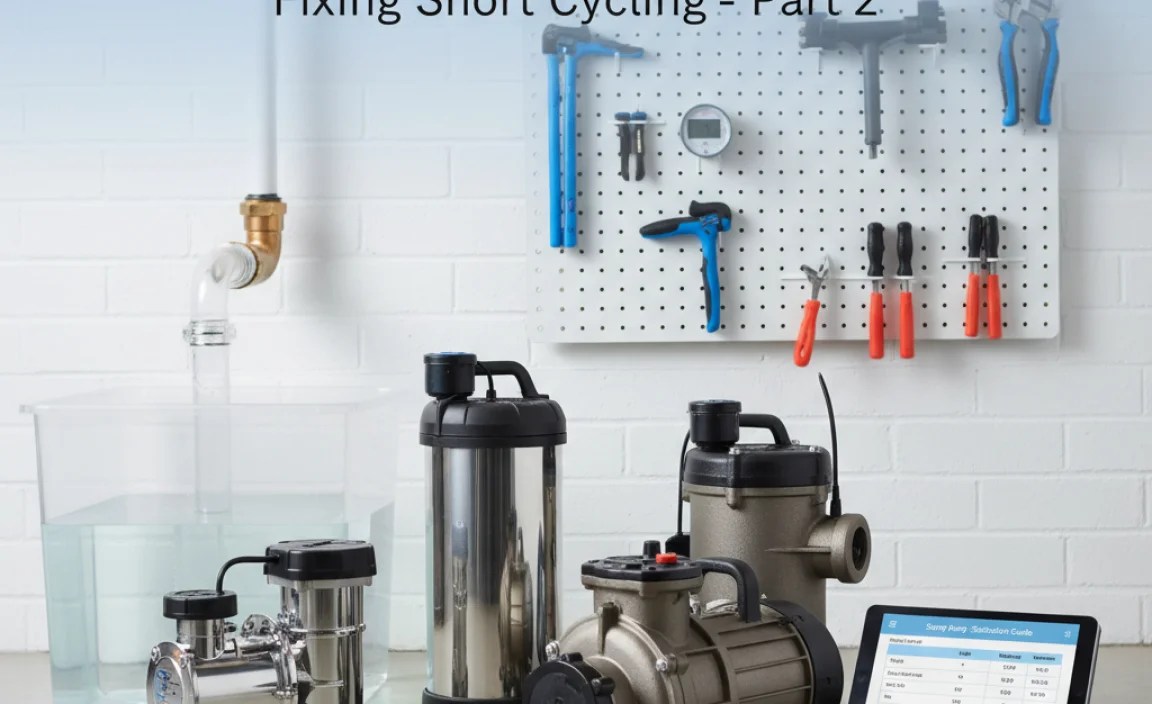
Step 4: Inspect the Check Valve
The check valve prevents water from flowing back into the sump pit after the pump shuts off. Here’s how to inspect it:
- Locate the Check Valve: The check valve is usually located on the discharge pipe, near the pump.
- Inspect for Leaks: Check the valve for any signs of leaks or damage.
- Test the Valve: Open the valve and see if it allows water to flow in only one direction. If water flows back through the valve, it’s faulty and needs to be replaced.
- Replace if Necessary: Replacing a check valve is a straightforward process. Simply unscrew the old valve and screw in the new one, ensuring it’s properly sealed. You can find replacement check valves at most hardware stores or online retailers like Amazon.
Step 5: Check the Discharge Pipe
A blocked discharge pipe can cause the pump to work harder and cycle more frequently. Follow these steps to check and clear the pipe:
- Inspect the Outlet: Check the outlet of the discharge pipe for any obstructions, such as leaves, ice, or debris.
- Disconnect the Pipe: Disconnect the discharge pipe from the pump.
- Flush the Pipe: Use a garden hose to flush out any debris from the pipe. If the blockage is severe, you may need to use a plumber’s snake.
- Check for Freezing: In cold weather, the discharge pipe can freeze. Thaw the pipe with warm water or a heat gun (use caution!). You can also insulate the pipe to prevent future freezing.
Step 6: Consider a Larger Sump Pit
If your sump pit is too small, the pump will cycle frequently because the pit fills up quickly. Consider upgrading to a larger pit. A larger pit provides more storage capacity, reducing the frequency of pump cycles.
Here’s a quick comparison of sump pit sizes:
| Pit Size | Pros | Cons |
|---|---|---|
| Small (18″ diameter) | Easy to install, suitable for low water volume | Fills up quickly, frequent cycling |
| Medium (24″ diameter) | Good balance of capacity and size | May require more digging for installation |
| Large (30″ diameter or larger) | Maximum water storage, less frequent cycling | Requires significant digging, more expensive |
Step 7: Reconnect the Power and Test
Once you’ve completed the above steps, reconnect the sump pump to the power outlet. Pour water into the pit to test the pump. Observe how frequently the pump cycles. It should turn on when the water level reaches a certain point and turn off when the water is pumped out. If the pump still short cycles, review the steps above and consider consulting a professional.
Preventing Future Short Cycling
Prevention is key to keeping your sump pump running smoothly. Here are some tips to prevent future short cycling:
- Regular Maintenance: Clean the sump pit and inspect the pump at least twice a year.
- Check the Float Switch: Make sure the float switch moves freely and is properly adjusted.
- Inspect the Check Valve: Ensure the check valve is functioning correctly.
- Clear the Discharge Pipe: Keep the discharge pipe free of obstructions.
- Consider a Backup Pump: Install a backup sump pump to provide extra protection in case of primary pump failure.
Choosing the Right Sump Pump
Selecting the right sump pump for your needs is crucial for preventing issues like short cycling. Here are some factors to consider:
- Pump Type: Submersible pumps are placed inside the sump pit, while pedestal pumps are positioned above the pit. Submersible pumps are generally more efficient and less noisy.
- Horsepower: Choose a pump with enough horsepower to handle the water volume in your area. A 1/3 HP pump is usually sufficient for most homes, but you may need a 1/2 HP pump or higher if you have a high water table or frequent flooding.
- Material: Look for pumps made from durable materials such as cast iron or stainless steel. These materials are more resistant to corrosion and wear.
- Features: Consider pumps with features like automatic shut-off, alarm systems, and battery backup.
Common Mistakes to Avoid
When troubleshooting a short cycling sump pump, avoid these common mistakes:
- Ignoring the Float Switch: The float switch is often the culprit behind short cycling. Don’t overlook it.
- Neglecting Maintenance: Regular maintenance is essential for preventing problems.
- Using the Wrong Size Pump: Using a pump that is too small or too large can lead to short cycling and other issues.
- Not Checking the Discharge Pipe: A blocked discharge pipe can put unnecessary strain on the pump.
Troubleshooting Tips
Here are some additional troubleshooting tips to help you diagnose and fix a short cycling sump pump:
- Listen to the Pump: Pay attention to the sounds the pump makes. Unusual noises can indicate a problem.
- Check the Water Level: Observe how quickly the water level rises in the pit. This can help you determine if the pump is working efficiently.
- Inspect the Wiring: Check the wiring for any signs of damage or corrosion.
- Consult a Professional: If you’re unable to resolve the issue yourself, don’t hesitate to consult a qualified plumber or sump pump technician.
Sump Pump Maintenance Schedule
Regular maintenance is essential for keeping your sump pump in good working order. Here’s a sample maintenance schedule:
| Frequency | Task |
|---|---|
| Every 3 Months | Inspect the sump pit for debris and clean as needed. |
| Every 6 Months | Check the float switch for proper operation. |
| Annually | Inspect the check valve and discharge pipe. |
| Every 2-3 Years | Consider replacing the sump pump, depending on usage and condition. |
FAQ: Short Cycling Sump Pumps
Here are some frequently asked questions about short cycling sump pumps:
- Why is my sump pump turning on every few minutes?
- This is likely due to a short cycling issue. Common causes include a float switch problem, a small sump pit, or a faulty check valve. Follow the steps outlined in this guide to diagnose and fix the problem.
How To Fix Short Cycling Sump Pump

- How do I adjust the float switch on my sump pump?
- Most float switches have an adjustable tether. The length of the tether determines how high the water level needs to rise before the pump turns on. Adjust the tether to allow for a larger water level range.
- What is a check valve and why is it important?
- A check valve prevents water from flowing back into the sump pit after the pump shuts off. This prevents the pump from turning on and off unnecessarily.
- Can a small sump pit cause short cycling?
- Yes, a small pit fills up quickly, causing the pump to activate frequently. Consider upgrading to a larger pit.
- How often should I clean my sump pit?
- You should clean your sump pit at least twice a year, or more often if you notice a lot of debris accumulating.
- Is it normal for my sump pump to run constantly during heavy rain?
- It’s normal for your sump pump to run more frequently during heavy rain, but it shouldn’t run constantly. If it does, there may be an underlying issue that needs to be addressed.
- When should I replace my sump pump?
- Most sump pumps last for about 7-10 years. If your pump is nearing the end of its lifespan or is experiencing frequent problems, it’s time to replace it.
Conclusion
Fixing a short cycling sump pump can seem daunting, but with a little patience and the right steps, you can often resolve the issue yourself. Remember to start with the basics: clean the pit, check the float switch, and inspect the discharge pipe. Regular maintenance and a properly sized sump pit are key to preventing future short cycling problems. By following this guide, you’ll keep your sump pump running efficiently and protect your home from water damage for years to come.
“`


