
How to Adapt Motorcycle Hose for Bicycle Use: Smart DIY
**Quick Summary:** Adapting motorcycle hose for bicycle use is possible! You’ll need to ensure the hose diameter is compatible with your bike’s components. Carefully cut and fit the hose, using appropriate connectors and clamps. Always test thoroughly before riding to guarantee a secure and leak-free connection for safe cycling.
Ever found yourself needing a specific hose for your bicycle and only having a motorcycle hose on hand? It might seem like an odd match, but with a bit of know-how, you can adapt a motorcycle hose for bicycle use. Maybe you need a new brake hose or want to upgrade your hydraulic system. Don’t worry, it’s easier than you think! This guide will walk you through each step, ensuring you get a secure and reliable fit. Let’s get started and turn that motorcycle hose into a perfect bicycle component!
Understanding the Basics
Before diving into the adaptation process, it’s crucial to understand the differences between motorcycle and bicycle hoses. This knowledge will help you make informed decisions and avoid potential issues.
Key Differences Between Motorcycle and Bicycle Hoses
While both types of hoses serve similar purposes, such as fluid transfer, they are designed with different specifications in mind.
- Diameter and Size: Motorcycle hoses are generally larger in diameter compared to bicycle hoses.
- Material and Construction: Motorcycle hoses are often made from more robust materials to withstand higher pressures and temperatures.
- Pressure Rating: Motorcycle hoses are designed for higher pressure systems, while bicycle hoses handle lower pressures.
- Fittings and Connectors: The fittings and connectors on motorcycle hoses may not be directly compatible with bicycle components.
When Adapting is a Good Idea
Adapting a motorcycle hose can be a viable option in certain situations:
- Emergency Repairs: If you’re in a pinch and need a temporary fix, a motorcycle hose can serve as a substitute.
- Custom Builds: For unique bicycle builds or modifications, adapting a motorcycle hose might be necessary to achieve the desired performance.
- Upgrading Performance: In some cases, a higher-quality motorcycle hose can improve the performance of your bicycle’s hydraulic systems.
Potential Challenges
Be aware of the potential challenges when adapting a motorcycle hose:
- Compatibility Issues: Ensuring the hose fits properly with your bicycle’s components can be tricky.
- Pressure Mismatches: Using a hose designed for higher pressure in a lower-pressure system may not provide optimal performance.
- Installation Difficulties: Adapting fittings and connectors may require specialized tools and expertise.
Tools and Materials You’ll Need

Having the right tools and materials on hand will make the adaptation process smoother and more efficient. Here’s a comprehensive list:
- Motorcycle Hose: Choose a hose that is the correct length and material for your application.
- Hose Cutter: A sharp hose cutter will ensure clean and precise cuts.
- Appropriate Connectors: Select connectors that match both the motorcycle hose and your bicycle components.
- Hose Clamps: Use clamps to secure the hose to the connectors.
- Wrench Set: Various wrench sizes will be needed to tighten the connectors and clamps.
- Measuring Tape: Accurate measurements are crucial for a proper fit.
- Safety Glasses: Protect your eyes from debris.
- Gloves: Keep your hands clean and protected.
- Deburring Tool: To smooth out any rough edges after cutting the hose.
- Heat Gun (optional): Can be used to soften the hose for easier installation.
Having these tools ready will save you time and frustration during the adaptation process.
Step-by-Step Guide to Adapting a Motorcycle Hose

Follow these steps carefully to adapt a motorcycle hose for your bicycle.
Step 1: Measure and Cut the Hose
Accurate measurements are key to a successful adaptation.
- Measure the Required Length: Use a measuring tape to determine the exact length of hose needed for your bicycle. Consider the routing and any bends in the system.
- Mark the Hose: Use a marker to clearly indicate where you need to cut the motorcycle hose.
- Cut the Hose: Use a sharp hose cutter to make a clean, straight cut at the marked location. Avoid using a blade that could fray the hose.
Step 2: Prepare the Hose Ends
Properly preparing the hose ends ensures a secure connection.
- Deburr the Cut Ends: Use a deburring tool to remove any sharp edges or burrs from the cut ends of the hose. This will prevent damage to the connectors and ensure a smooth fit.
- Clean the Hose: Wipe the inside and outside of the hose with a clean cloth to remove any debris or contaminants.
- Soften the Hose (Optional): If the hose is stiff, use a heat gun to gently warm the ends. This will make it easier to insert the connectors. Be careful not to overheat the hose.
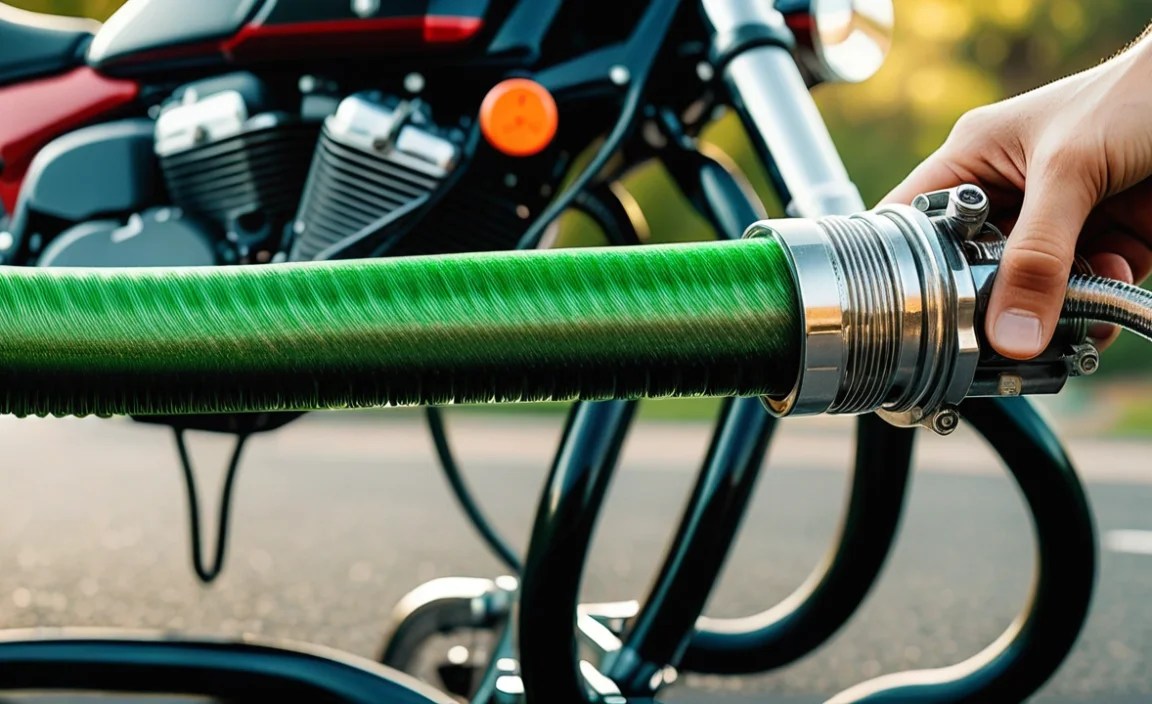
Step 3: Install the Connectors
Choosing the right connectors and installing them correctly is crucial for a leak-free connection.
- Select the Correct Connectors: Ensure that the connectors you’ve chosen are compatible with both the motorcycle hose and your bicycle components. Consider the thread size and type.
- Insert the Connectors: Carefully insert the connectors into the prepared ends of the hose. Ensure they are fully seated.
- Secure the Connectors: Use a wrench to tighten the connectors according to the manufacturer’s specifications. Avoid over-tightening, which can damage the hose or connectors.
Step 4: Secure the Hose with Clamps
Hose clamps provide an extra layer of security to prevent leaks.
- Position the Clamps: Place the hose clamps over the hose where it connects to the connectors. Ensure the clamps are positioned correctly to provide even pressure around the hose.
- Tighten the Clamps: Use a wrench to tighten the hose clamps. Tighten them evenly to ensure a secure and leak-free connection. Avoid over-tightening, which can damage the hose.
- Inspect the Connection: Double-check that the hose is securely attached to the connectors and that the clamps are properly tightened.
Step 5: Test the Connection
Testing is essential to ensure the adaptation is successful and safe.
- Check for Leaks: Apply pressure to the system and carefully inspect the connections for any signs of leaks. Use soapy water to help identify even small leaks.
- Adjust as Needed: If you find any leaks, tighten the connectors or clamps as needed. If the leak persists, disassemble the connection and inspect the hose and connectors for damage.
- Test Under Load: Once you’re confident that the connection is leak-free, test it under load. For example, if you’ve adapted a brake hose, test the brakes to ensure they function properly.
Choosing the Right Hose and Connectors

Selecting the appropriate hose and connectors is critical for a successful adaptation. Here’s what to consider:
Hose Material
The material of the hose affects its durability, flexibility, and resistance to chemicals and temperature.
- Rubber: Rubber hoses are flexible and cost-effective, but they may not be as durable as other options.
- Braided Stainless Steel: Braided stainless steel hoses are highly durable and resistant to high pressures and temperatures. They also provide excellent protection against abrasion and corrosion.
- PTFE (Teflon): PTFE hoses are highly resistant to chemicals and can withstand a wide range of temperatures. They are also very flexible and have a low coefficient of friction.
Connector Types
The type of connector you choose will depend on the specific application and the type of hose you’re using.
- Compression Fittings: Compression fittings use a compression nut and ferrule to create a tight seal. They are easy to install and do not require any special tools.
- Threaded Fittings: Threaded fittings use threads to create a secure connection. They are available in a variety of sizes and thread types.
- Barb Fittings: Barb fittings have a barbed end that is inserted into the hose. They are typically used with hose clamps to create a secure connection.
Compatibility Considerations
Ensure that the hose and connectors are compatible with each other and with your bicycle components.
- Hose Diameter: The connector must match the inner diameter of the hose.
- Thread Size and Type: If using threaded fittings, ensure that the thread size and type match the components you’re connecting to.
- Material Compatibility: Ensure that the materials of the hose and connectors are compatible with the fluids or gases they will be carrying.
Troubleshooting Common Issues
Even with careful preparation, you may encounter some issues during the adaptation process. Here’s how to troubleshoot common problems:
Leaks
Leaks are a common issue when adapting hoses. Here’s how to address them:
- Check Connections: Ensure that all connectors and clamps are properly tightened.
- Inspect Hose: Look for any signs of damage or wear on the hose, such as cracks or abrasions.
- Replace Components: If you find any damaged components, replace them immediately.
Incorrect Fit
An incorrect fit can lead to leaks and other problems.
- Measure Accurately: Double-check your measurements to ensure that the hose is the correct length and that the connectors are the correct size.
- Use Adapters: If necessary, use adapters to connect components with different thread sizes or types.
- Re-evaluate Hose Choice: If the hose is too stiff or inflexible, consider using a different type of hose that is easier to work with.
Hose Kinking
Kinking can restrict flow and damage the hose.
- Use Flexible Hose: Choose a hose that is flexible enough to accommodate the bends in your system.
- Avoid Sharp Bends: Route the hose to avoid sharp bends that can cause kinking.
- Use Hose Sleeves: Use hose sleeves to protect the hose from abrasion and kinking.
Safety Tips
Safety should always be a top priority when working with hoses and connectors.
- Wear Safety Glasses: Protect your eyes from debris and fluids.
- Wear Gloves: Protect your hands from chemicals and sharp edges.
- Work in a Well-Ventilated Area: Avoid breathing fumes from chemicals or solvents.
- Follow Manufacturer’s Instructions: Always follow the manufacturer’s instructions for installing and using hoses and connectors.
- Test Thoroughly: Before using your bicycle, thoroughly test the adapted hose to ensure that it is functioning properly and that there are no leaks.
Maintenance and Long-Term Care
Proper maintenance will extend the life of your adapted hose and ensure its continued performance.
- Regular Inspections: Periodically inspect the hose and connections for any signs of wear, damage, or leaks.
- Cleaning: Clean the hose and connections with a mild detergent and water. Avoid using harsh chemicals or solvents.
- Replacement: Replace the hose and connectors as needed, based on their condition and the manufacturer’s recommendations.
Examples of Bicycle Hose Adaptations
To give you a clearer idea of how this works in practice, let’s look at a couple of specific examples.
Adapting a Motorcycle Brake Hose for Bicycle Brakes
This is a common adaptation, especially for those looking for enhanced braking performance.
- Measure and Cut: Measure the existing brake hose on your bicycle. Cut the motorcycle brake hose to the same length using a hose cutter.
- Install Connectors: Install appropriate brake hose connectors on both ends of the motorcycle hose. Make sure the connectors are compatible with your bicycle’s brake calipers and levers.
- Secure with Clamps: Use hose clamps to secure the hose to the connectors.
- Bleed the Brakes: After installing the hose, bleed your bicycle’s brakes to remove any air bubbles from the system. This is crucial for optimal braking performance.
- Test Thoroughly: Test the brakes thoroughly before riding to ensure they are functioning properly.
Using a Motorcycle Fuel Hose for Hydraulic Systems
If you’re working on a custom hydraulic system, a motorcycle fuel hose might be a good fit.
- Determine Compatibility: Ensure the fuel hose material is compatible with the hydraulic fluid you’re using.
- Cut to Size: Measure and cut the motorcycle fuel hose to the required length.
- Install Fittings: Install the necessary hydraulic fittings on the hose ends.
- Secure Connections: Use appropriate clamps to ensure a secure, leak-free connection.
- Test the System: Thoroughly test the hydraulic system to ensure it functions correctly and there are no leaks.
Pros and Cons of Adapting Motorcycle Hoses
Adapting motorcycle hoses for bicycle use has its advantages and disadvantages.
Pros
- Cost-Effective: Motorcycle hoses can sometimes be more affordable than bicycle-specific hoses.
- Durability: Motorcycle hoses are often more robust and can withstand higher pressures.
- Availability: Motorcycle hoses are widely available, making them a convenient option in certain situations.
- Customization: Adapting a motorcycle hose allows for greater customization in unique builds.
Cons
- Compatibility Issues: Ensuring compatibility with bicycle components can be challenging.
- Installation Complexity: Adapting fittings and connectors may require specialized tools and expertise.
- Pressure Mismatches: Using a hose designed for higher pressure may not provide optimal performance in a lower-pressure bicycle system.
- Potential Safety Concerns: Improper installation or incompatible components can lead to safety issues.
FAQ
Can I use any motorcycle hose for my bicycle?
Not just any hose! Make sure the diameter and material are appropriate for your bike’s system. Compatibility is key to avoid leaks or damage.
Do I need special tools to adapt a motorcycle hose?
Yes, you’ll likely need a hose cutter, wrenches, and possibly a deburring tool. Having the right tools ensures clean cuts and secure connections.
How do I ensure the adapted hose won’t leak?
Use proper connectors and clamps, and tighten them securely. After installation, test the connection with soapy water to check for any leaks.
Is it safe to use a motorcycle hose on my bicycle brakes?
It can be, but proceed with caution. Ensure the hose is compatible with your brake system and test thoroughly. If unsure, consult a professional.
What type of connectors should I use?
Choose connectors that match both the hose and your bicycle components. Compression or threaded fittings are common choices, depending on the application.
How often should I inspect the adapted hose?
Inspect regularly, especially before long rides. Look for signs of wear, damage, or leaks to ensure continued safe performance.
Can adapting a motorcycle hose improve my bike’s performance?
In some cases, yes. A higher-quality hose can enhance braking or hydraulic system performance, but ensure it’s properly installed and compatible.
Conclusion
Adapting a motorcycle hose for bicycle use can be a practical solution when done correctly. By understanding the differences between the hoses, having the right tools, and following the step-by-step guide, you can create a secure and reliable connection. Remember to prioritize safety and thoroughly test your work before hitting the road or trail. Whether it’s for an emergency repair, a custom build, or upgrading performance, this adaptation can be a valuable skill for any cyclist. So, go ahead and give it a try – you might just surprise yourself with what you can achieve!


