
How to Install Braided Steel Hose for Ultimate Durability
Quick Summary:
Installing braided steel hose protects vulnerable hoses from wear and tear, ensuring lasting durability. You’ll need the correct hose and fittings, a sharp cutting tool, and two wrenches. Carefully measure and cut the hose, then assemble the fittings tightly. This upgrade boosts reliability, prevents leaks, and keeps your bike running smoothly for longer.
Tired of replacing worn-out hoses on your bike? It’s a common frustration! Regular rubber or plastic hoses can crack, fray, and leak, leading to performance issues and costly repairs. But there’s a simple solution: upgrading to braided steel hose. This tough, protective layer shields your hoses from damage, extending their lifespan and improving your bike’s reliability. You’ll save money, reduce maintenance, and enjoy worry-free rides.
Ready to make the switch? This guide provides a step-by-step process for installing braided steel hose, even if you’re a beginner. We’ll cover everything from selecting the right materials to properly assembling the fittings, ensuring a secure and durable connection. Let’s get started!
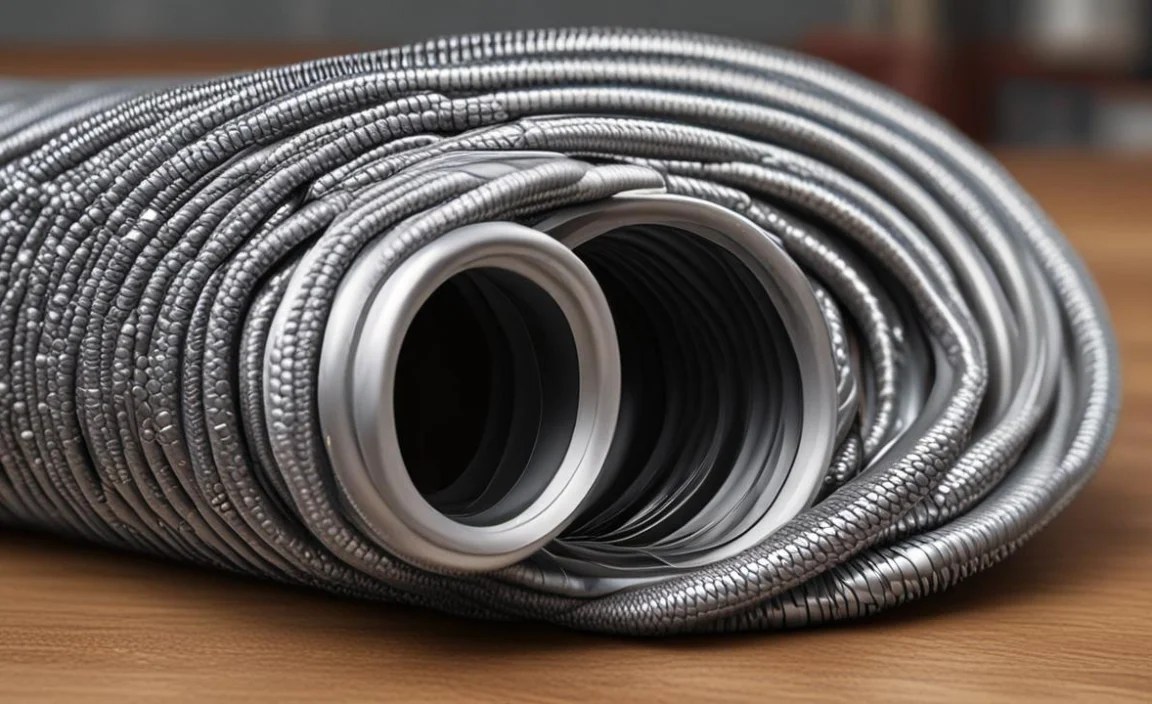
Why Choose Braided Steel Hose?

Braided steel hose offers significant advantages over standard rubber or plastic hoses, especially in demanding cycling conditions. Here’s why it’s a worthwhile upgrade:
- Enhanced Durability: The steel braid acts as a protective armor, resisting abrasion, punctures, and crushing.
- Increased Pressure Tolerance: Steel reinforcement allows the hose to withstand higher pressures without expanding or bursting.
- Improved Aesthetics: Braided steel hose provides a professional, high-performance look to your bike.
- Reduced Expansion: The steel braid minimizes hose expansion under pressure, improving braking and shifting responsiveness.
- Longer Lifespan: Braided steel hose lasts significantly longer than standard hoses, reducing the need for frequent replacements.
Tools and Materials You’ll Need

Before you begin the installation process, gather the necessary tools and materials. Here’s a comprehensive list:
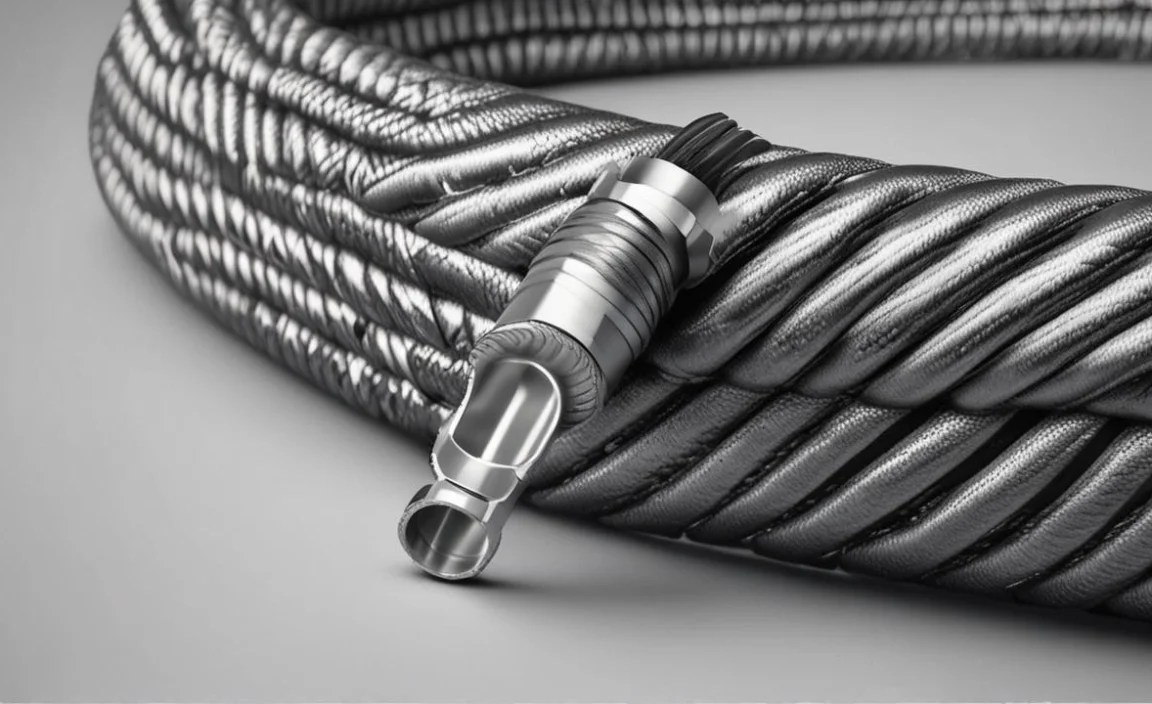
- Braided Steel Hose: Choose a hose with the correct inner diameter and length for your application.
- Hose Fittings: Select fittings compatible with your hose and the components you’re connecting (e.g., brake calipers, master cylinders).
- Hose Cutter: A specialized hose cutter or a rotary tool with a cut-off wheel provides clean, precise cuts.
- Wrenches: Two appropriately sized wrenches are needed to tighten the fittings securely.
- Soft Jaws or Vise: To hold the hose and fittings without damaging them during assembly.
- Measuring Tape: For accurate hose length measurements.
- Marker or Pen: To mark the hose for cutting.
- Safety Glasses: Protect your eyes from debris during cutting and assembly.
- Gloves: To protect your hands from sharp edges and contaminants.
Step-by-Step Installation Guide
Follow these steps to install braided steel hose on your bike:
Step 1: Measure and Cut the Hose
Accurate measurement is crucial for a proper fit. Here’s how to measure and cut the hose correctly:
- Measure the Existing Hose: If you’re replacing an existing hose, measure its length from end to end. Add a little extra length (about an inch) for wiggle room.
- Determine Routing: If you’re installing a new hose, route it along the desired path on your bike, ensuring it doesn’t kink or rub against any components. Measure the required length.
- Mark the Hose: Use a marker to clearly indicate the cutting point on the braided steel hose.
- Cut the Hose: Use a specialized hose cutter or a rotary tool with a cut-off wheel to cut the hose. A clean, square cut is essential for proper fitting.
Pro Tip: Wrap the hose with tape at the cutting point to prevent fraying and ensure a cleaner cut.
Step 2: Prepare the Hose End
Properly preparing the hose end ensures a secure and leak-free connection. Here’s how to do it:
- Remove the Outer Braid: Carefully peel back the outer steel braid from the cut end of the hose. You may need to use a small pick or screwdriver to separate the braid strands.
- Insert the Hose Socket: Slide the hose socket (part of the fitting) over the end of the hose, pushing it firmly against the inner hose liner.
- Flare the Braid: Fan out the steel braid strands over the hose socket, ensuring they are evenly distributed.
Step 3: Assemble the Fitting
Assembling the fitting correctly is critical for a leak-proof seal. Here’s the procedure:
- Insert the Hose Nipple: Insert the hose nipple (the other part of the fitting) into the end of the hose, pushing it firmly until it bottoms out against the inner hose liner.
- Engage the Threads: Carefully engage the threads of the hose socket with the hose nipple. Ensure the threads are properly aligned to avoid cross-threading.
- Tighten the Fitting: Use two wrenches to tighten the fitting securely. One wrench should hold the hose nipple while the other tightens the hose socket.
Pro Tip: Refer to the fitting manufacturer’s specifications for the recommended torque values. Overtightening can damage the fitting or hose.
Step 4: Repeat for the Other End
Repeat steps 2 and 3 for the other end of the hose, ensuring both fittings are properly assembled and tightened.
Step 5: Test for Leaks
After installing the hose, it’s essential to test for leaks before putting your bike back into service. Here’s how:
- Connect the Hose: Connect the hose to the appropriate components on your bike (e.g., brake calipers, master cylinders).
- Apply Pressure: Apply pressure to the system (e.g., squeeze the brake lever) and observe the hose and fittings for any signs of leaks.
- Check for Bubbles: If you suspect a leak, apply soapy water to the fittings. Bubbles indicate a leak.
- Tighten as Needed: If you find any leaks, carefully tighten the fittings until the leaks stop. Avoid overtightening.
Troubleshooting Tips
Even with careful installation, you may encounter some challenges. Here are some common issues and how to address them:
- Leaks at the Fittings: This is usually caused by loose fittings, damaged threads, or improper hose preparation. Retighten the fittings, inspect the threads for damage, and ensure the hose is properly seated within the fitting.
- Hose Kinking: Kinking can restrict fluid flow and damage the hose. Ensure the hose is routed properly and is not bent at too sharp of an angle. Use longer hose if needed.
- Frayed Hose Ends: Fraying can occur if the hose is not cut cleanly. Use a sharp hose cutter or rotary tool with a cut-off wheel and wrap the hose with tape before cutting.
- Difficulty Assembling Fittings: This can be caused by mismatched threads or damaged fittings. Ensure the fittings are compatible with the hose and the components you’re connecting. Inspect the threads for damage.
Maintaining Your Braided Steel Hose

Proper maintenance will extend the life of your braided steel hose. Here are some tips:
- Regular Inspection: Periodically inspect the hose and fittings for any signs of damage, such as cracks, fraying, or leaks.
- Cleaning: Clean the hose with a mild soap and water solution to remove dirt and grime. Avoid using harsh chemicals or solvents.
- Proper Routing: Ensure the hose is properly routed and is not rubbing against any sharp edges or moving parts.
- Avoid Over-Tightening: When tightening fittings, avoid over-tightening, as this can damage the hose or fitting.
Braided Steel Hose Applications
Braided steel hoses are versatile and can be used in a variety of applications on your bike. Here are some common uses:
- Brake Lines: Upgrading to braided steel brake lines improves braking performance by reducing hose expansion under pressure.
- Hydraulic Clutch Lines: Braided steel clutch lines provide more consistent clutch engagement and reduce the risk of clutch fade.
- Fuel Lines: Braided steel fuel lines are more resistant to fuel permeation and degradation than standard rubber fuel lines.
- Oil Lines: Braided steel oil lines provide better oil flow and heat resistance than standard rubber oil lines.
- Coolant Lines: Braided steel coolant lines are more resistant to heat and pressure than standard rubber coolant lines.
Braided Steel Hose vs. Rubber Hose: A Comparison
Choosing between braided steel and rubber hose depends on your specific needs and priorities. Here’s a comparison to help you decide:
| Feature | Braided Steel Hose | Rubber Hose |
|---|---|---|
| Durability | Excellent | Fair |
| Pressure Tolerance | High | Low |
| Expansion | Minimal | Significant |
| Lifespan | Long | Short |
| Cost | Higher | Lower |
| Aesthetics | Excellent | Fair |
Braided Steel Hose Fitting Types
Different types of fittings are available for braided steel hose, each designed for specific applications. Here are some common types:
| Fitting Type | Description | Application |
|---|---|---|
| AN (Army-Navy) Fittings | Standard fittings with a 37-degree flare. | Fuel, oil, coolant, and brake lines. |
| NPT (National Pipe Thread) Fittings | Tapered threads that create a seal when tightened. | Plumbing and low-pressure applications. |
| Banjo Fittings | Circular fittings with a hole in the center, used with a bolt and washers. | Brake calipers and master cylinders. |
| Compression Fittings | Fittings that use a compression ring to create a seal. | Hydraulic and pneumatic systems. |
Cost Considerations
Upgrading to braided steel hose involves some upfront costs. Here’s a breakdown of the typical expenses:
- Braided Steel Hose: The cost varies depending on the diameter, length, and material. Expect to pay $5 to $20 per foot.
- Hose Fittings: Fittings range in price from $5 to $30 each, depending on the type and material.
- Hose Cutter: A specialized hose cutter can cost $20 to $50.
- Tools: If you don’t already have them, you’ll need to purchase wrenches, soft jaws, and a measuring tape.
While the initial investment is higher than using standard rubber hoses, the increased durability and longer lifespan of braided steel hose can save you money in the long run by reducing the need for frequent replacements.
Where to Buy Braided Steel Hose and Fittings
You can purchase braided steel hose and fittings from a variety of sources, including:
- Local Bike Shops: Many bike shops carry braided steel hose and fittings, especially those that specialize in performance upgrades.
- Automotive Parts Stores: Automotive parts stores are a good source for braided steel hose and fittings, as they are commonly used in automotive applications.
- Online Retailers: Online retailers like Amazon (Amazon.com) and eBay (eBay.com) offer a wide selection of braided steel hose and fittings at competitive prices.
- Specialty Hose Suppliers: Specialty hose suppliers like Summit Racing (SummitRacing.com) and Jegs (Jegs.com) offer a wide range of high-performance hose and fittings.
FAQ: Installing Braided Steel Hose
Here are some frequently asked questions about installing braided steel hose:
1. Can I use regular scissors or a knife to cut braided steel hose?
No, using regular scissors or a knife is not recommended. They will likely fray the steel braid and create a messy, uneven cut. Use a specialized hose cutter or a rotary tool with a cut-off wheel for a clean, precise cut.
2. How tight should I tighten the fittings?
Tighten the fittings securely, but avoid overtightening. Refer to the fitting manufacturer’s specifications for the recommended torque values. Overtightening can damage the fitting or hose.
3. What if I don’t have a torque wrench?
If you don’t have a torque wrench, tighten the fittings snugly, but be careful not to overtighten them. A good rule of thumb is to tighten the fitting until it is snug, then tighten it another quarter turn.
4. Can I reuse old fittings?
It’s generally not recommended to reuse old fittings, as they may be damaged or worn. It’s best to use new fittings to ensure a leak-free connection.
5. What if I can’t get the hose to stop leaking?
If you can’t get the hose to stop leaking, check the following:
- Ensure the fittings are properly tightened.
- Inspect the threads for damage.
- Ensure the hose is properly seated within the fitting.
- Use thread sealant or Teflon tape on the threads.
6. Are braided steel hoses compatible with all types of fluids?
No, not all braided steel hoses are compatible with all types of fluids. Check the hose manufacturer’s specifications to ensure the hose is compatible with the fluid you’ll be using.
7. How often should I replace braided steel hoses?
Braided steel hoses typically last much longer than rubber hoses, but they should still be inspected regularly for wear and tear. Replace them if you notice any signs of damage, such as cracks, fraying, or leaks. Depending on usage and environmental conditions, consider replacement every 5-10 years.
Conclusion
Installing braided steel hose is a worthwhile upgrade that enhances the durability, performance, and aesthetics of your bike. By following the steps outlined in this guide, you can confidently tackle this project and enjoy the benefits of a more reliable and long-lasting hose system. Remember to take your time, use the right tools, and always prioritize safety. With a little patience and attention to detail, you’ll be well on your way to a smoother, more enjoyable riding experience. Now get out there and ride!


